Face Swap || Tutorial.
Hello everyone, I am Violette and welcome back to my chan- Wait, what am I doing? This isn't YouTube.
Anywho, in today's tutorial, we will be learning how to do face swaps.
Face swaps are using the face of a different model on the body of the model you like. For instance, let's say you want to make Madelaine Petsch a princess. But there are no pictures of her in a fancy gown. What will you do now? That's correct! You go on Google, Pinterest, DeviantArt...or some other app/site you use, get a picture of some random model wearing a gown, then get a picture of Madelaine and put it on that random picture you got.
I know I know, it is still not clear and feels like I am blabbering shit, but once I show you with pictures, it would all make sense. I promise.
Let the tutorial begin!
━━━━━━━━━━━━
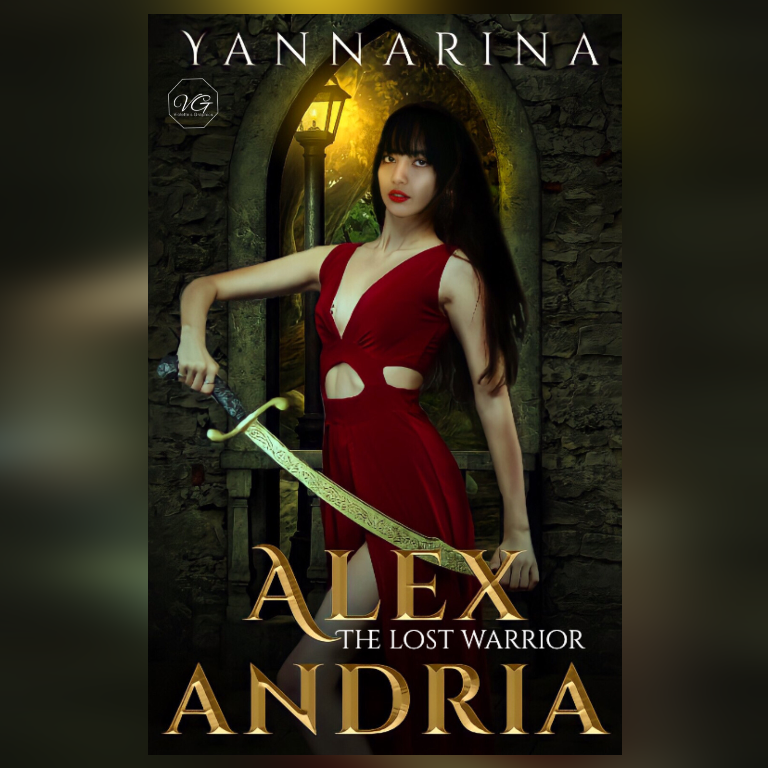
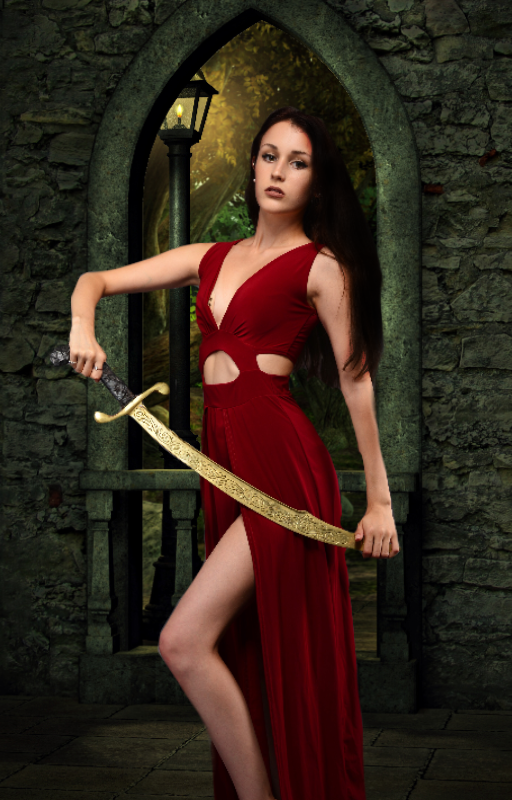
This is the final product we are going to get.
━━━━━━━━━━━━
1. Set a canvas of 512 x 800, choose a desired background and fit it according to the canvas. For this cover, I used the background I got it from DeviantArt by frozenstocks. Now, I edited the background a little too, but since it is not important for the tutorial, I won't get into the details.
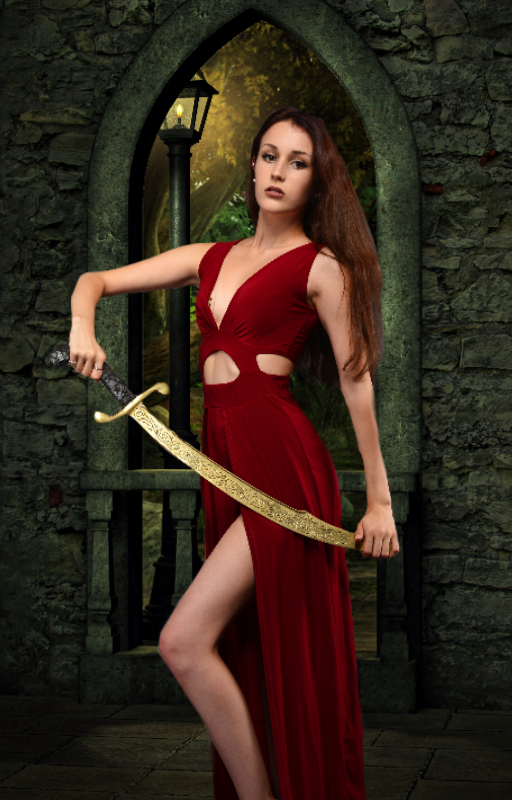
2. Find the model you want to use as base. Now, this depends on the summary of the book. For the request I had received, I needed a female warrior and I got one on DeviantArt by Saphiriacat who was photographed by Martin Erker. I liked the particular picture since it wasn't to loud and still could be qualified as a warrior.
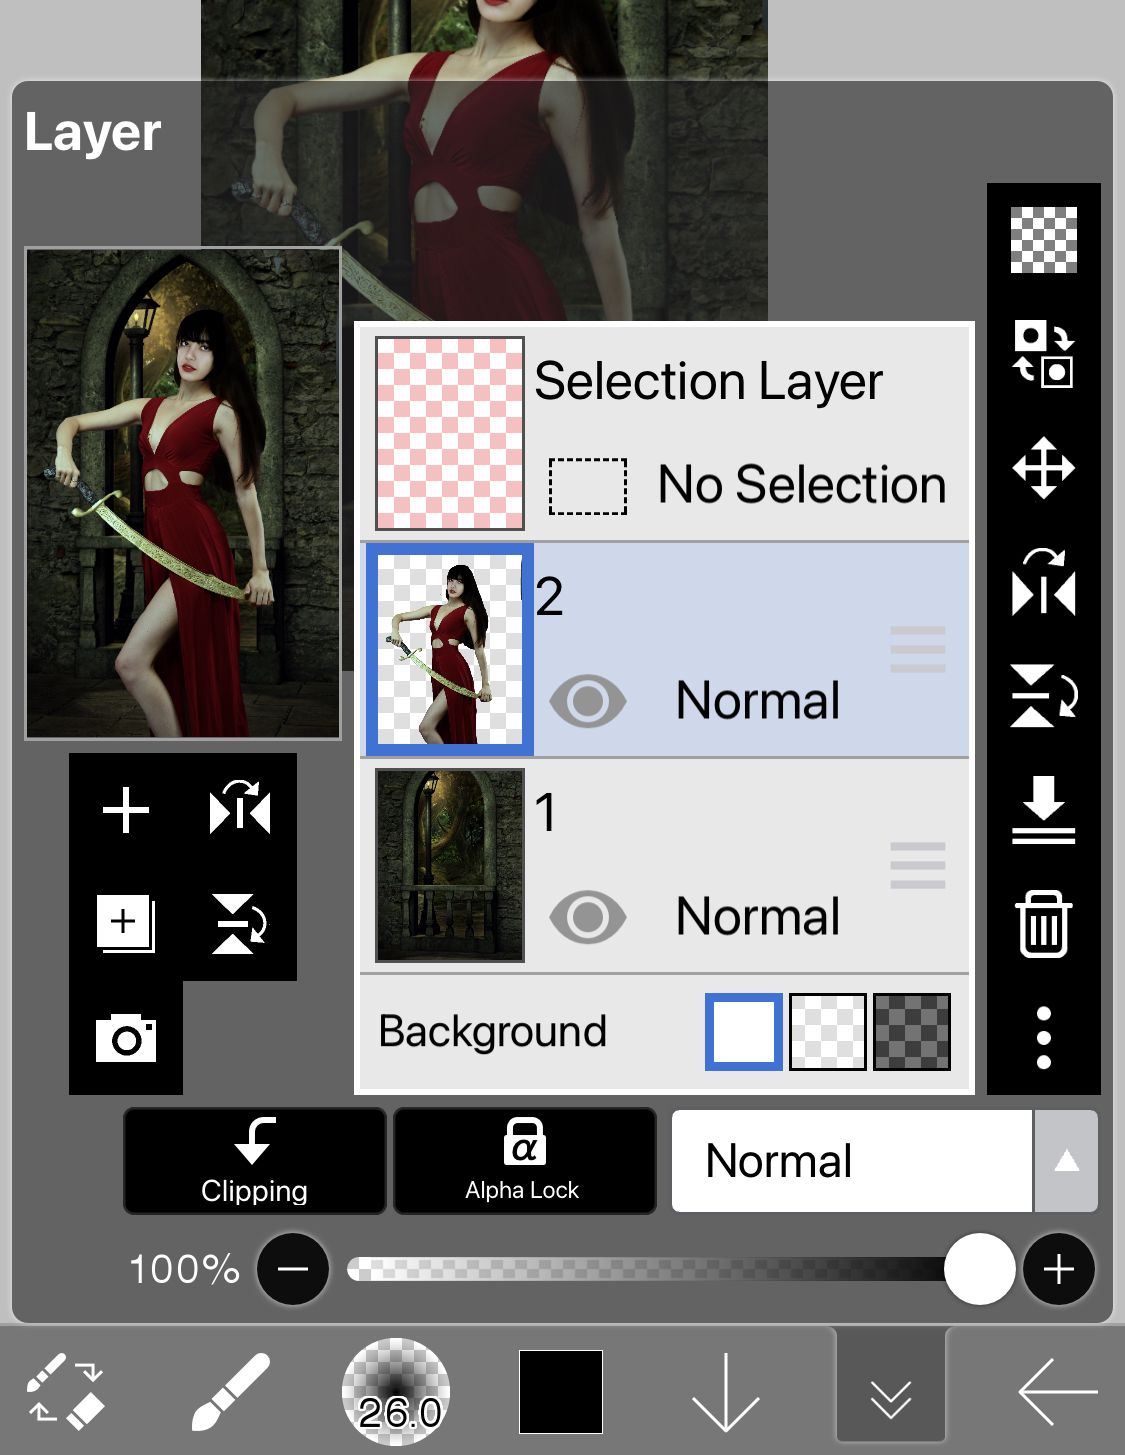
3. Fit your base model with the background.
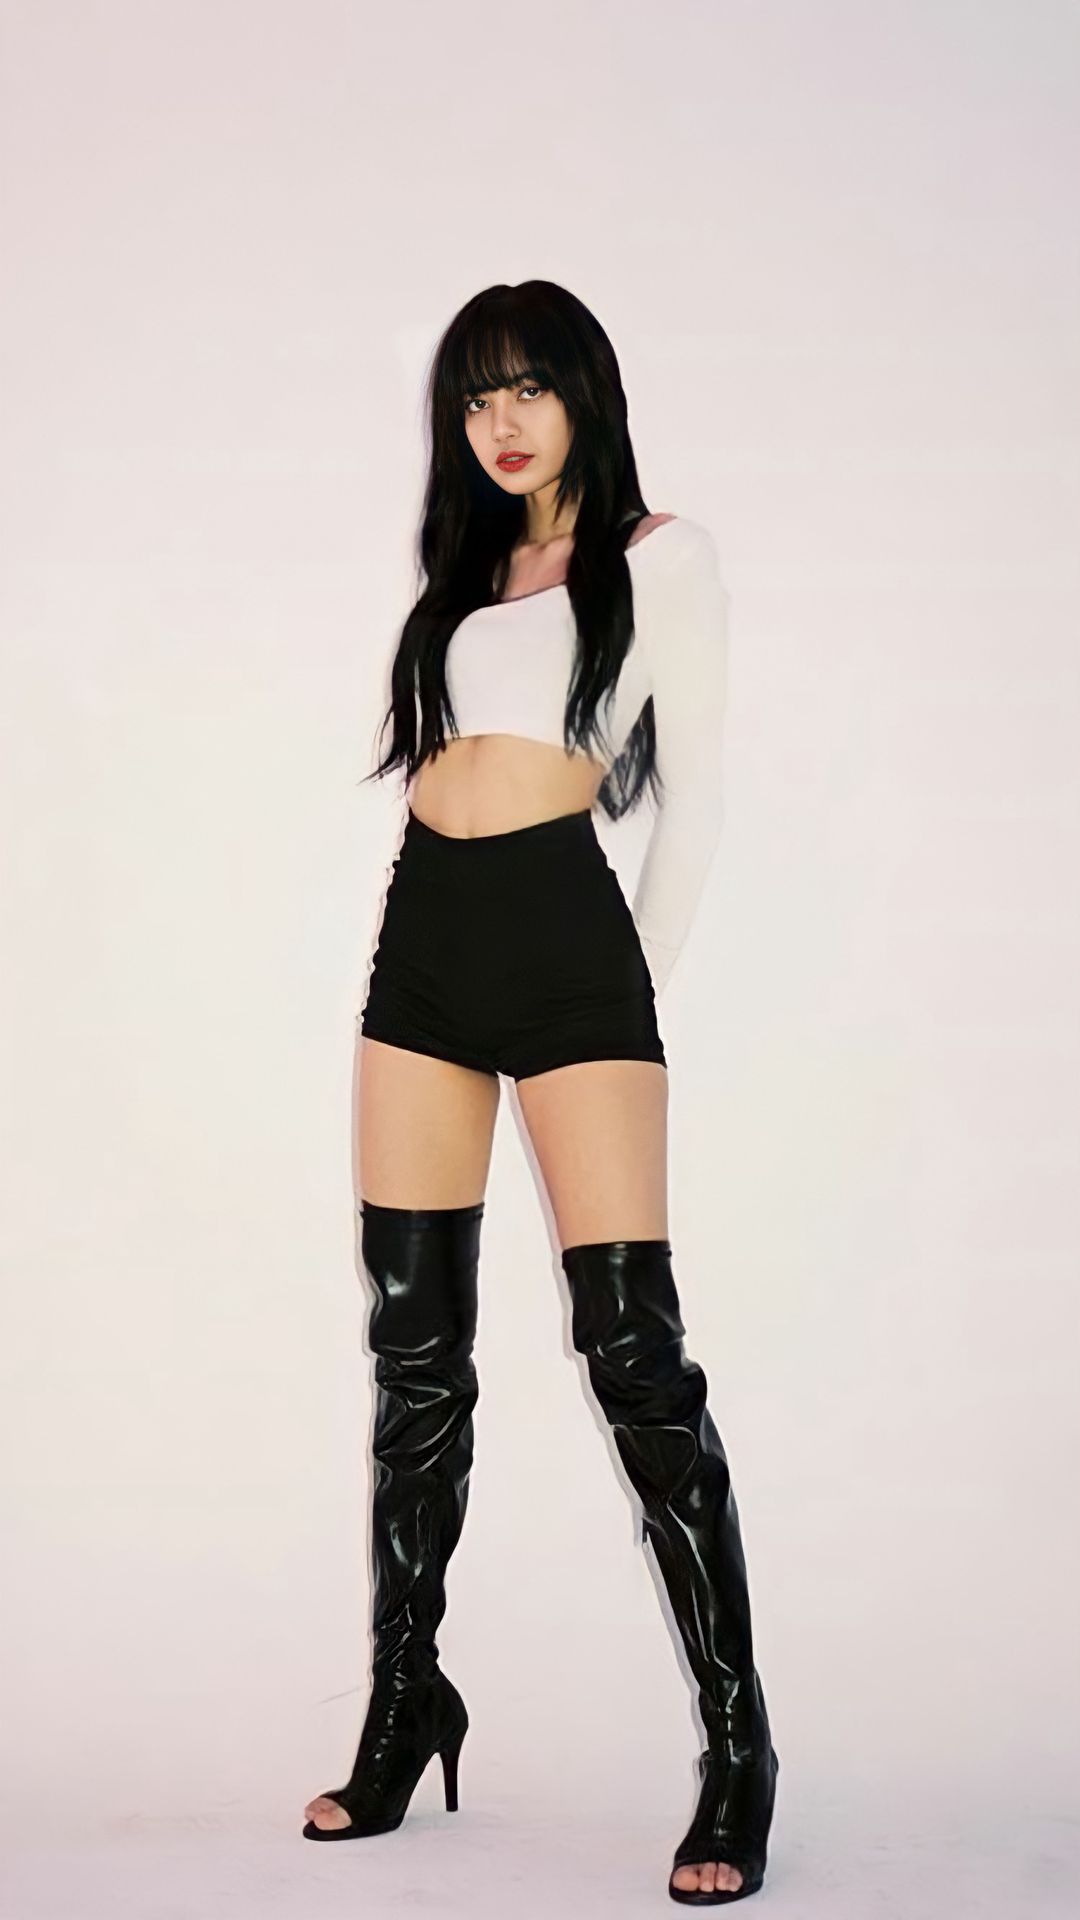
4. Now, after selecting your base model, select the model whose face you want. For this one, the author requested Lisa from blackpink.
Before you choose the picture of your faceclaim, BE CAREFUL about the angle of the face. It should match the overall body posture of your previous picture. Since my base model had a sideway frame, I choose a picture where her head is slightly tilted.
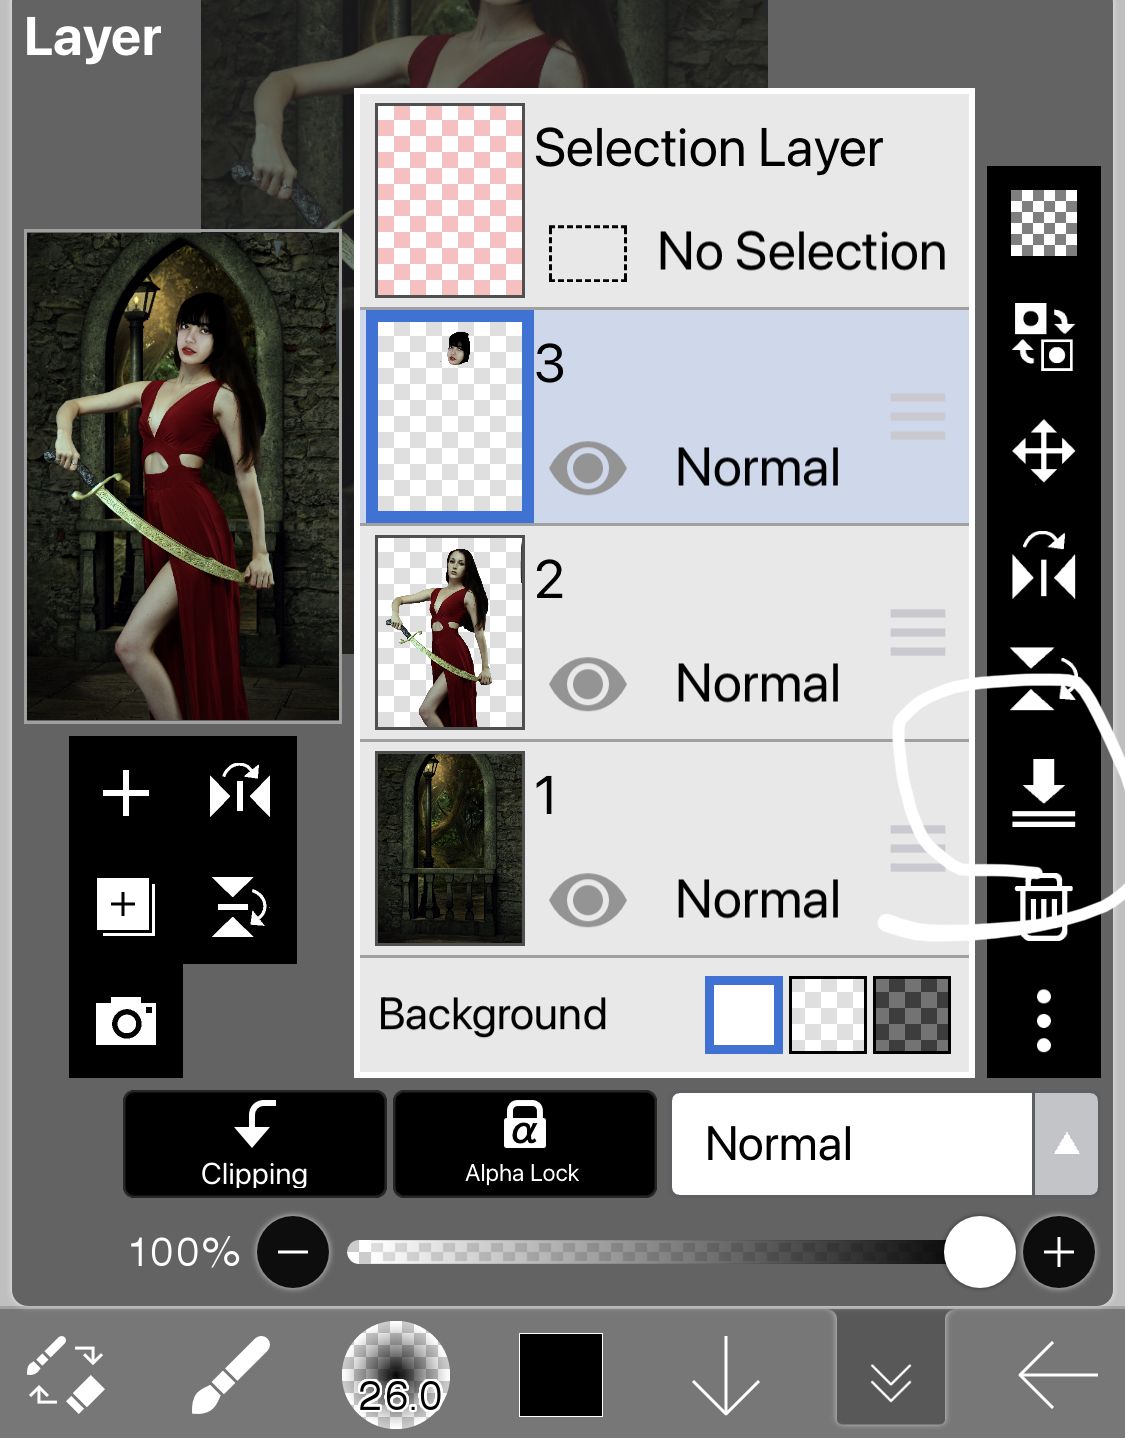
5. Now, erase your face model in a way that you only get her face and a few hair left. Since we are going to make use of her face, we don't need her body and since this particular picture has bangs, you will have to keep them around too.

The above picture is how she is supposed to look.
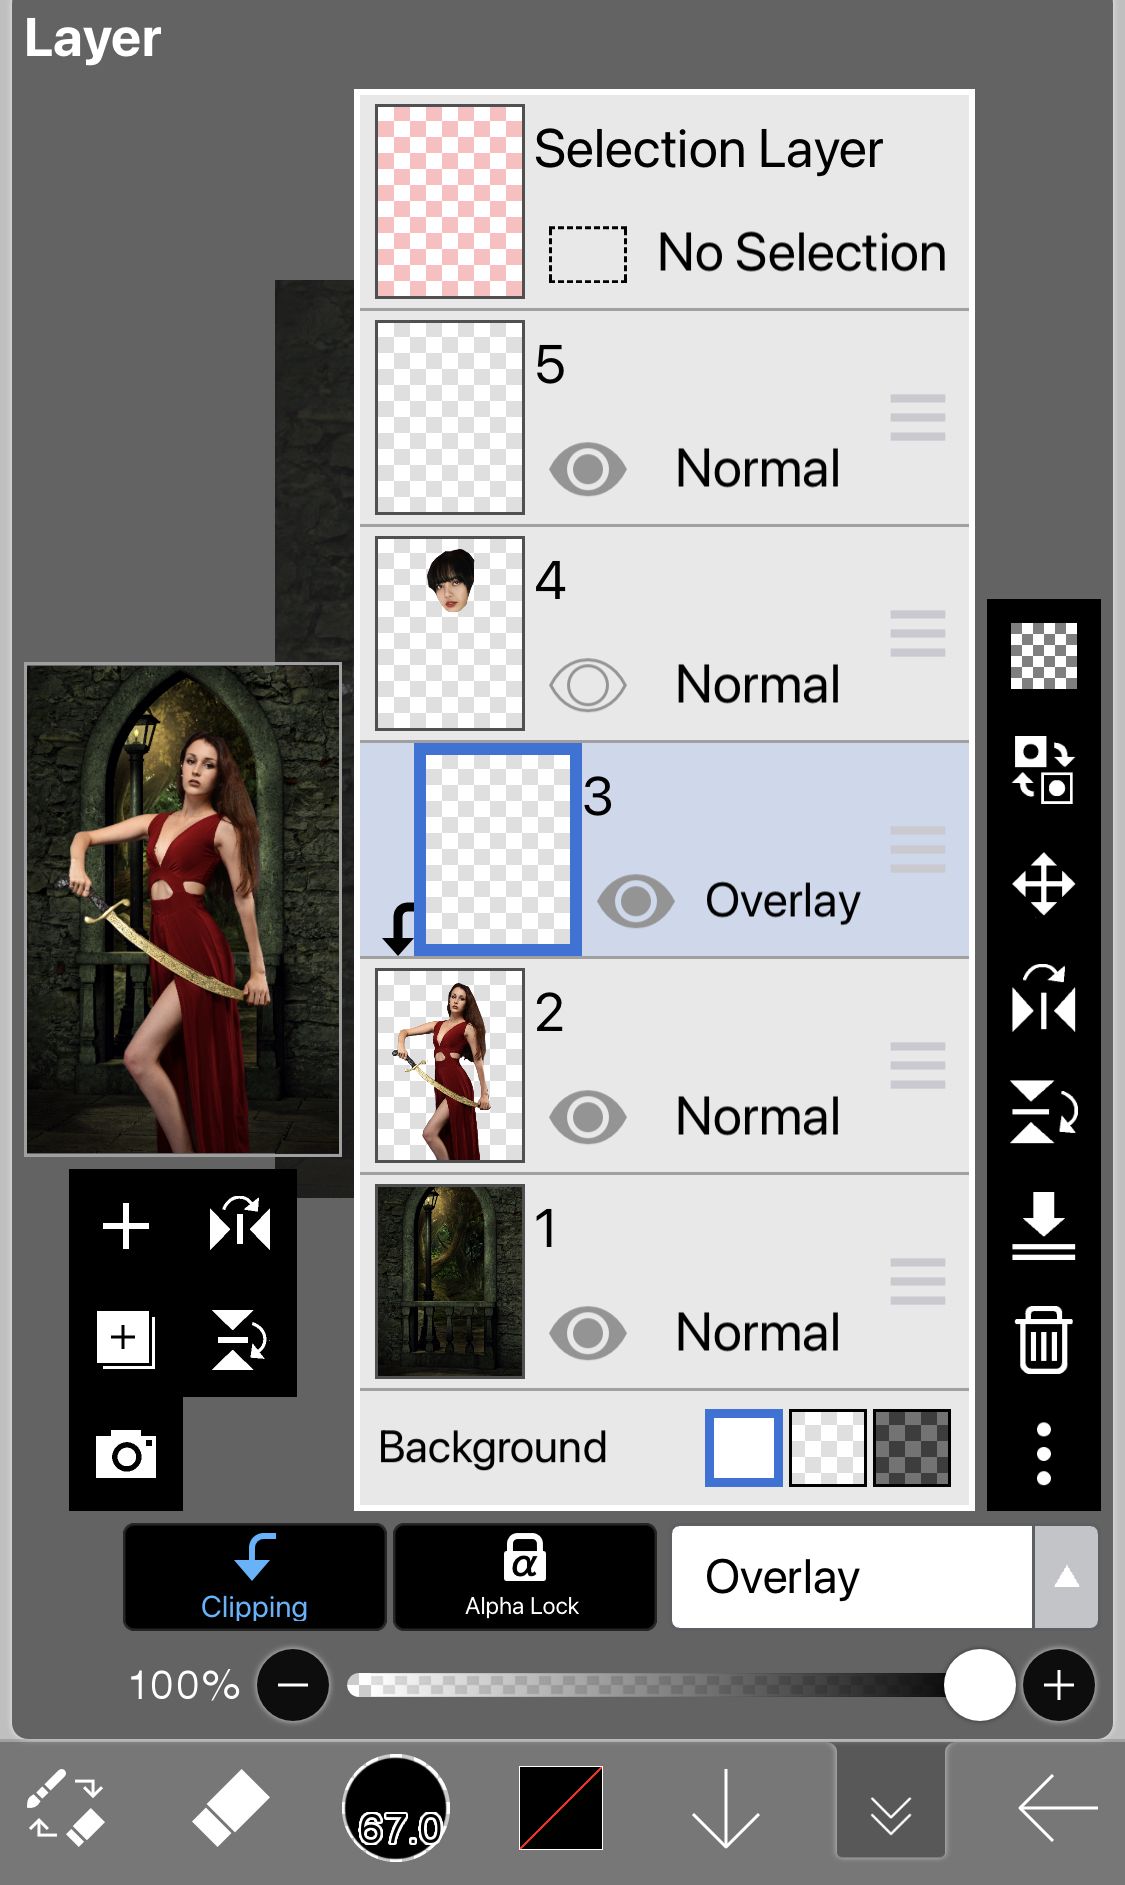
6. Before you fit the face on your base model, you will have to colour the base model's hair black because Lisa's hair are black and it's easier to turn brown into black compared to black into brown.
To do that, select a new layer right above the base model's layer, clip it with the base model's layer, change the BM to overlay, take an airbrush and paint it over the hair.
Once you paint it black, merge the layer together.
7. Now, it's time for the main part! Take your face model's layer and adjust it in a way that it looks that the base model's body is her body. You will probably have to move it around a little, adjust it more than once, but don't stop until you get the result you want.
For me, I had to rotate Lisa's face to make it properly fit the body.
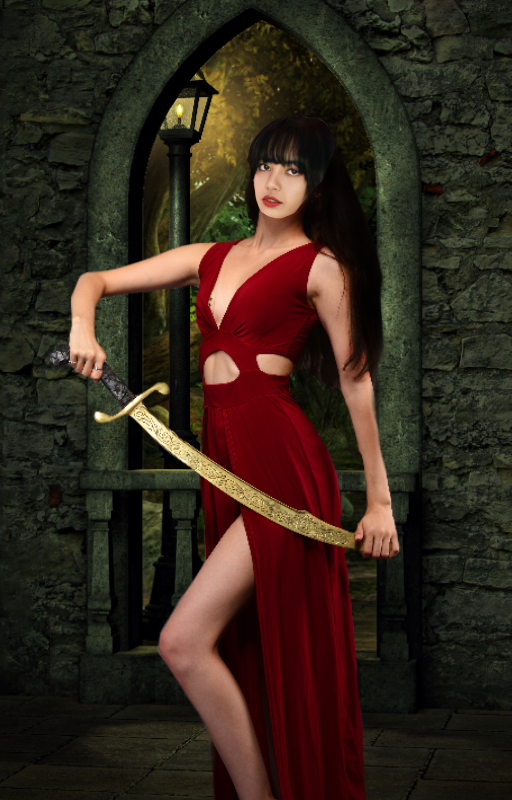
Yay! You're done with the most difficult part now :)
8. If you notice, both the pictures we used had different skin tones and now that we have merged them together, it looks weird because my base model has a red-ish tone and Lisa is more on the white side.
To match the skin tone, there are three things you can do.
• Use a Blending Mode and an airbrush to paint on the face. The BM can either be Overlay or Soft Light. Or they can be Darken, Multiply or Colour Burn. If you try these and it doesn't fit well or look well, try the other options.
• Second one is to mess with the Brightness/Contrast option in the Filter menu. You can change the brightness and contrast until you are satisfied with the skin tones.
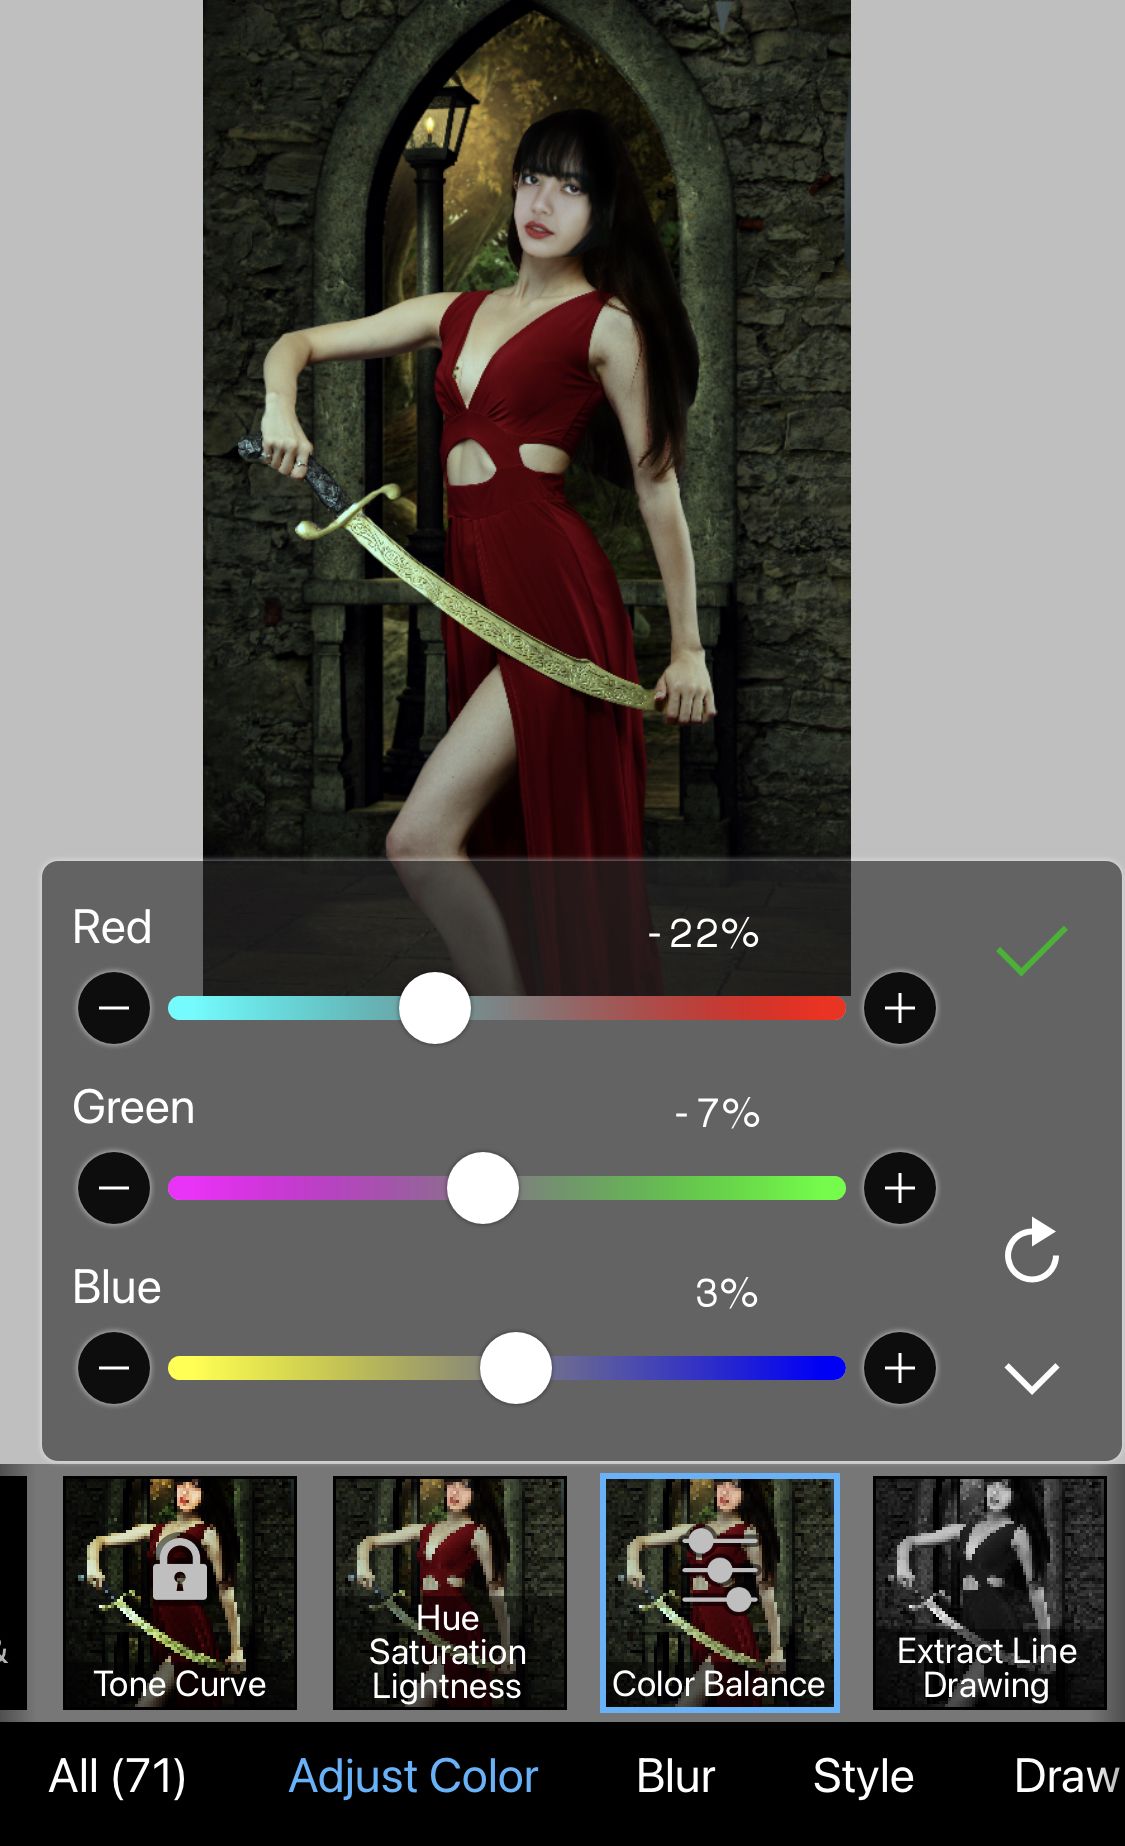
• The last one is to change the Colour Balance of the picture. You can match the colour balance with the background or anything that suits your cover.
For my cover, I used Colour Balance first, changed the skin tone into a little greenish colour and then used Brightness and Contrast option to match it perfectly.
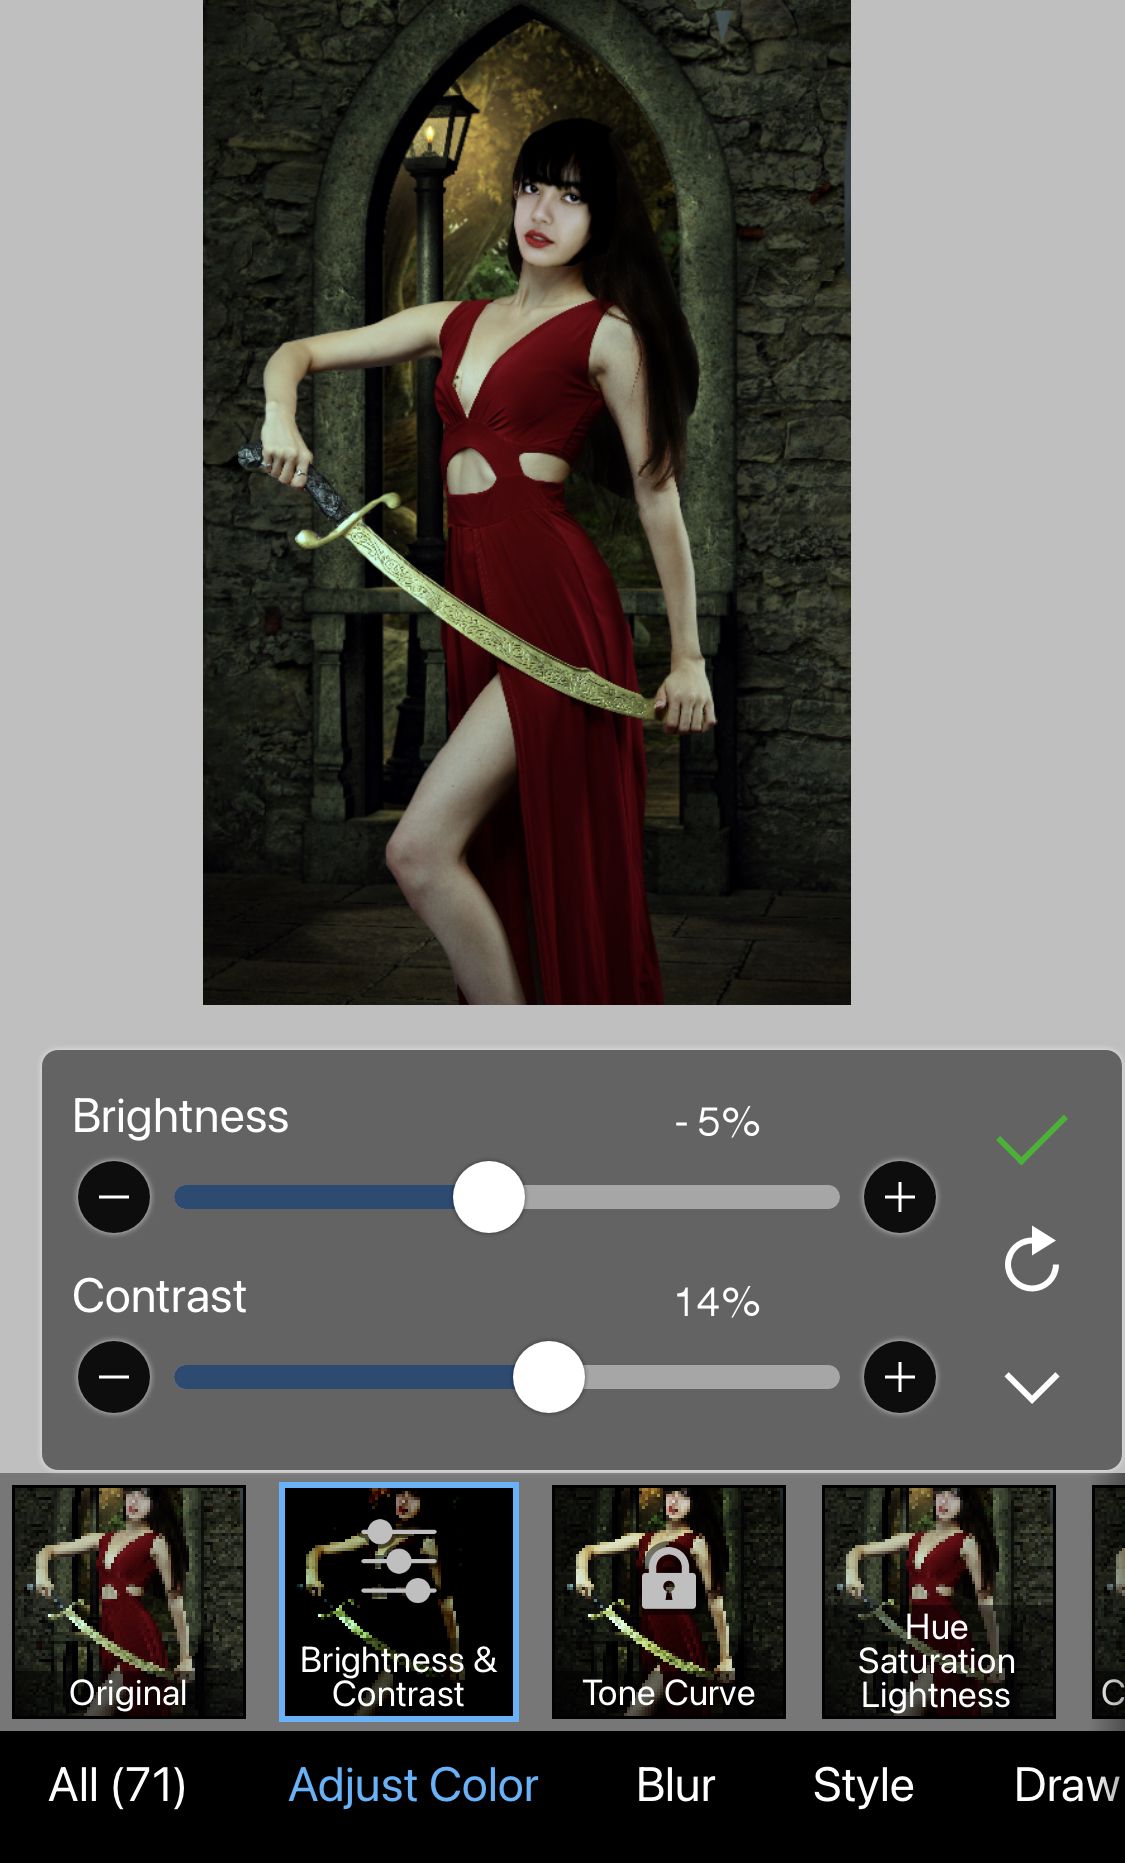
In Brightness and Contrast, I brought changed only to the face and kept the rest of the body same.
You might also have to bring small adjustments in Colour Balance to match the skin tones.
9. The next step is merging the face layer with the base model's layer to make it the same.
10. You're now done with your face swap! You can edit more to the model like adding shadows, reflections, contouring and highlighting as per your cover. But other than that, this is all that was necessary to know.
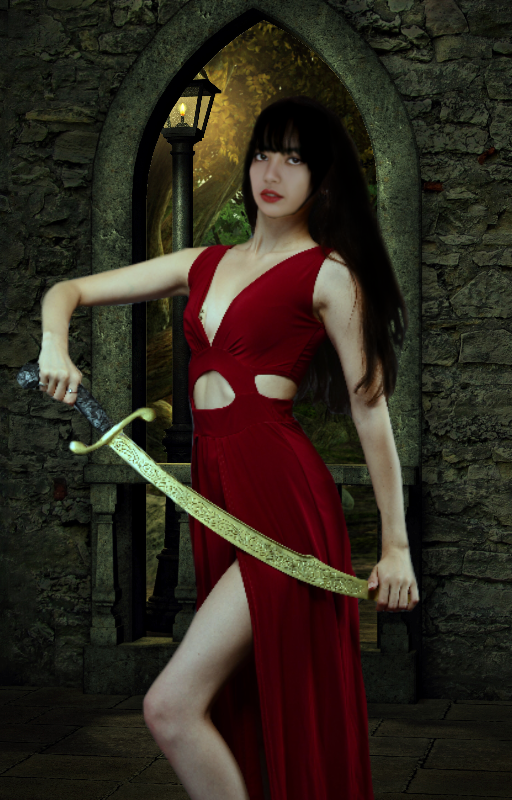
This is how it will look after your done with all your steps.
Add in your texts and elements once you're finished with this.
━━━━━━━━━━━━
Voila! Our Face Swap Cover is ready.

Make sure to check out the "forms" chapter and check out the new form I added pertaining to requests regarding particular tutorials!
Thank you so much for reading this.
If you have any questions or doubts, ask them here ———>

Bạn đang đọc truyện trên: AzTruyen.Top