ASSUME THE POSITION

In this chapter we are going to go over the four main fighting and firing stances:
1) Prone
2) Kneeling
3) Standing
4) Sitting
Definitions:
1) Firing arm, hand, foot - The Trigger side.
2) Non-Firing arm, hand, foot - Opposite the trigger side.
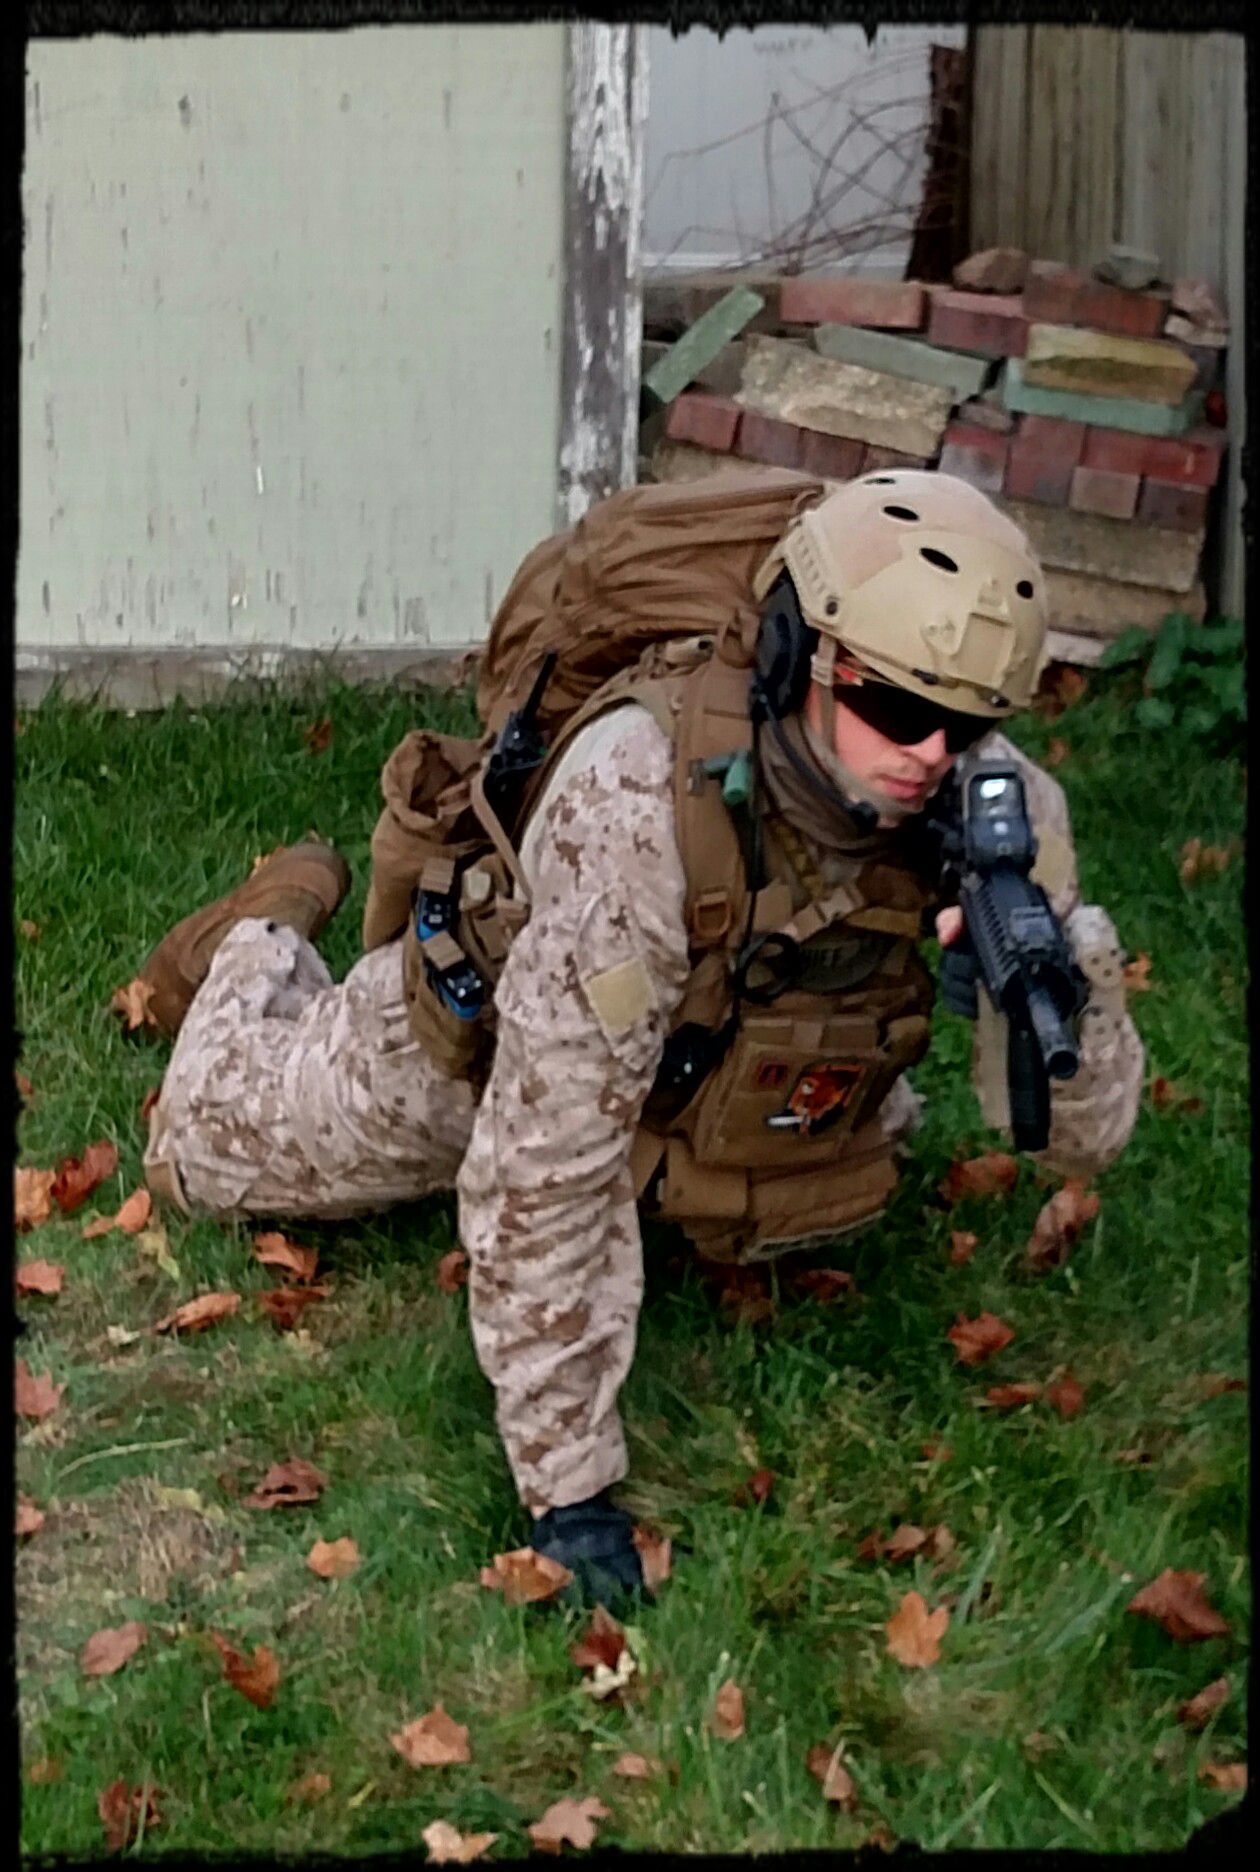
Please understand to become efficient in any of these takes perfect practice, and even more, perfect body mechanics and biomechanical efficiency. While there are advanced holds and body positions for each of these, we are only going to focus on the basic position for each of these categories.
Refer to the diagrams below each explanation for better understanding! Before we do, I would like to outline certain terminology that you will see throughout this section, so it is easier on the reader to understand.
PRONE POSITION
Kneel, Non-Firing hand, Prone
We are going, to begin with, the most secure and steady position of the three, the Prone Position. This is an excellent firing position for making yourself small and keeping a low profile. However, your mechanics must be precise in order for it to work efficiently with your rifle.
1) While standing facing the target, square yourself off, with your feet shoulder width to armpit length apart.
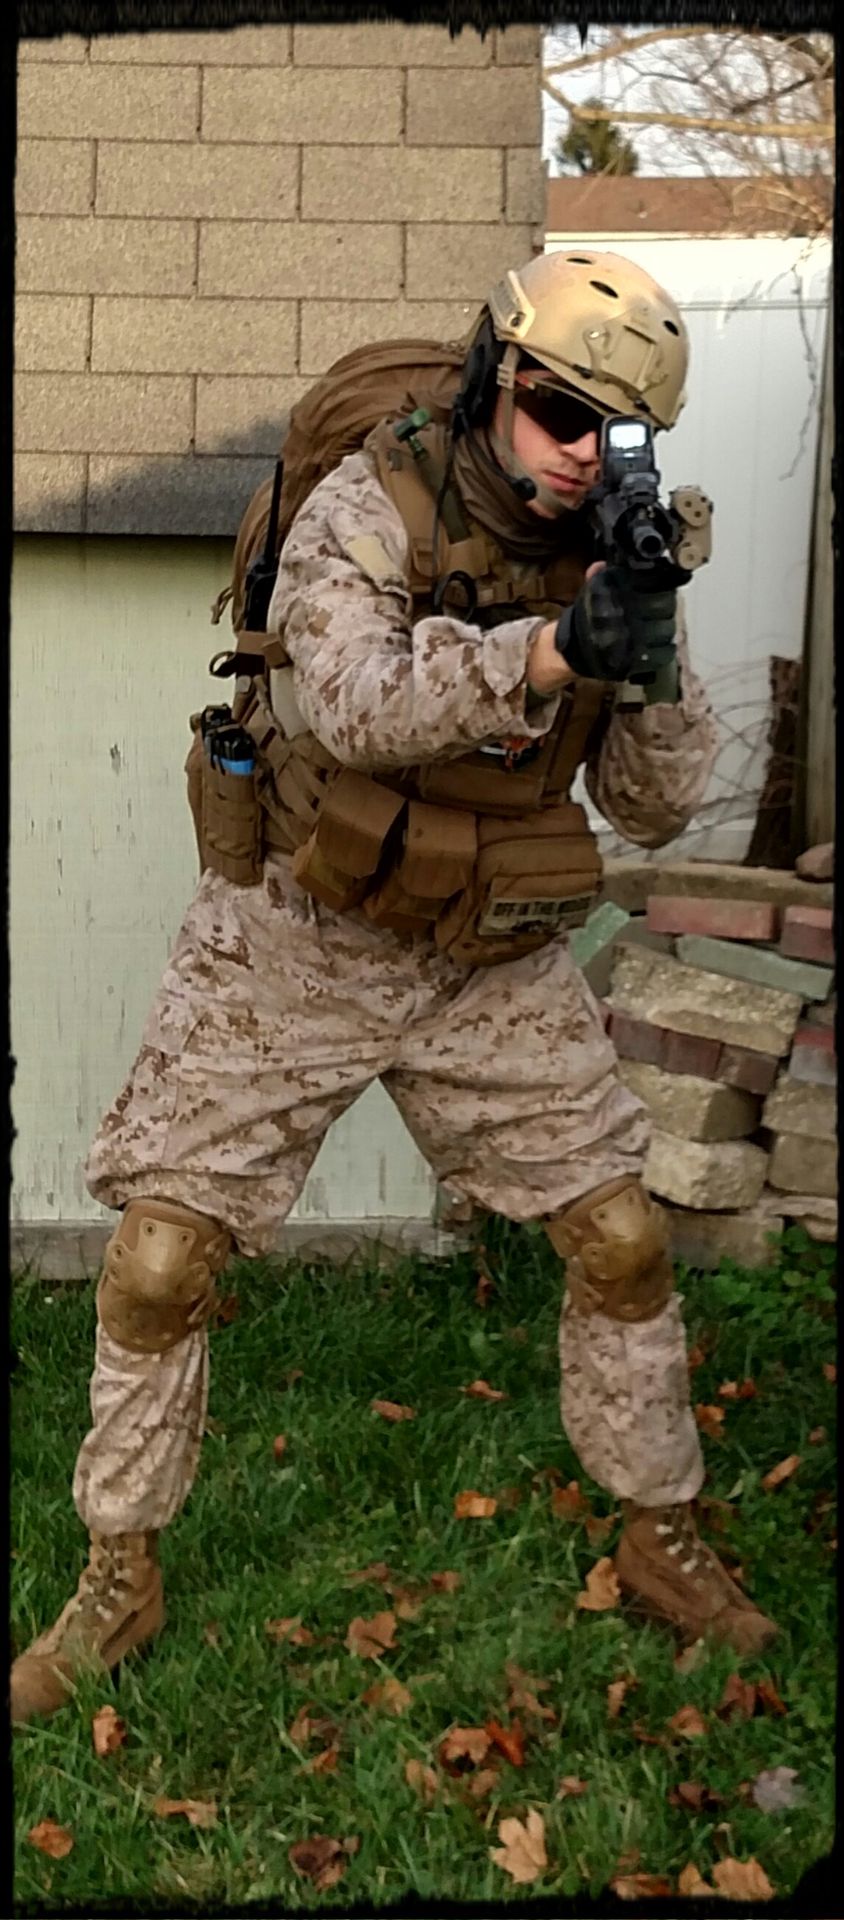
2) With one hand on the pistol grip, pull the buttstock into the breast pocket, leaving the other hand free.
3) Lower yourself by dropping to your knees, while staying square and maintaining line -of - sight with your target.
4) Using your non-firing arm, fall forward maintaining your rifle stability and line of sight. Kiss the ground with your hips and torso, breaking your fall with your weak hand.
5) Set both elbows as if they are a bipod, making them secure while maintaining a low profile. (If your elbows are too close, your head will be too high, and your back will arch, providing an easy target for the enemy.)
6) Using your body mass, pull the buttstock into your shoulder or breast pocket.
7) Align your body so that your line - of - sight is straight, your shoulders level, and your rifle wrist is as straight as possible.
8) Set your feet with width, feet outboard, stabilizing the torso and hips on the ground.
9) Place your cheek firmly against the stock, your Non-Firing hand on the lower rail, your trigger finger in proper placement as discussed in chapter two.

To recover from this position, push off with the non-firing hand while maintaining line - of - sight. Push up to your knees, step forward and recover.

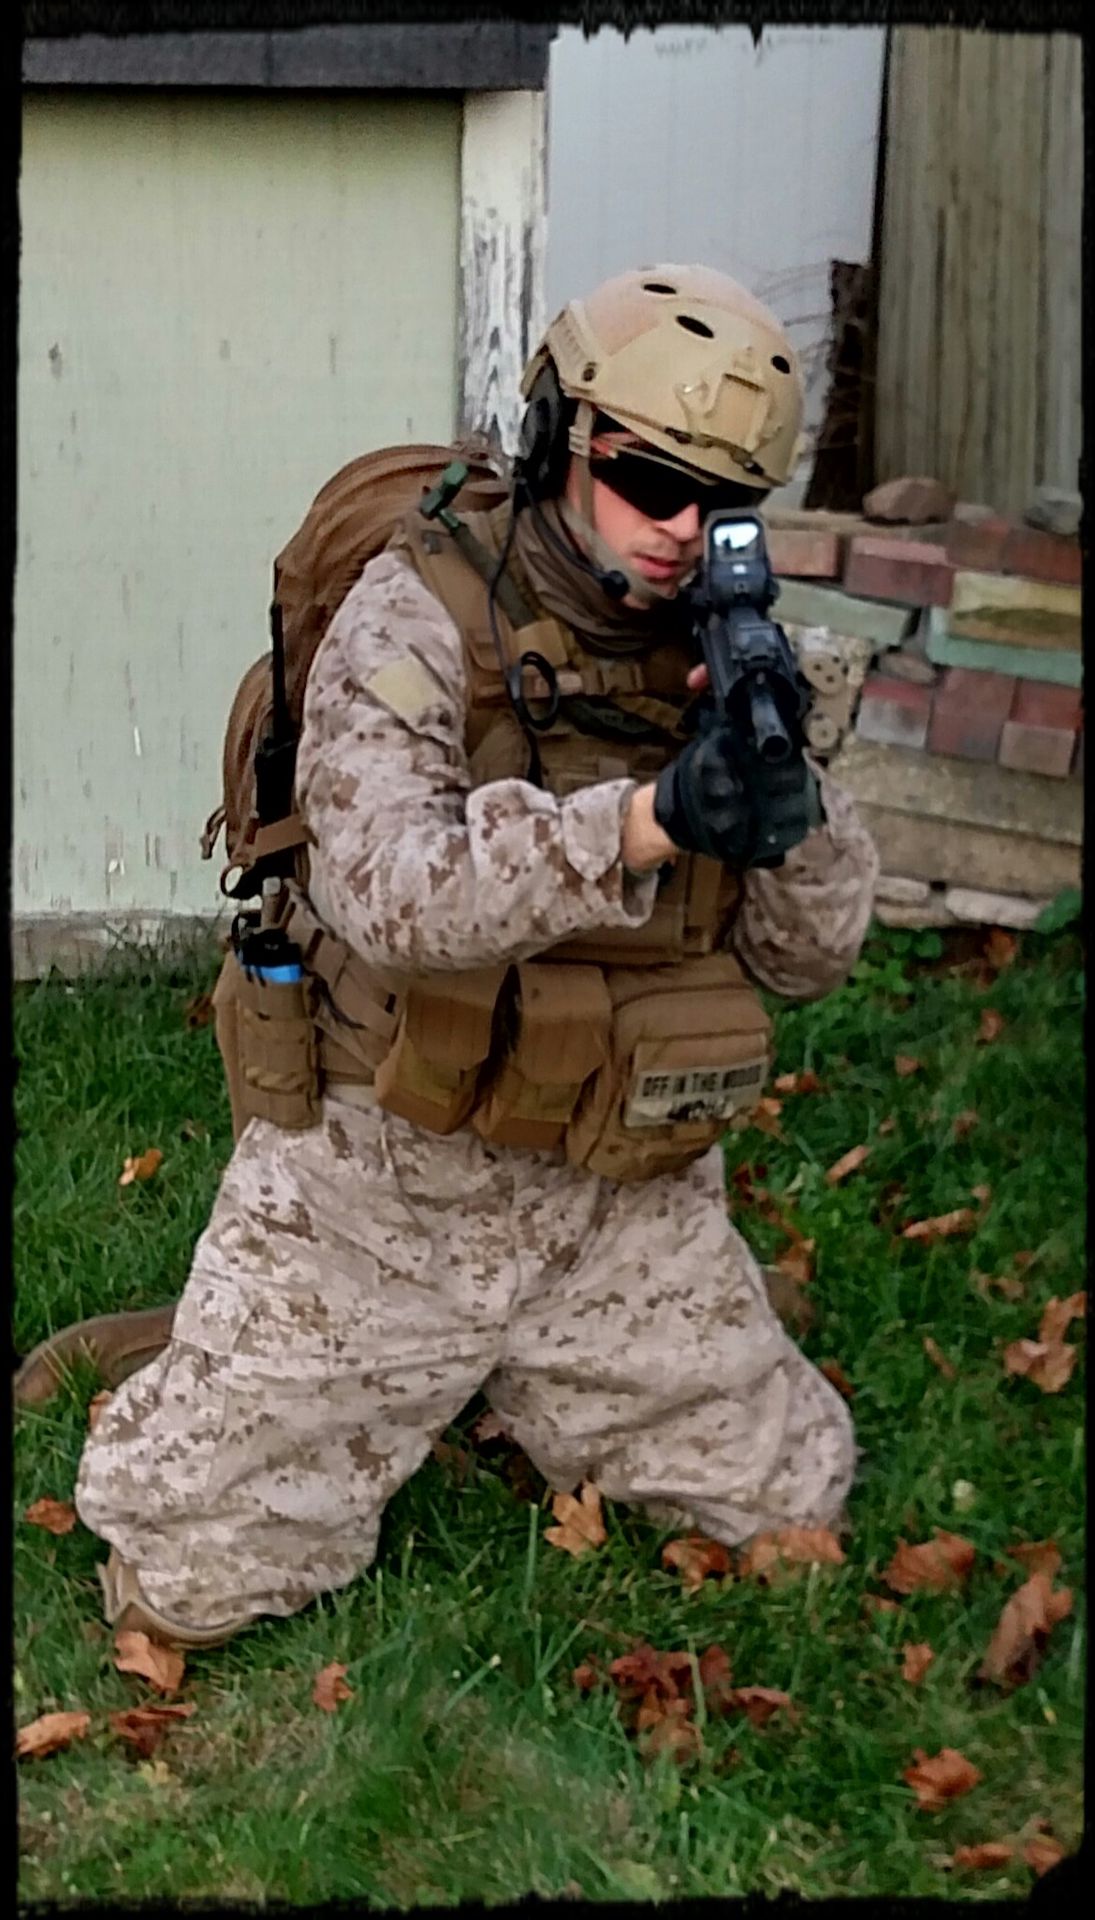
KNEELING POSITION
There are three types of kneeling positions that can be utilized. This is a matter of comfort, High, Medium (boot laces), and low. For me, I want to be as small as possible, and compact enough to make sure my rifle is stable, and I can keep the proper line of sight on a tango. The basics to all three are the same. I will write about the basics and leave you with the maneuver which best suits you.
1) As always create proper alignment with your tango, keeping good line - of - sight.
2) Simply step forward with the same knee as your firing hand. Right to right left to left. This knee should be in the upright position, for support of the elbow. Remember stability of the rifle is critical in any firing position.
3) The firing foot is flat, boot laces on the ground, while the non-firing knee is on the ground.
THE HIGH KNEELING POSITION
Contact the buttocks with the non-firing foot, setting the weight back, TUCKING THE TOE ON THE BALL OF THE FOOT.

THE MEDIUM KNEELING POSITION
Contact the buttocks with the non-firing foot, setting the weight BACK ON THE LACES. (Bootlace kneeling position).
THE LOW KNEELING POSITION
This position is only used when firing from an upward angle or slope. In this position, the firing ankle is tucked in against the non-firing leg (bottom of the boot contact), the ground and the buttocks.
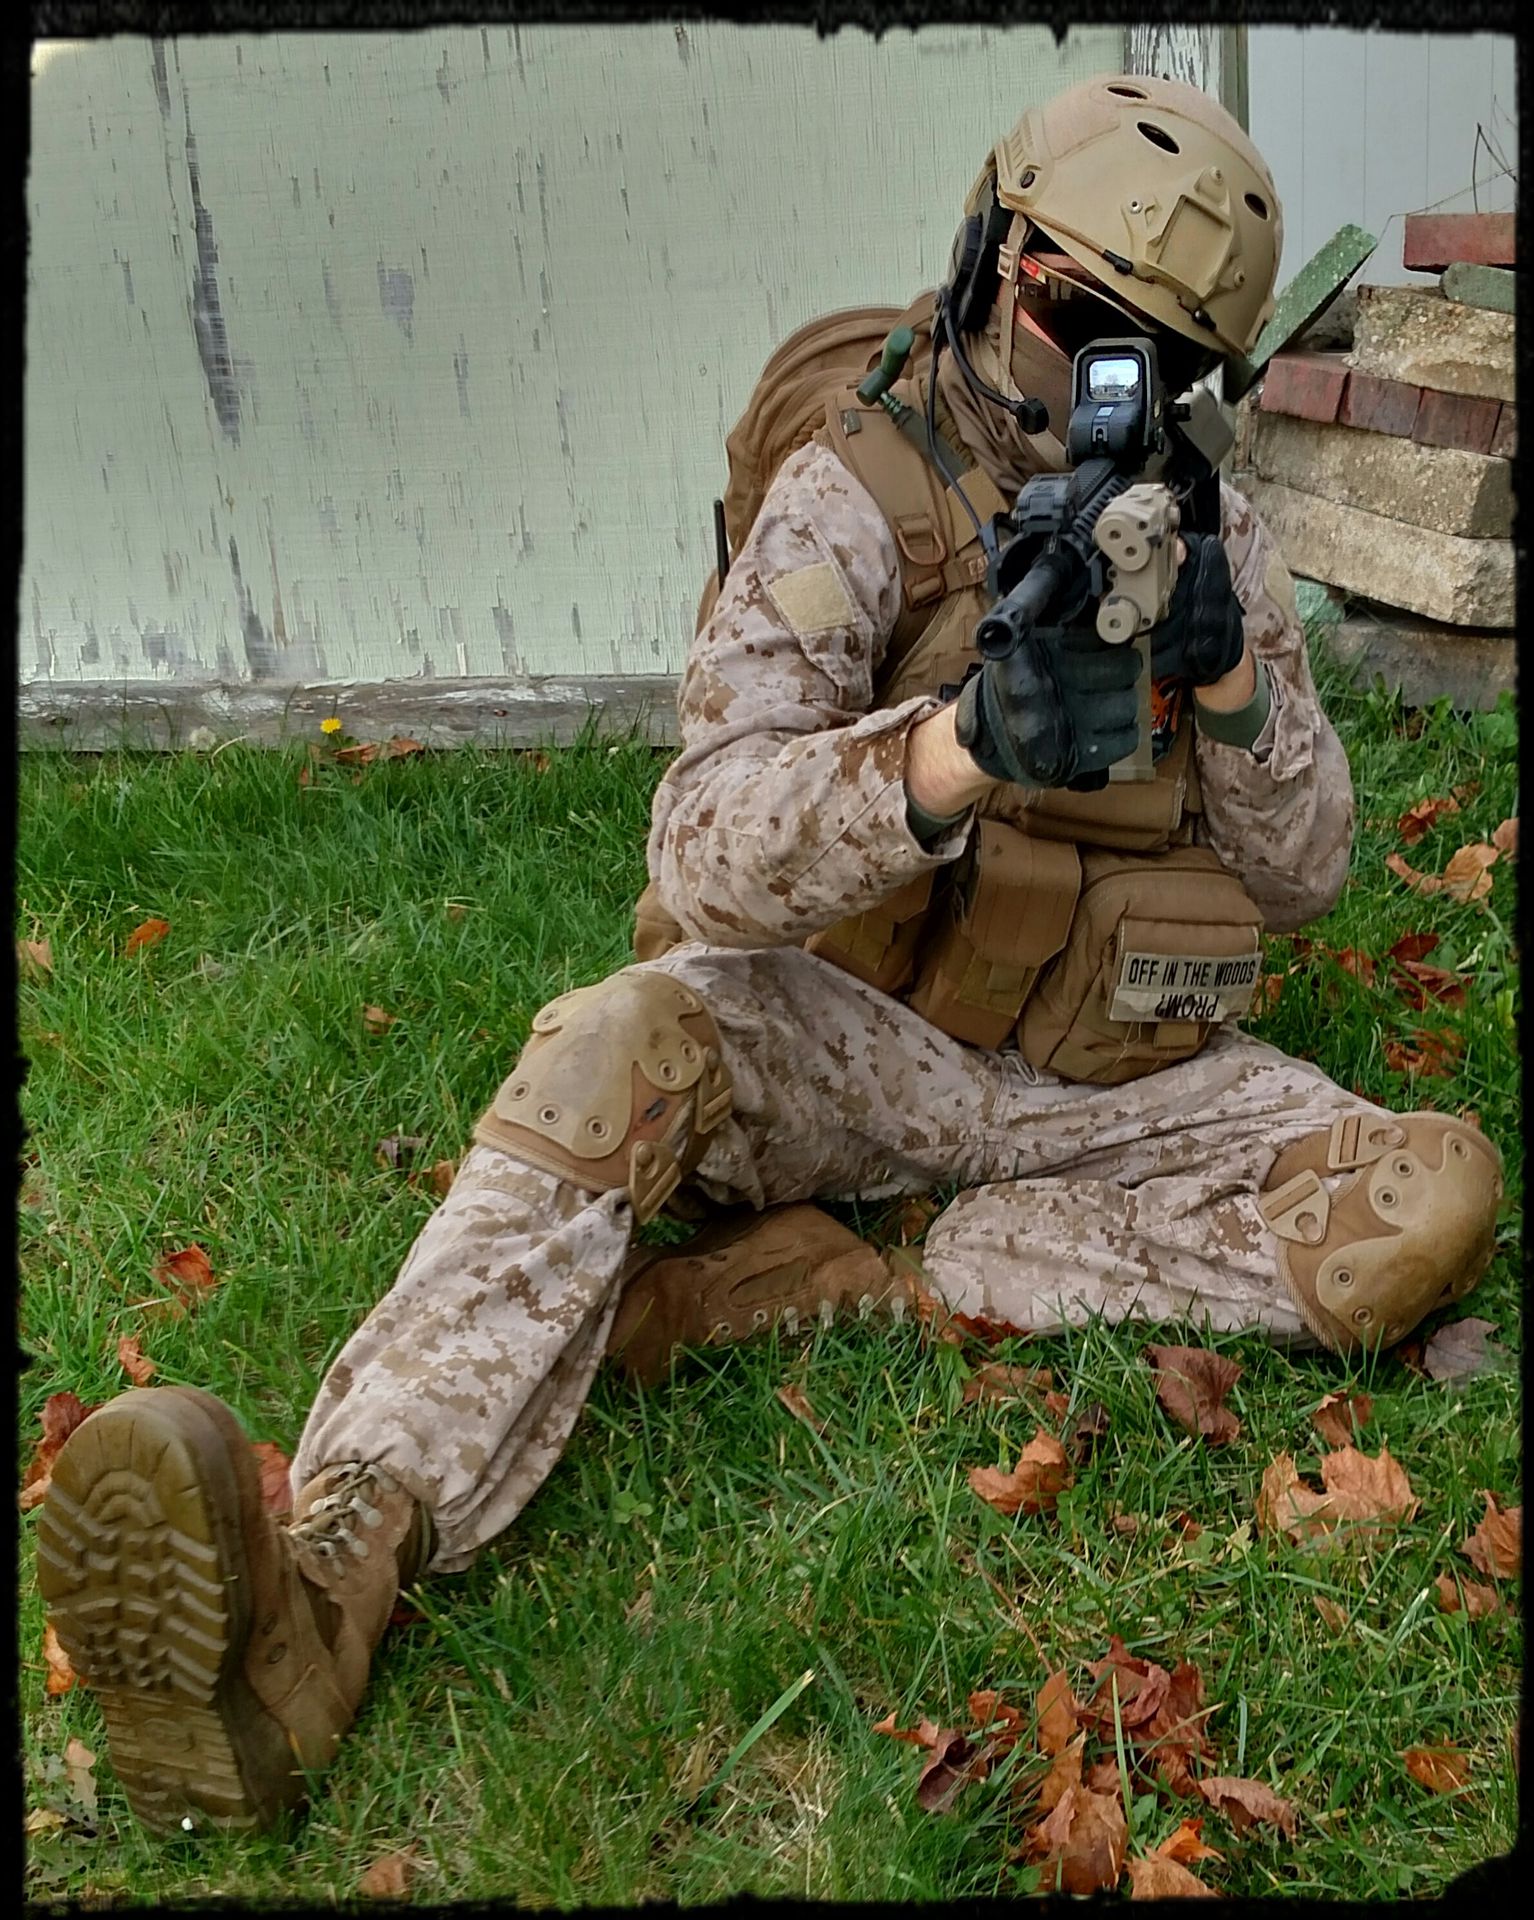
SITTING POSITION
Once again there are three types of positions to use. These can be used for your own comfort, and bone support structure. Trigger control and firing hand positions are the same, as is keeping the line - of - sight.
The three positions are:
1) Crossed-Ankle Firing Position
2) Crossed-Leg Firing Position
3) Open-Leg Firing Position.
CROSSED-ANKLE POSITION
The basic position, again used for the riflemen's comfort and bone structure. THESE ARE KEY!
1) Aim body at a 30 – 35 ˚ angle towards your target.
2) Your support hand goes under the lower rail, or forward pistol grip (ass seen in photo)
3) With Buttocks on the ground, extend legs crossing the support ankle over the firing ankle.
4) Bend Forward at the waist, placing both elbows on support and firing knee.
This position provides excellent bone support, but its weakness is that it does not control recoil as much.
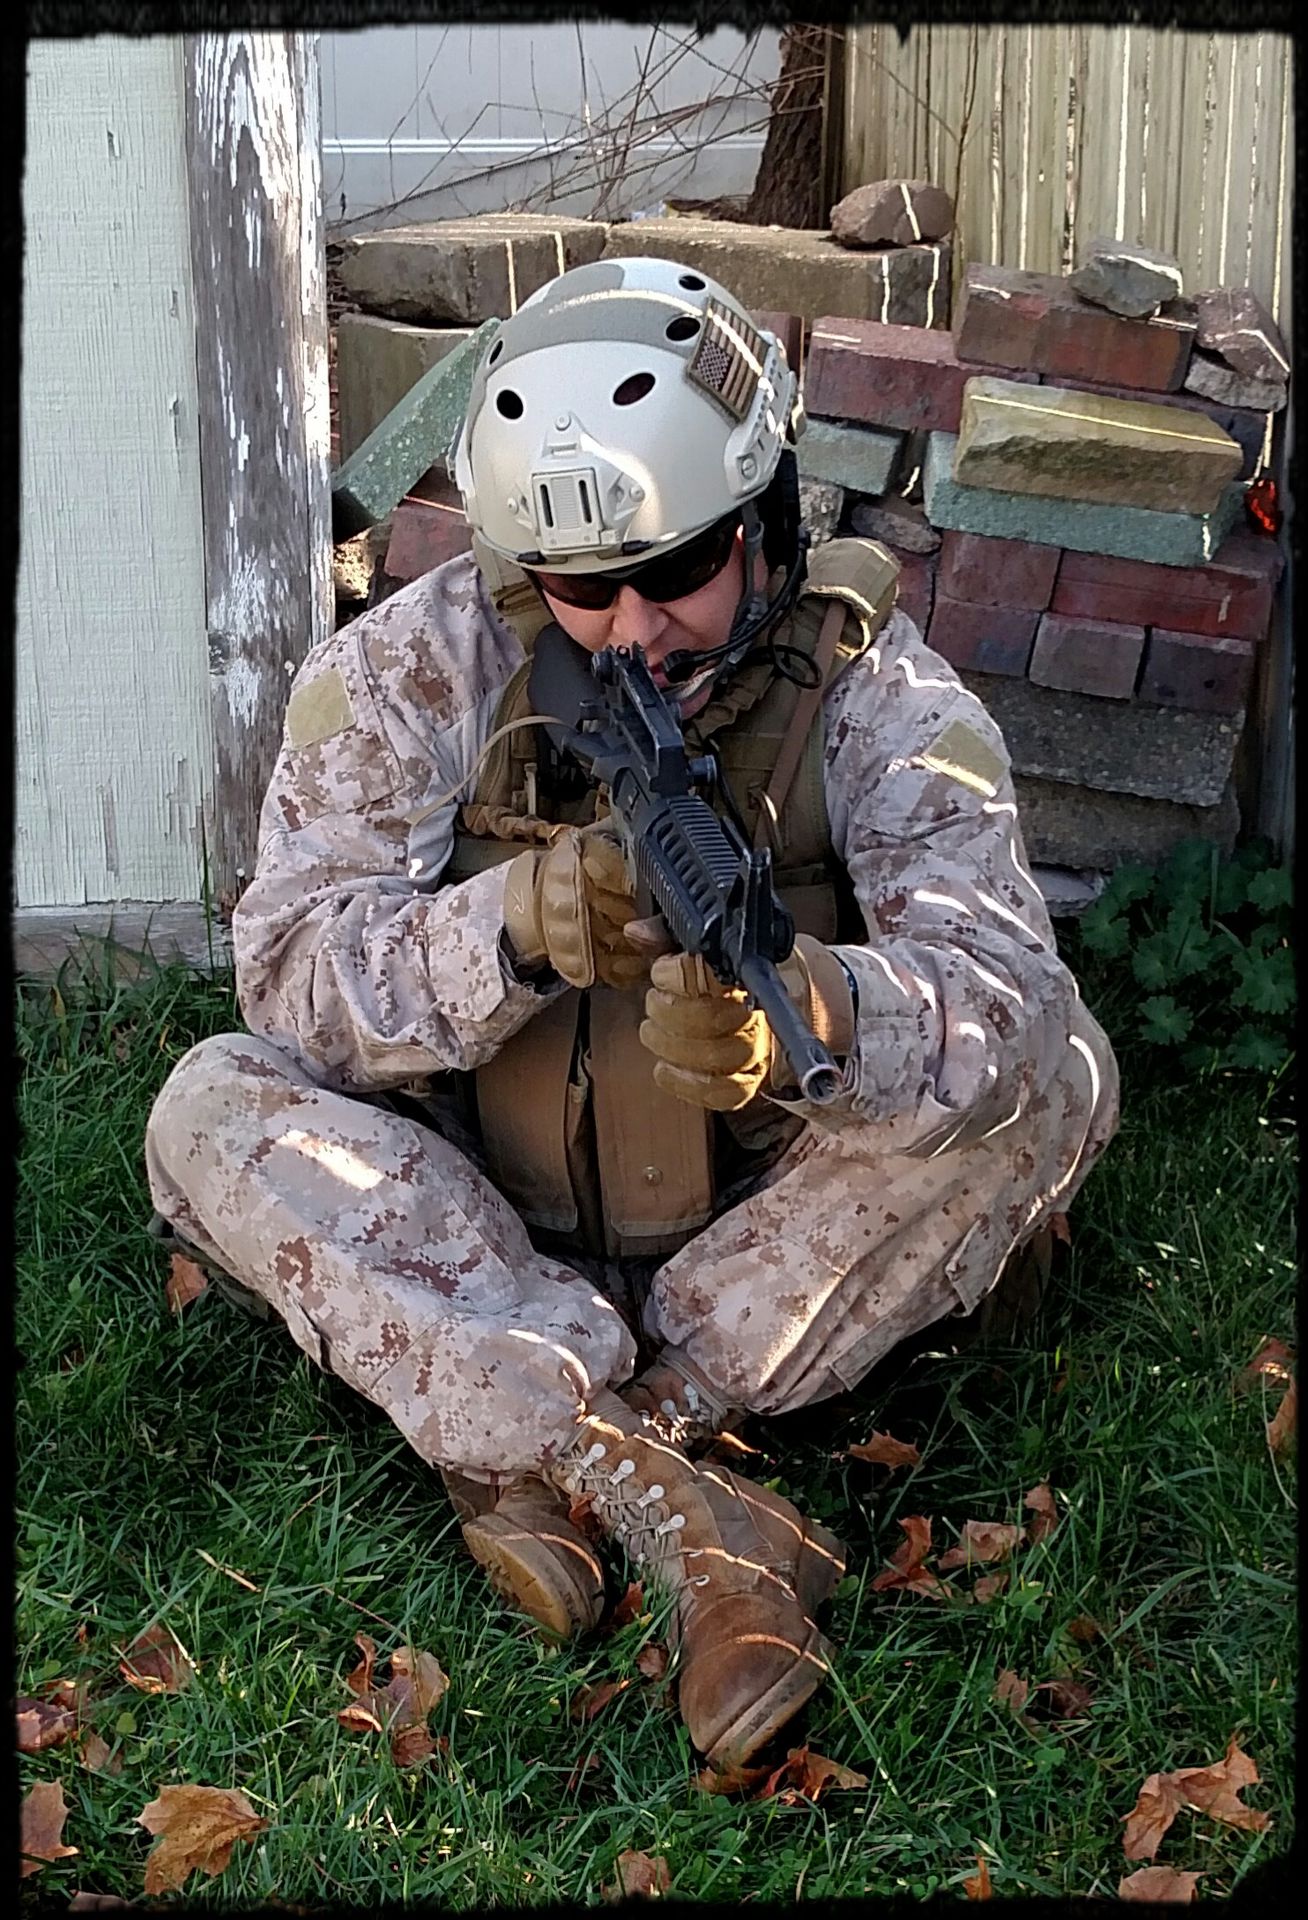
CROSSED – LEG SITTING POSITION
In this position, the body absorbs the recoil. With my body type, the crossed ankle position is, again, very uncomfortable. COMFORT IS THE KEY!
1) Aim the body at anywhere from 45 - 60˚ angle at your tango.
2) Buttocks on the ground, crossing the support leg over the firing leg.
3) In this position, it is very important to lean forward at the waist, with the support elbow into the support leg, and the firing elbow on or just inside of the firing leg.
4) Place the Buttstock INTO THE FIRING SHOULDER POCKET. This will help with better Line of Sight.

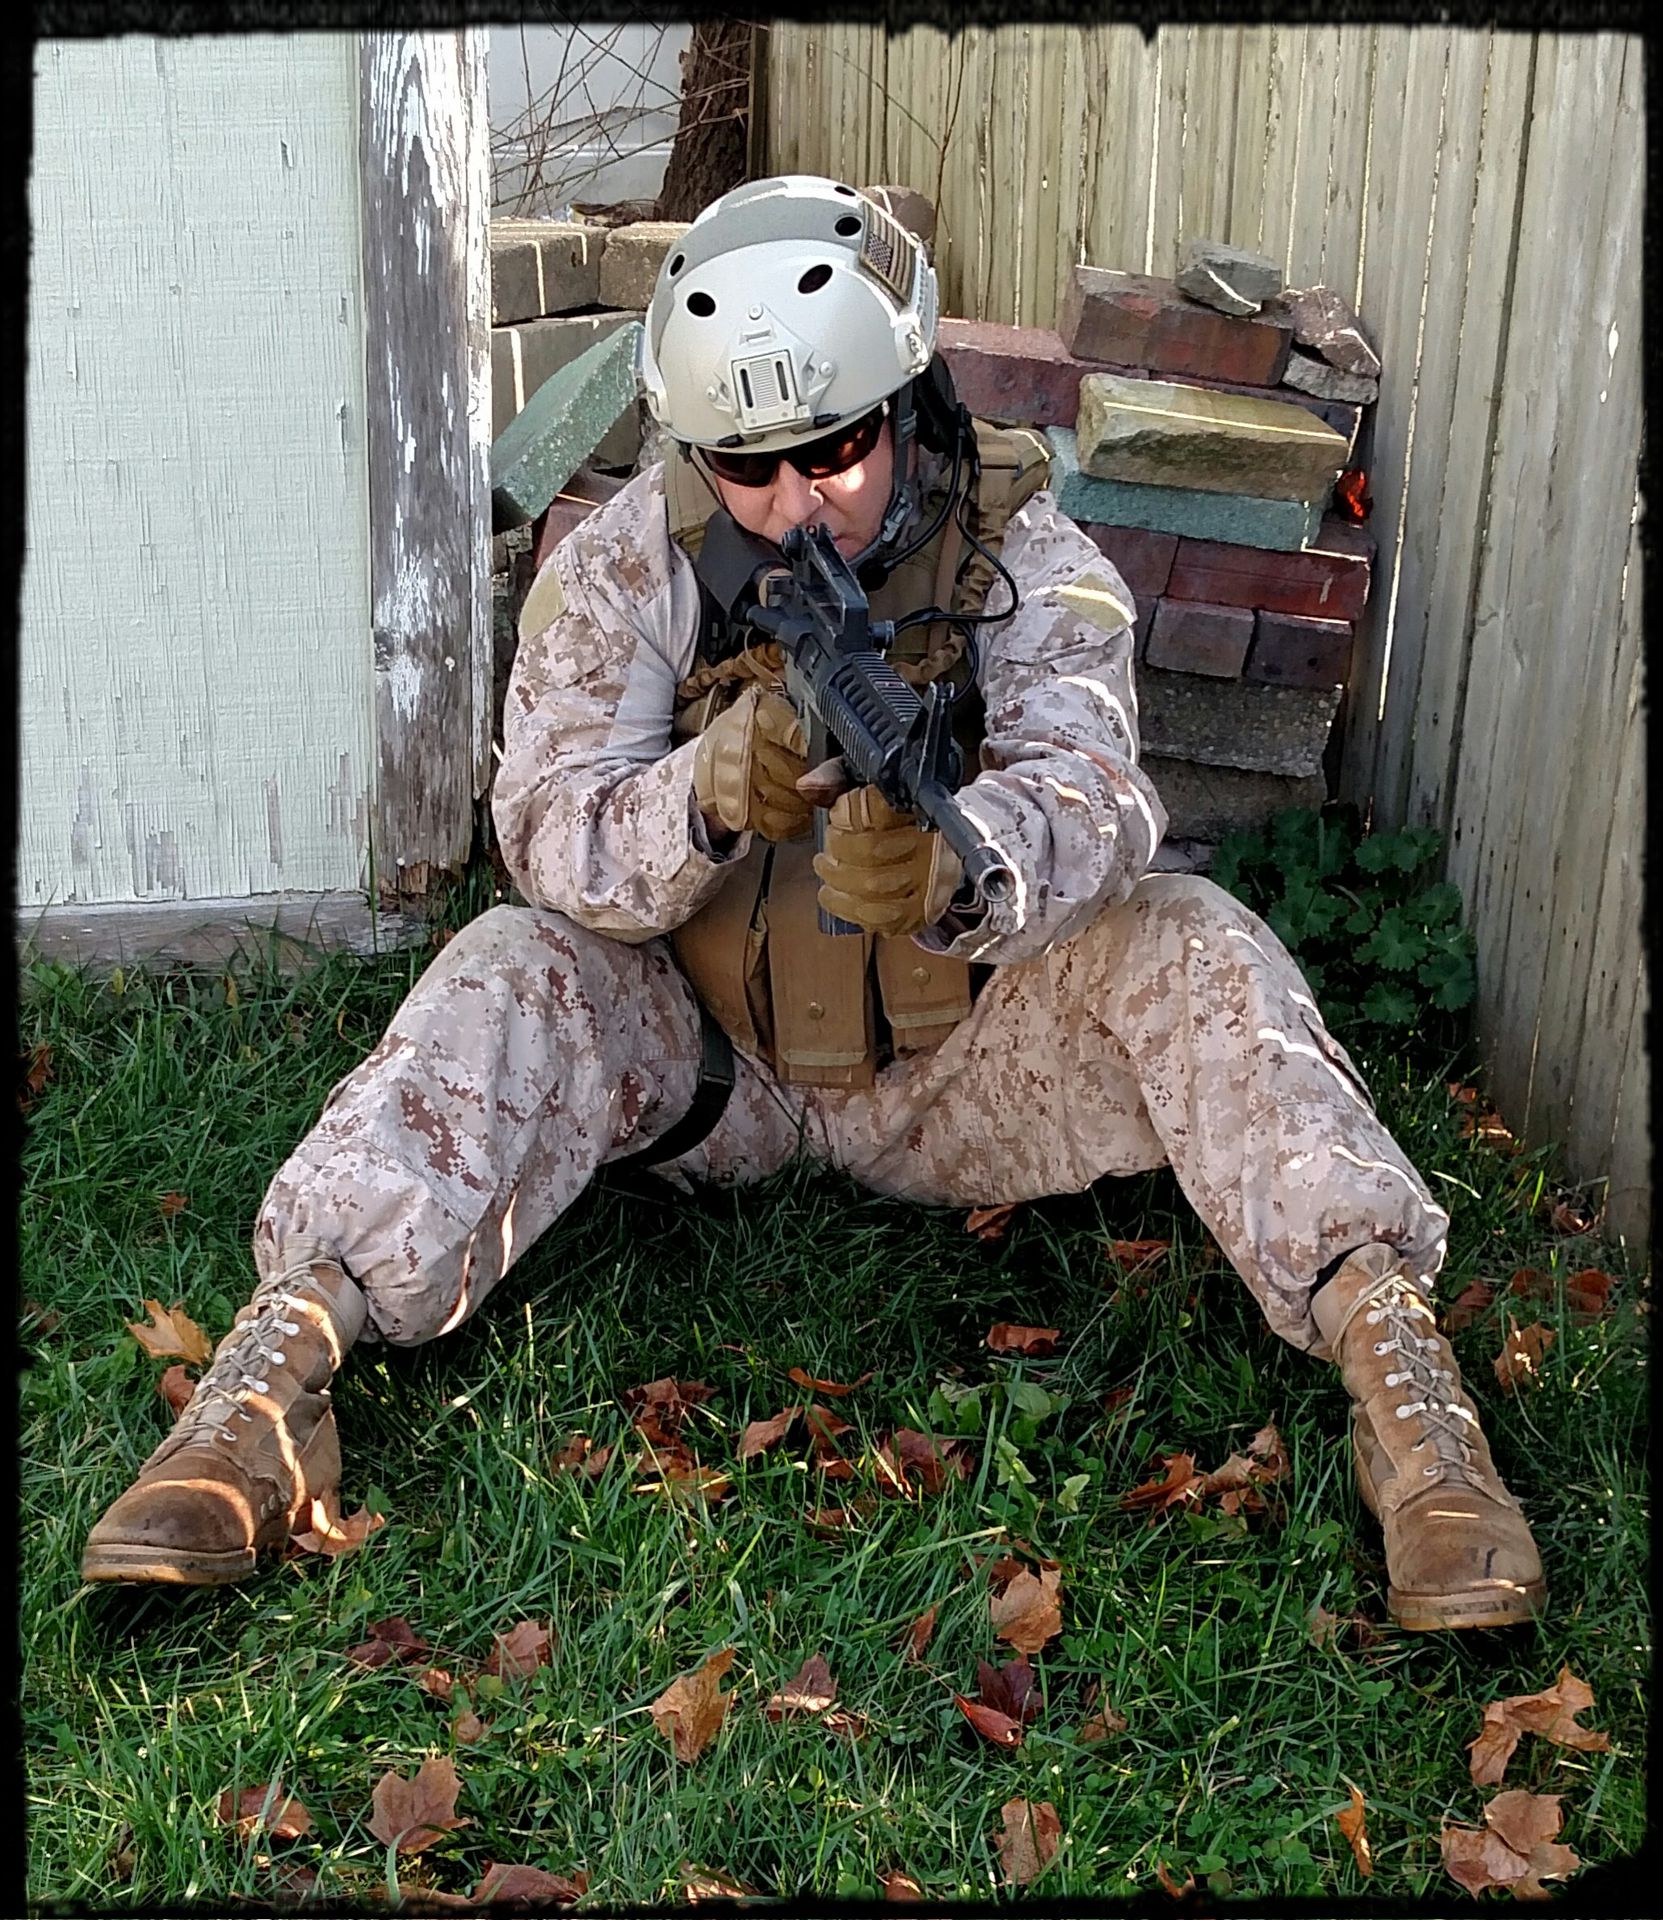
CROSSED – LEG SITTING POSITION FORWARD LEAN

OPEN – LEG POSITION
This happens to be my favorite, and most comfortable based on my bone structure and support, and body type.
1) Aim the body at 30˚towards your target, placing your feet armpit to shoulder width apart (pending body type).
2) Place both the support and firing elbow to the inside of the proper knee.
3) Buttstock goes into Firing Pocket, and cheek firmly against the stock.
***************USMC***************
Speaking The Language:
"Punisher - One - Actual, to all Victors (Vehicles) Rotary Cobra's (Rotary - Helicopter. Cobra - AH1 Super Cobra) unable to locate RPG (Soviet Rocket Propelled Grenade,) hunter/killer teams, and mortars. Counter Battery (*Counter Battery Fire - see below) reports point of origin in city four klicks north on the hardball (hard pavement), Break. Our Mission is to seek and destroy RPG and mortars, and help secure remaining sectors of Nasiriyah on the MSR (Main Supply Route or Main road,) local route 7 towards Al-Kuht...how Copy?"
"Punisher One - Three, to Actual, interrogative? BFT (Blue Force Tracker) is reading heavy resistance in that AOE (Area Of Engagement). Will we have LAV or Aerial support? How Copy?"
"Actual, to One - Three, Standby. Receiving traffic from Big Boss Man FAC, (Forward Air Control).
"Actual, to Punisher One - Three, over."
"Send your traffic."
"Punisher One - Three, that's a negative on the LAV support, but we will have Cobra support. Big Boss Man wants us oscar mike (On The Move) in five mikes (minutes). How copy?"
"One - Three, to Actual, Interrogative? Will we at least have TAD coms (Tactical Air Defense) with supporting Cobras, how copy?"
"Affirmative, Actual has com's, out."
***************USMC***************
Counter Battery Fire
Employment - Observe and neutralize enemy indirect fire elements (guns, rocket launchers, artillery, and mortars), relaying their target acquisition (location) to Forward Observers. CBF radar detects incoming direct/indirect fire and calculates where it was fired from.
Bạn đang đọc truyện trên: AzTruyen.Top