-2.1, Highlights and Contours
okay, so DISCLAIMER!! I suck at these types of edits so you can't really expect a lot from these tutorials.
so this section will be focused on how I edit the skin, not only highlights and contours.

assuming you've already prepared your canvas with your choice of image, I start this by duplicating said image. a backup of the original is always helpful, in case I mess up the smudging process I can just delete the layer I smudged and duplicate the original again.
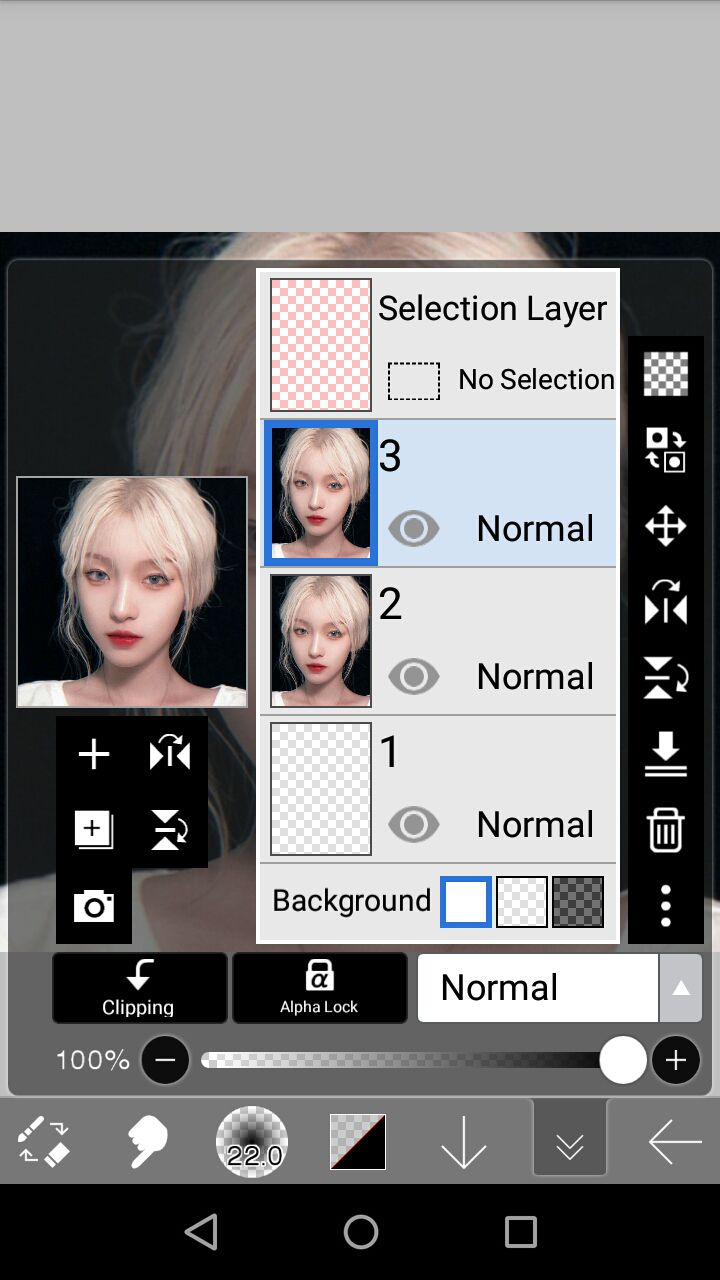
then, select the smudge tool and smudge all the visible skin and the lips. this is to help reduce the noise the image has and make it look smoother.
ive slightly modified a brush that I use for smudging the skin but basically, its the airbrush triangle with an opacity of 20 while the brush for the lips is also modified but all in all, its another airbrush triangle w/ opacity at 15
TIP!! change the size of the brush depending on the area you are smudging. I use a smaller size for areas near the eyes, nose and lips while I use bigger sizes for the forehead, cheeks and chin.
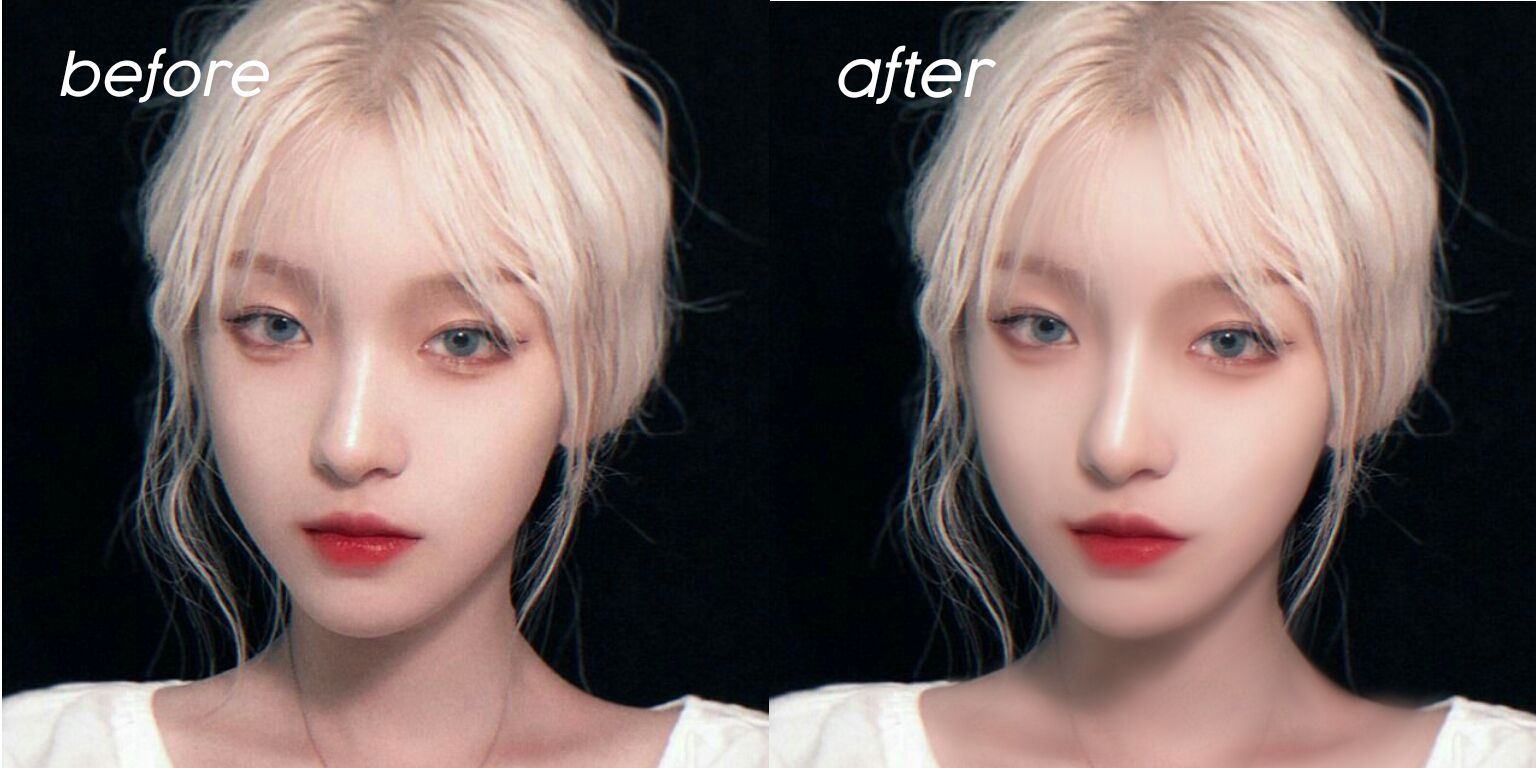
I'll usually smudge the hair at this point, but I figured I'll focus on the skin this tutorial :))
then merge the smudged image to the original.
next, we'll be adding contour to her (I don't usually do this anymore, but I've received a request so might aswell put it here :P)
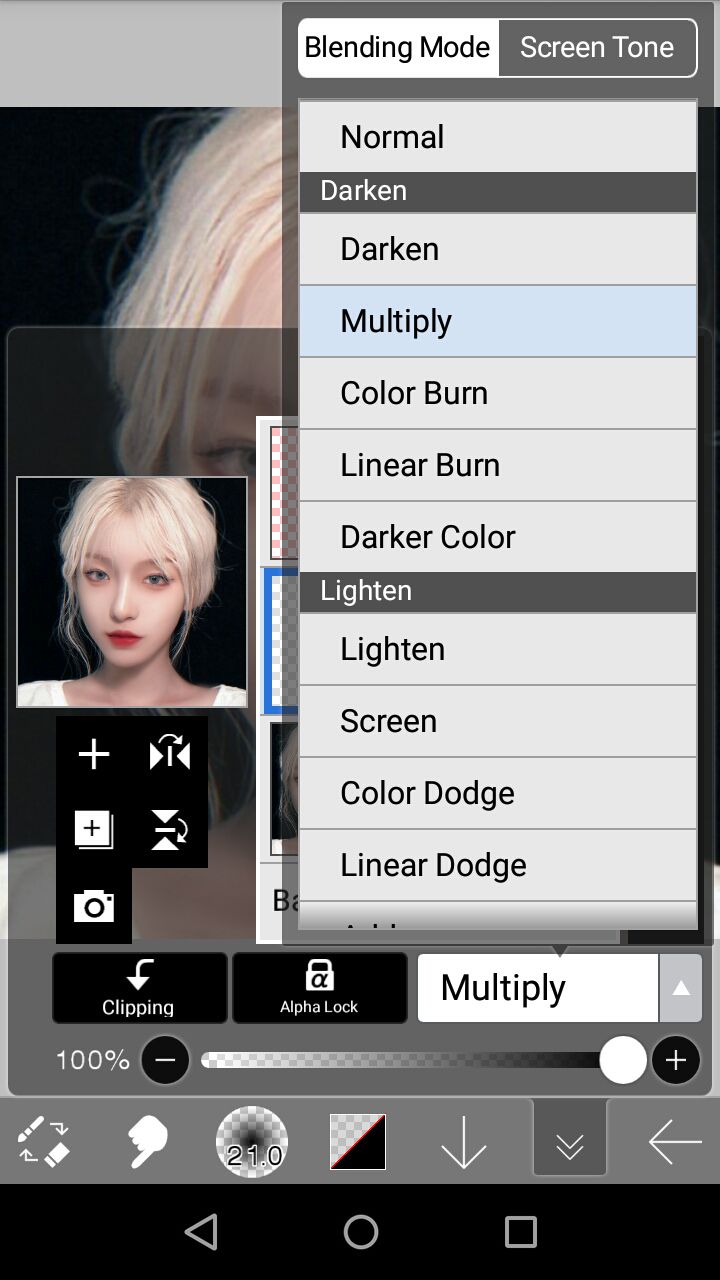
add a new layer and set the blending style to multiply.
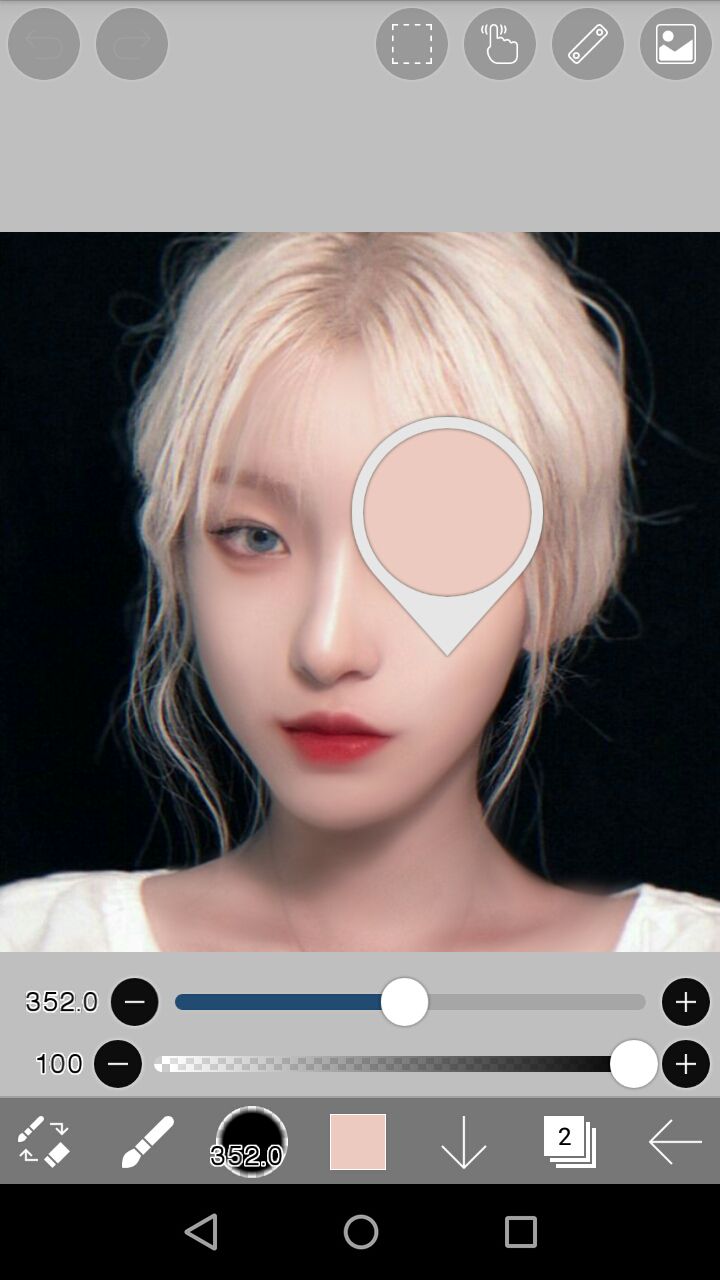
select the skin color of your model by using the eyedropper tool or by tap and holding using the brush tool.
make sure you are on the layer set to multiply and then you can start applying contour below her cheekbone, jawline and forehead areas.
I simply use the AIRBRUSH (NORMAL) brush for this with full opacity.
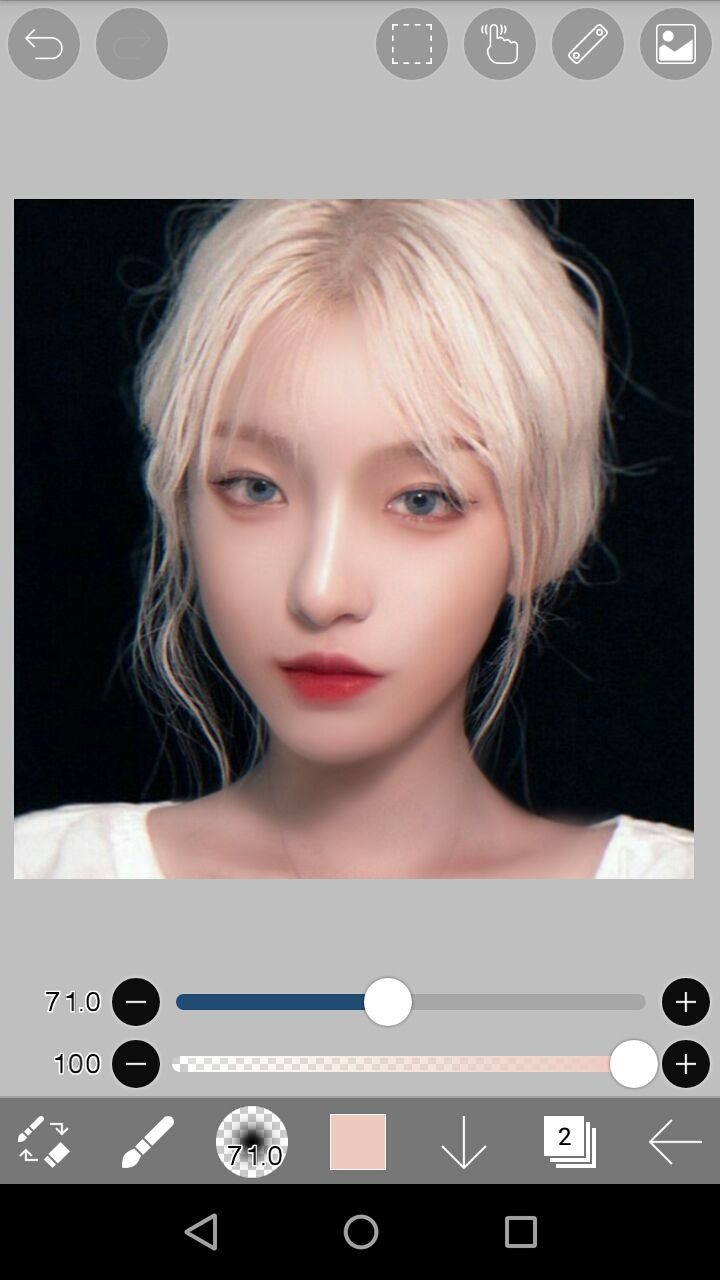
since this doesn't particularly have harsh transitions to her original skin, I didn't bother blurring the layer or adjusting it's opacity.
next were adding contour on her nose! add a new layer and set its blending mode to multiply. use the same brush but obviously, smaller in size and apply it on her nose area.
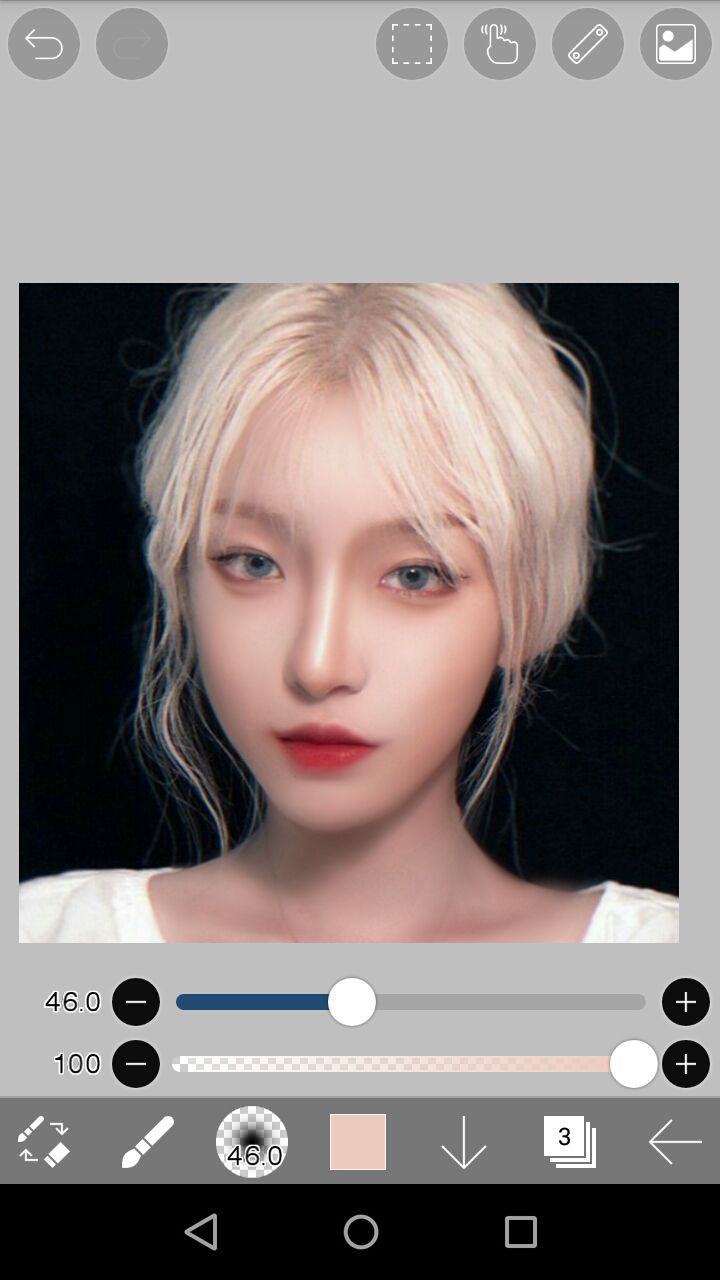
currently, it looks a but too much, so go to filters, find blur then click Gaussian blur.
adjust the radius to your liking :) (its basically how strong the blur is gonna be)
remember that opacity can still be tampered with later on...
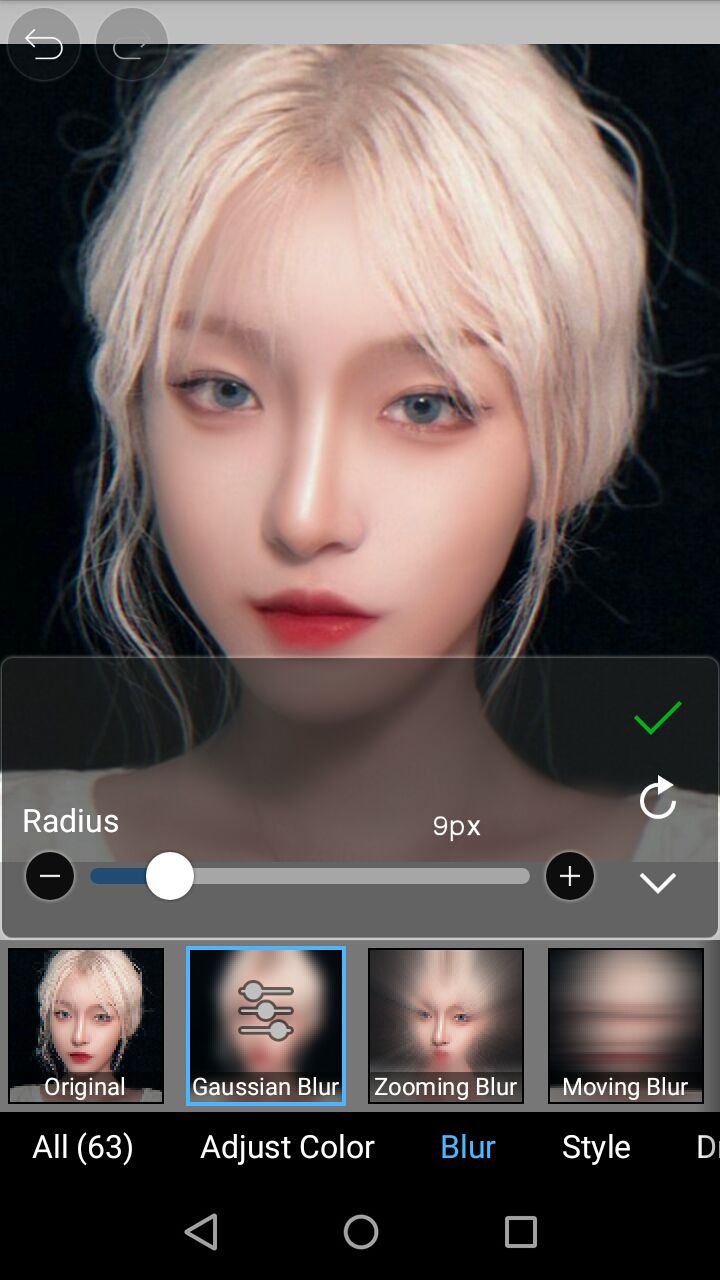
click the check mark once happy. personally, the contour is still a but too strong for my taste so I'm gonna lower that layer's opacity.
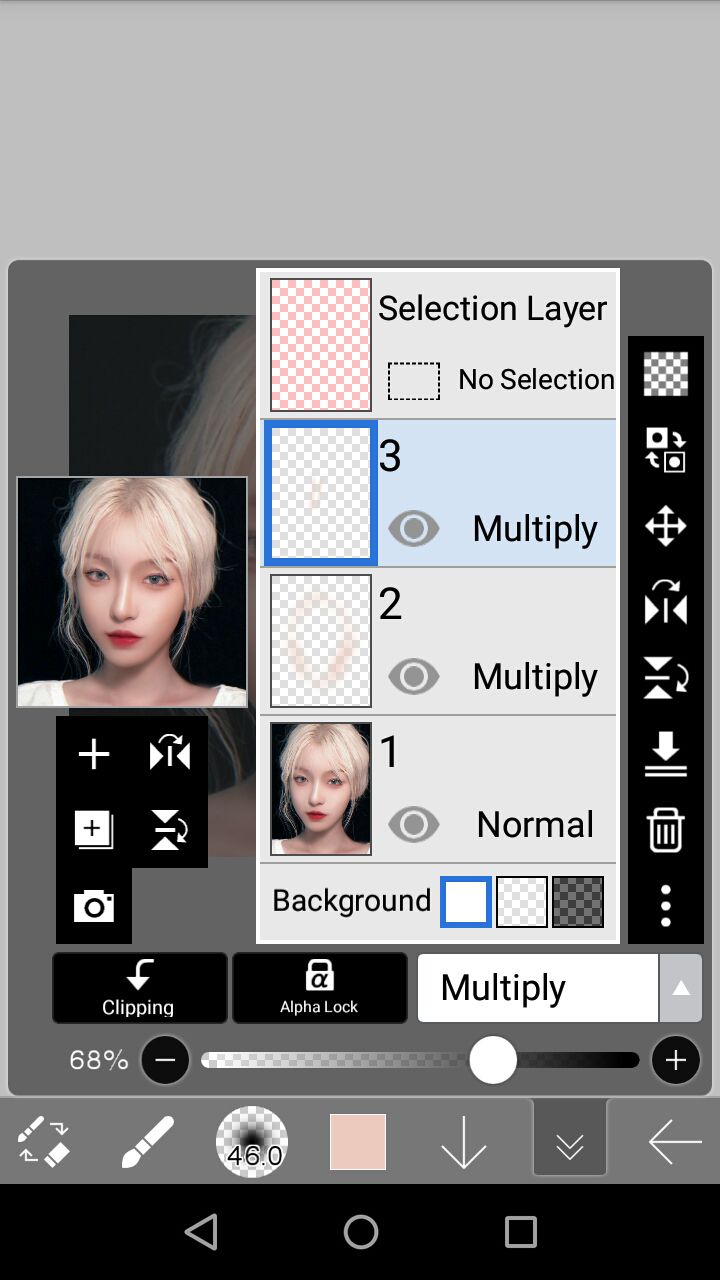
next, I'll be showing you how I apply blush to these models. I've recently found out a style if blushing I really liked so that's what you'll see here!
first, we'll be adding a new layer. with the blending mode of linear burn (won't bother adding an image of that since you've done that twice already, its just a different blend mode.)
NEXT, you're gonna pick a blush color. you can sample it on their skin to figure out if it looks the way you want it to.
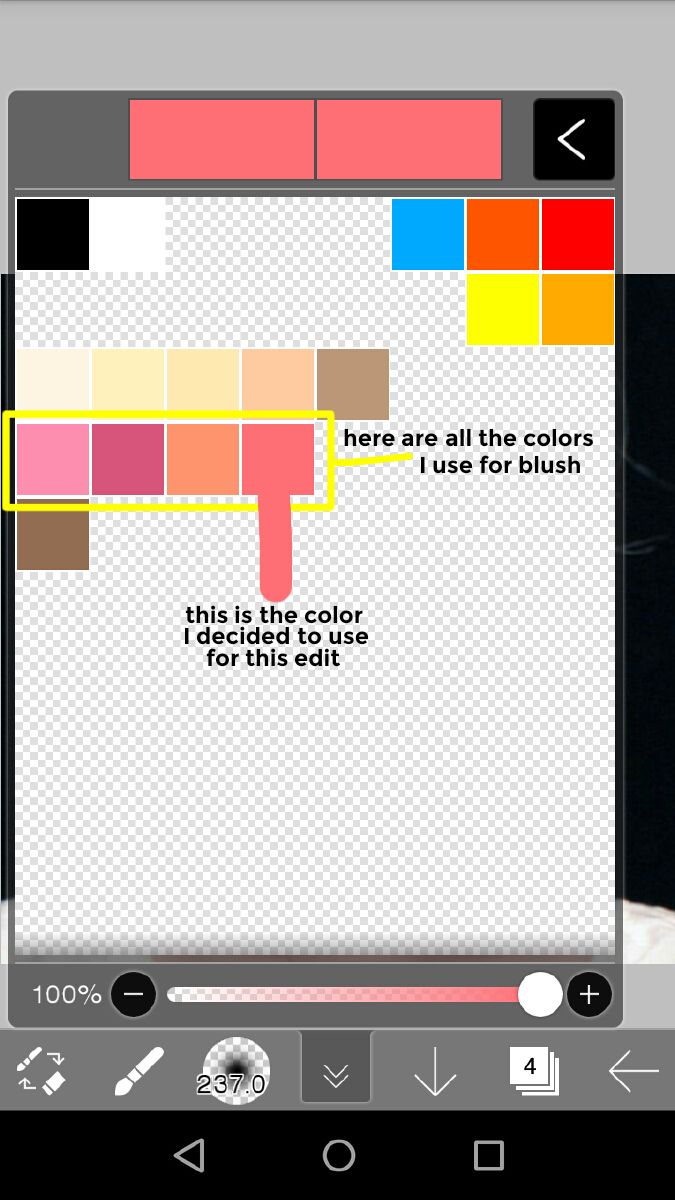
I use the same brush (AIRBRUSH NORMAL) to apply the blush but I make sure to lower the opacity (I don't lower it to any specific number, I just make sure it's not 100)
I start by applying it on the apple of the cheeks up til the under of the eye and to the side. I adjusted the opacity and applied Gaussian blur until I'm satisfied.
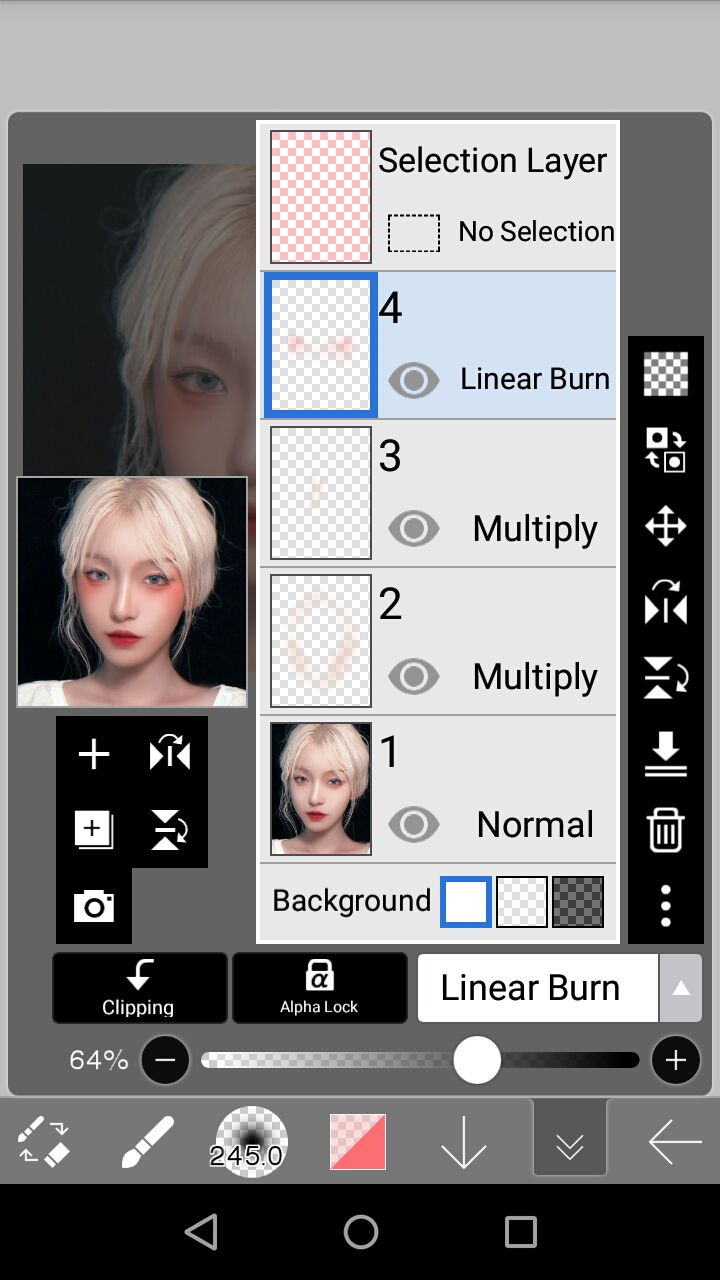
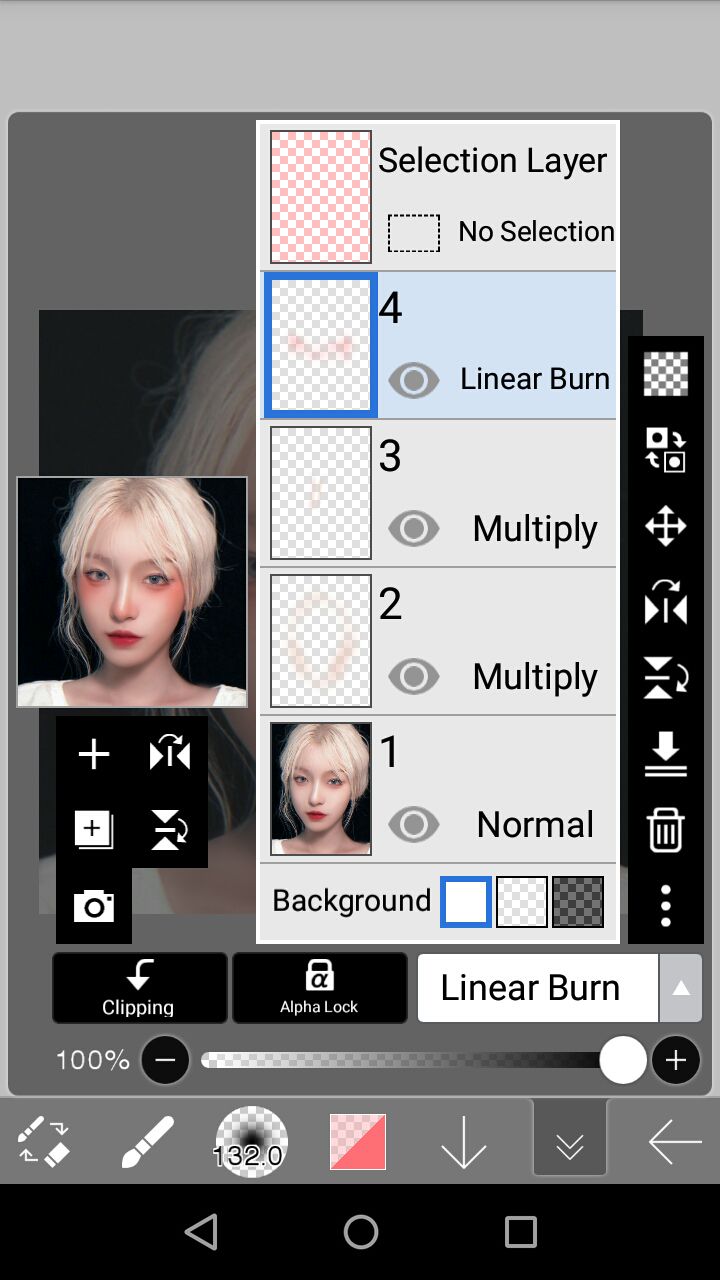
I add another layer with similar blend mode because the blush isn't complete yet. thus time, I'm adding it to her nose.
following the same steps with her cheeky-blush, I finished adding her nose blush then I merged it to the layer under (which was the blush for her cheeks)
OK, now we're done with that, its time for the HIGHLIGHTS where I suck that most 😅
first, add a new layer with the blend mode ADD choose your color. most people go for plain-white, but I prefer using a yellowish-white.
then, I'll add the highlights to some areas of her face. I'll be using a custom brush by xlmnho which is a bit textured. from it's settings, the shape of the brush is PENCIL but it's other settings are modified.
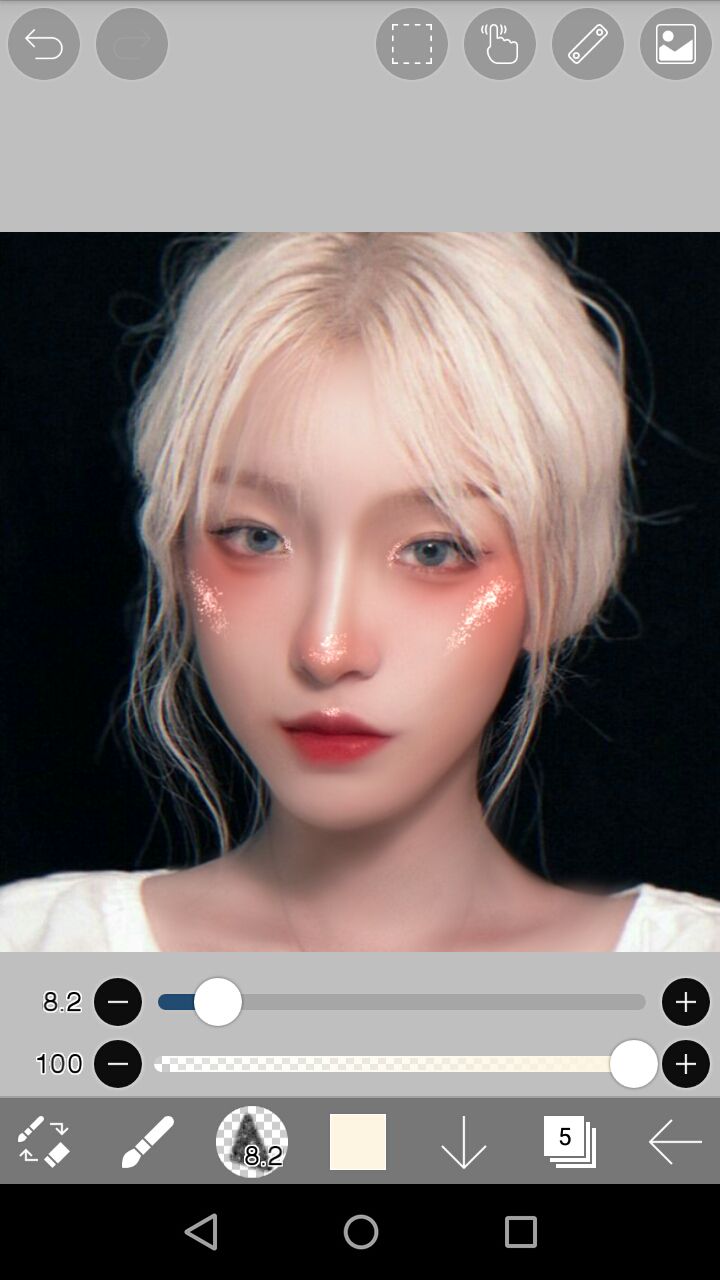
at this point, I would go in and smudge some areas of those highlights. (mostly the ones on her cheekbones(?))
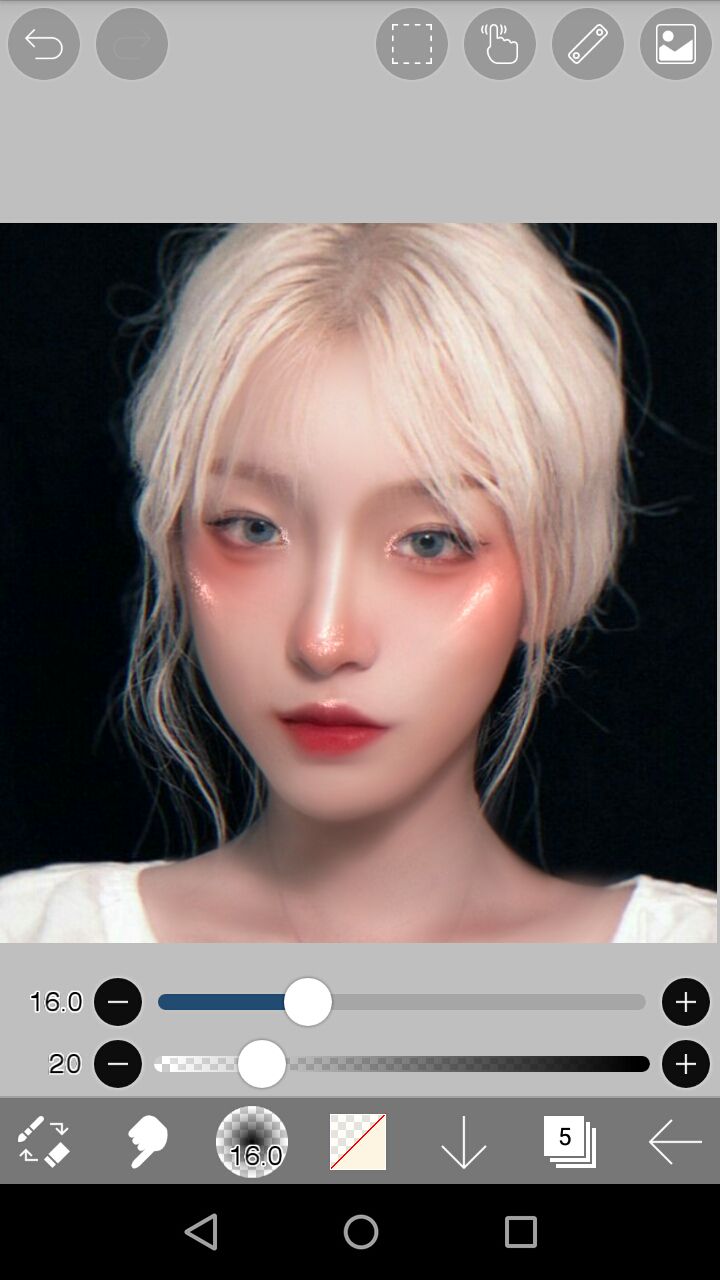
next, I'll add a new layer (blend mode = ADD) for more highlights. this time, I'll be using a brush that is smoother. I'll be using a slightly modified blurring maker for this part.
this time, I'll be focusing on the inner corner of the eyes, her upper lip area, and her nose.
I also smudged them a bit (mainly the one on the bridge of her nose and those near her eyes)
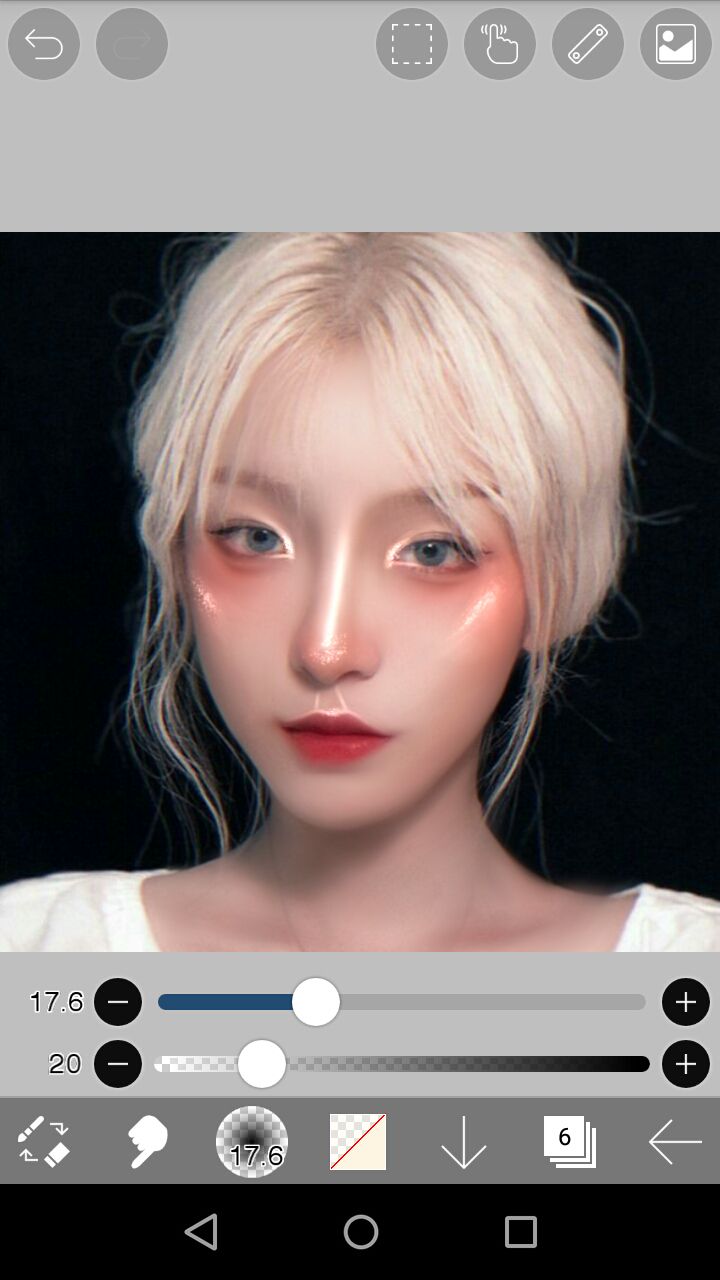
I usually stop at this point but here's an optional step you can do! OUTLINES!
I don't mean the type that is similar to line art, its just a few lines on some parts of her face.
I'll be using a custom brush by xlmnho (the basic brush shape was a pencil) and the color is sampled from her skin. I added a new layer (blend mode = ADD) and proceeded to outline areas of her face (mostly a side, the nose area and lower lip)
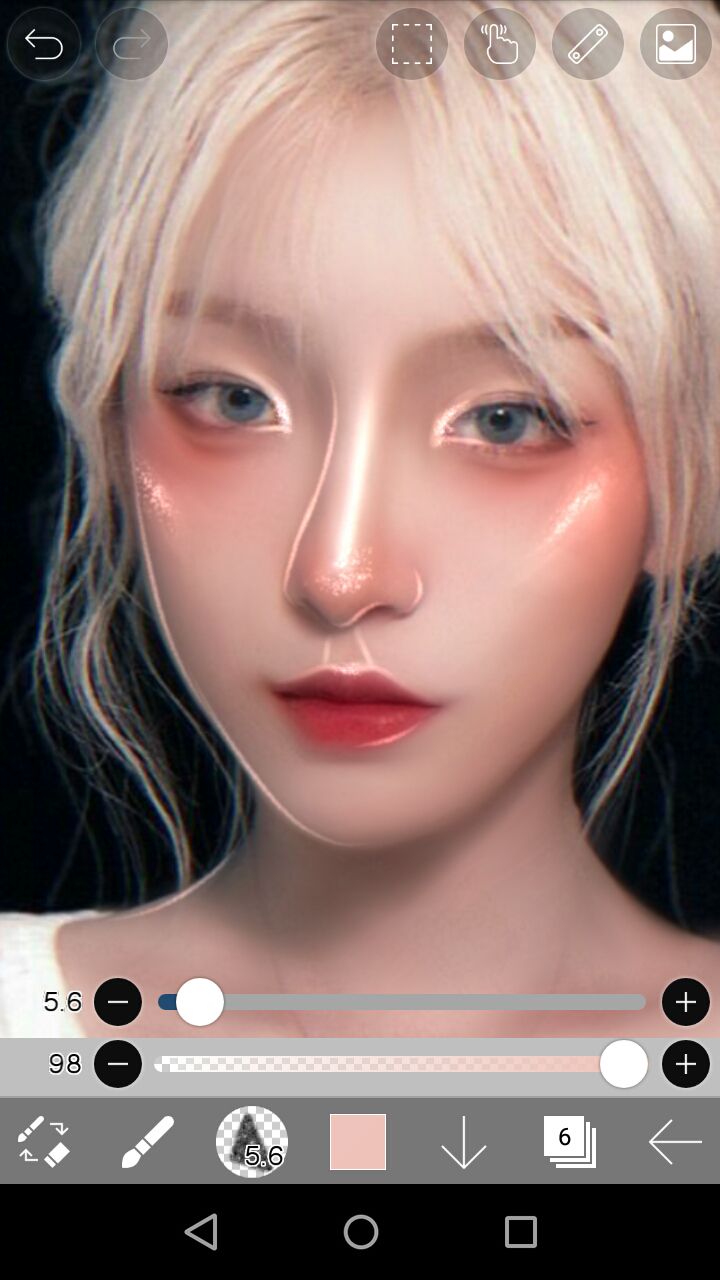
and you're DONE!!
here's my finished output:
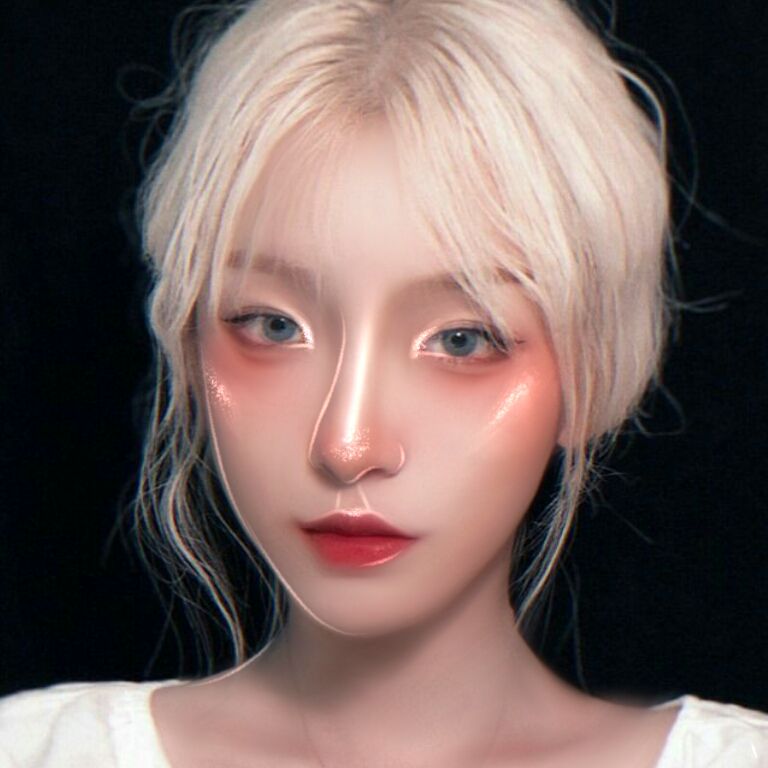
I'll start making the next
tutorials soon!
Bạn đang đọc truyện trên: AzTruyen.Top