003 | How I Create Hair
⁰¹ 𝐃𝐄𝐀𝐑 𝐑𝐄𝐀𝐃𝐄𝐑 .
( a grfx help book ) 𓂅‧₊˚
━━━━━━━━━━━
003. ( && IBIS PAINT )

003 🪁 | HOW I CREATE HAIR
THE WAY I create hair has evolved quite a bit. I try to go for a more natural look now▬although, that can vary depending on the cover (or even the manip); so it really just depends! Once again, I'm gonna try my best to cover everything related to my current style while keep this as succinct as possible▬and hopefully, this guide will be a good baseline for most of you! <3
**these are the brushes you'll need for this tutorial**
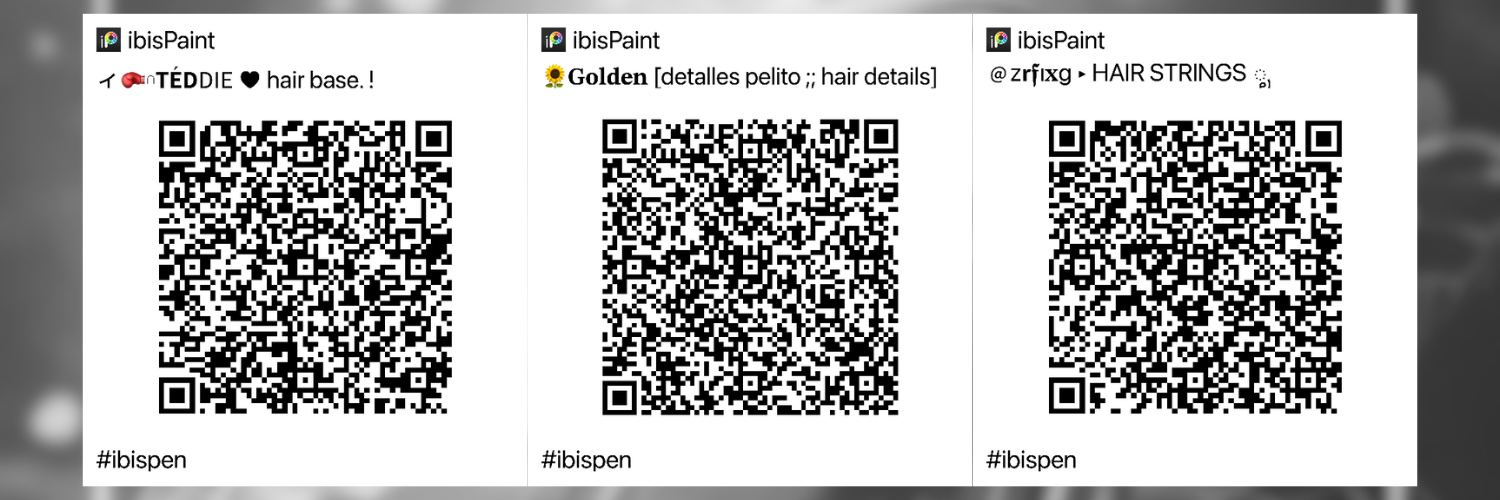
i. ִֶָ˚⊹ STEP ONE !
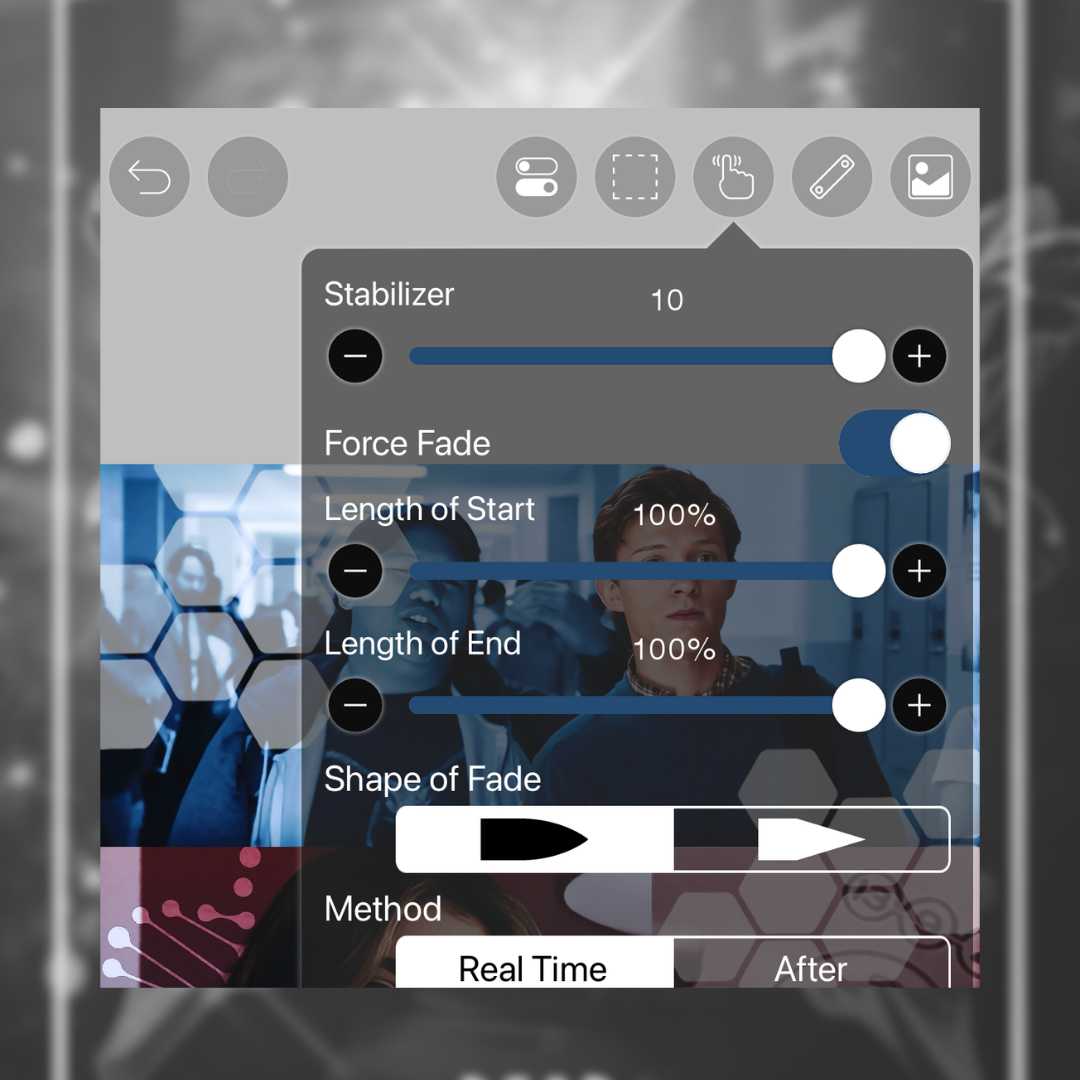
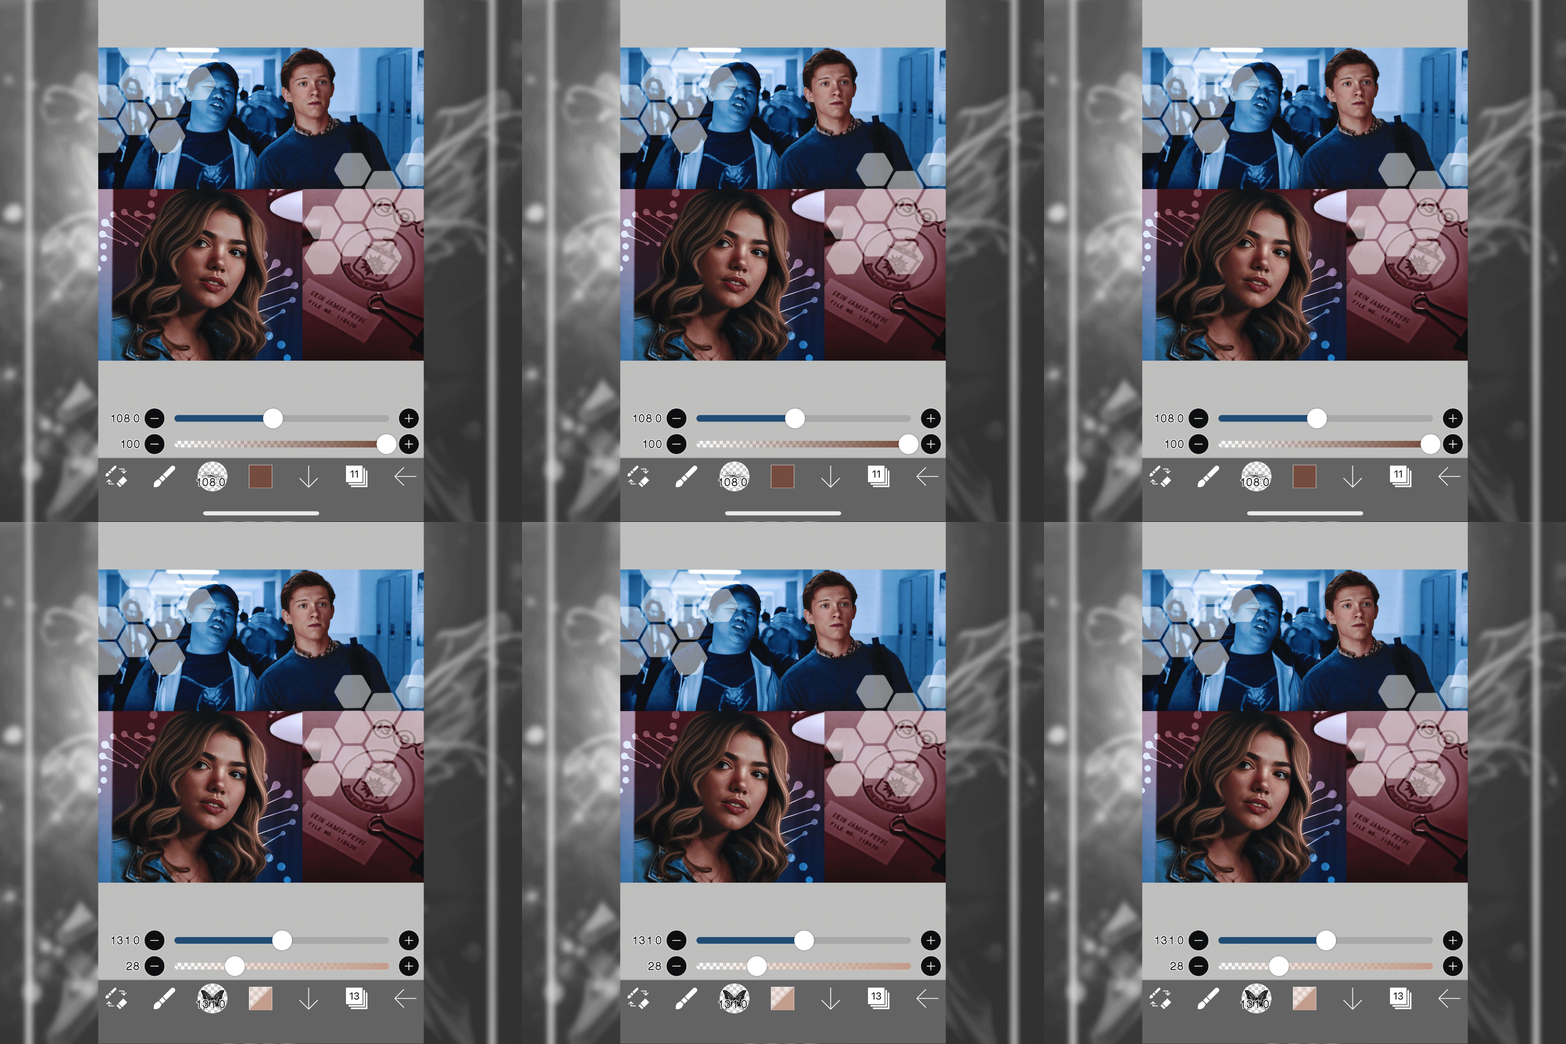
Open Ibis Paint and import your current project. From there, adjust your Stabiliser + Fade settings to reflect the image below.
ii. ִֶָ˚⊹ STEP TWO !
Use the Smudge Tool and/or the Blur Tool (on a low intensity setting) to smooth out your faceclaims' hair (if it's looking a bit pixelated).
iii. ִֶָ˚⊹ STEP THREE !
Create a New Layer with the blend mode set to Normal. Then, use the Eyedropper Tool to select the darkest colour sample from your first faceclaim's hair. Using Teddie Hair Base (changing the brush size and intensity as you see fit), draw base strands of hair that follow the pre-existing pattern below it.
**yes, i didn't use the darkest colour sample in the example below. yes, that contradicts the advice above. however! i did use the same brush to create lighter base hair▬which i think shows you another way that you can use this brush for something that's sort of same thing**
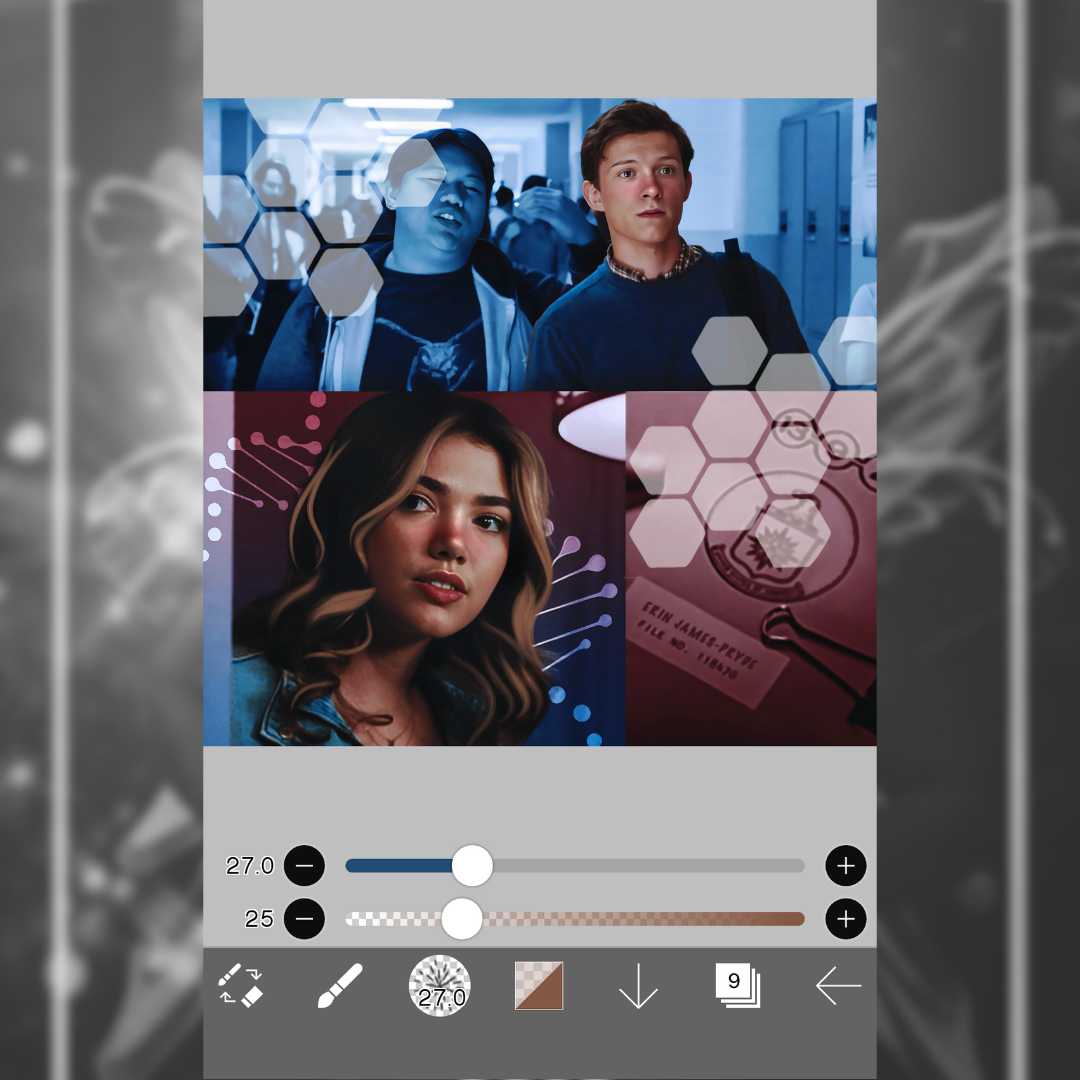
Notably, this is also the stage where you'd make the hair longer (if you would like to); or the stage where you'd be covering up any rough-looking, head-swap manipulation by making sure the ends of the hair aren't so abrupt.
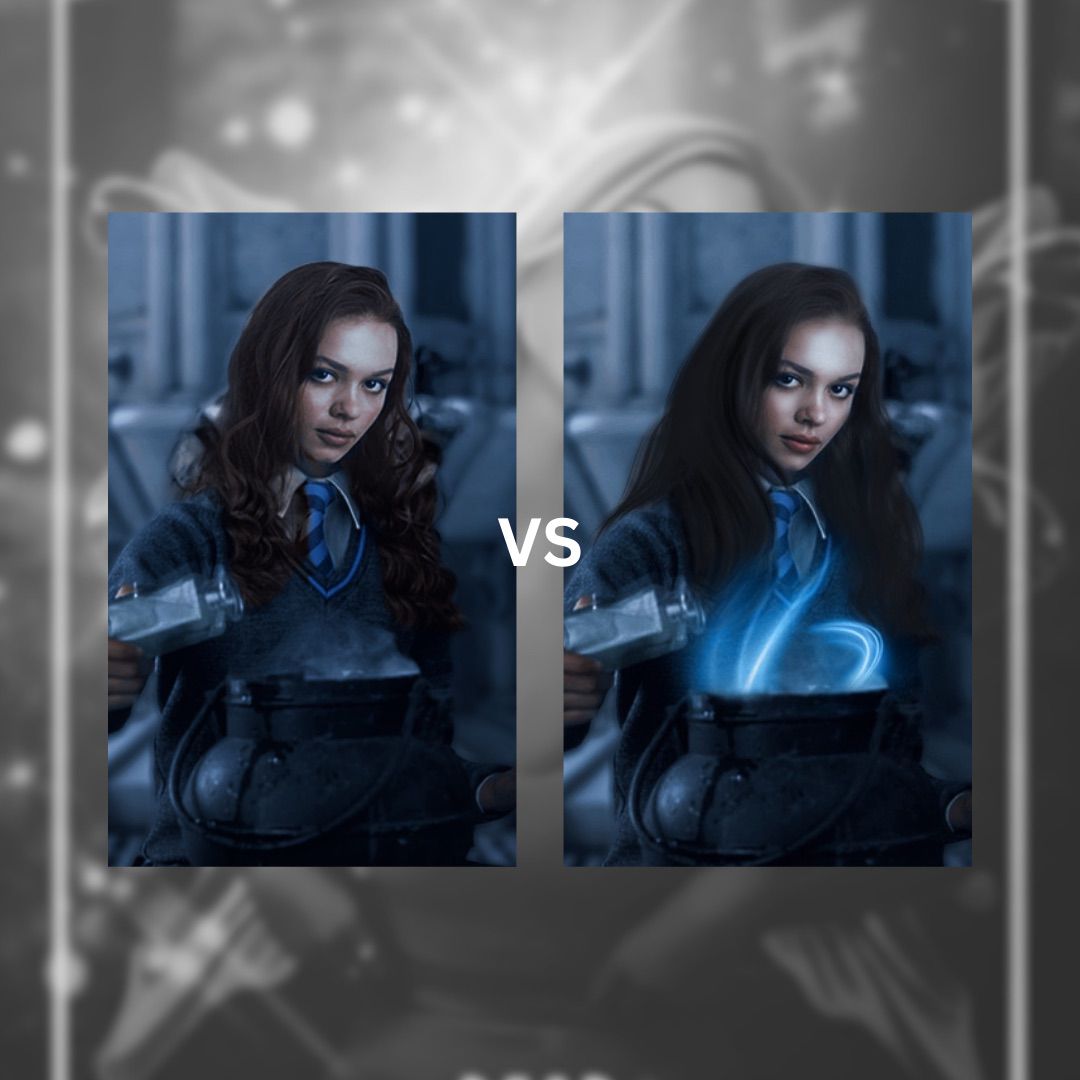
Alternatively, if you're struggling with creating the base strands yourself, you can always use a hair overlay prior to loading your cover or manip into Ibis Paint. Personally, this is my favourite trick because creating dimension (that looks natural) when you don't have a pattern to follow is something that used to cause me so much grief.
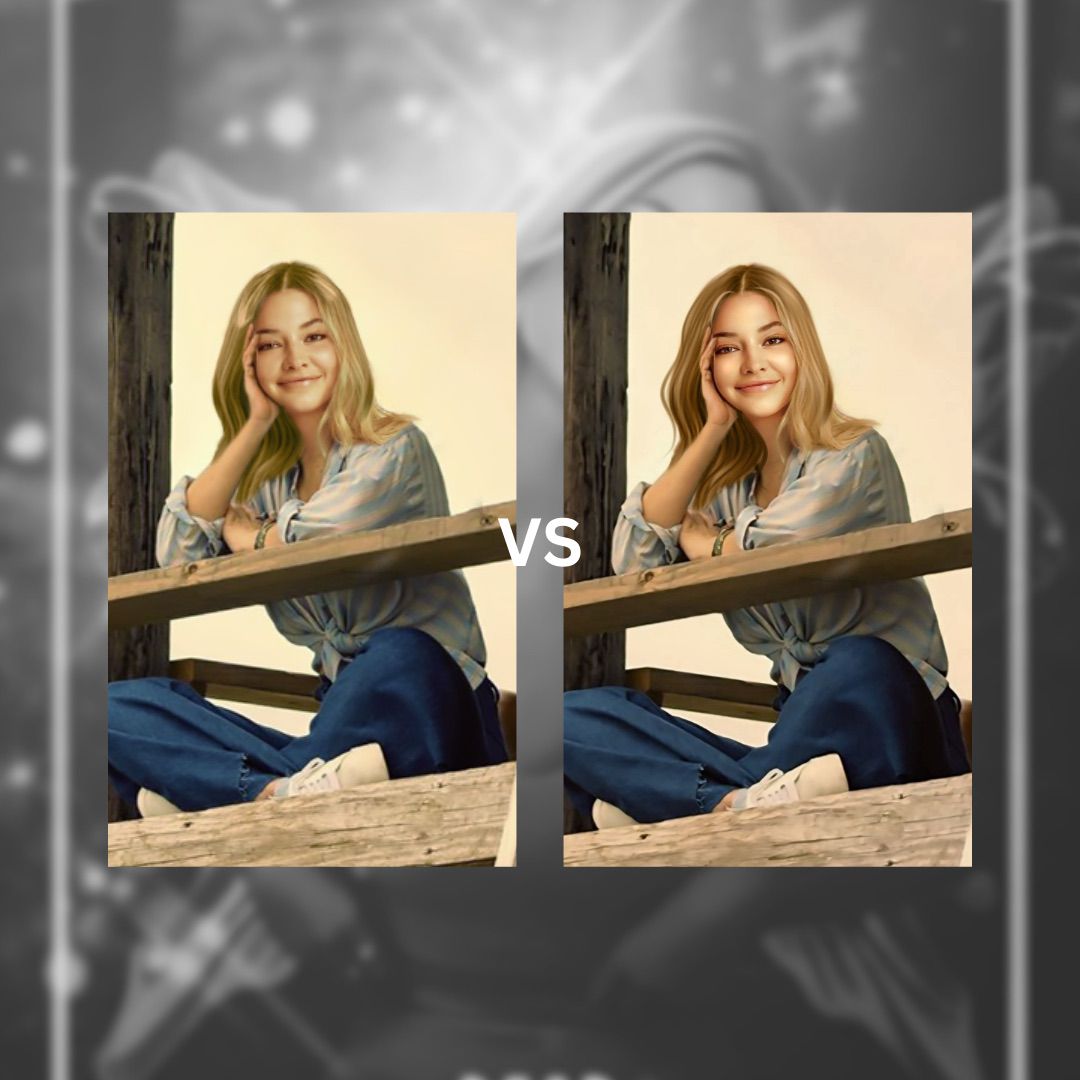
iv. ִֶָ˚⊹ STEP FOUR !
Create a New Layer with the blend mode set to Normal. Then, use the Colour Wheel to create a blending shade before selecting the Golden [Hair Details] brush and adding mid-tone strands of hair to your faceclaim (changing the brush size and intensity as you see fit).
PS: Blending shades are typically a mix between the lightest and darkest parts of the hair.
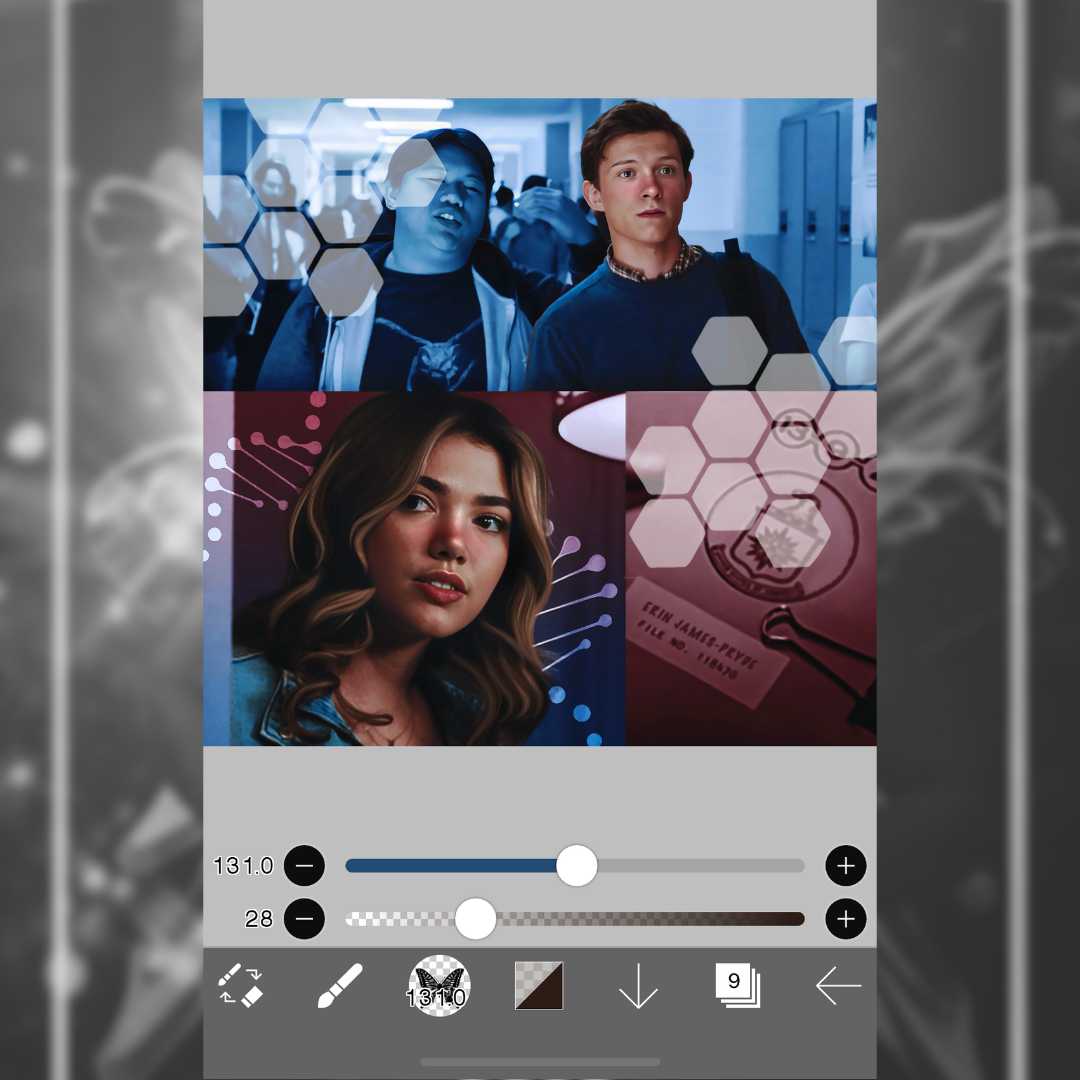
v. ִֶָ˚⊹ STEP FIVE !
Create a New Layer with the blend mode set to Normal. Then, use the Eyedropper Tool to select a lighter colour sample from your faceclaim's hair; and add dimension to the mid-tones (using this colour) with Hair Strings by zrfixg (changing the brush size and intensity as you see fit).
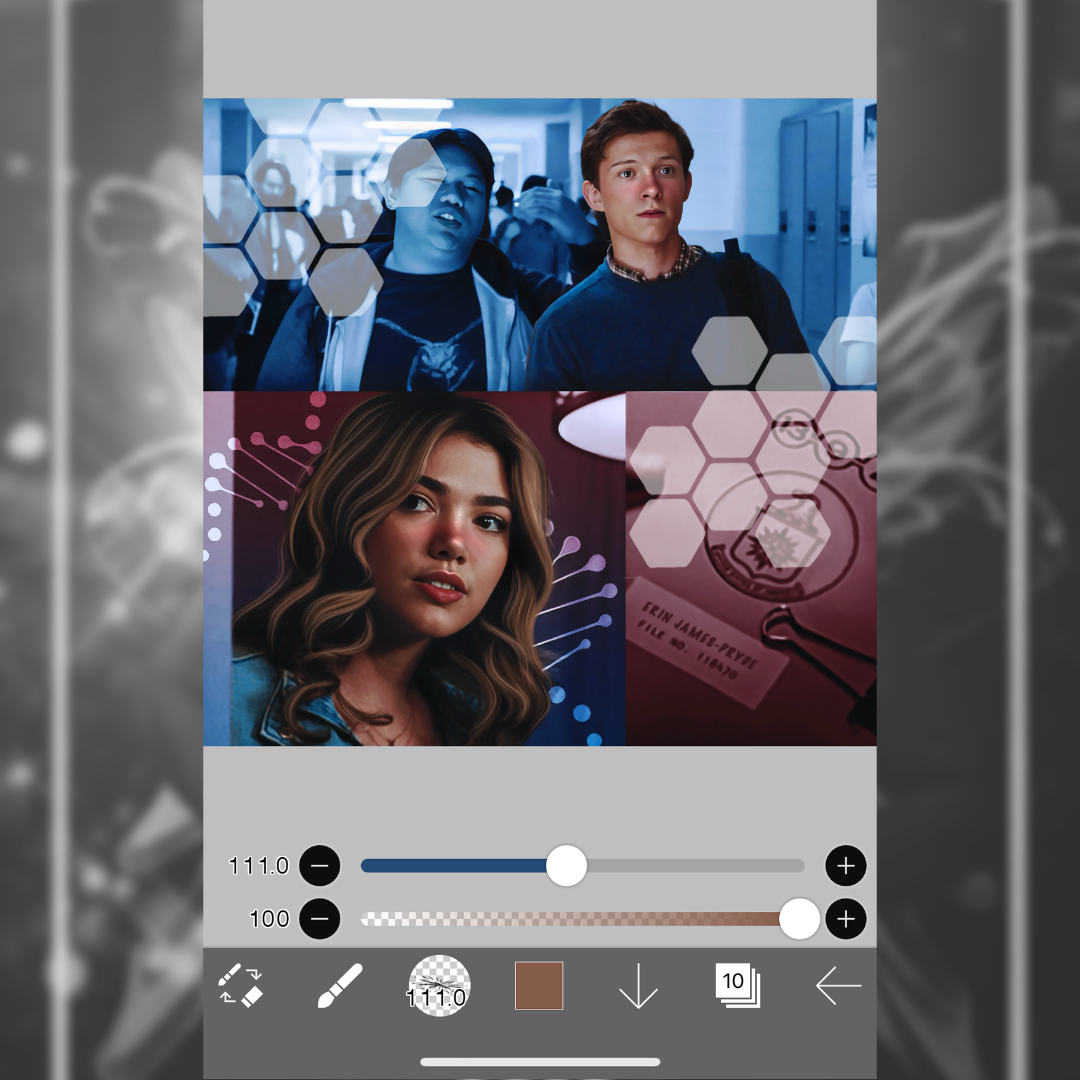
vi. ִֶָ˚⊹ STEP SIX !
Create a New Layer with the blend mode set to Add, and use the same colour and brush from the previous step to add highlights to the hair. Then, create another New Layer with the blend mode set to Add and do the same thing but with a lighter version of your previous colour.
It should look like this.
vii. ִֶָ˚⊹ STEP SEVEN !
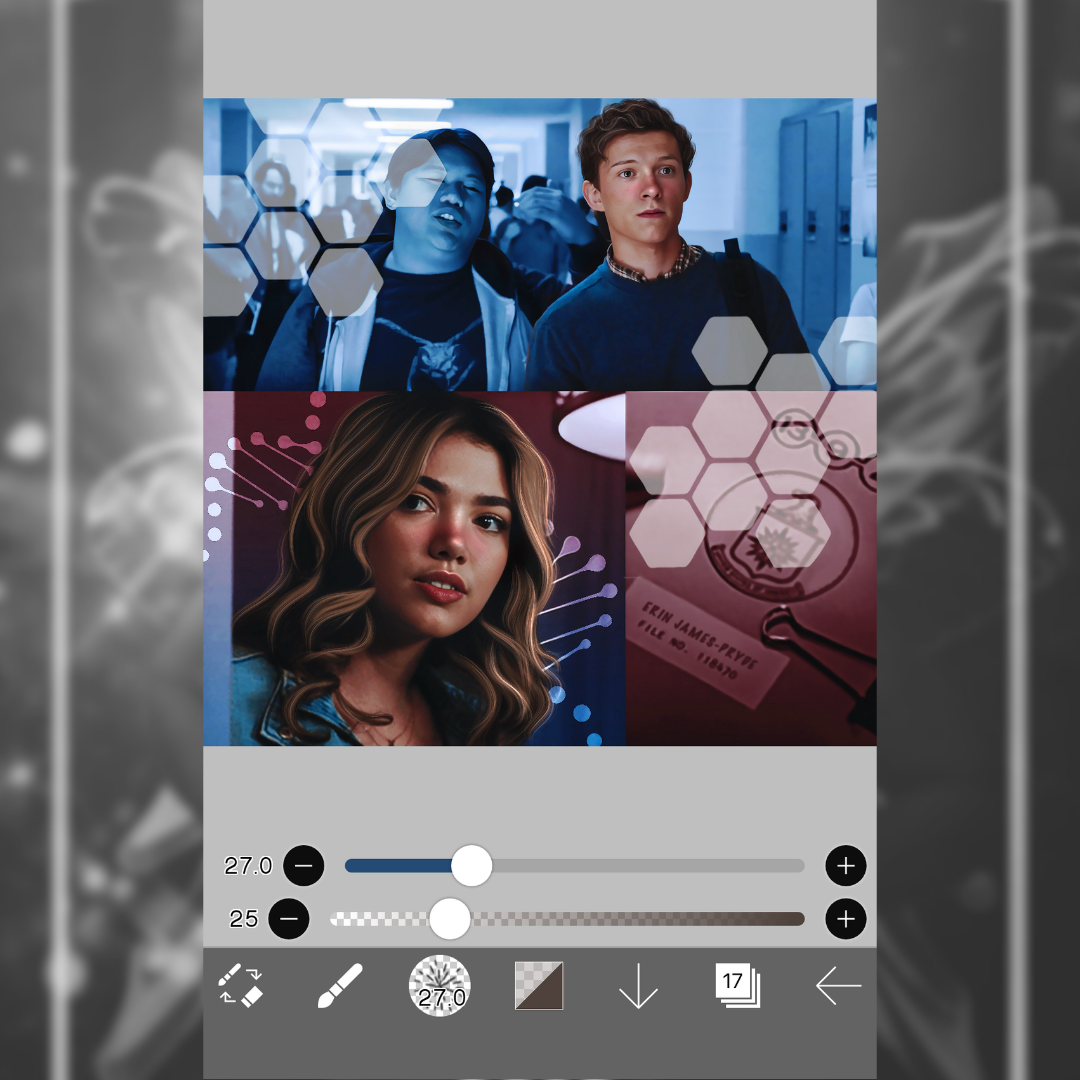
Repeat steps three, four, five and six with your second faceclaim (see below).
vii. ִֶָ˚⊹ STEP EIGHT (OPTIONAL) !
Usually, I'll use the Diffuse Filter in Photoshop to smooth out the hair and blend all the individual stands together. However, I didn't find myself needing it with this example. So! If you're having issues with everything looking a little bit stringy, I'd totally recommend doing this▬seriously, it'll make everything look ten times better. And in case anyone was wondering, Photopea does have the diffuse feature too! <3
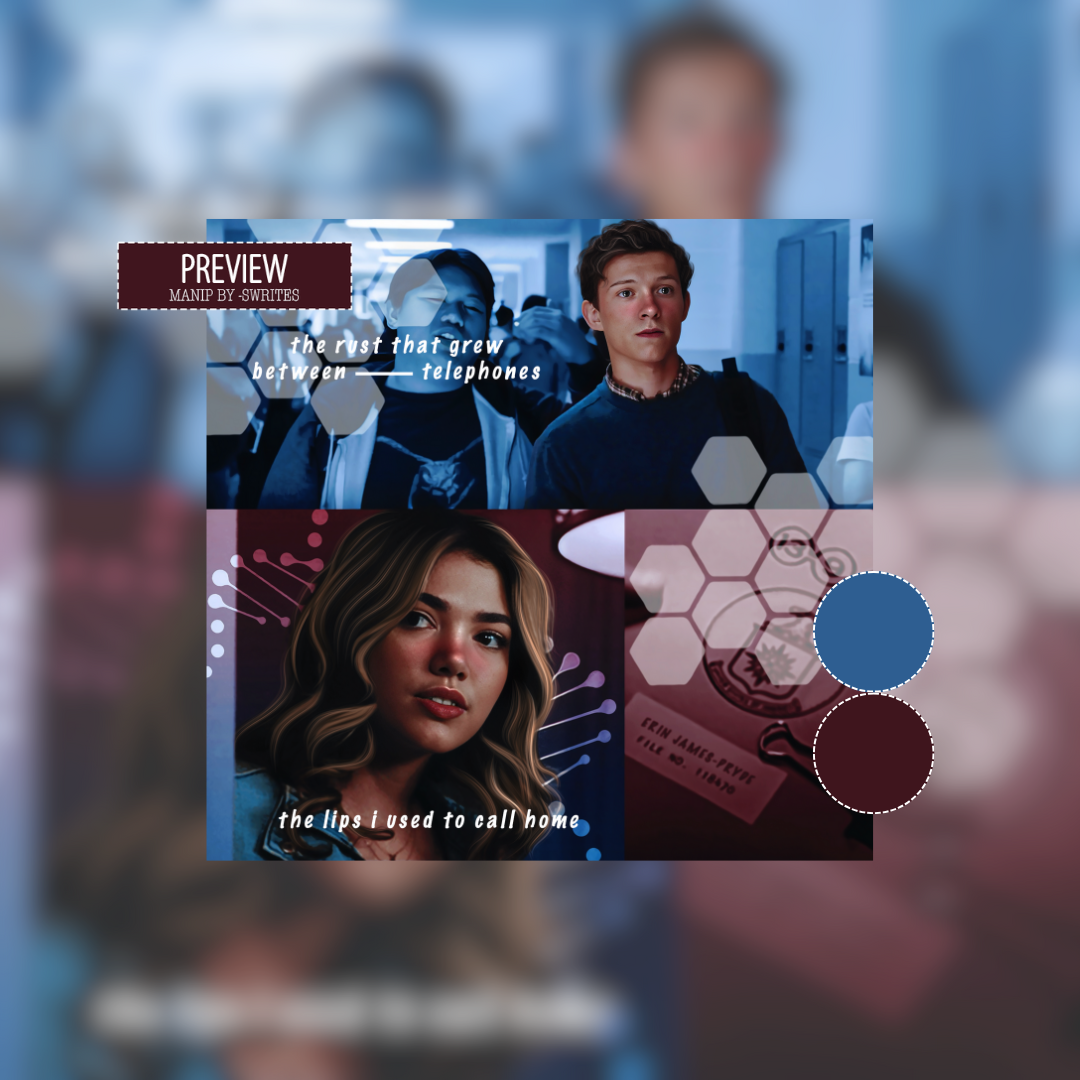
˚⊹ THE RESULT !
▬▬▬▬▬▬▬▬▬▬▬▬▬▬▬
⁰¹ 𝐃𝐄𝐀𝐑 𝐑𝐄𝐀𝐃𝐄𝐑.
( posted: jun 19th, 2023 )
❛ © -SWRITES 2023 ❜ 𓂅‧₊˚

AUTHOR'S NOTE ! ... hopefully this made sense <3
but if it didn't, i'm more than happy to answer any questions in the inline comments below!
COMMENT QUESTIONS HERE:
Bạn đang đọc truyện trên: AzTruyen.Top