002 | How I Edit Faces
⁰¹ 𝐃𝐄𝐀𝐑 𝐑𝐄𝐀𝐃𝐄𝐑 .
( a grfx help book ) 𓂅‧₊˚
━━━━━━━━━━━
003. ( && IBIS PAINT )

002 🪁 | HOW I EDIT FACES
THE WAY I edit faces has changed drastically over the years, and it's very much still something that I think changes on the dime. Regardless, I'm gonna try my best to cover everything related to my current style while keep this as succinct as possible▬and hopefully, this guide will be a good baseline for most of you! <3
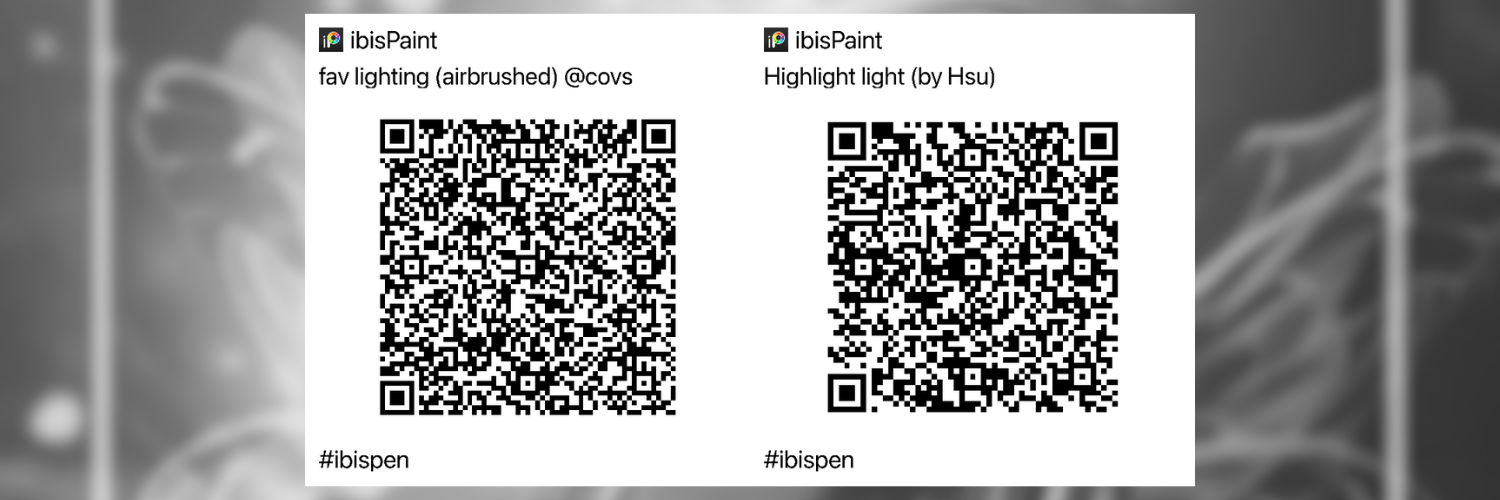
**these are the brushes you'll need for this tutorial**
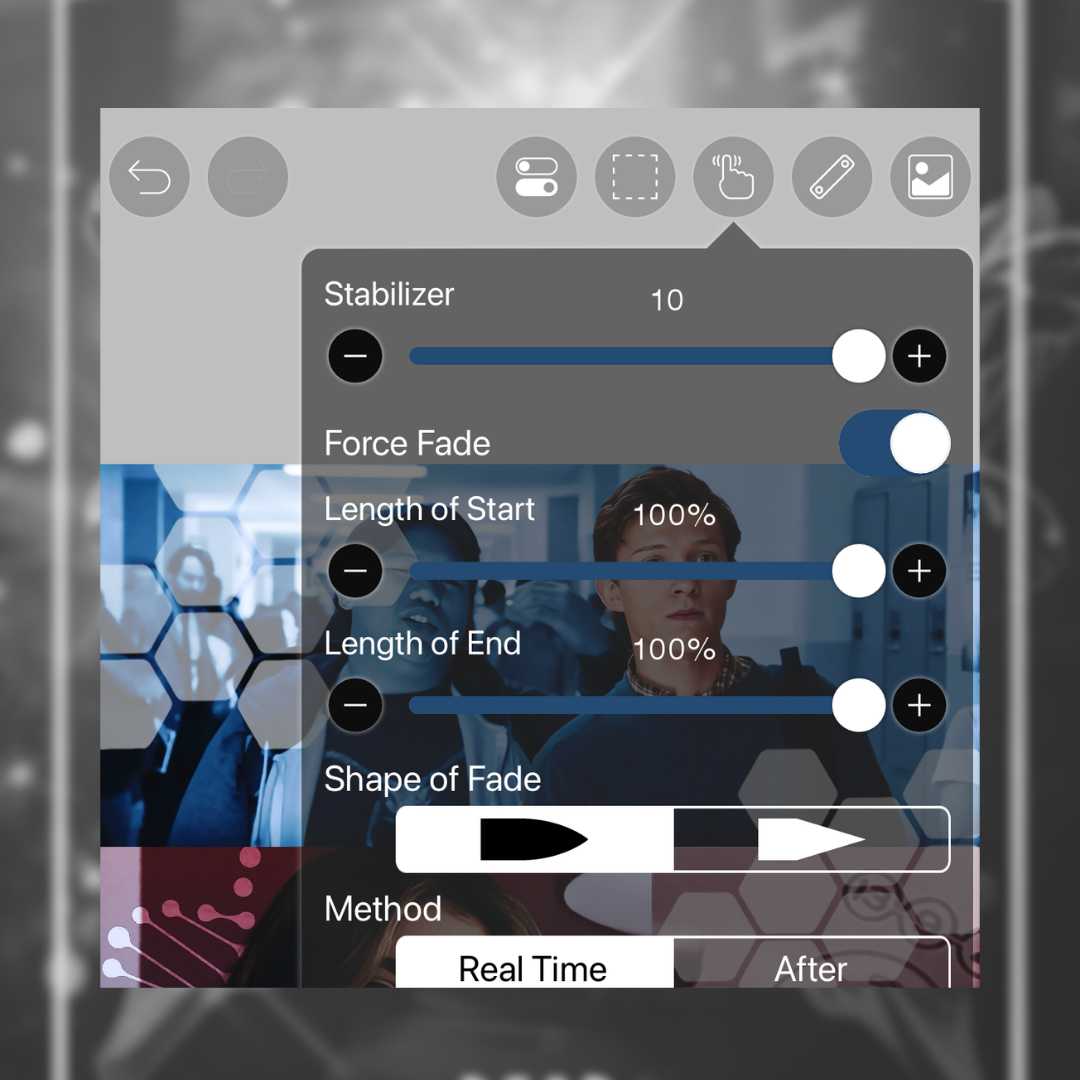
i. ִֶָ˚⊹ STEP ONE !
Open Ibis Paint and import your current project. From there, adjust your Stabiliser + Fade settings to reflect the image below.
ii. ִֶָ˚⊹ STEP TWO !
Use the Blur Tool (on a low intensity setting) to smooth out the skin of your faceclaims if they're looking a bit pixelated.
iii. ִֶָ˚⊹ STEP THREE !
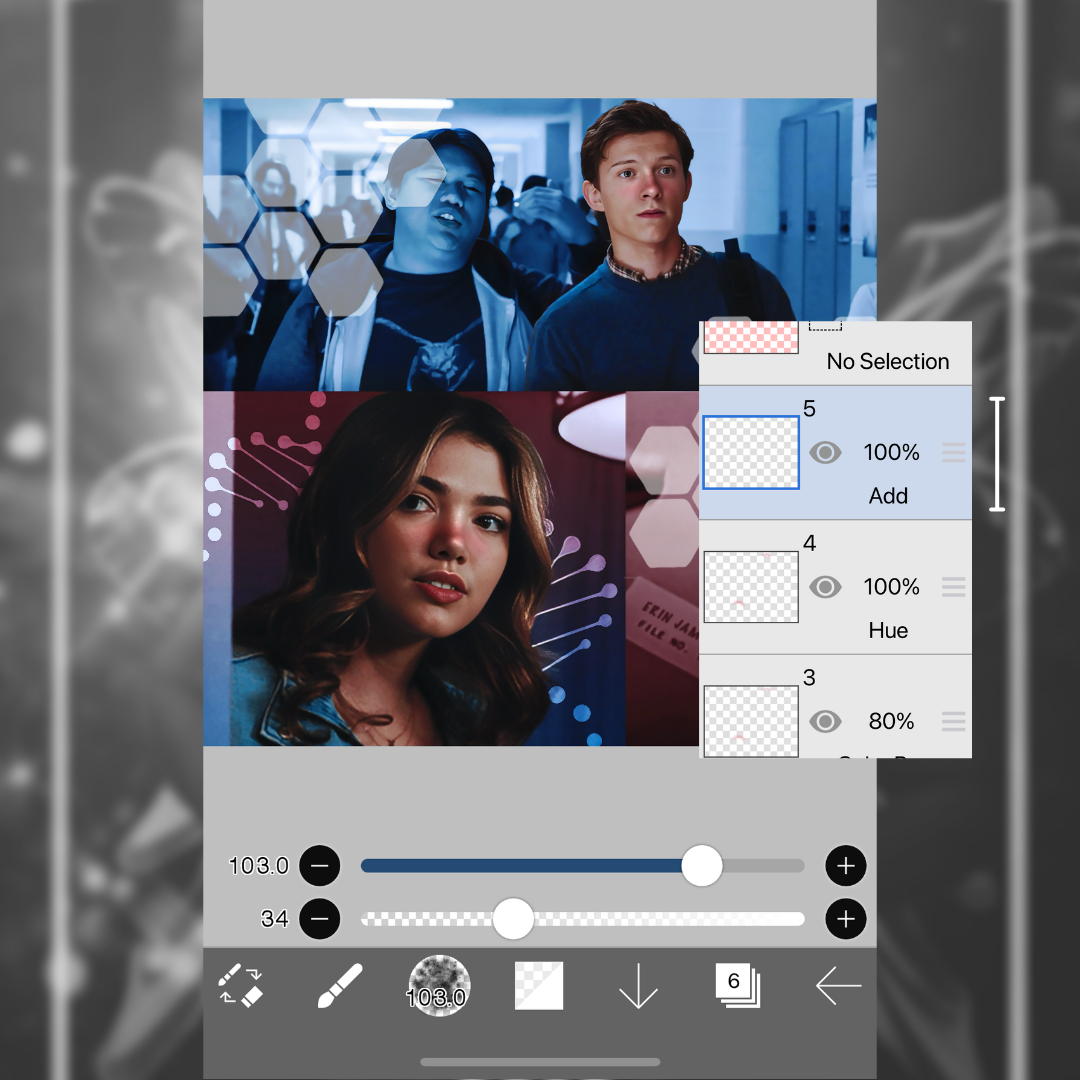
Create a New Layer with the blend mode set to Add. Using Airbrush (Normal), select the colour white (on a high intensity setting) and highlight the under eyes, nose, cupid's bow and chin of your faceclaims. You can also highlight the forehead▬I just didn't think this example needed it.
From there, lower the layer opacity until it looks good to you. I lowered mine to 25% for this example.
iv. ִֶָ˚⊹ STEP FOUR !
Create a New Layer with the blend mode set to Colour Burn. From there, use the Eyedropper Tool to select a colour sample from one of your faceclaim's lips. Now, select Airbrush (Normal) and draw over your faceclaim's nose and cheeks (see below). I usually do this on a medium intensity setting, and then lower the layer opacity to around 85%.
Next, select Duplicate Layer and change the blend mode to Hue (this will colour correct the blush and make it look less orange).

v. ִֶָ˚⊹ STEP FIVE !
Create a New Layer with the blend mode set to Add. Using Fav Lighting (Airbrushed) by Covs, select the colour white (on a low-to-medium intensity setting) and highlight the bridge of the nose, the tip of the nose, the inner corners of the eyes and the cupid's bow your faceclaims (see below).
Next, select Highlight Light by Hsu and reinforce the pre-existing glints in your faceclaims eyes (see final result because i forgot to take a picture rip).
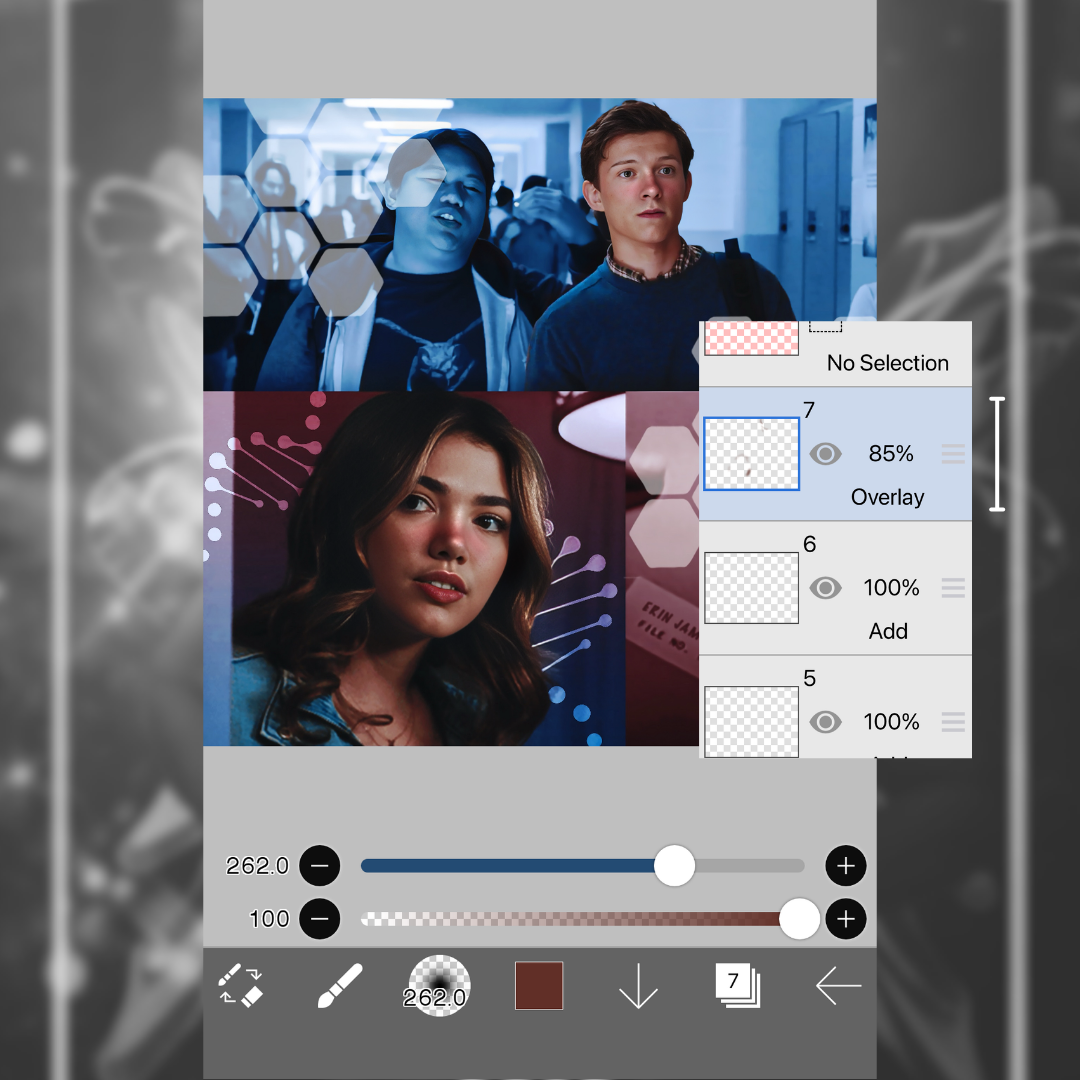
vi. ִֶָ˚⊹ STEP SIX !
Create a New Layer with the blend mode set to Overlay. Then, use the Eyedropper Tool to select a colour sample from the shadowed area of your faceclaim's neck. Now, select Airbrush (Normal) and follow the rules of contour and bronzer; cheekbones, jaw, forehead. I usually do this on a high intensity setting, and then lower the layer opacity to around 85%
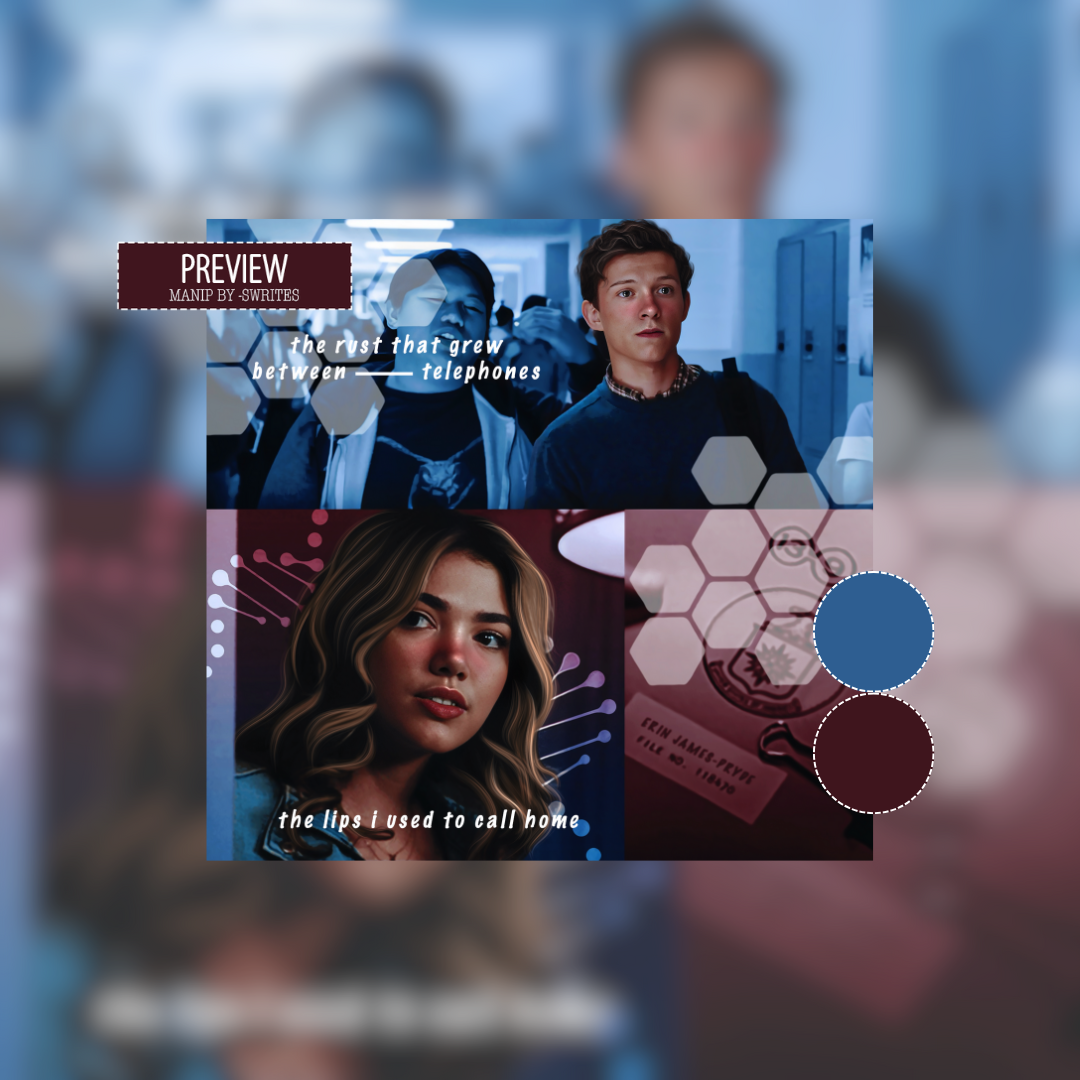
˚⊹ THE RESULT !
▬▬▬▬▬▬▬▬▬▬▬▬▬▬▬
⁰¹ 𝐃𝐄𝐀𝐑 𝐑𝐄𝐀𝐃𝐄𝐑.
( posted: jun 18th, 2023 )
❛ © -SWRITES 2023 ❜ 𓂅‧₊˚
AUTHOR'S NOTE ! ... hopefully this made sense <3
but if it didn't, i'm more than happy to answer any questions in the inline comments below!
COMMENT QUESTIONS HERE:
Bạn đang đọc truyện trên: AzTruyen.Top