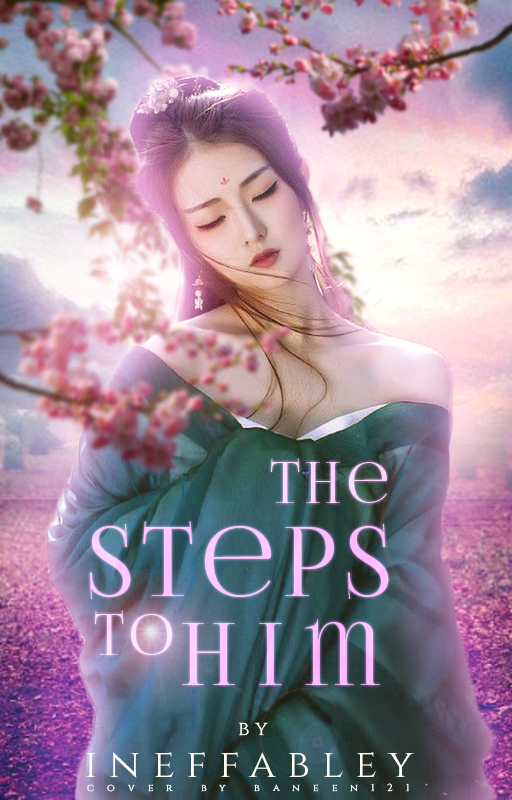
06 The steps to Him
I am back after ages with this new tutorial
MY STYLE HAS CHANGED A LOT IN THESE PAST YEARS SINCE I LAST POSTED A TUTORIAL!
Level: Intermediate
Time taken: Almost an hour
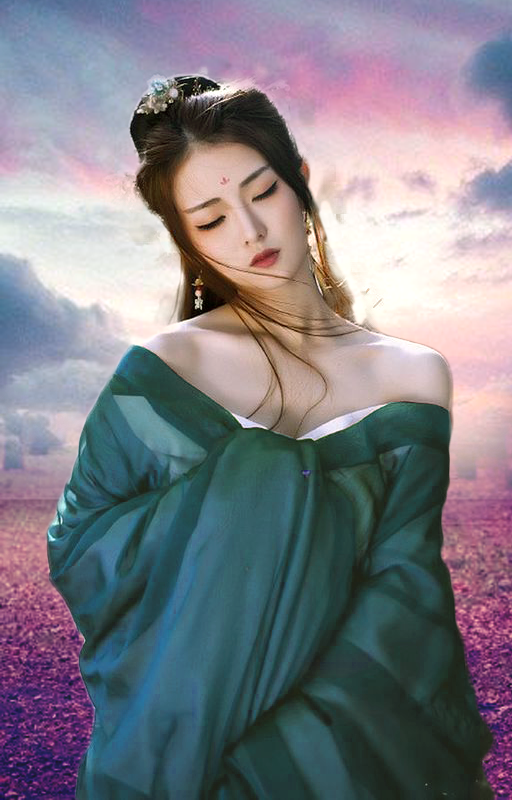
We'll make a light and bright fantasy cover! This will be our end result
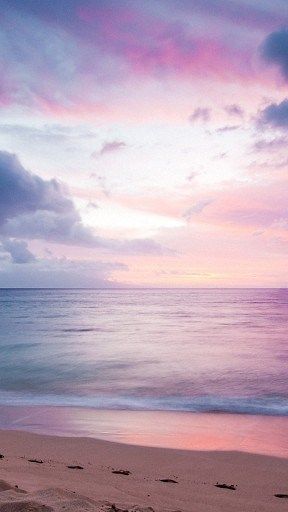
1. Start off by making a 512x800 document in photoshop. Then I used this picture as my base resizing it so it fits my cover size
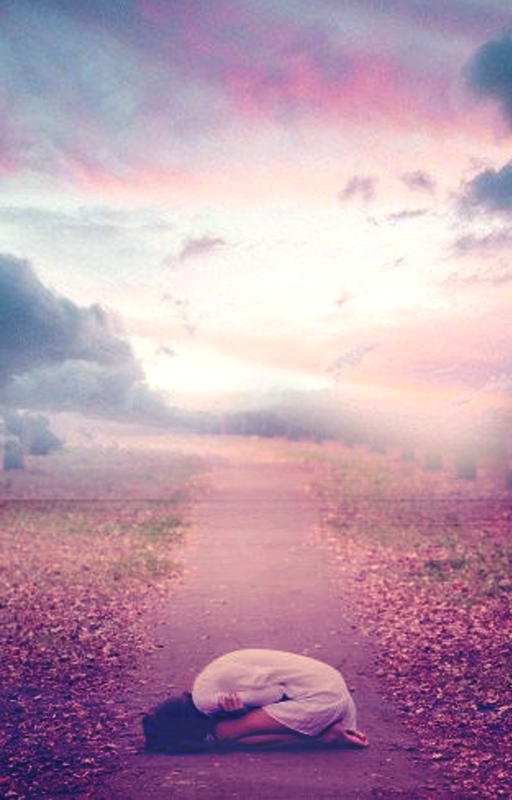
2. Now open this picture and resize it so it fits the cover size.

3. Now change the hue and saturation of this picture by pressing control+u. A small window pops up, toggle around until you get a nice pinkish hue like the base picture we used. This adjusting of hue makes blending easy.
Now erase the top part of this picture with a soft round brush (Use 200/300px brush) Until you are left with something like this
Now we have our background ready lets get the model.
4. I used this picture for the model and cut it using the Quick selcection tool
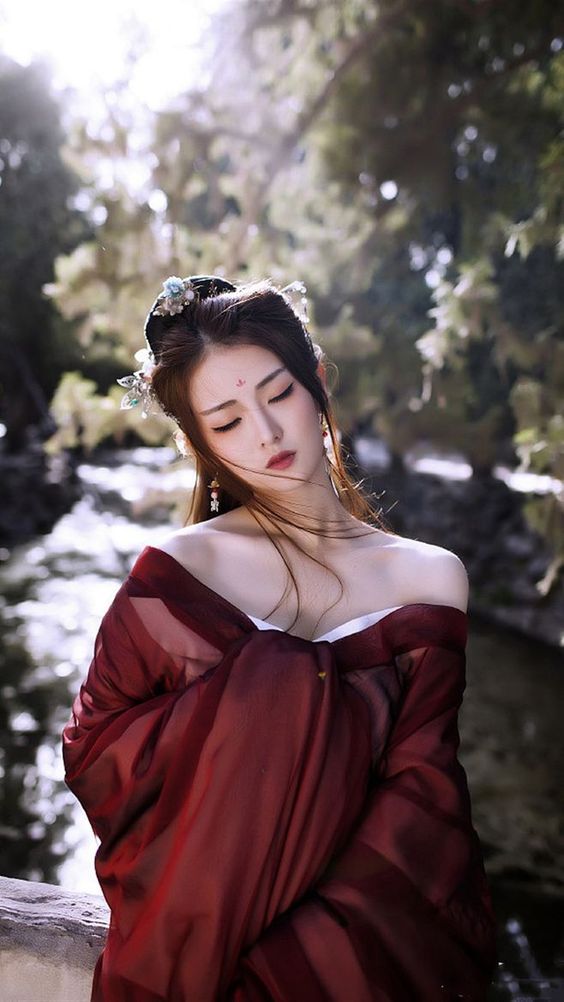
Transport it to our main document like so
I selected the dress area of this model (WITH PEN TOOL) and changed the color of it using the same hue and saturation tool.
5.Now lets add a bot of glow to our model. Go to the fx right here (model layer)

Then use innerglow setting with size 22, fbc6f9 (color). Until this is the result

note: remove the glow on bottom part by hovering your mouse over the model layer and right click until this menu pops up
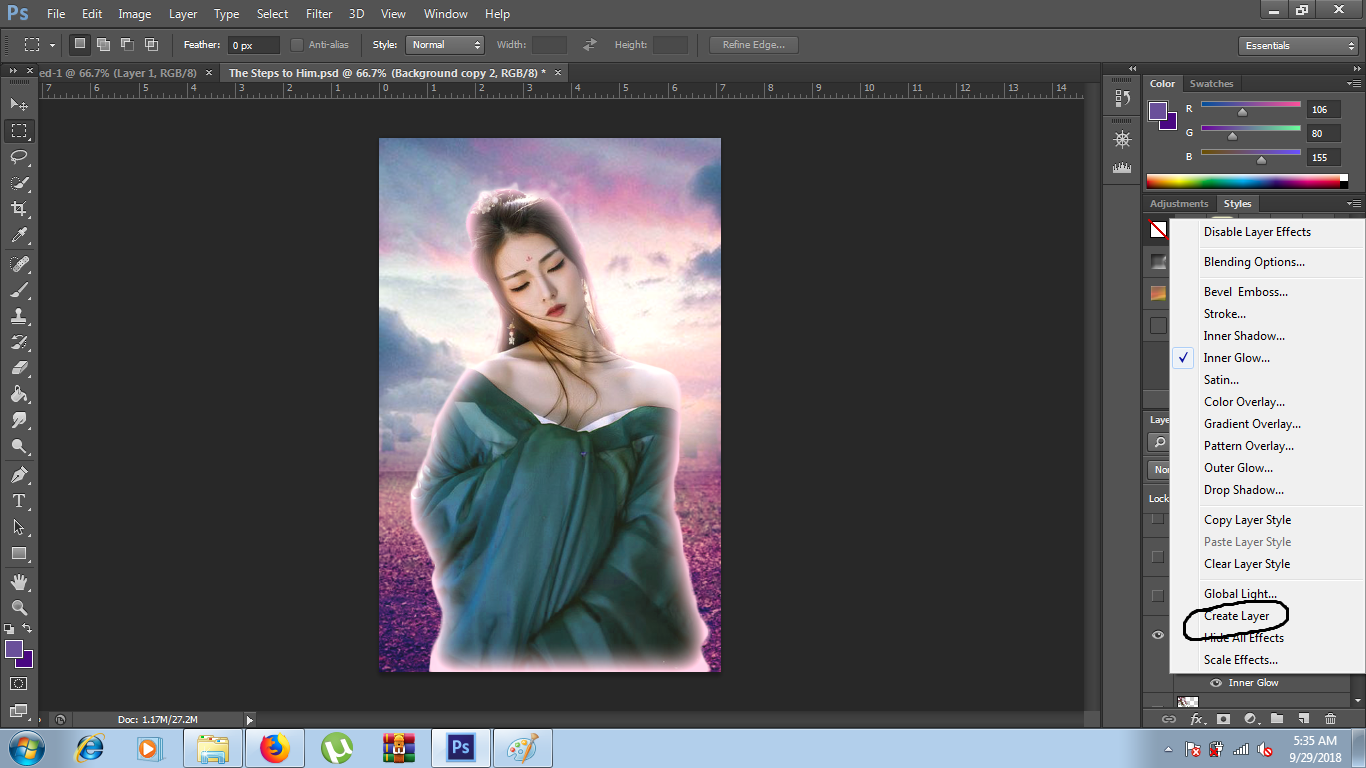
CLICK ON CREATE LAYER! the glow moves to a separate layer now where you can easily remove the glow from bottom part using an eraser!.
6. Now take a soft brush with light pink color and outline the model like so. USE A SEPARATE NEW LAYER FOR THIS!

Change the mode to softlight.
This should be your result now. You see how this step helps the blending and aLso adds an angelic glow

7.Now use flower vine pngs (I used some from deviantart) and add them around the model. Blur them to give a nice affect.
Go to filter>blur>gaussian blur (use amount 2-5).

8. Now add the text! I used the font FoglihtenNo06 in different sizes for different words. Add the author name and your water mark. You are almost done now!

9. Lets add the finishing touches. I used a lens flare stock on screen mode on the top left side of model and inside O.
Then I fixed the coloring bu going to colorbalance playing around with settings till I got the desired result!
*drum rolls* we are done

I hope it was helpful. This targeted the tiny details that really help blend the model into the background.
Ask any questions you have.
Would you like more tutorials? Let me know in the comments below!
DONOT STEAL IT! IF YOU COPY THIS THEN 'ADD TUTORIAL' BY B SOMEWHERE!
-Baneen
Bạn đang đọc truyện trên: AzTruyen.Top