04 Fifty Nine Days
Hey guys I am back with another tutorial which is very easy. I will teach you guys how to make basic teenfic covers since they are very popular.
Level: Beginners
Time taken: 50 minutes
This will be our end result

1. First of all open this texture

Resize it and place it on your canvas, the size of your canvas should be 512x800
2. Then open your model(s) and place then in the center like so(the black outlines type thingies are png that I found on Deviantart and put behind the model layer)

Then duplicate your model(s) layer and now you should have two layers for thesame model. Select the downward most model layer, then select fx(it is down in the row from where we add a new layer, at the bottom rightish part). It will show you a few option, select Color Overlay.
3. Now after you click Color overlay a small white window will appear

click on the circled red part, a color window will appear
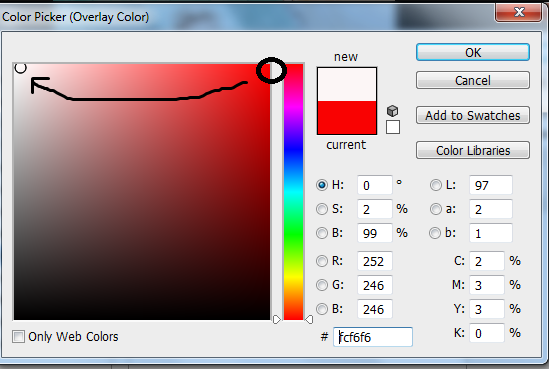
Move the cursor from the red color to white color as shown above and then hit ok.
4. Now move the same model(s) layer we worked on, avtiny bit to the right/left with the move tool. You will see it adds kind of a white outline to the sides of the model.

5. Now add you Title in neon yellowish green color, I used the font Angeline Vintage that can be downloaded from dafont. Nowduplicate this font layer, and change the color to white. Move the top white title layer a bit to the left. You should have something like this

6. The final step is to add author name and watermark(I used the font lemon milk for both). Then add a few psd coloringd, I used about 4.
Phew...
Your cover is ready

That is it for this tutorial
If you guys have questions you ca ask me
Vote and comment if you want more
Leave suggestions for the next tut
-BANEEN
Bạn đang đọc truyện trên: AzTruyen.Top