Pixlr Introduction
Here are some tips for how to use Pixlr. Pixlr is a free app and free photo editing website on your laptop/computer, and although it lacks some essential tools that photoshop has (quick selection tool and the ability to use PSDs), you can still make professional looking covers using Pixlr, for example:

There are two different pixlr apps online (I have not used the app on mobile, so I am not sure whether it is the same): Pixlr Editor, and Pixlr Express. Pixlr Editor is where you will be making your cover. Pixlr Express is what you will use after you make your cover to add filters to make your colours blend more, and appear less contrasting.
In this tutorial, we will teach you how to use both applications, as well as provide you with some tips.
Pixlr Editor
1. Open Pixlr.com on your computer/laptop
2. Scroll down until you have two options in front of you. One will say 'Editor' (the one on the left), and the one on the right will say 'Express.'
3. Select Editor by clicking on 'Launch Web App'. This is where you will be making your covers.
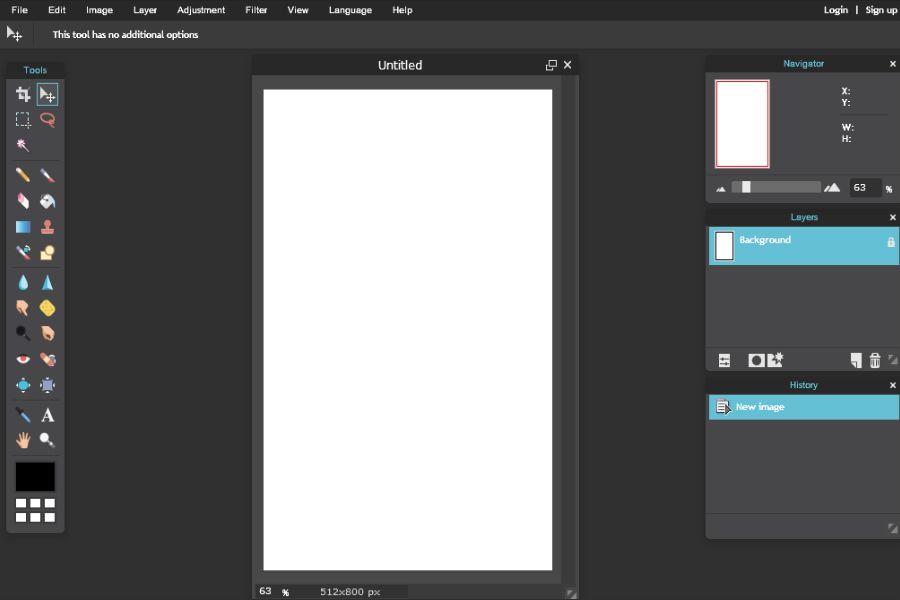
4. Another screen will pop up. Select the first option 'Create A New Image.'
5. Chose the dimensions 512 x 800 for a cover. Other dimensions:
-Cover: 512x800 or 320 x 500
-Banner: 770 x 110 (Depends on the designer)
-Icon: 128 x 128
-Youtube Thumbnail: 1280 x 720
-Wattpad Header: 1920 x 600
-Blend: 800 x 600
-Thread Layout: 422 x any

6. Now you have a blank canvas. To open up an image, there is a menu bar above your canvas. Go along until you see the tab 'Layer.' Click on this, and then select 'Open Image As Layer'. You can then choose an image from your files to upload to your canvas.
7. Once you have your image, you can change the size by going to Edit (along the menu bar above where the Layer button was) > Free Transform.
8. Once you have sized your image, you can edit it. Go go Adjustments and there you will see options like Curves, Levels and Hue/Saturation.
9. If you want to change the colour of your image to black and white, then click Adjustment > Colour Lookup (it's at the bottom). A black and white gradient line will come up. If you drag the black arrow along the line, more of the image will become black. Once you are happy with your black and white image, select 'Ok'.

10. For removing backgrounds, the eraser tool is very useful. Click on it then go up to the menu bar, and just below will show you the eraser you are using. Click on this to change your type of eraser. My favourite is the 200 which is soft. At the bottom of the eraser tool tab you can change the size of your eraser if needed (The red circle on the image below is where you can change the size of the brush).

You can also remove background by using the wand tool, but your background must be a sold colour, otherwise it will not work.

11. The Type tool, which is on the tool bar menu to the left, is what allows you to type text. Select this and click on your canvas. It will automatically create a new layer for your text. A little box will appear, so in this write your text, and select the size (maximum 130), and colour (you can only have one colour for your text). Once you're done and happy with your text click the Ok button.
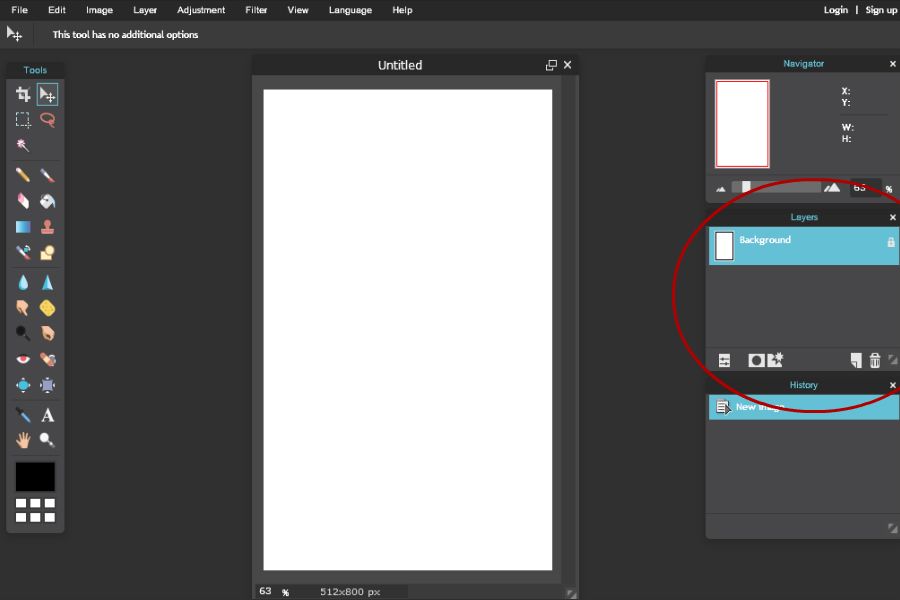
12. On the right hand side of your screen, in the middle, you will see that there is a panel called 'Layers.' This shows all the layers on your canvas. You can change the layer order by clicking on a layer, holding down and dragging the layer up or down.

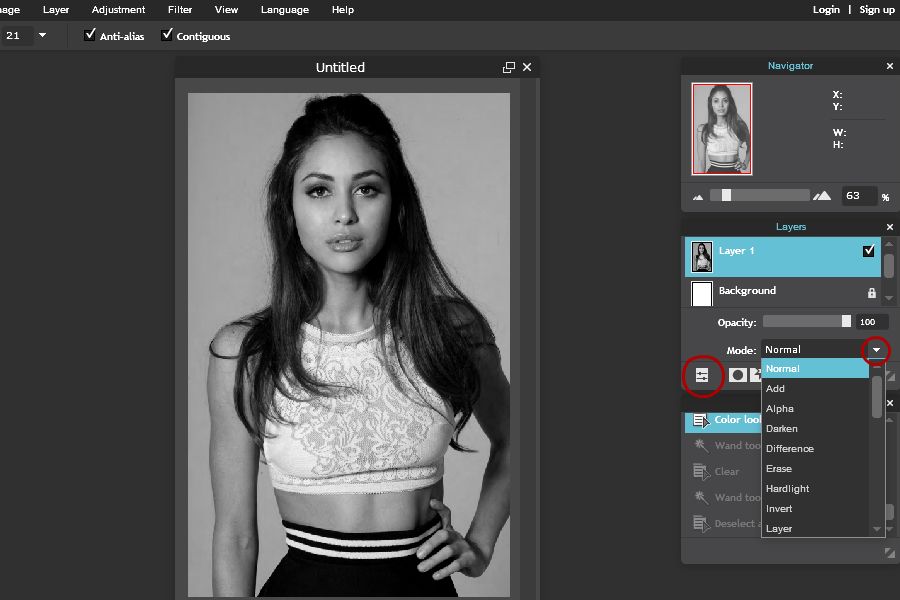
13. At the bottom of this tab is a box-like icon in the bottom left. Click this, and a box saying 'Normal' will pop up. Next to this text is another arrow. Click this arrow, and the layer options such as Overlay and Darken will appear. These are the modes of your layers, and can be very handy when making covers.

14. Below the modes there are a few little icons. At the bottom, near the middle is an icon with what looks like a flash on it and a rectangle with a cropped corner. Click on this, and Layer Options will come up. Here you can add a Drop Shadow, Outer Glow etc. Next to each option is a small tick box. Click this, and it will give you to options of how you can alter the drop shadow.

15. If you accidently make a mistake, or would like to undo what you just did, there are two ways of doing this. One is by clicking on Edit > Undo. Another is by using the history panel. If you click second to last thing you did on the history panel, it takes you back to that action.

16. If you use the marque tool or wand tool, before you go back to making your graphic, you need to go to Edit > Deselect all.
Pixlr Express
Express is where you can add overlays provided by Pixlr, change the brightness, but also add a filter to your cover. When you open Express, the screen below will appear. Click on 'Browse,' and this will take you to your documents to browse for your images.

These filters are particularly helpful since it means you can make the colours of your cover match and blend.

My favourite filters include:
• Default > Bob [Fades the colour]
• Default > Tom [Makes your image b&w]
• Subtle > Ingrid [Sharpens the picture]
• Subtle > Sanna
• Subtle > Alex [Merges some of the colours]
Tips
1. As I have said above, we do not have PSDs for Pixlr. This means that the colouring is mostly down to you. The easiest way to do this is by changing the colour of your textures for your cover background to the same colour. You do this by Adjustment > Colour Lookup. Select the black arrow and change the colour to whatever you'd like it to be.
2. You can also use PXDs for pixlr, which are the Pixlr equivalent of PSDs in photo shop. You can download PXDs from deviantart.
3. Use images as overlays. Some images are black and white and have light streaks across them, and these can make perfect overlays. You can change these - or any image - to an overlay as stated in steps 12-13. These help you colour your cover, and should be placed on top of all the other layers.
4. Do not use just one image for the background if you're making a manipulated cover. You can easily merge images together that have similar colours by using the 200 soft eraser tool (change the size to 400 to make the effect even greater).
5. Use good quality PNGs. I know that this may be obvious, but these can easily be found on Deviantart or searching 'face claim' PNG on Google. We do not have the selection tool on Pixlr so we must make use out of all the PNGs we have.
6. If you're struggling to find images, here are a few tips as to how to find them:
- For textures, search in google 'Texture pack Deviantart,' and then click on a pack you like the look of, and then click 'Go to page.' This will take you to the page where you'll be able to download the texture pack, as well as lead onto other texture packs on deviantart.
- In the external link is a link to a model directory thread (model stocks from Deviantart). Although these have backgrounds and are not PNGs, they are perfect for graphic making and covers since the models wear a range of different costumes etc. The best model stock (in my opinion) is Faestock.
- Stock image packs from deviantart are also useful. Search 'Stock pack deviantart' in google, and go and download these. They're very useful for backgrounds.
We hope that this tutorial helpful! If you have any questions, don't be afraid to ask, and we will be posting a cover tutorial very soon.
-GraphicSociety
[Tutorial by LotteHolder ]
Bạn đang đọc truyện trên: AzTruyen.Top