Filters
sup peeps
Surprisingly, I'm still alive.
I've been working on a story with one of my fellow crackheads - YaoiObssession
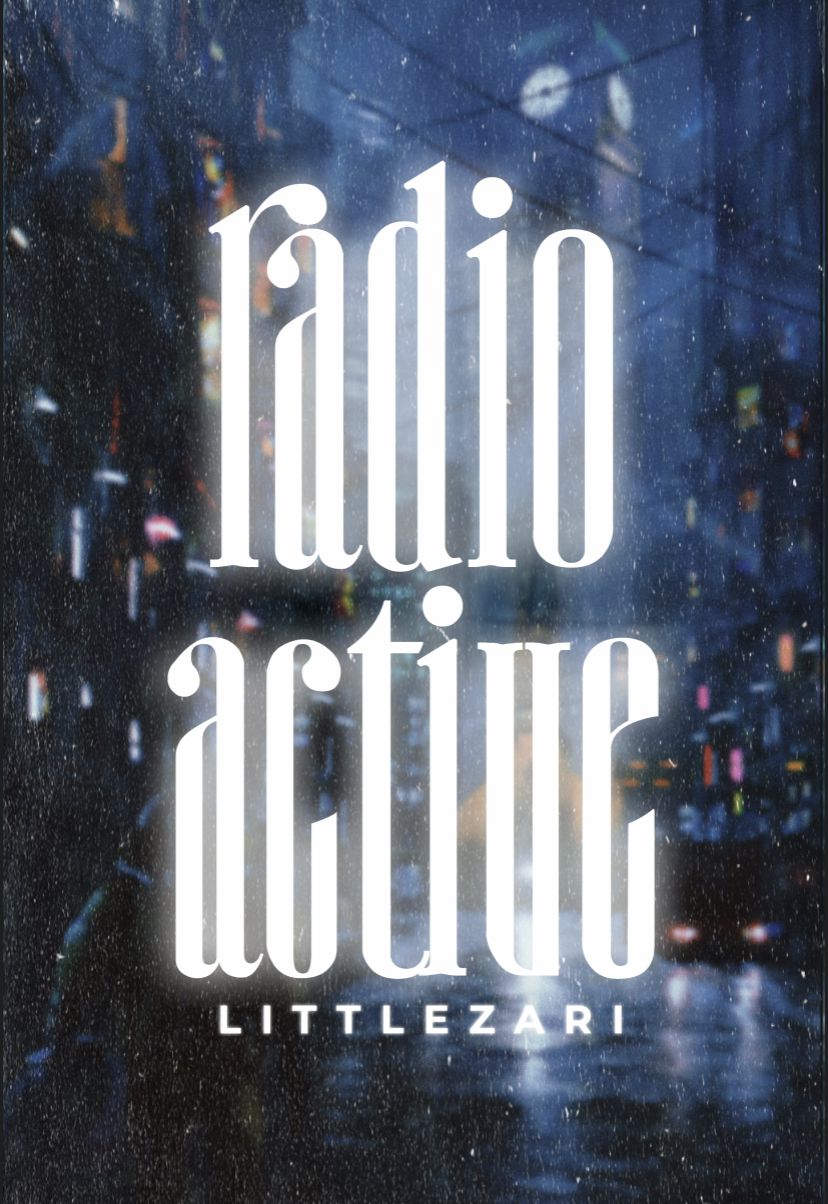
Here's the crackhead in her natural habitat:

And here's the crackhead actually looking good:

(She gave me permission ok don't kill me pls)
And the second picture because "tHat'S nOt A gOoD pIcTuRe"

Here's the description of the story -
"A diner ran by a father and his son, known for their delicious meals with their own unique flavours, has something more sinister going on than what the people expect."
It's called "Cannibal Diner" so it is quite sp00py
stay tuned peeps
Anyway, in this tutorial, I'm gonna teach you how to still use filters on PicsArt for free, because ever since they made the little annoying watermark thing, it's been extremely annoying to editing my graphics
And I'm broke so I'm not going to pay for PicsArt premium like a model citizen :)))
DIFFICULTY :
🔴🔴⚪️⚪️⚪️
WHAT YOU WILL NEED :
- Your graphic
METHOD 1 (Only works with graphics that have a plain colour when the watermark is)
Step 1 - Add your graphic into Picsart.

Step 2 - Go to 'Effects' and choose the premium filter you want to use, then take a screenshot of it.
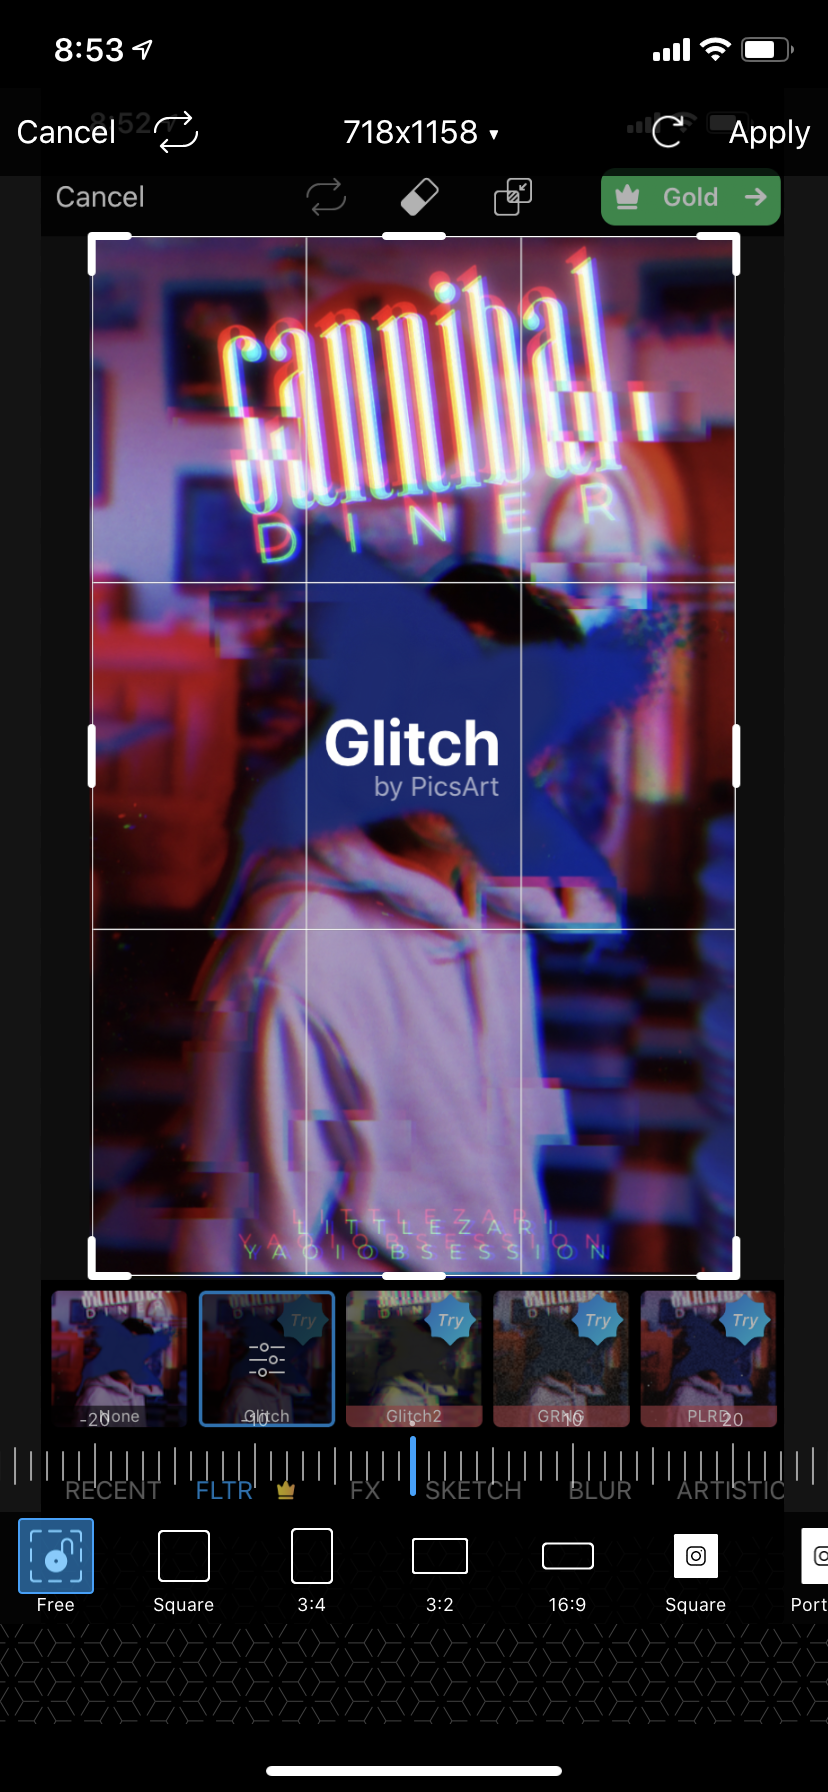
Step 3 - Then, crop the screenshot and upload it back onto PicsArt.
Step 4 - Go to 'Draw', then click on the colour wheel on the bottom left, then select the pipette on the right up corner. Colour the watermark with the selected colour.

Step 5 - And that's it :)))))

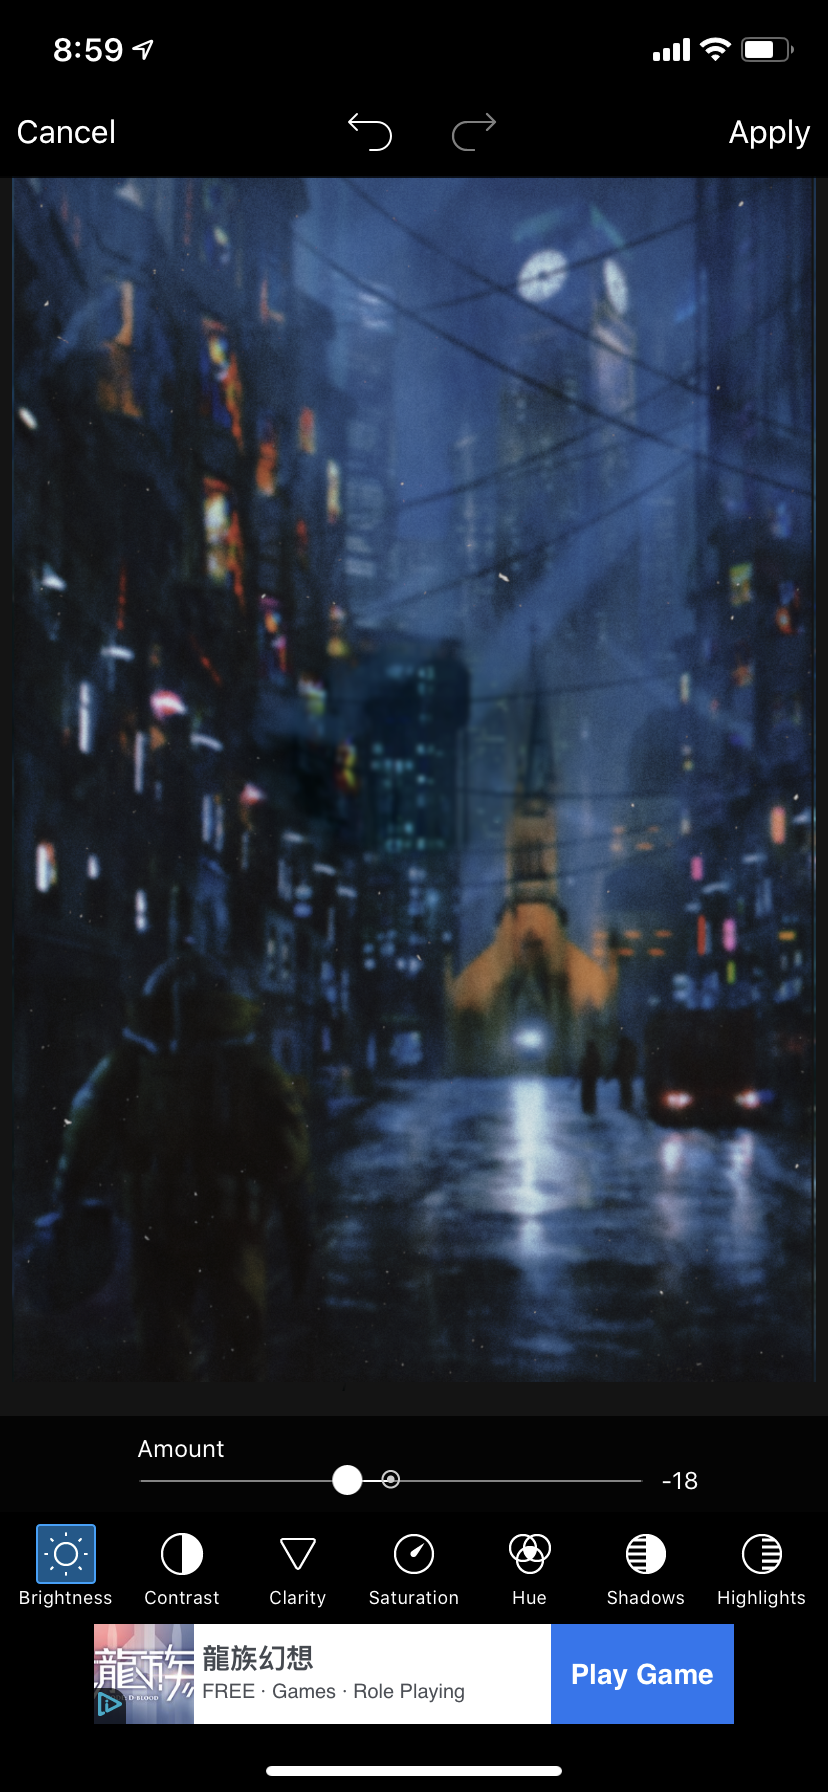
METHOD 2 (Works with graphics that don't have a block, plain colour background where the watermark is)
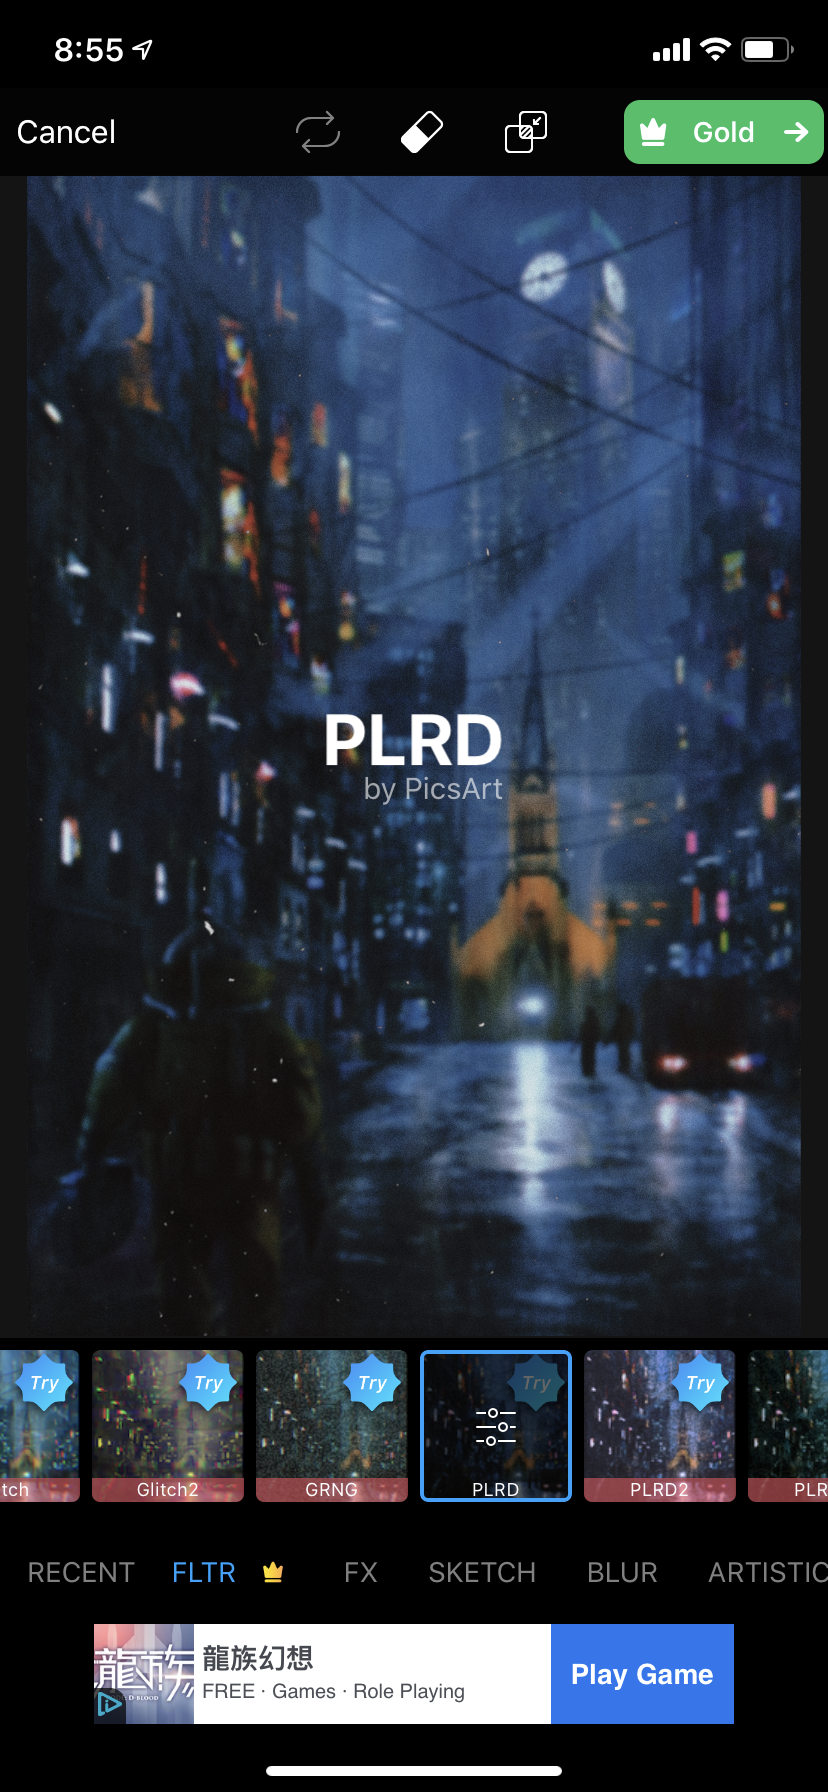
Step 1 - Add your picture into Picsart and add the premium filter o your graphic.

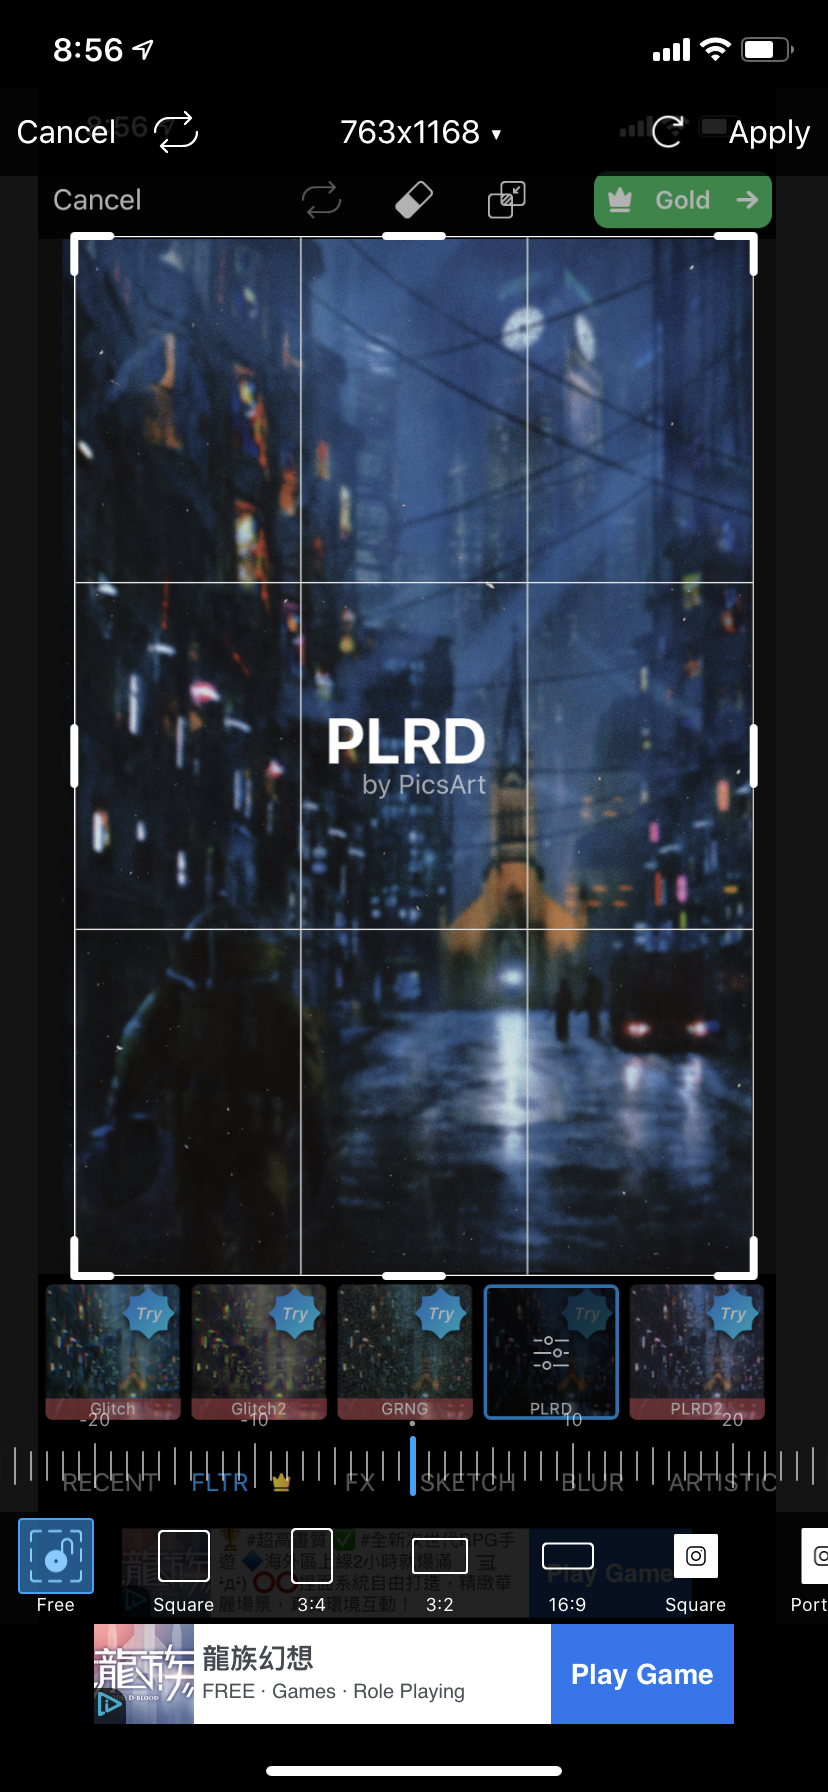
Step 2 - Take a screenshot of your graphic, and upload it back onto PicsArt.
Step 3 - Upload the original graphic with no filter onto PicsArt, then stretch it out so it's exactly the same as the one with the filter underneath it, you can change the opacity to see if it matches.
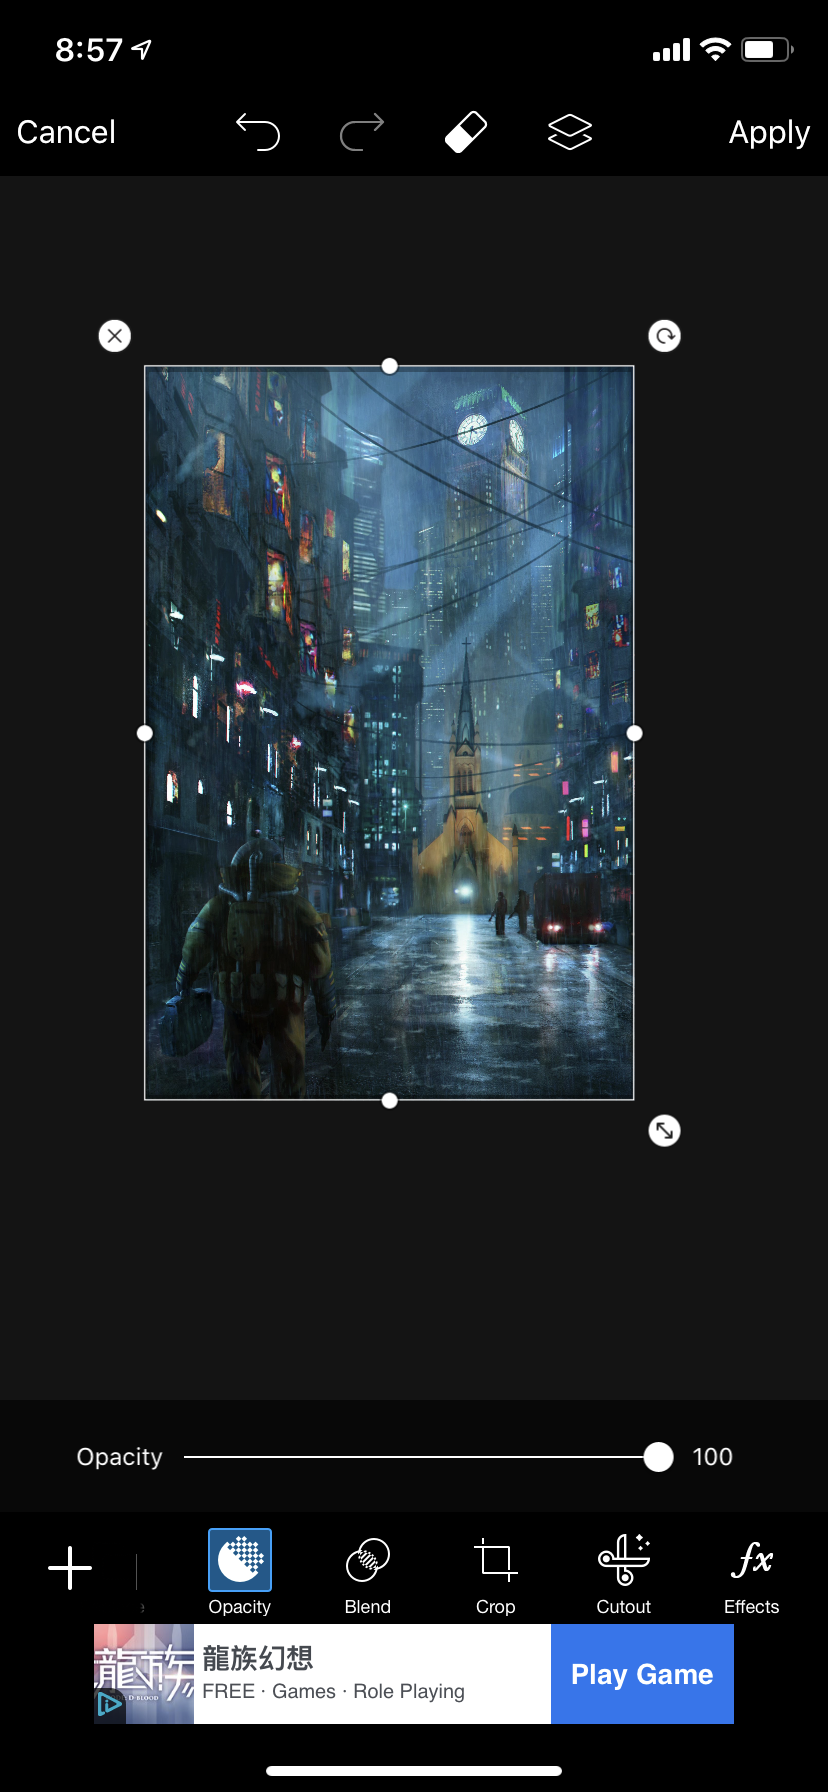

Step 4 - Then, click on the eraser icon on the top of the screen and erase the entirety of the original graphic. However, before you click on the tick, click on the paintbrush and draw over the areas with the watermark.

Step 5 - Then, go to 'Adjust' and adjust the part covering the watermark until it blends in with the rest of the graphic with the filter on it, you can also add other filters to make it blend in.
Step 6 - And that's it! Add your 20 million trees (donate to #TeamTrees pls) and so on.
Bạn đang đọc truyện trên: AzTruyen.Top