Tutorial 1

Hello. Today we're going to make the cover shown above.
Step 1: Google or search on We Heart It for a picture of the person you want on the cover. I chose Holland Roden. While you're there, look for a background picture that goes with the picture of your person/people. I chose the picture of red roses. Google a png of ripped paper. I've put one below in case you can't find a suitable one.

Step 2: As I have previously stated, I don't know the dimensions of a Wattpad book. Therefore, I use the Wattpad Covers app to
crop the image to the right size then I save it.
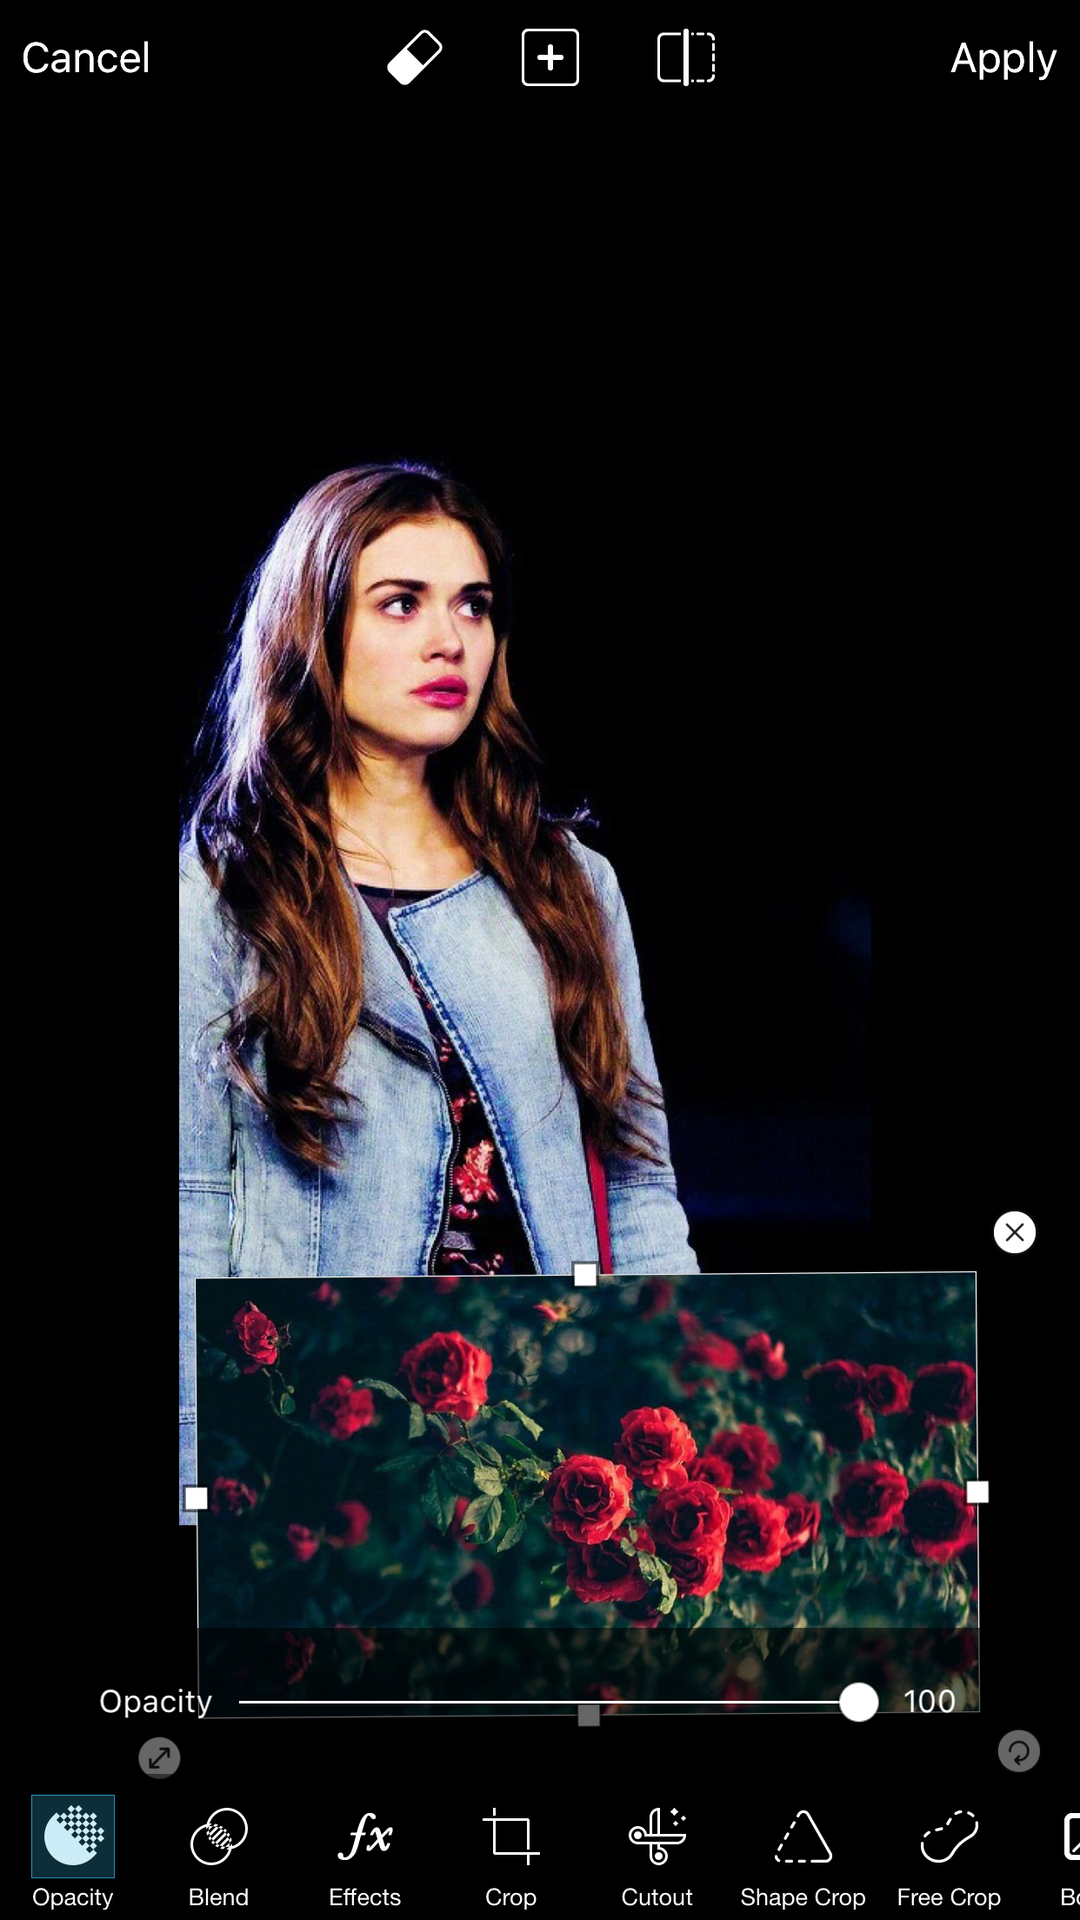
Step 3: Open PicsArt and choose the add photo option. You're going to insert everything but the text here. Firstly, get your background and place it at the bottom of the image to a place you feel is suitable:
Insert the ripped paper png. You may have to widen it to make it look better.
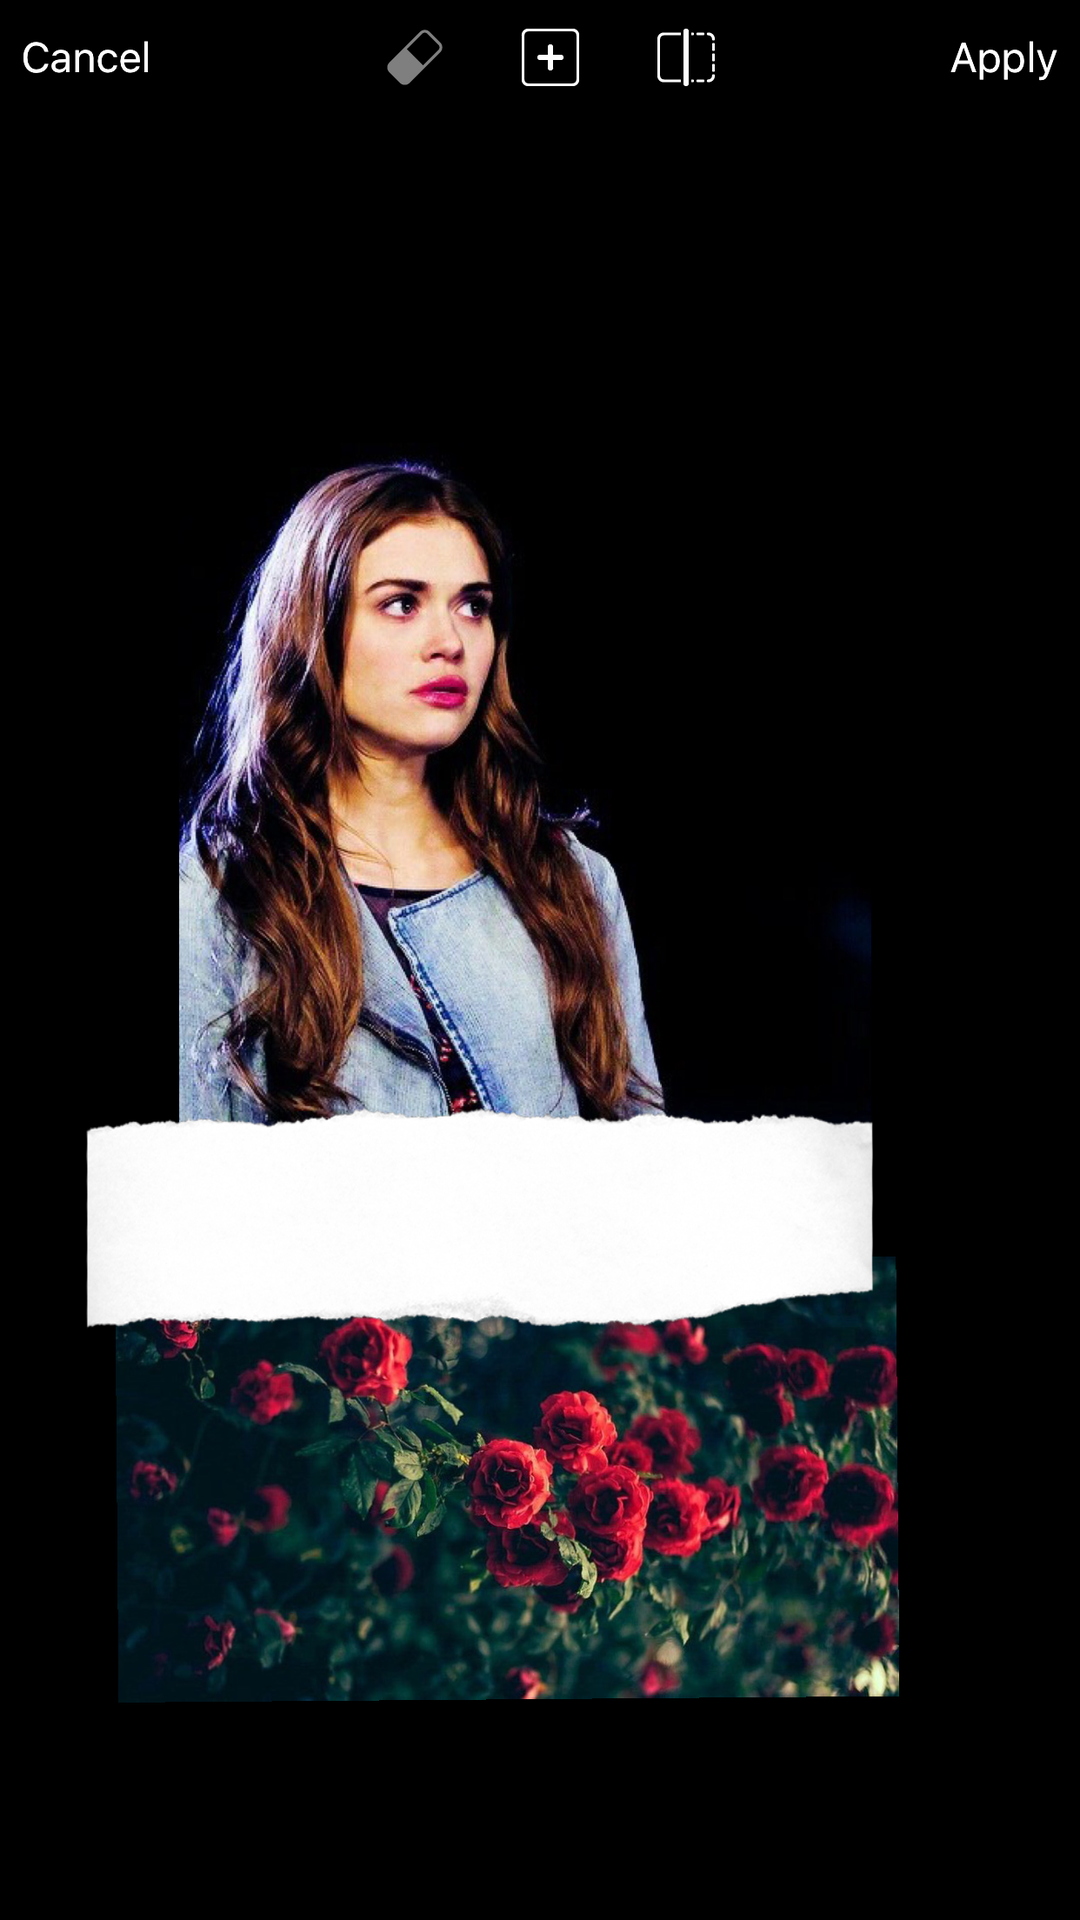
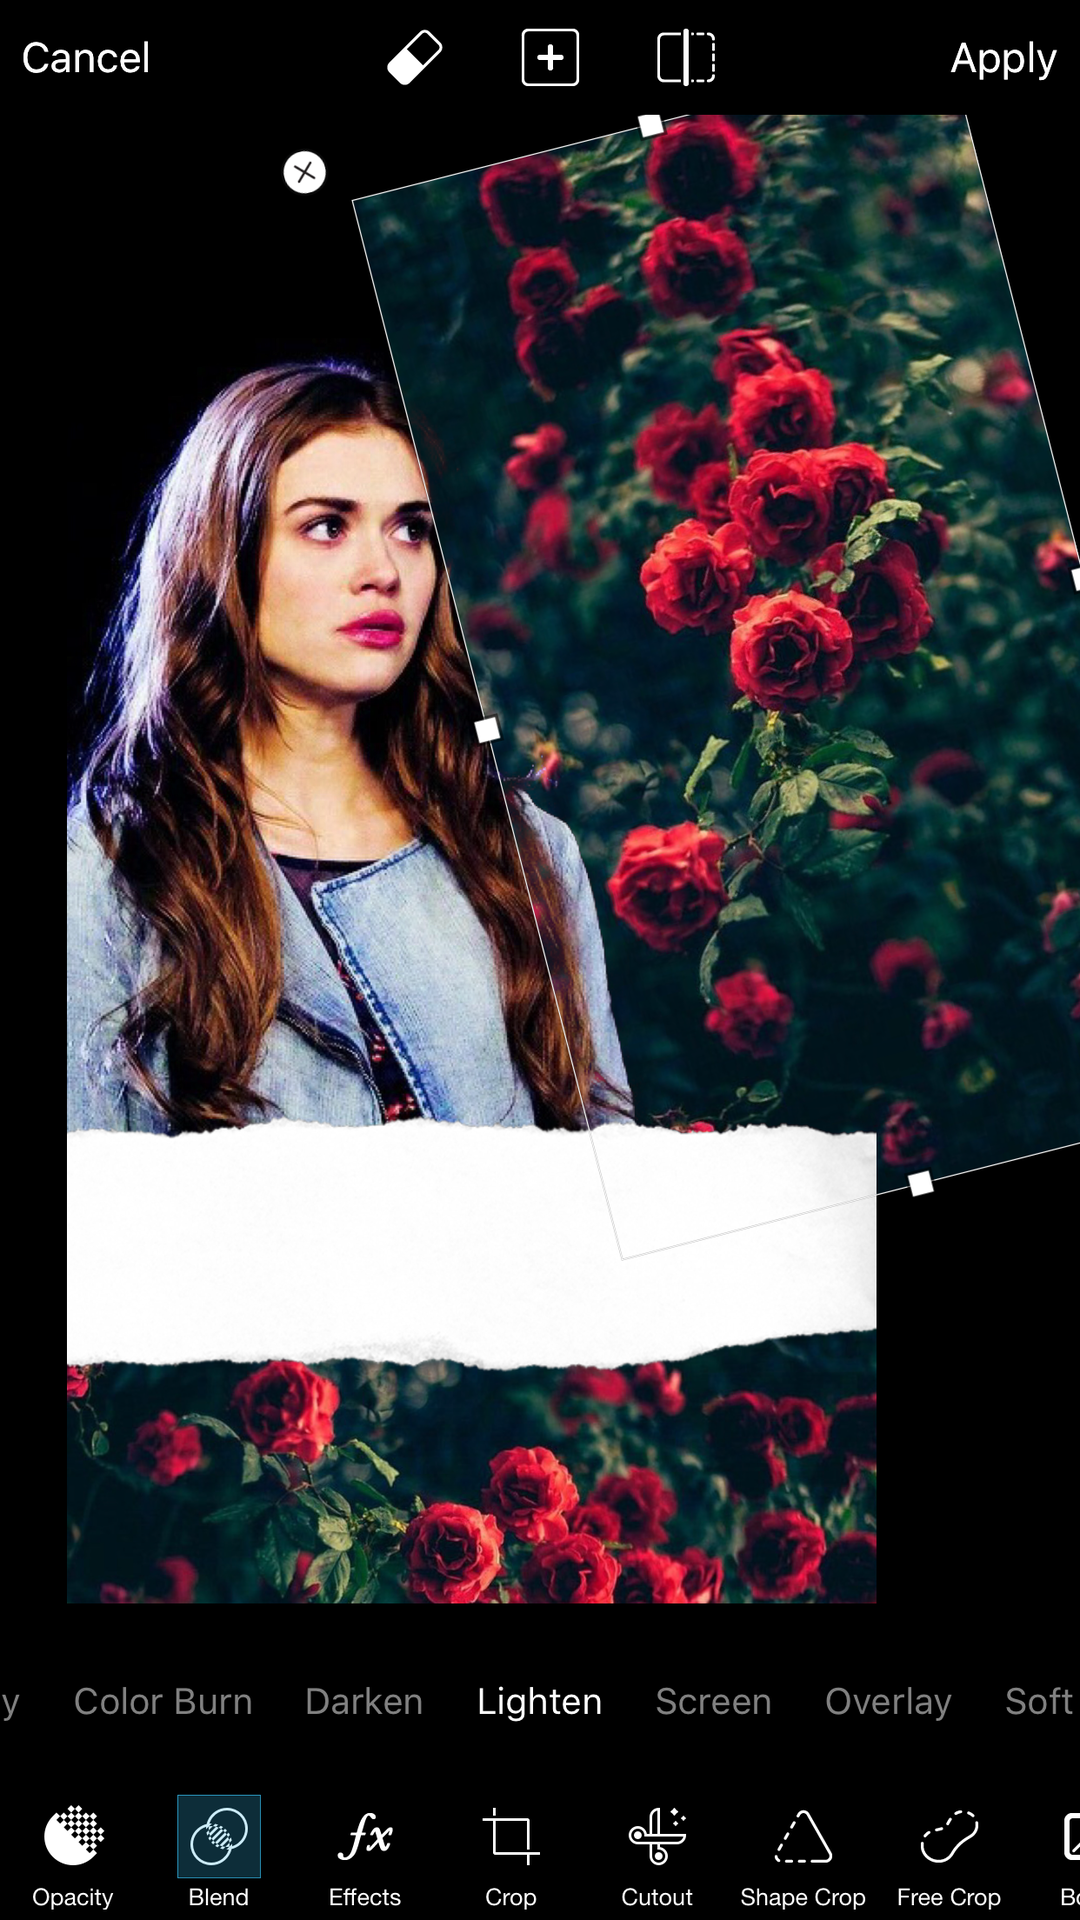
After this apply. Then click the option 'add photo' again (this is so that you don't accidentally move things around, cause I do sometimes and to see how the cover is coming along). Now, you're going to take the background again and blend it in with the 'lighten' option. Place nicely against your picture like this:
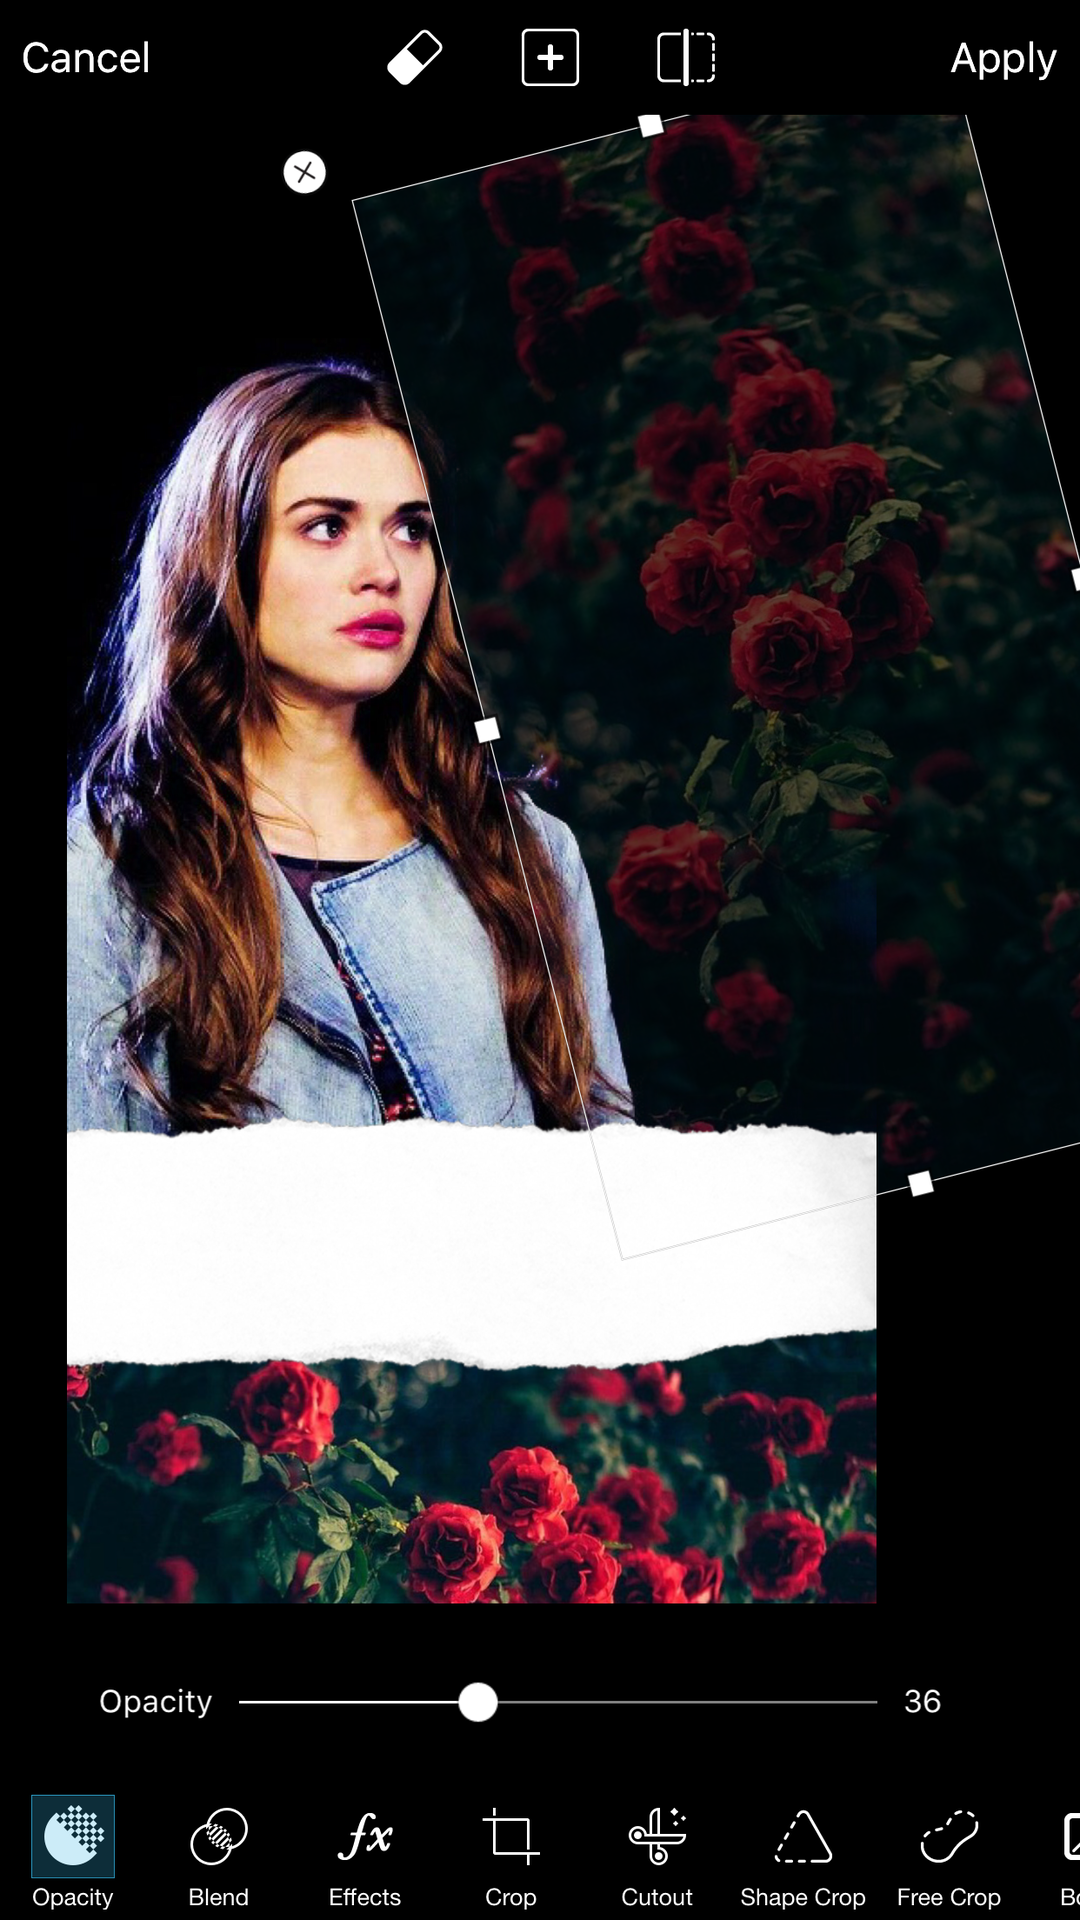
Reduce the opacity so that it ends up like this:
Step 4: it's always nice to add depth to your edit so I took a newspaper print and added it to the bottom of the cover, like so:
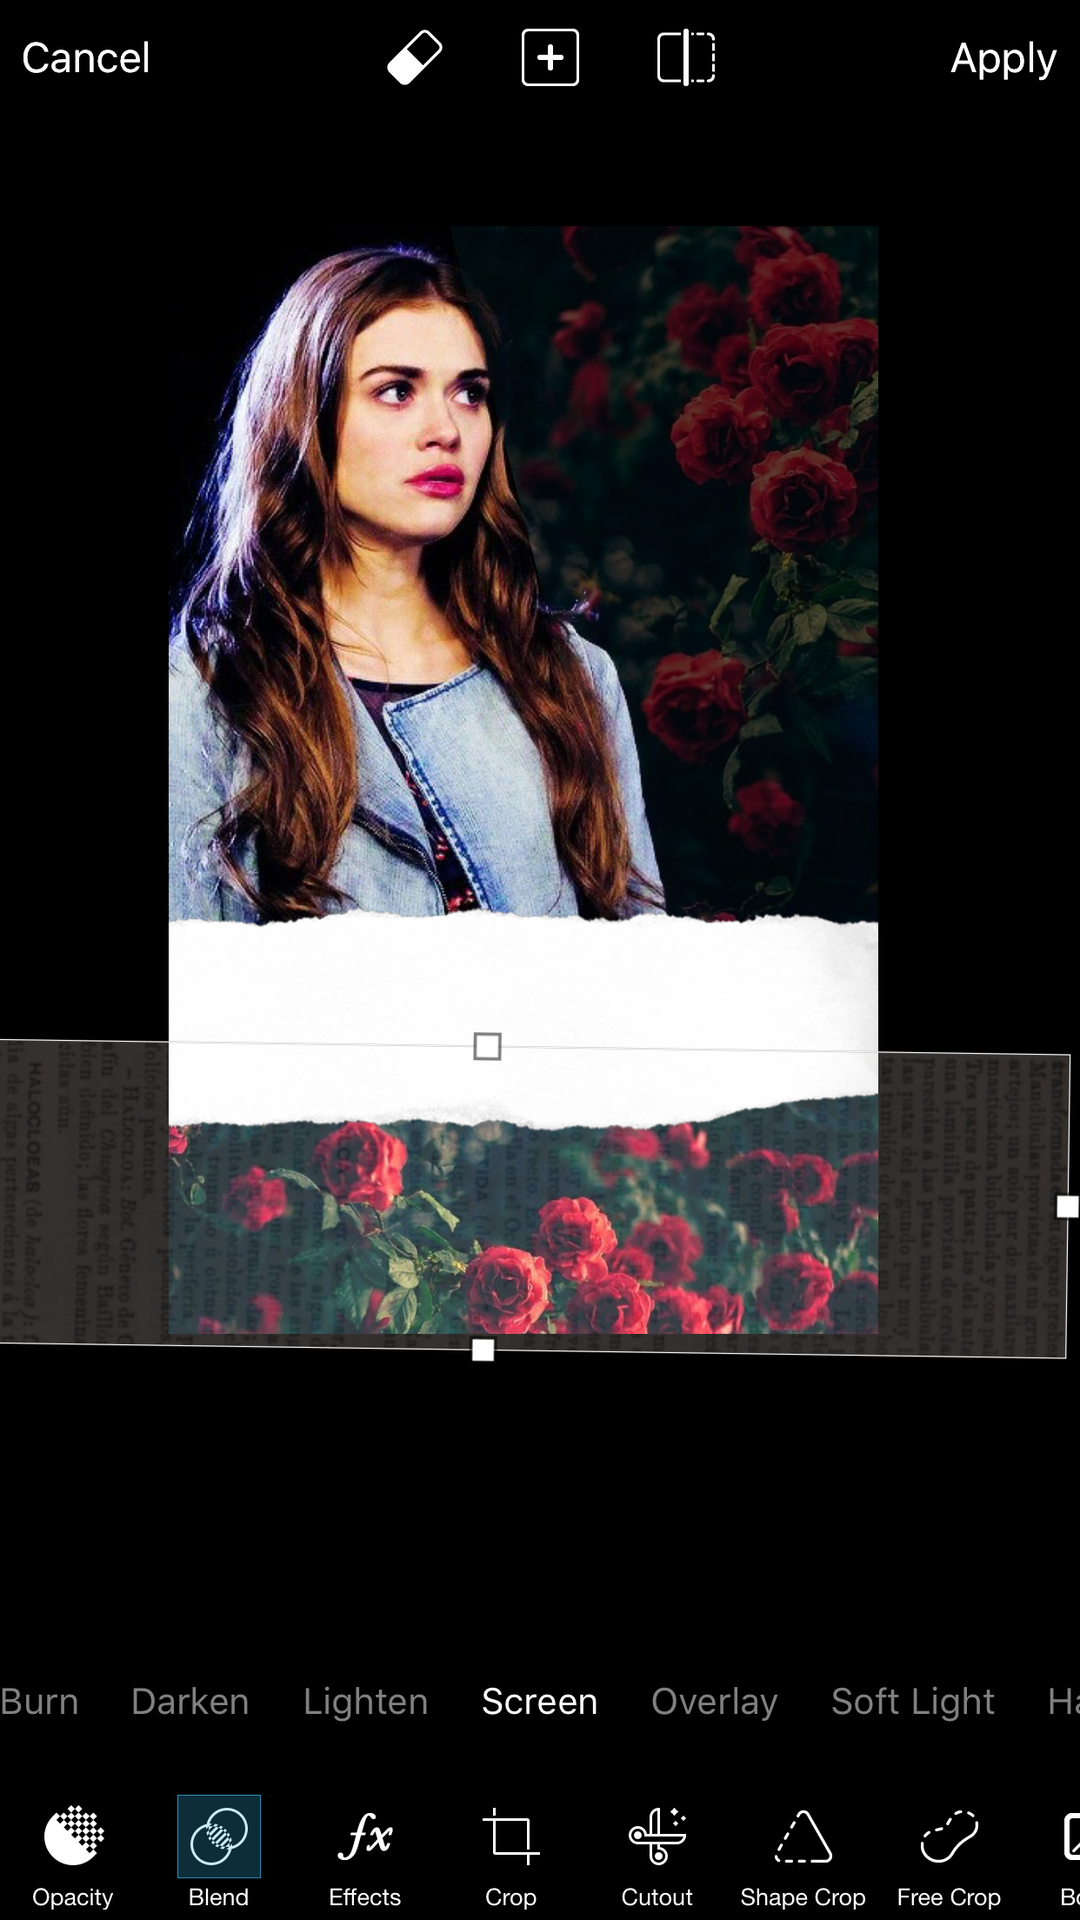
Blend it in using the 'Screen' option and reduce the opacity.
I also added a starry effect (Google stars) and added this to the top part of the edit, blending it in with 'lighten' option. In places where it overlaps with the person/people you can rub out those bits (I've circled the option):
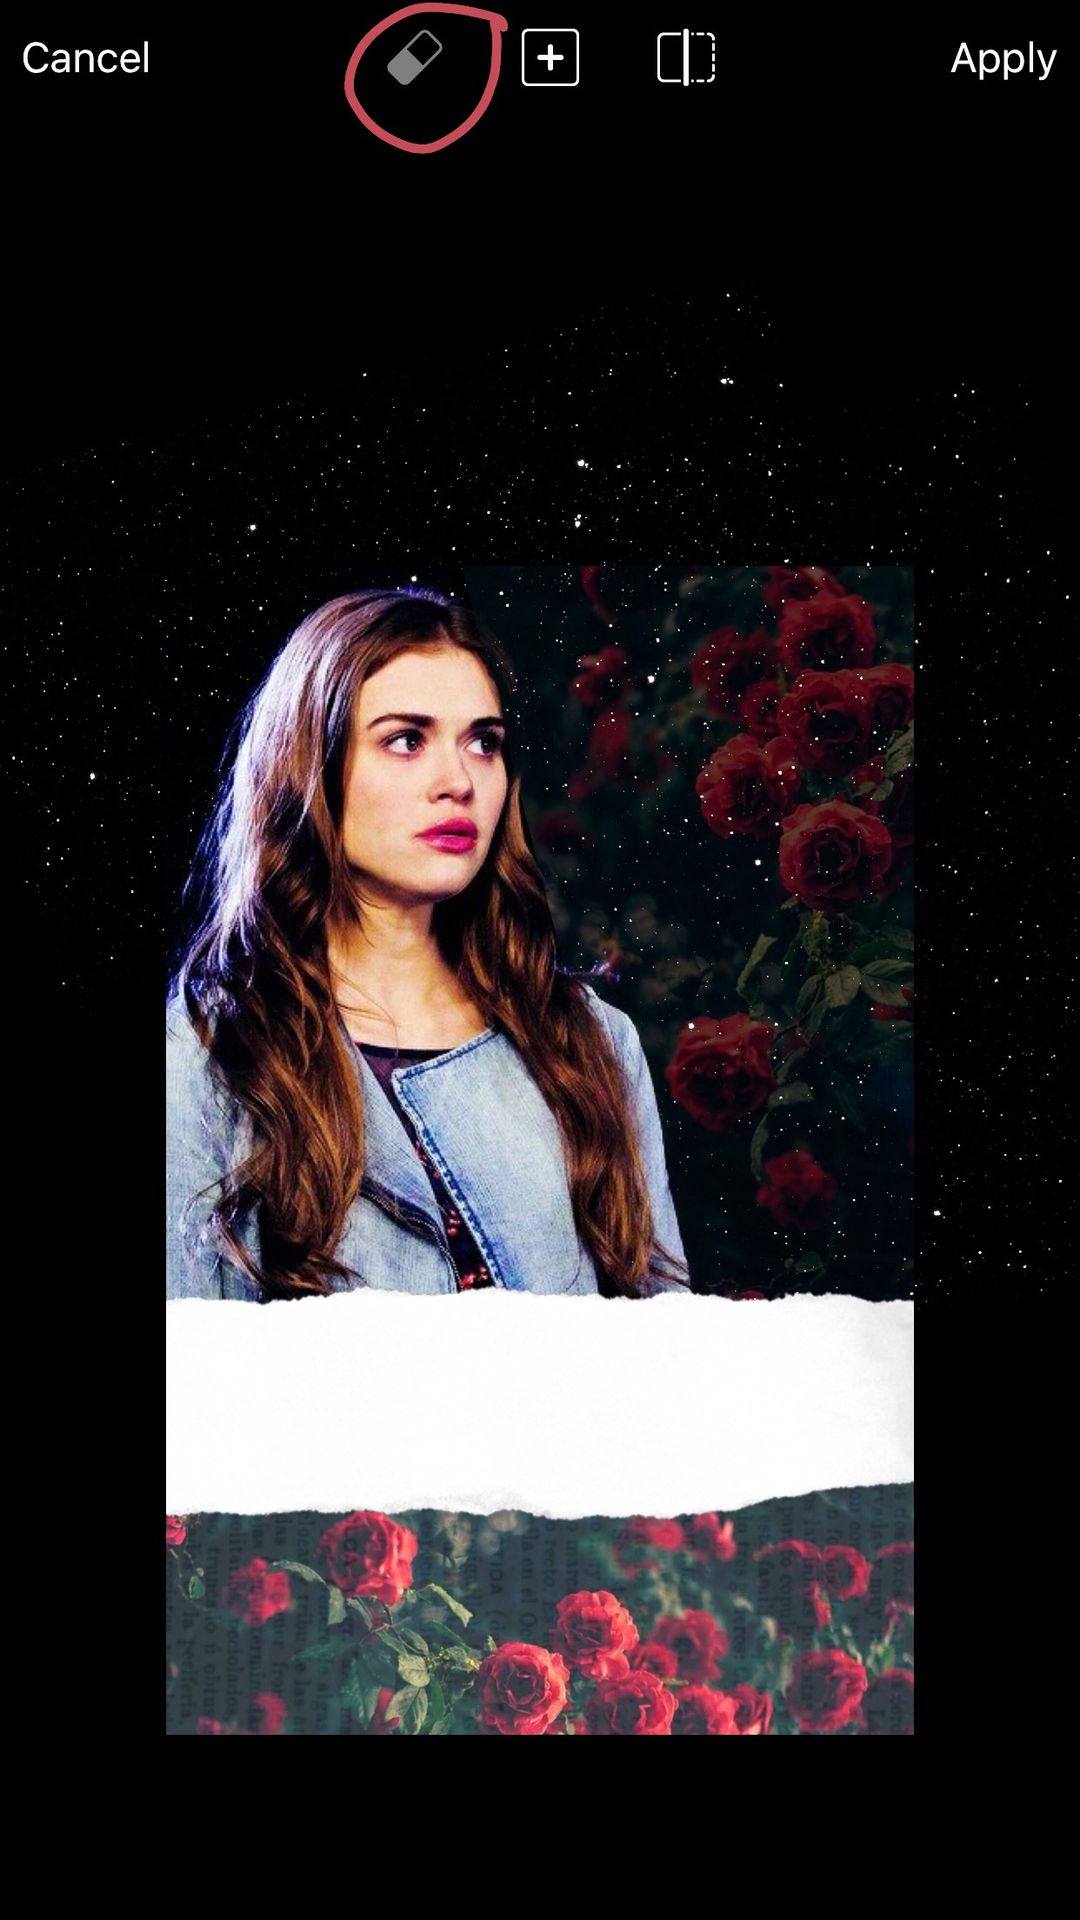
(The option becomes available when you click on the picture you want to rub out from).
Step 5: Now that we've made the edit, we need to add in the title, your username and anything else you may wish to put in. Open Phonto to do this. For this cover, I used these two fonts:

If you don't have them, I explained how you get fonts in a previous chapter.
Click anywhere on the image and add text. This is what I put:

For the title, I first put it in the PingFang font. Then add the title again but in the other font, in a different colour so that you're able to read both. Place the fancy font on top of the normal font.
You can make sure your text is centred by clicking move and pressing >A< at the bottom of the screen.
And then, you're done! Once I'm done, I put the cover in the Wattpad covers app for safe keeping. Here is a variation of the cover idea:
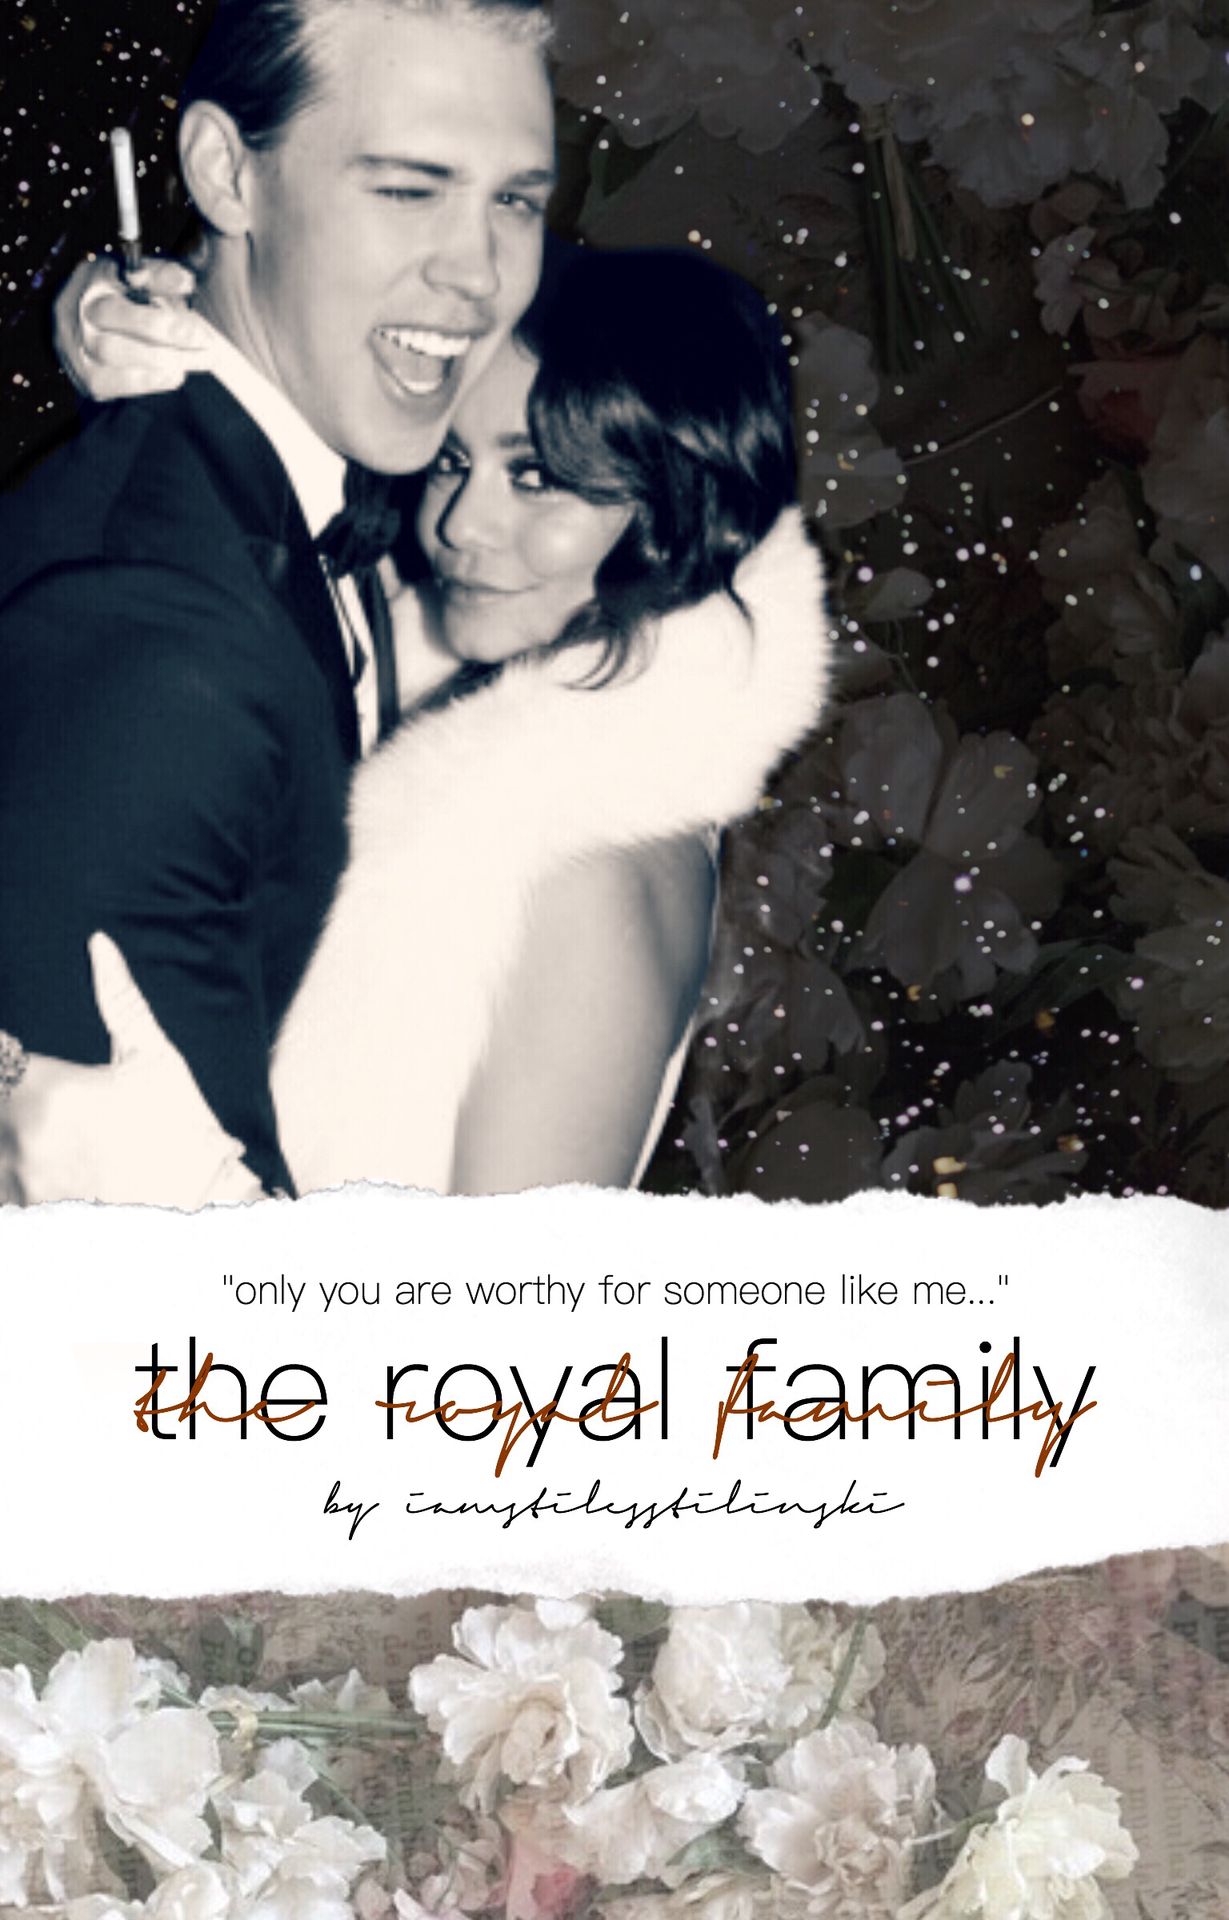
If you use the idea, show me. I am genuinely interested to know if anyone reads this book.
Until next time, you know you love me.
Xoxo, Mandi 💋

Bạn đang đọc truyện trên: AzTruyen.Top