PNGs

Hello. It's me. And today we're going to learn 'bout PNGs.
So a PNG is a picture with a transparent background (it has no background). Such as this one:
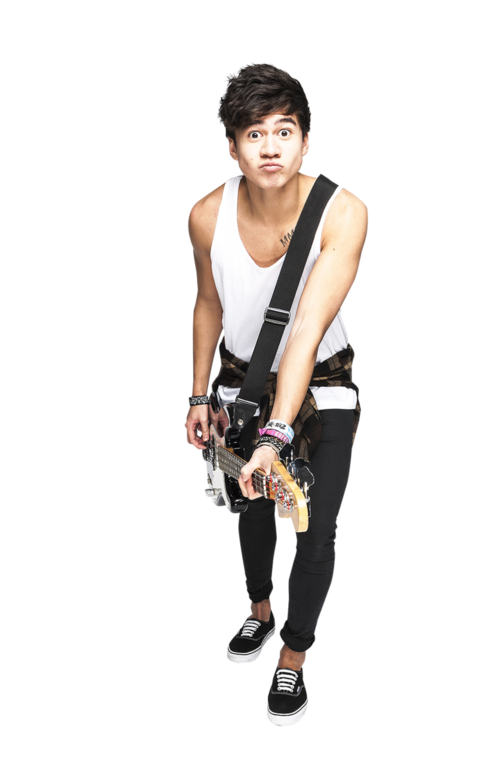
You can easily google for a PNG from Google but sometimes you can't find one. In such a situation you may be forced to make your own PNG. There are many apps that allow you to do this, such as SuperImpose (which you have to buy), Edge Tracer (but there's a chance of quality decrease, etc. We're going to learn how to make one in PicsArt.
For this tutorial, I will be using this picture of Harry Styles.

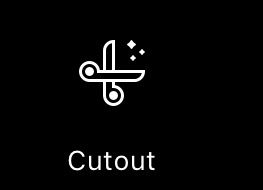
First, you want to find the 'Cutout' option. It looks like this:
Next, you want to outline the thing/person you want to cutout, like so:
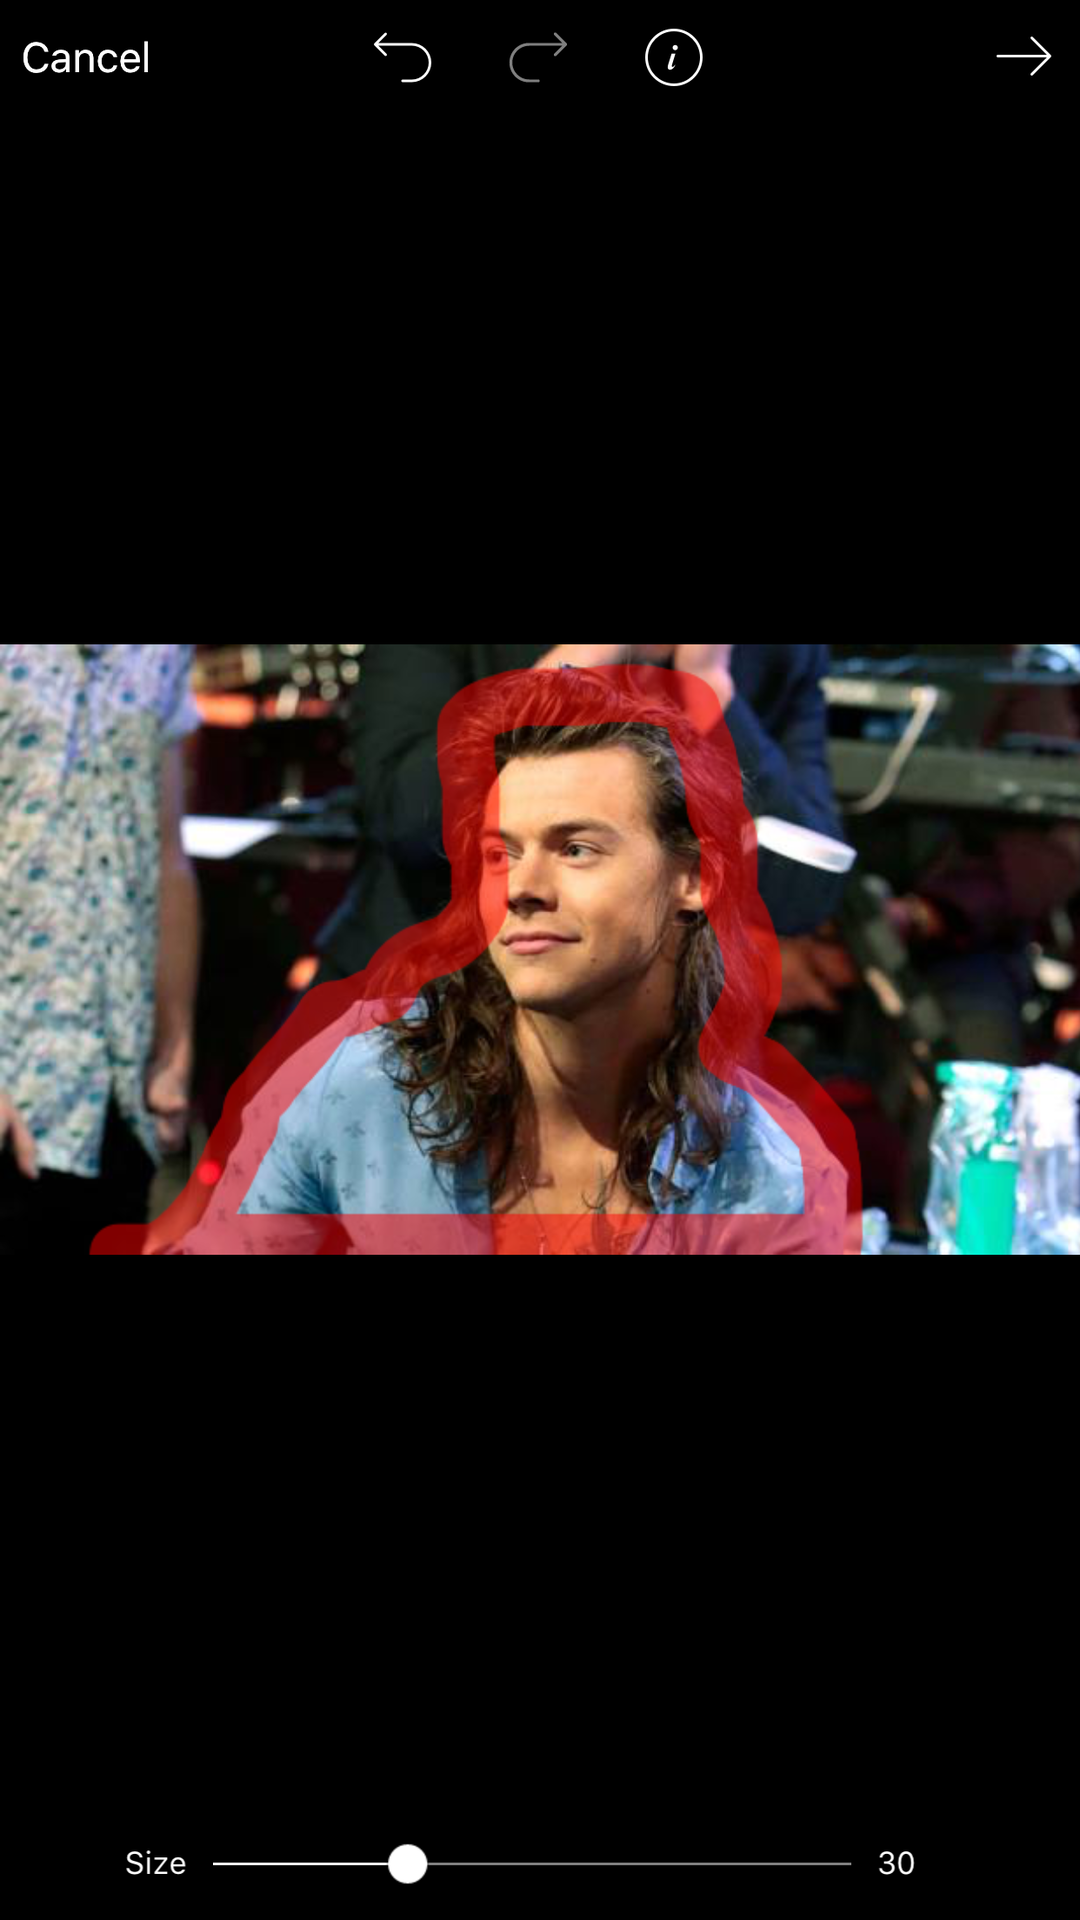
You may need to alter the size of the red line.
Next, it will take a few seconds for PicsArt to attempt to cut out the PNG for you. Sometimes it does a perfect job, sometimes not so much. In that case, you'll have to fix a few things yourself.
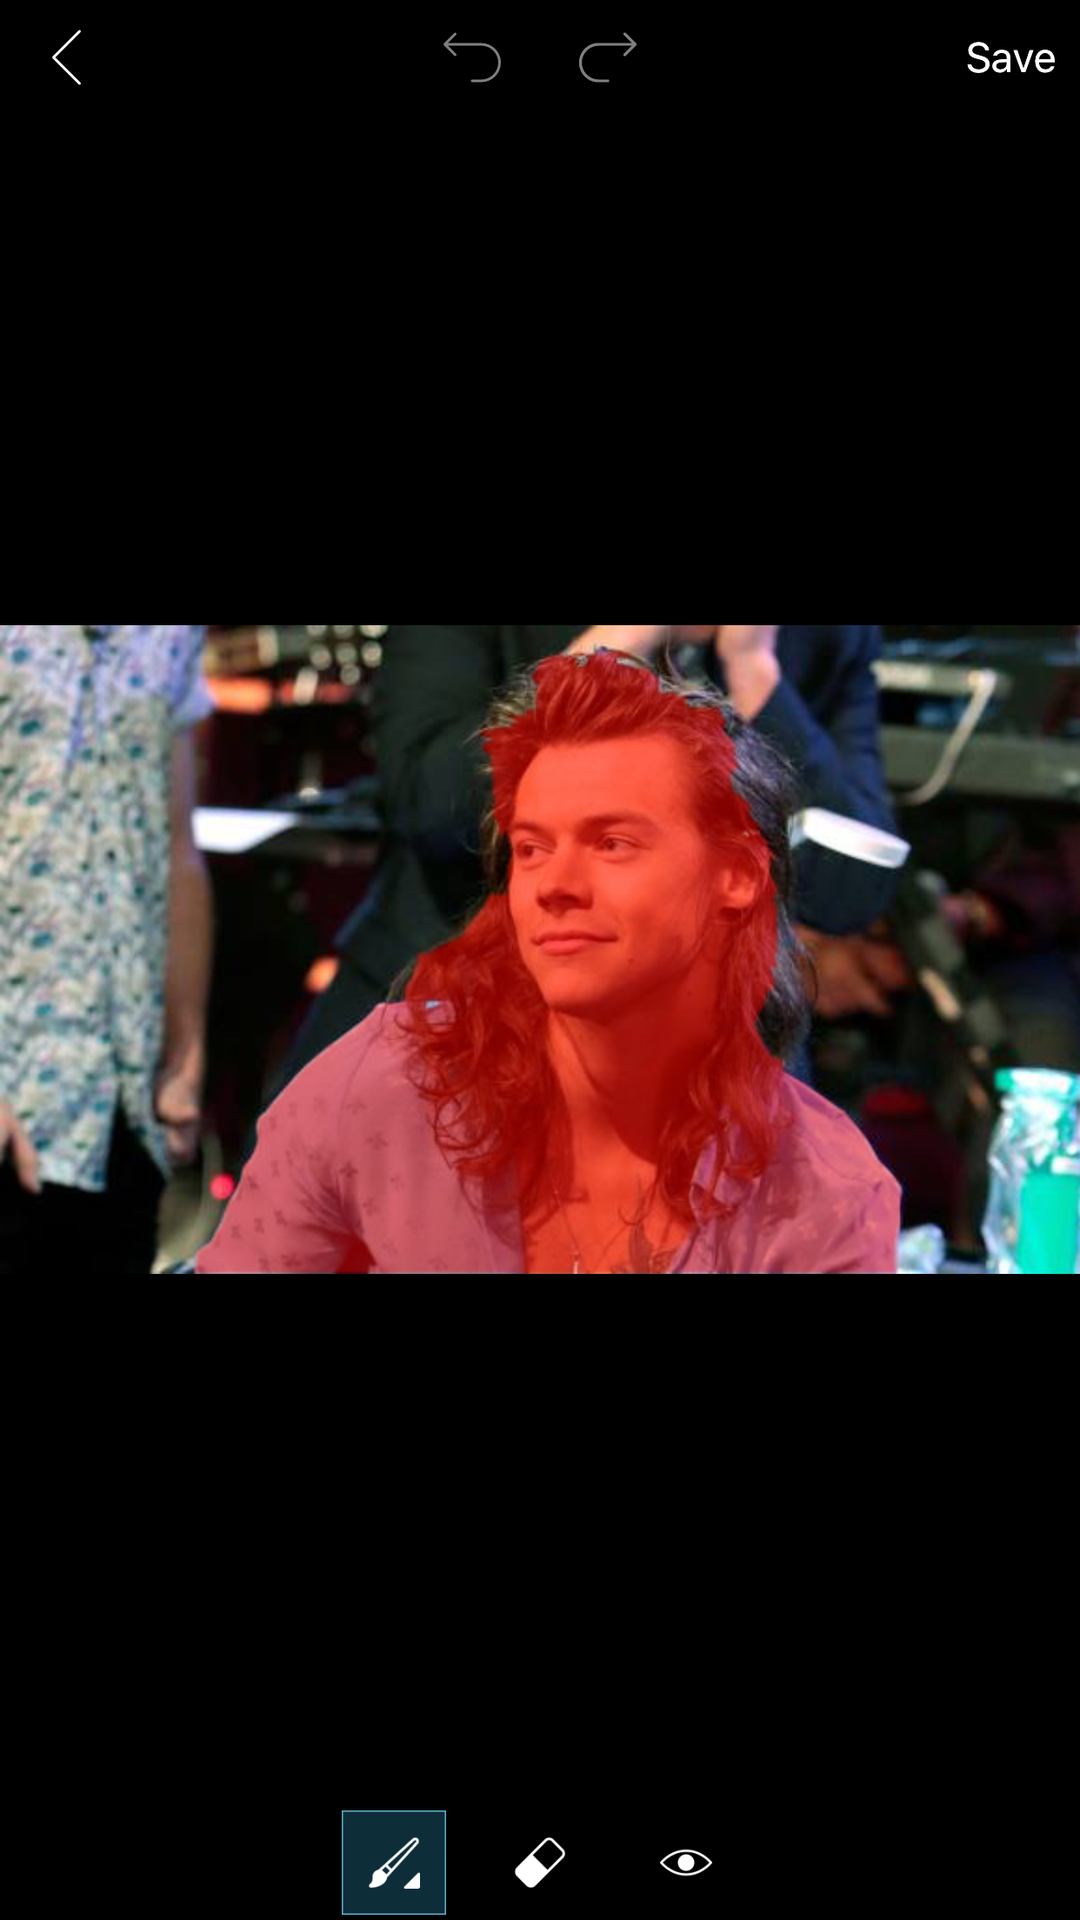
As you can see, PicsArt left out part of Harry's hair. I'll need to add that back in.
As you can see at the bottom of the screen, there are 3 options.
Paintbrush - this allows you to add to the PNG
Eraser - allows you to remove bits you don't want in the PNG
Eye - this let's you see what the red part will look like as a PNG. Use this option lots to make sure your PNG looks like something.
So now once I've added in the bits I want, this is what it'll look like:
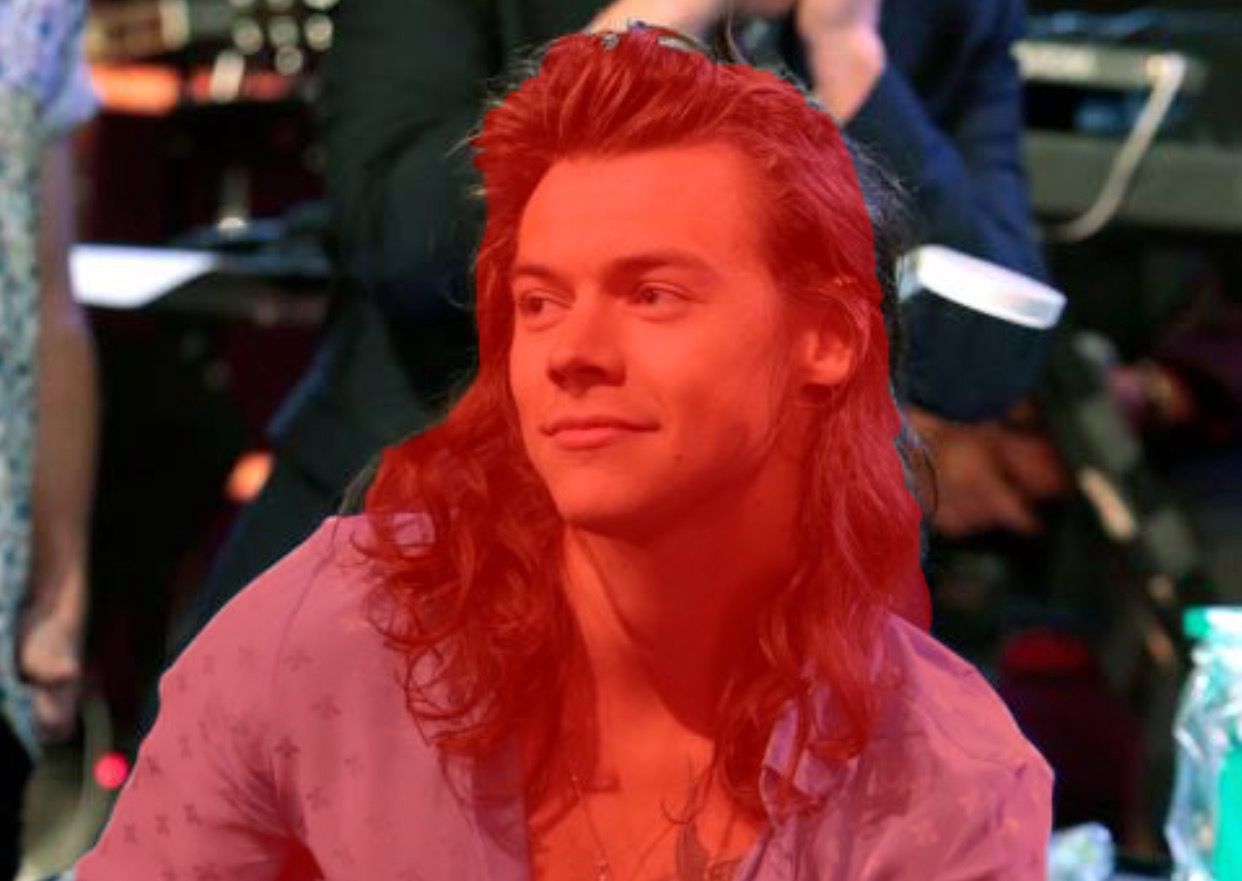
Now check that your PNG is okay by pressing the eye option:
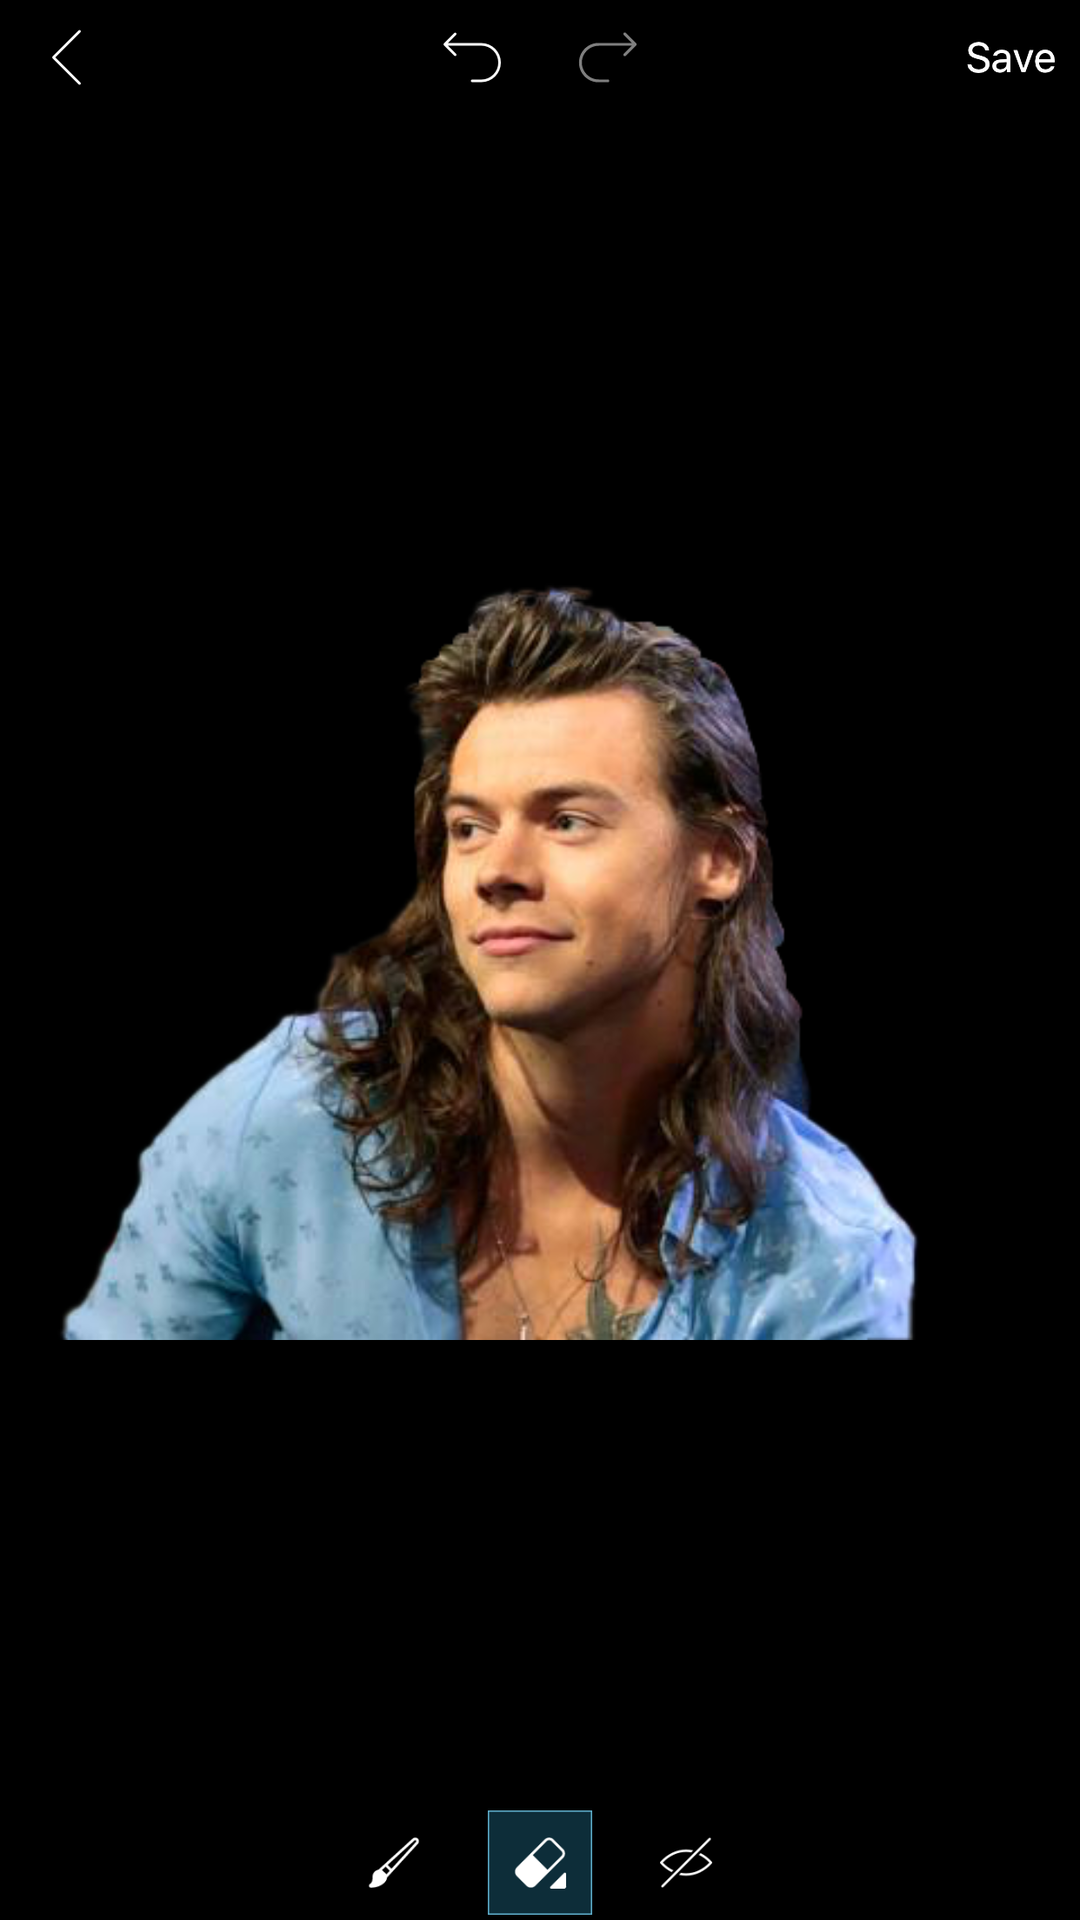
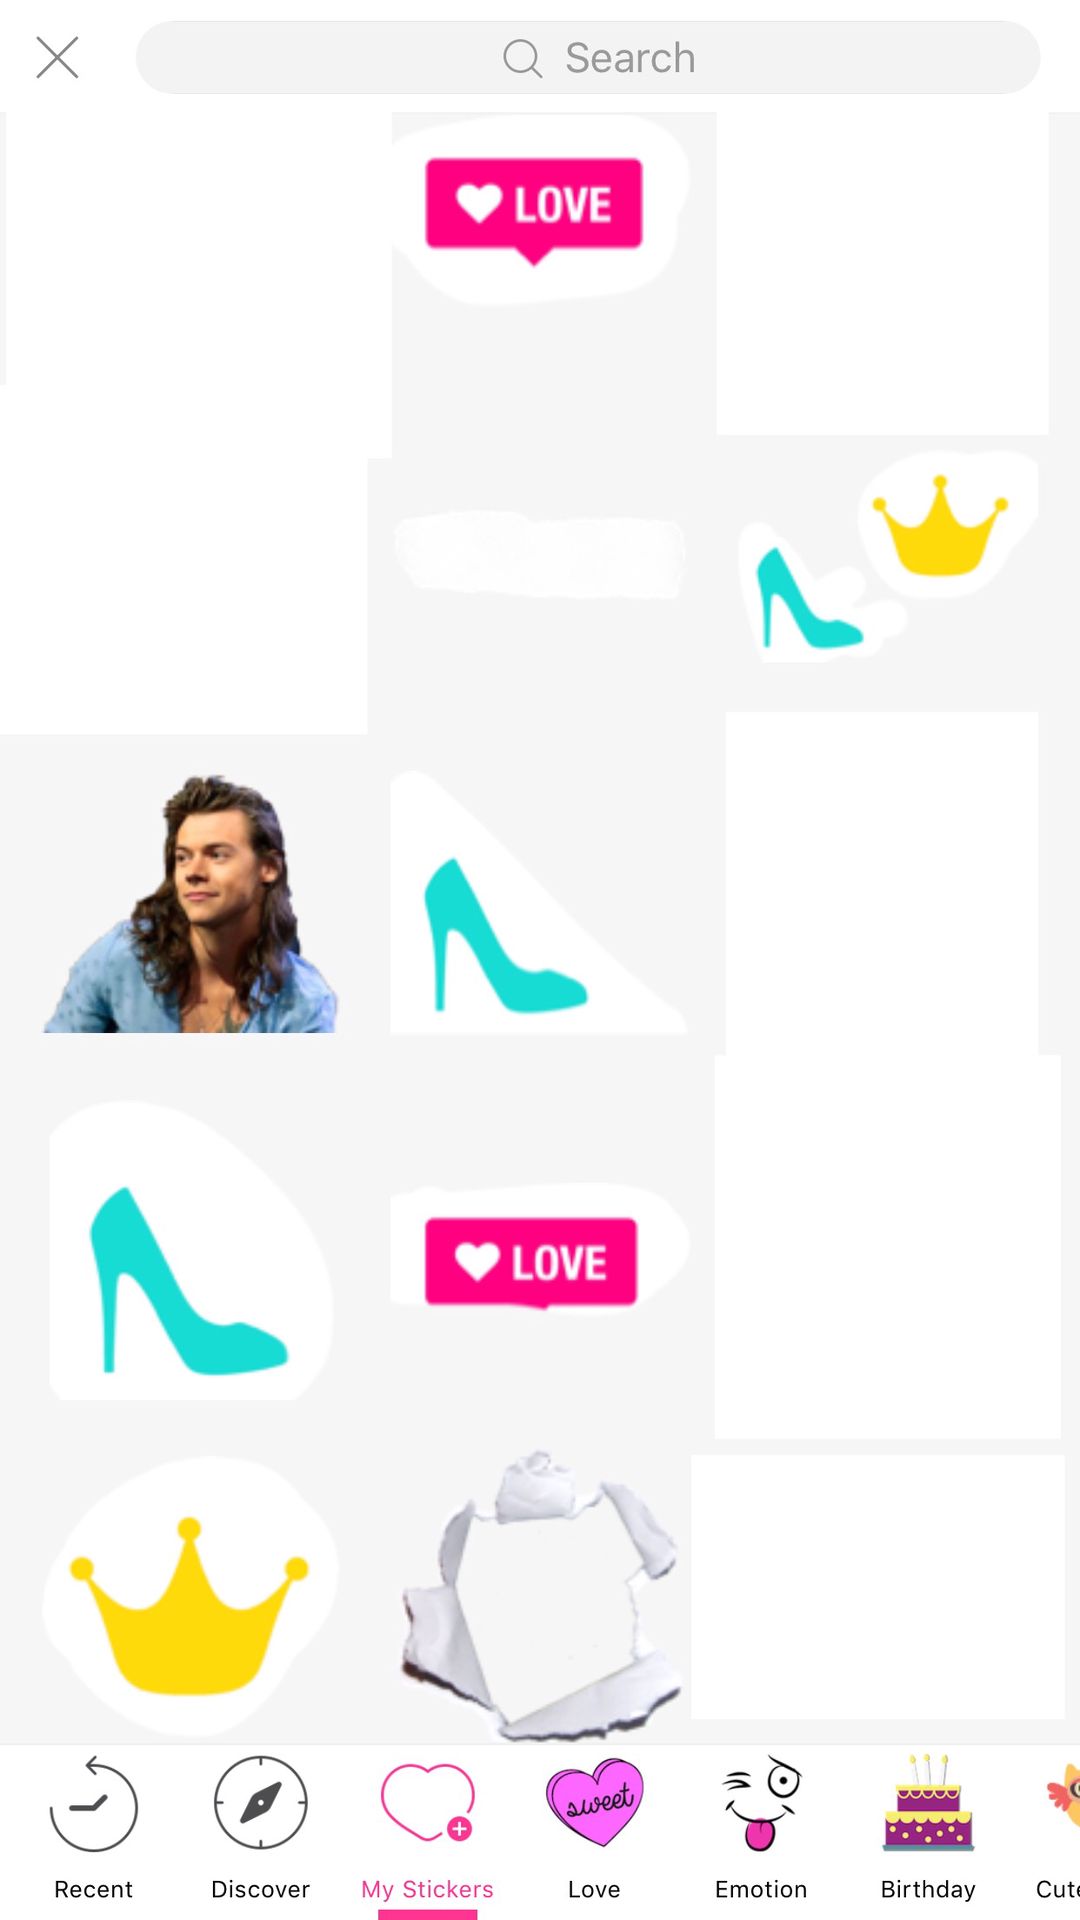
Once you're satisfied with it, you can save it. PicsArt will automatically save this to 'My Stickers'. You can open the sticker option at the bottom of the screen.
When you click the 'My Stickers' tab, you should find your (sticker in this case) PNG.
I hope this was helpful. If you have any queries, feel free to ask me in the comments or private message me (but rather comment cause my messages show up like 50 days later).
Until next time, you know you love me
xoxo, Mandi 💋

Bạn đang đọc truyện trên: AzTruyen.Top