Editting Tips and Tricks

Welcome.
Today we're going to learn to do a few things in PicsArt. For this tutorial, I used a PNG of Selena on a white background (if you're reading this Naz, I know you're excited cause she's your fave).
Anyway.
One
Pick the Dispersion option under the Tools tab.
Highlight the parts of the picture you would like to disperse, like so:
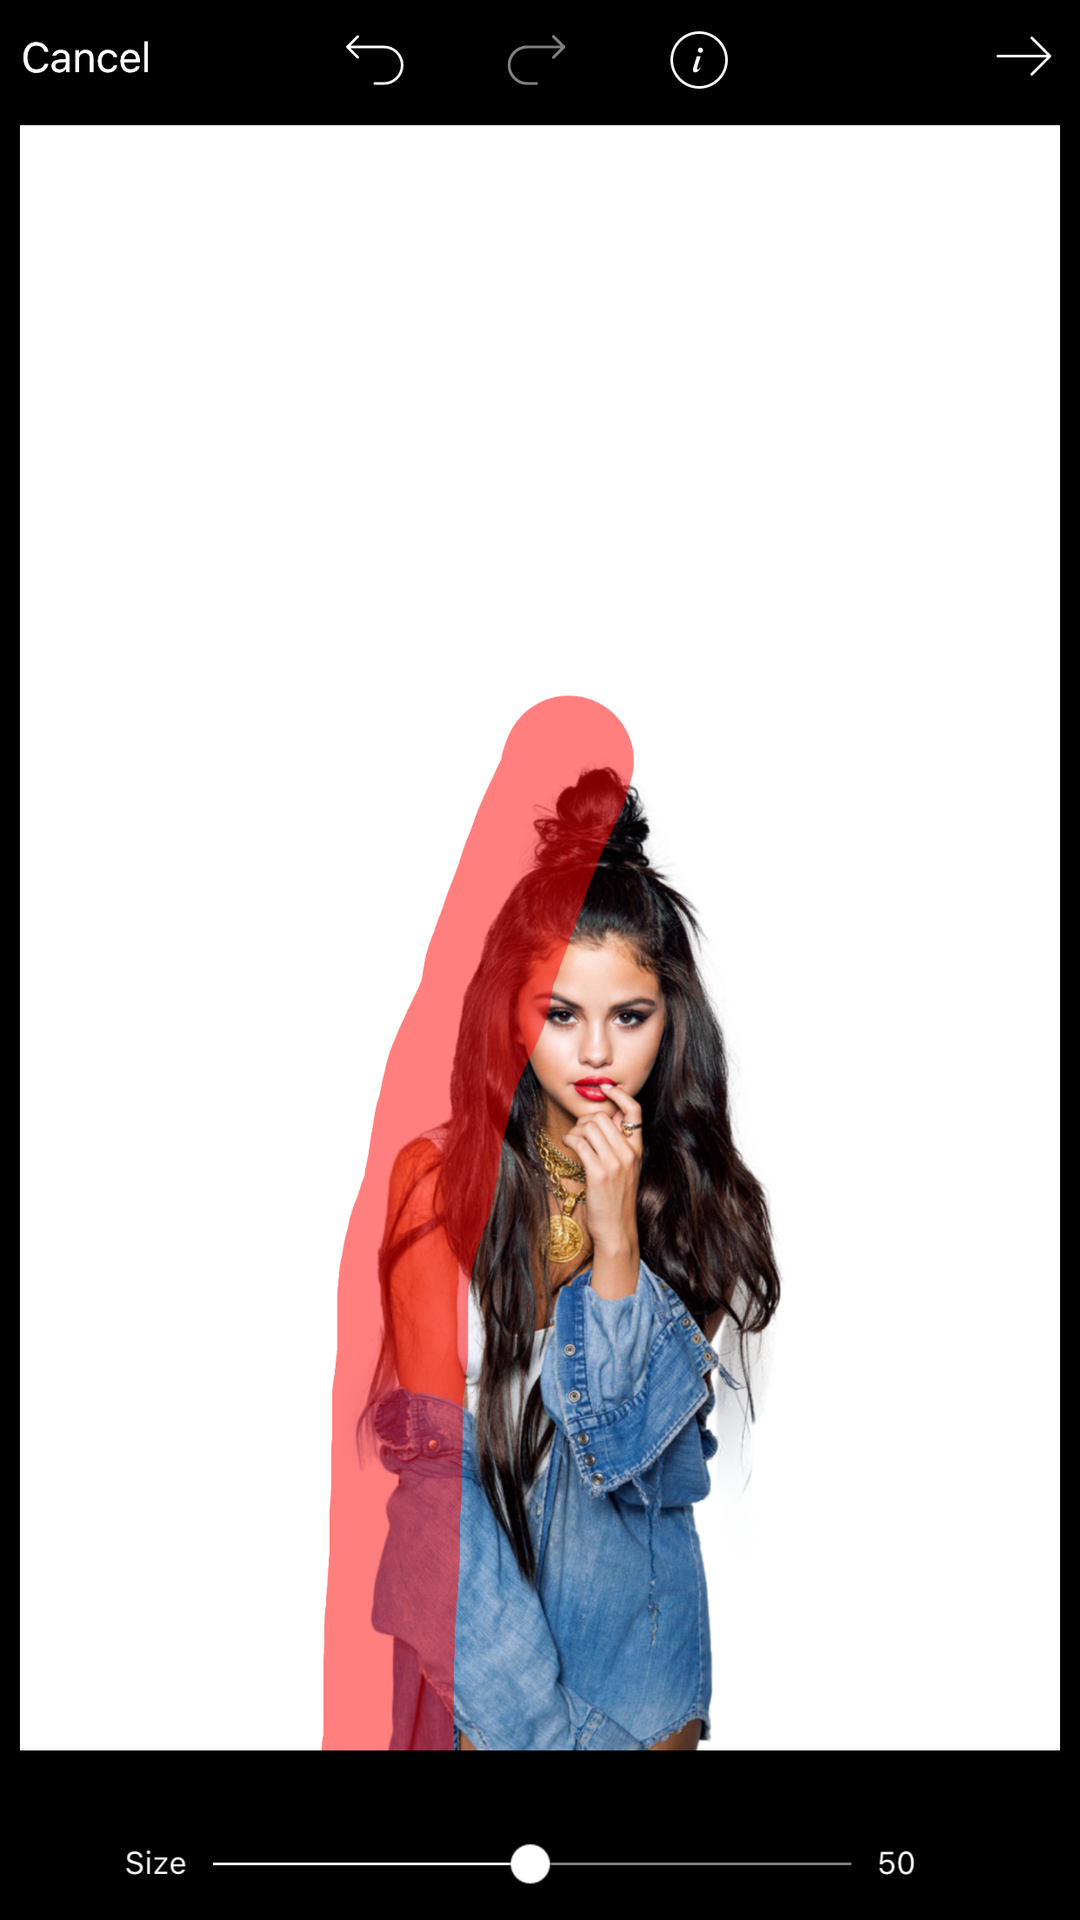
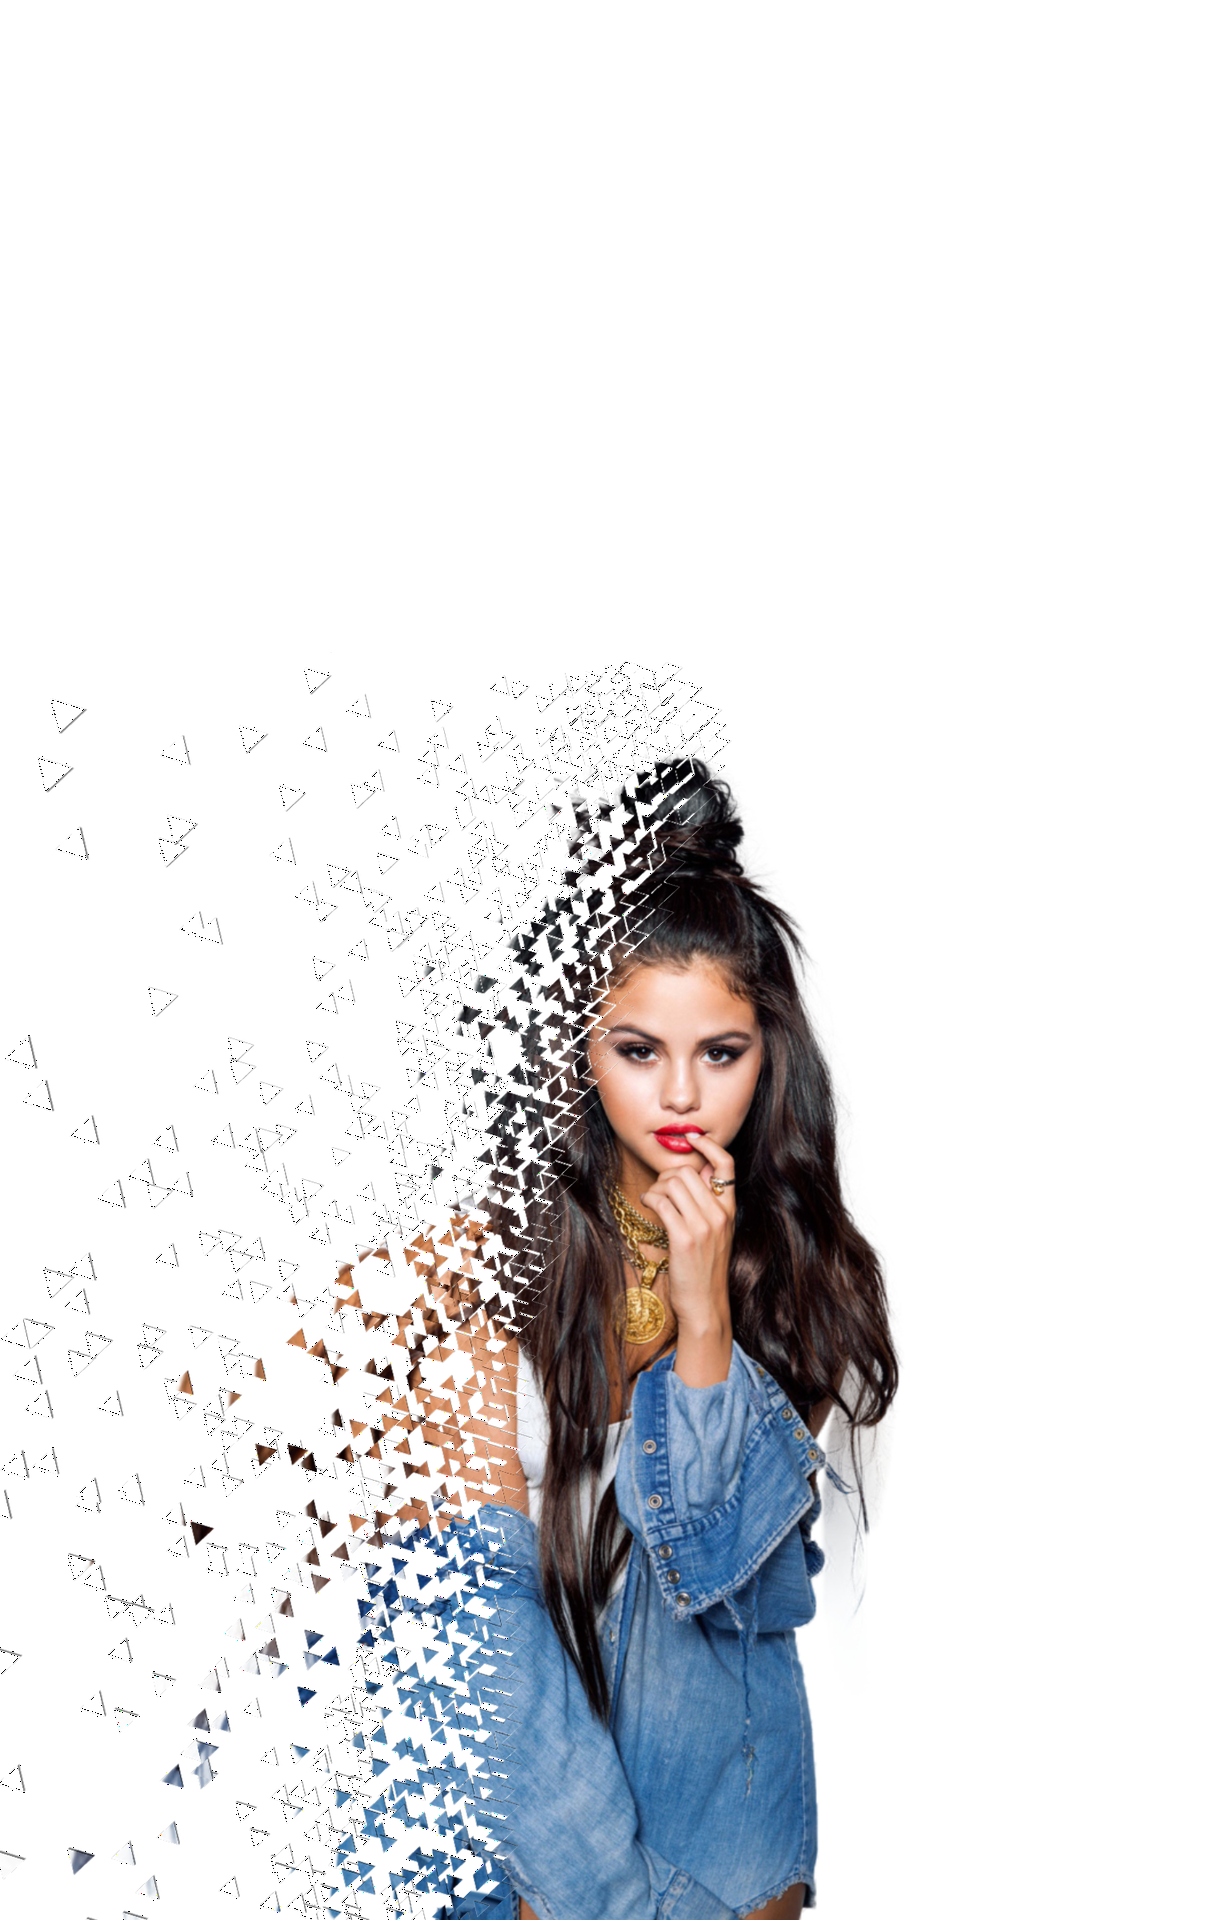
Click the next arrow and PicsArt will disperse those parts of the picture. A bunch of options will come up for you the change the size of the dispersed particles, their direction, opacity, etc. Do whatever makes you happy. I did, and this is what I came up with:
Two
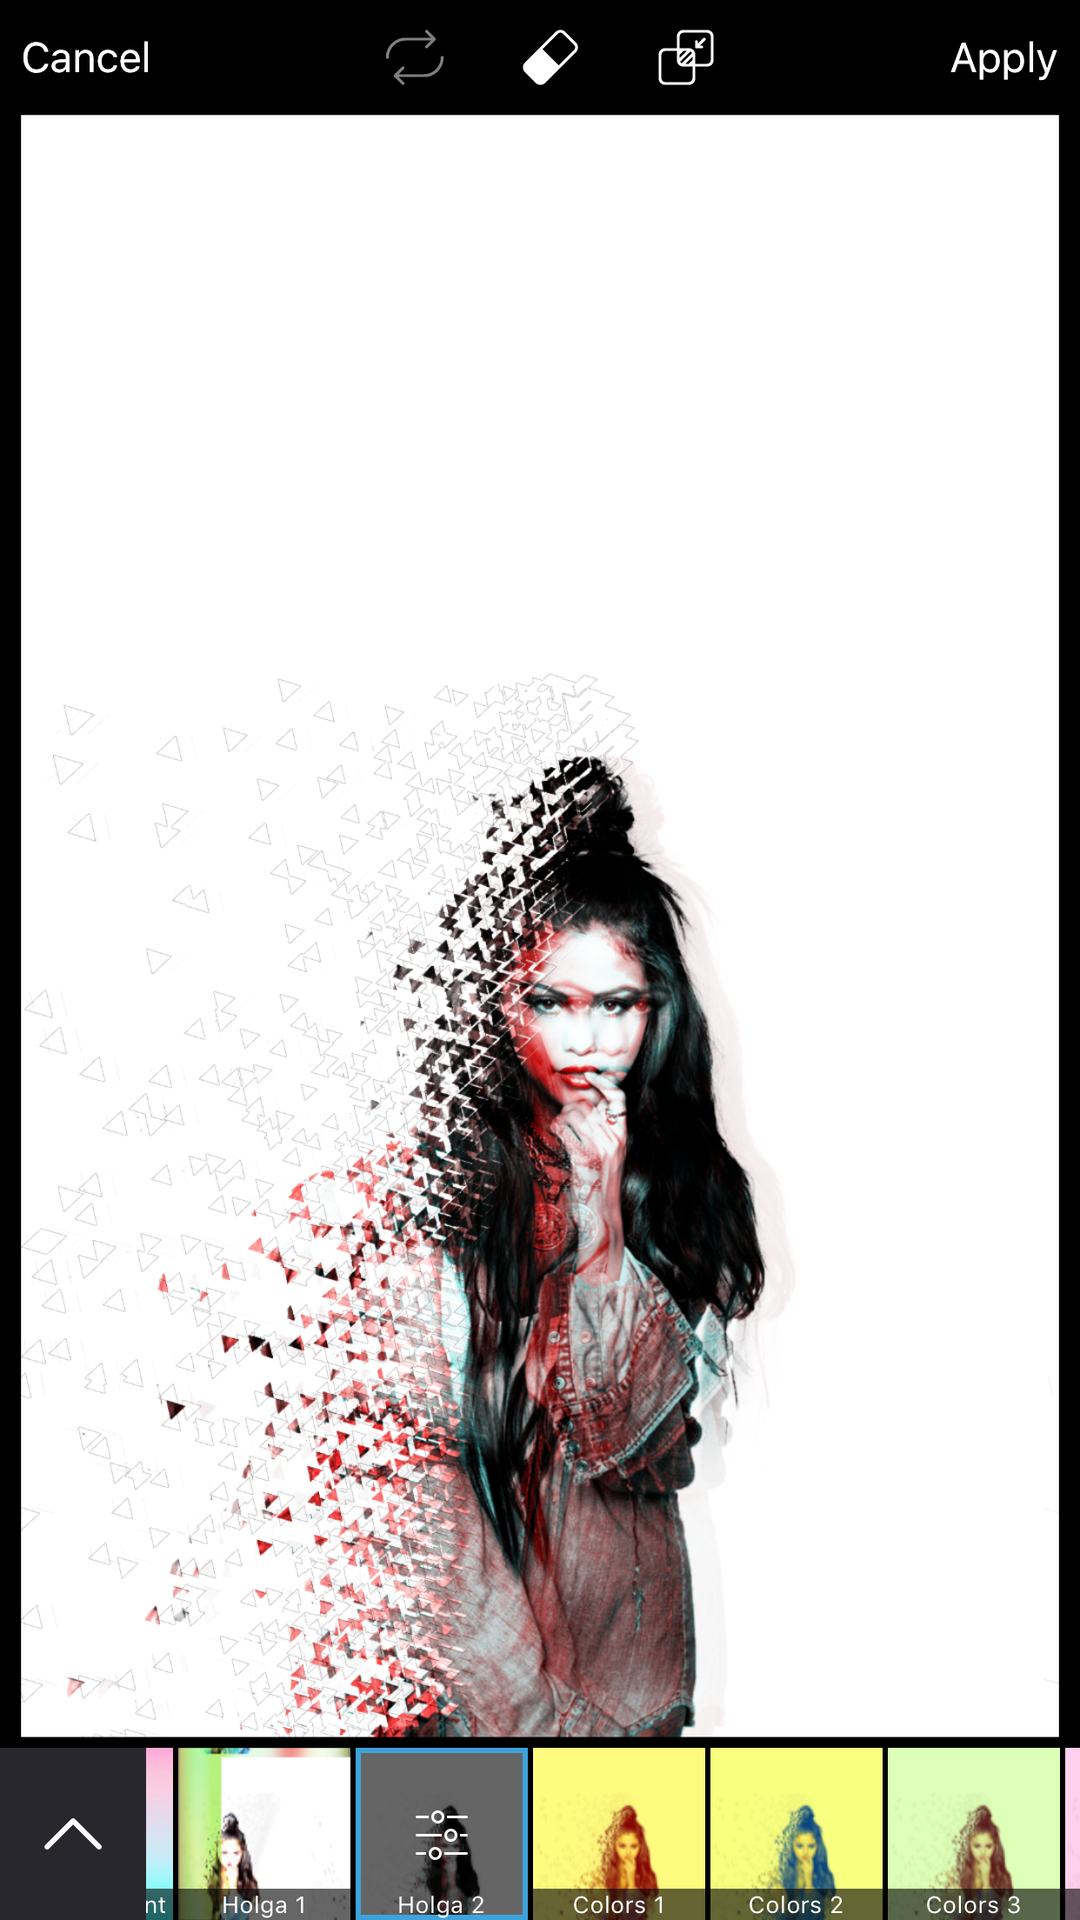
Ever wondered how to make your pictures have that blue and red 3D effect? Well look no further, Mandi is here to save you.
Click on the Effects tab and then go to Pop Art. Here, there is an effect called Holga 2. You can play around with it to make it suit you (as per usual), but yeah. That's how you do it.
Three
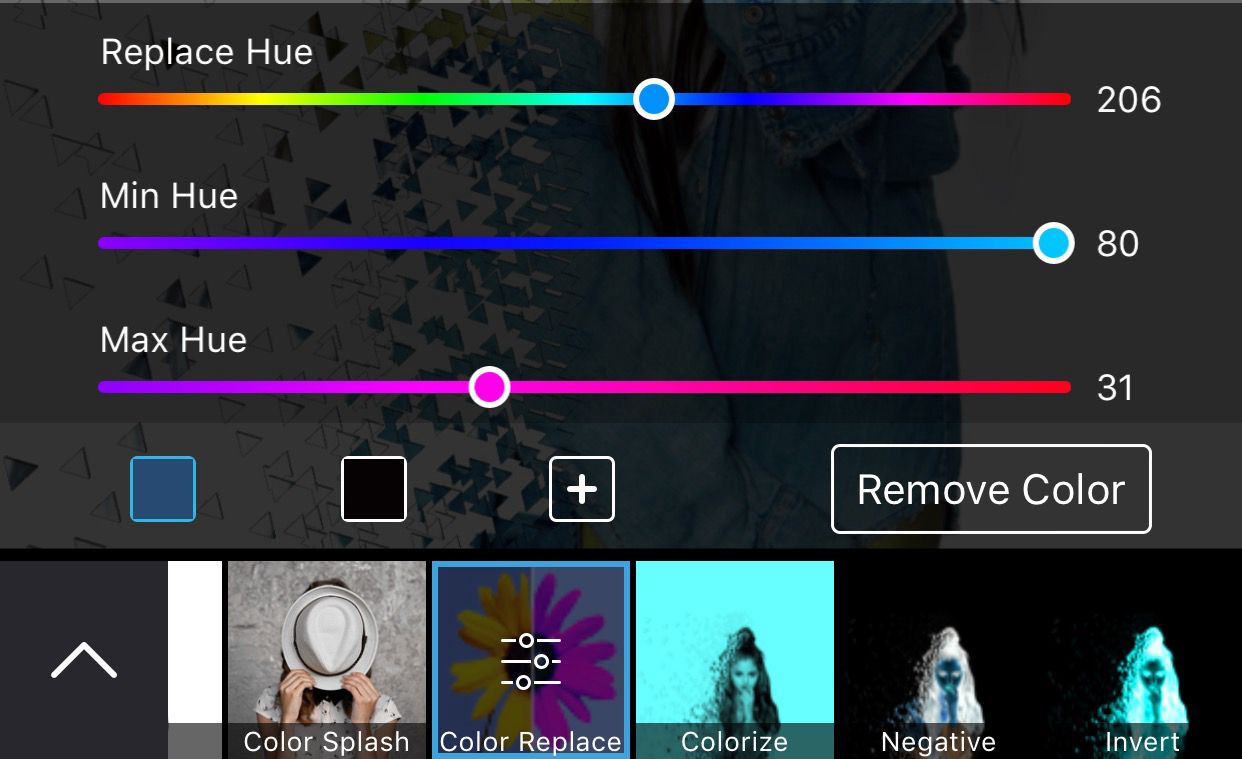
Now, sometimes you have a colour in something that you really don't want and you just need to recolour it. PicsArt lets you do that. Still under the Effects tab, there is Colors sub-tab (I don't know if anyone says that, but I will). Pick Color Replace.
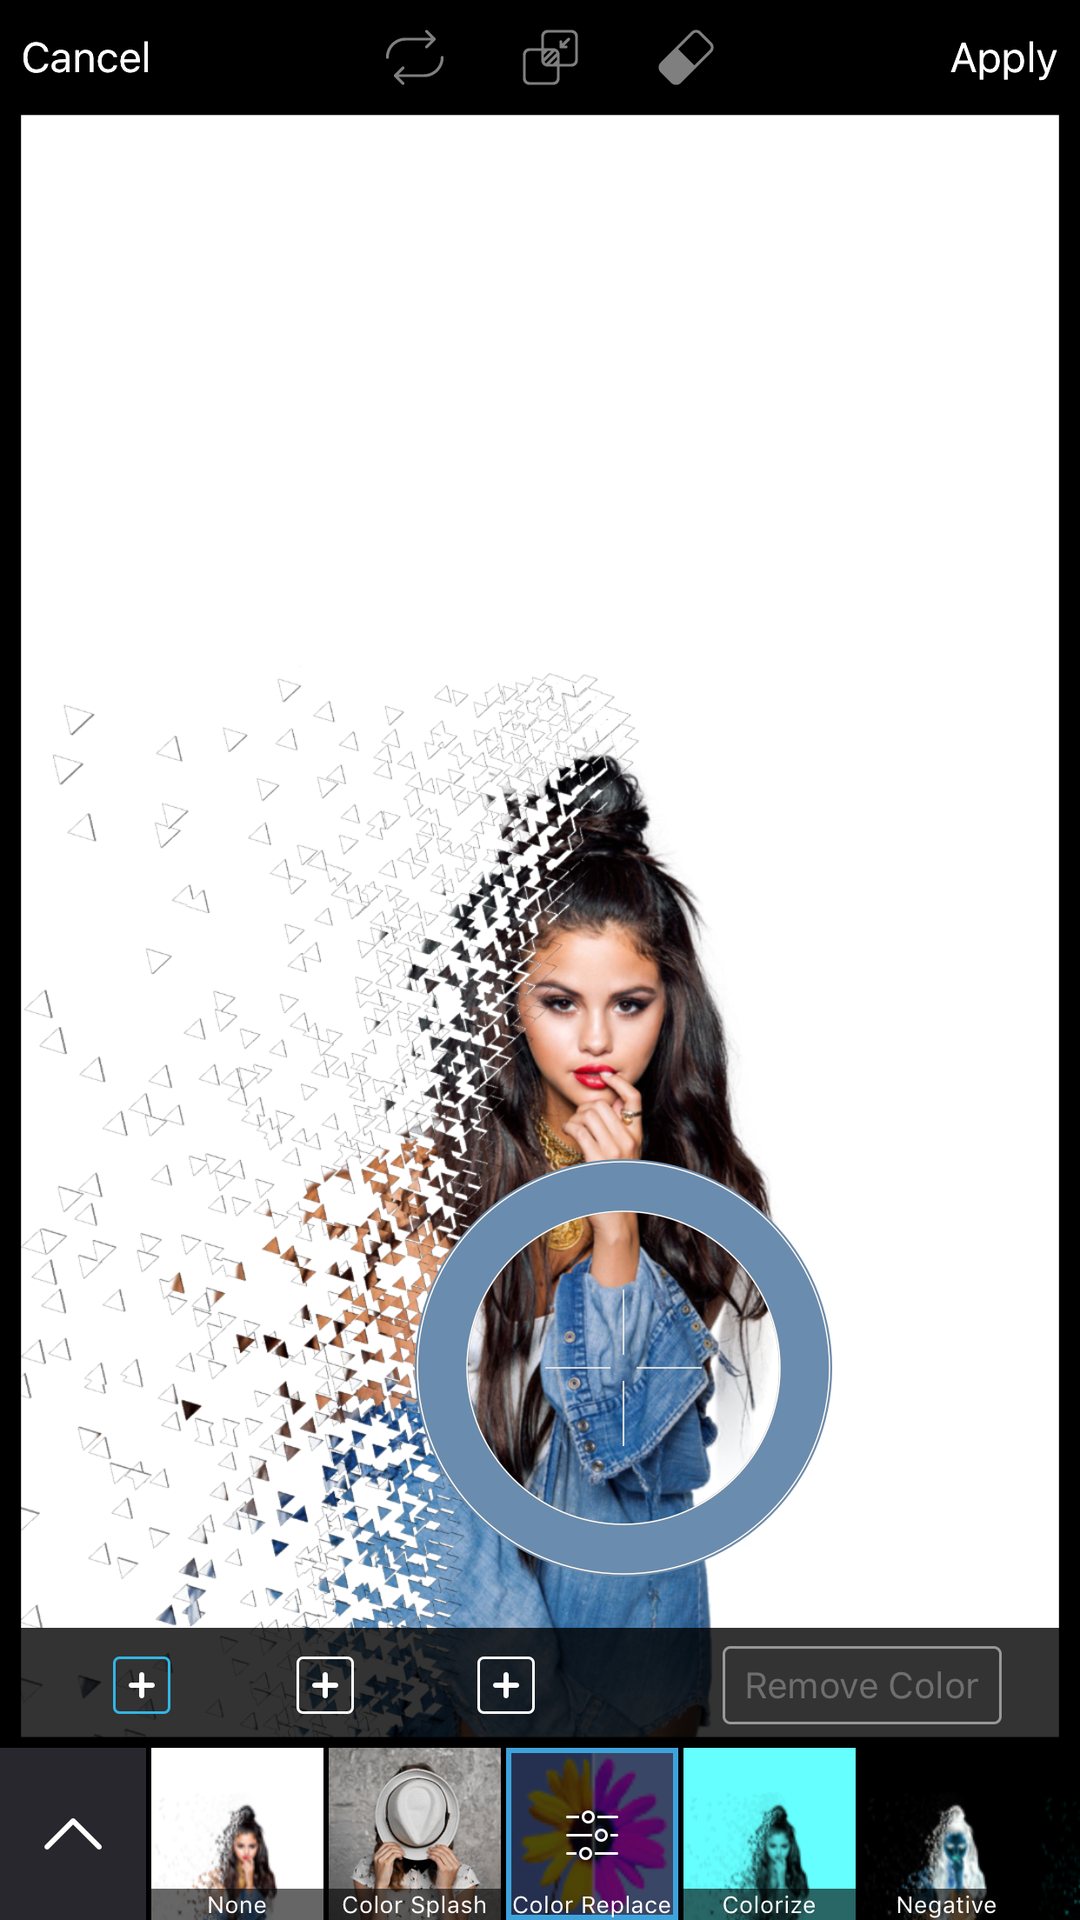
Place the pointer on the colour you would like to replace. PicsArt will put whatever colour it deems suitable but you can change that by clicking on the Color Replace option again (there's those weird toggle bar things on it now).
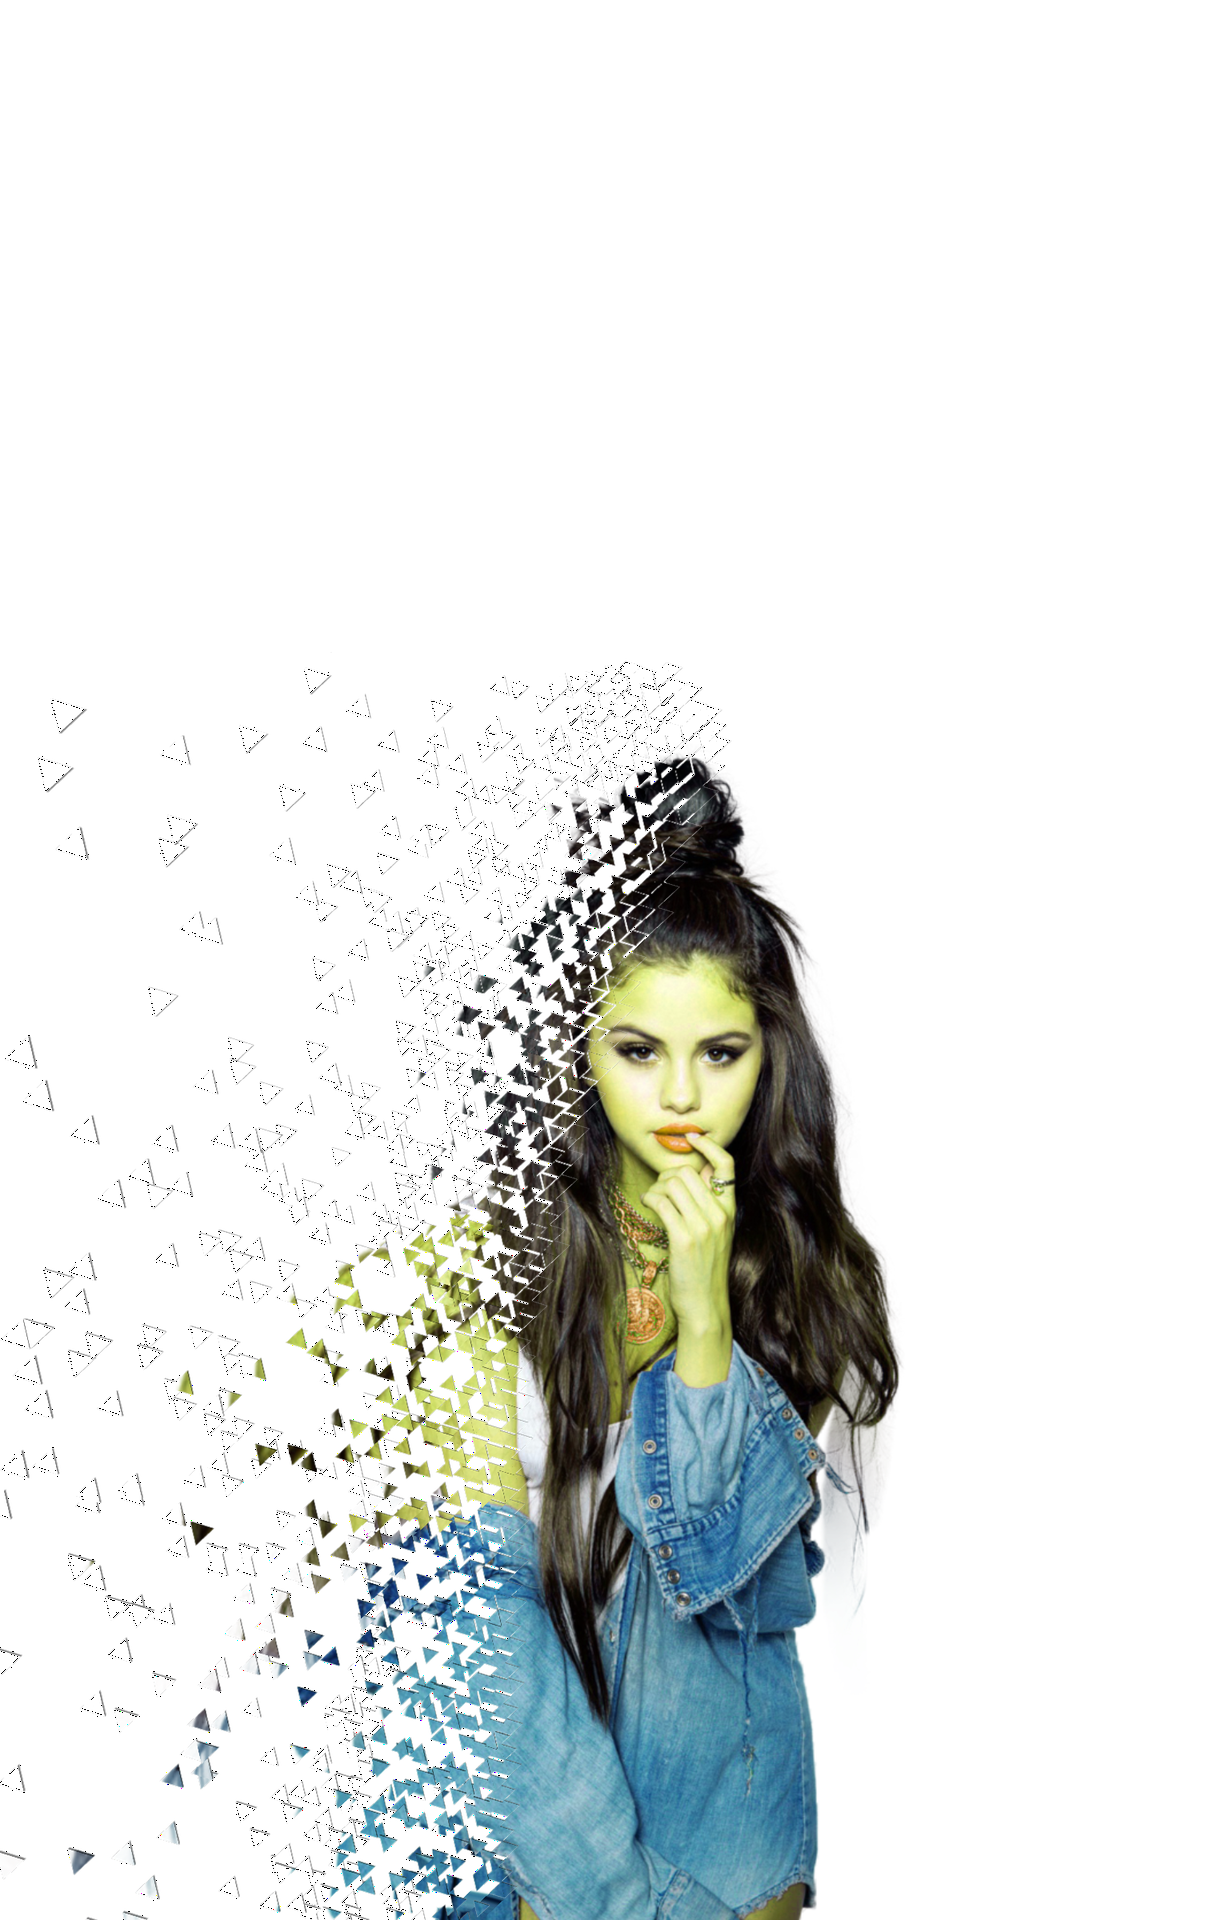
I made Selena green.
It's not much, but that's it for today, kids.
Hopefully this will help when you're making edits and all.
Until next time, you know you love me
xoxo, Mandi 💋

Bạn đang đọc truyện trên: AzTruyen.Top