one || review
Hello, again.
It's been a while so here's some notes to remind everyone the basics.
----- - --- (❁'◡'❁) --- - -----
S I Z E S
A. Cover
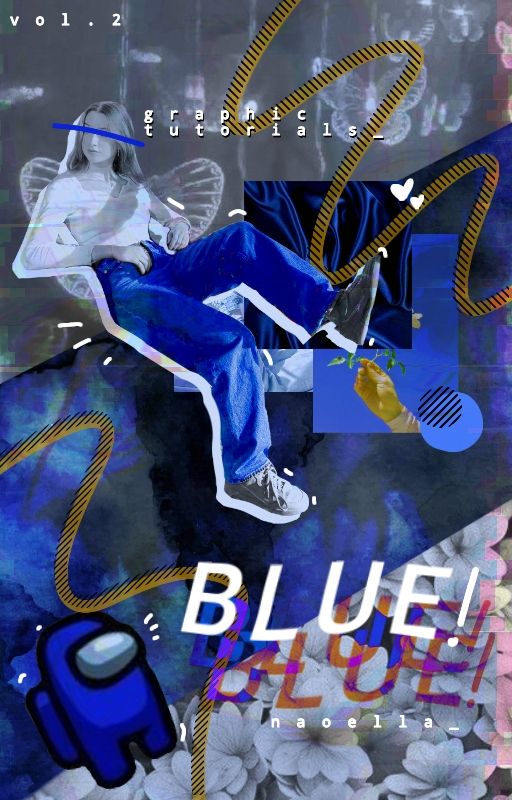
16 : 25 ratio
e.g.
- 256 × 400 px 《low quality》
- 512 × 800 px 《medium quality》
- 1024 × 1600 px 《high quality》
B. Banners
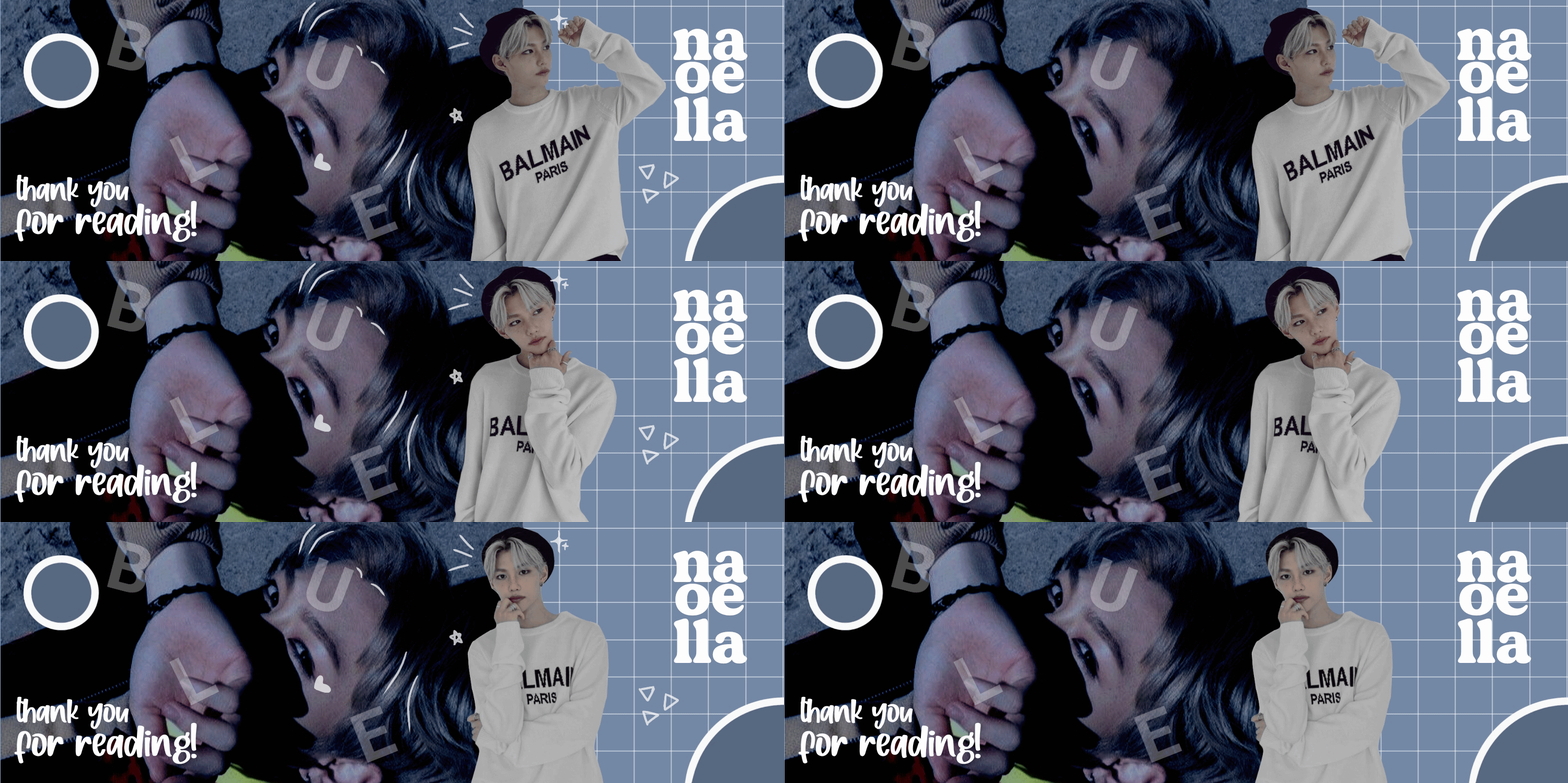
You can make however big or small your banners are, as long as it's a horizontal rectangle
I use 1500 × 500 px, but I sometimes use smaller pixels (1370 × 377 px) for GIF banners because the maximum size for Wattpad is 3 MB.
C. Profile Icon
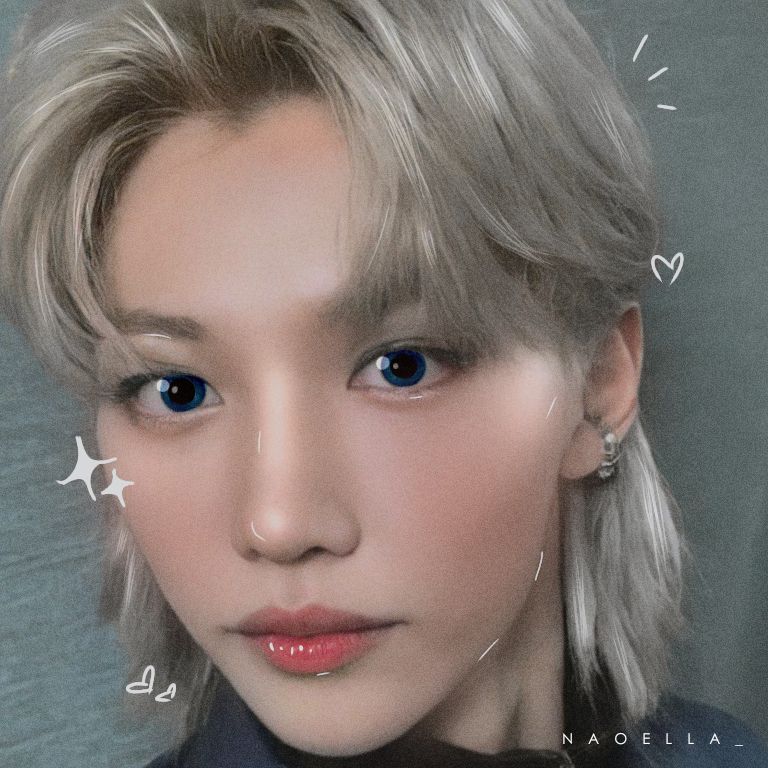
1 : 1 ratio
Any size is okay as long as it is a square
500 × 500 px
768 × 768 px
1000 × 1000 px
etc
T Y P E S O F C O V E R S
A. Simple
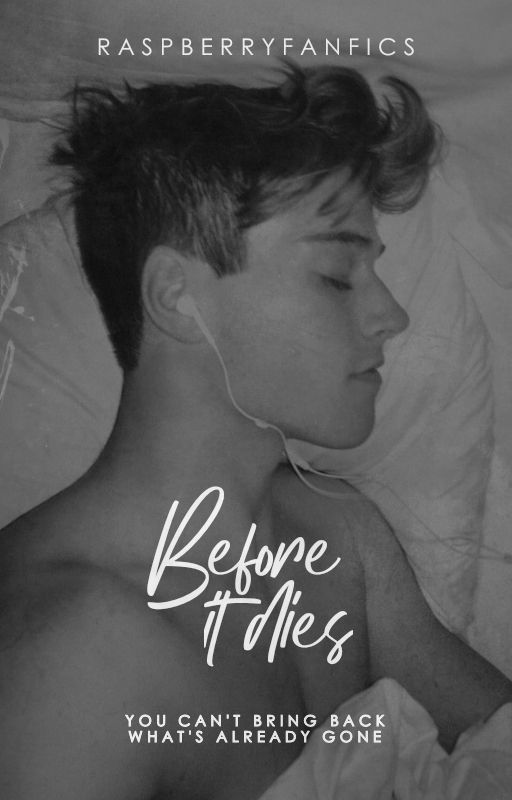
As the name states, this cover is very simple, with the core elements revolving the text and the image. The empty spaces in the cover makes it look nice and pleasing to the eye.
B. Vector / illustrations
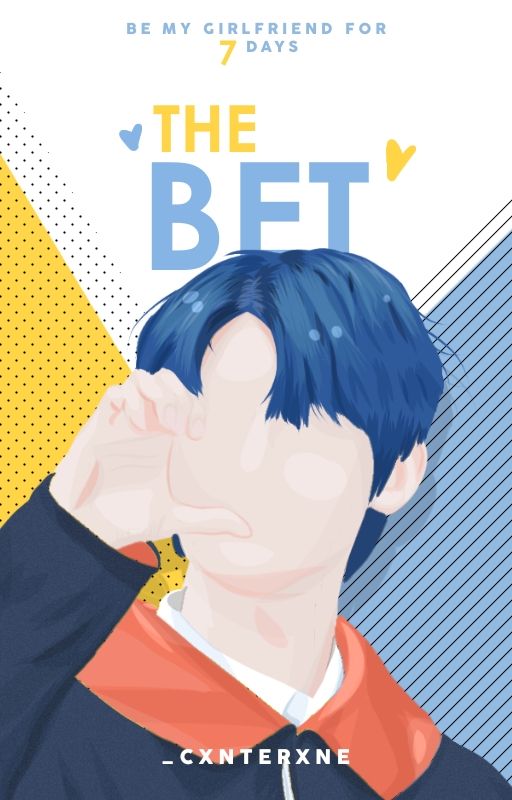
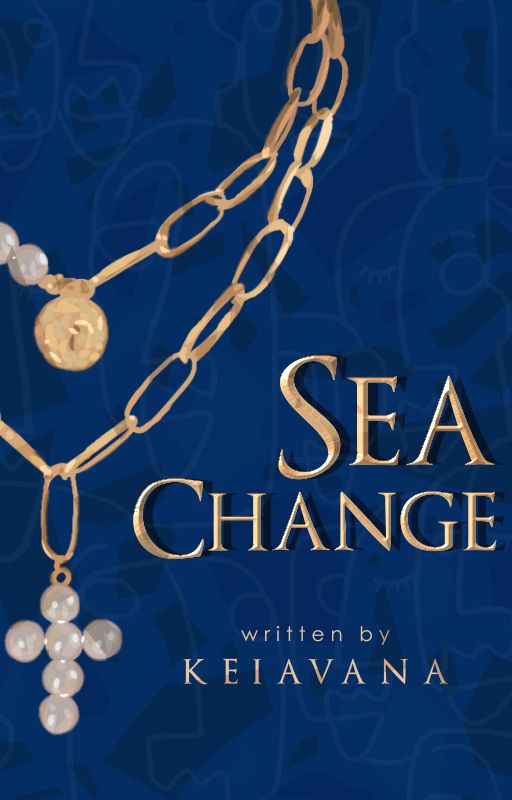
This type of cover consists of a vector-ed image of the face claim/object or drawn illustration as the main element of the cover.
C. Manipulation
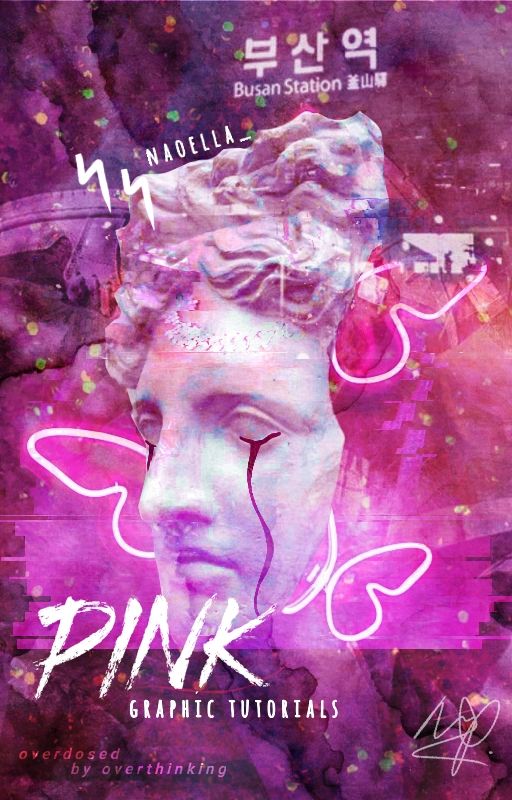
This type of cover consists of various images that are combined to 'manipulate' the viewer's eyes.
L A Y E R
'Layer' is a word that will be tossed around in this book as it's very important.
A. Parts of Layer
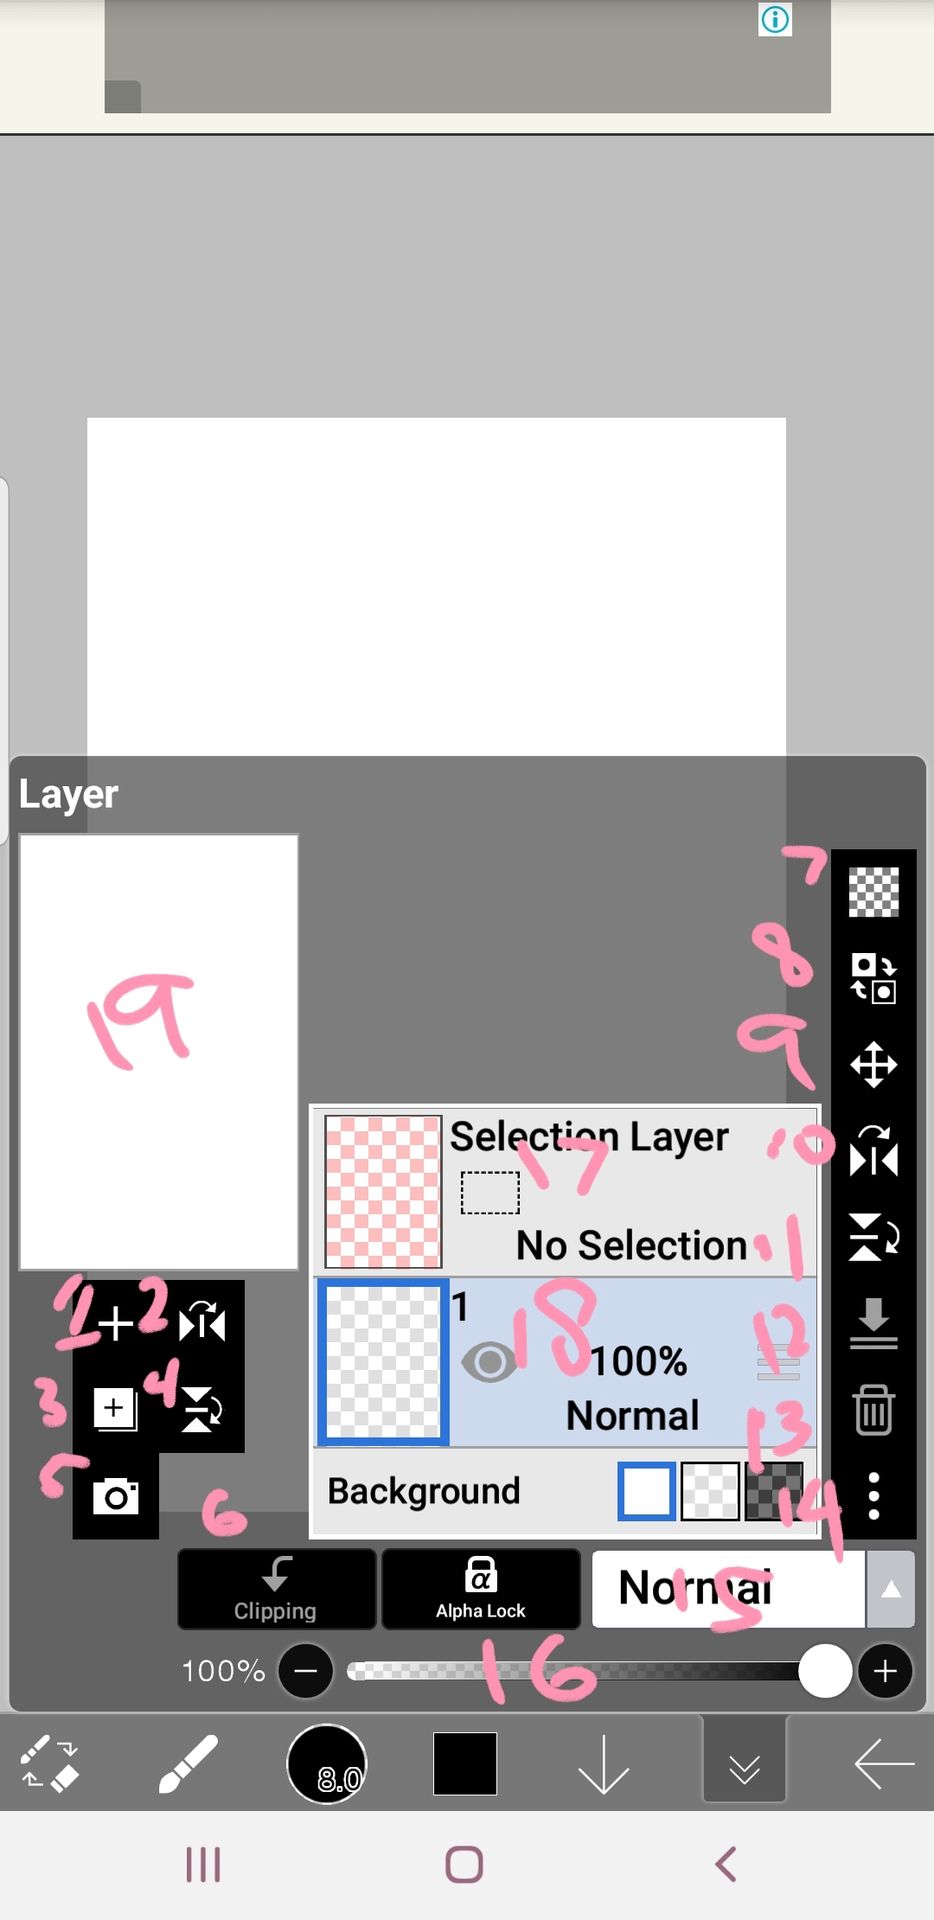
1 - for adding new layers
2 - to flip the canvas horizontally
3 - to duplicate the layer
4 - to flip the canvas vertically
5 - to add images from your gallery
6 - for masking the selected layer to the layer below it
7 - to empty the whole layer
8 - to invert the colors of the layer
9 - to move the layer
10 - to flip the layer horizontally
11 - to flip the layer vertically
12 - to merge two layers together
13 - deleting a layer
14 - misc (when you tap it there will multiple options, but just remember the one called 'rasterize', where we change text layers into a normal layer)
15 - blending mode
16 - to set the opacity (transparency) of the layer
17 - the layer for selecting certain parts of the canvas
18 - normal layer, the eye symbol indicates the visibility
19 - the view of the canvas
B. How to use selection layer
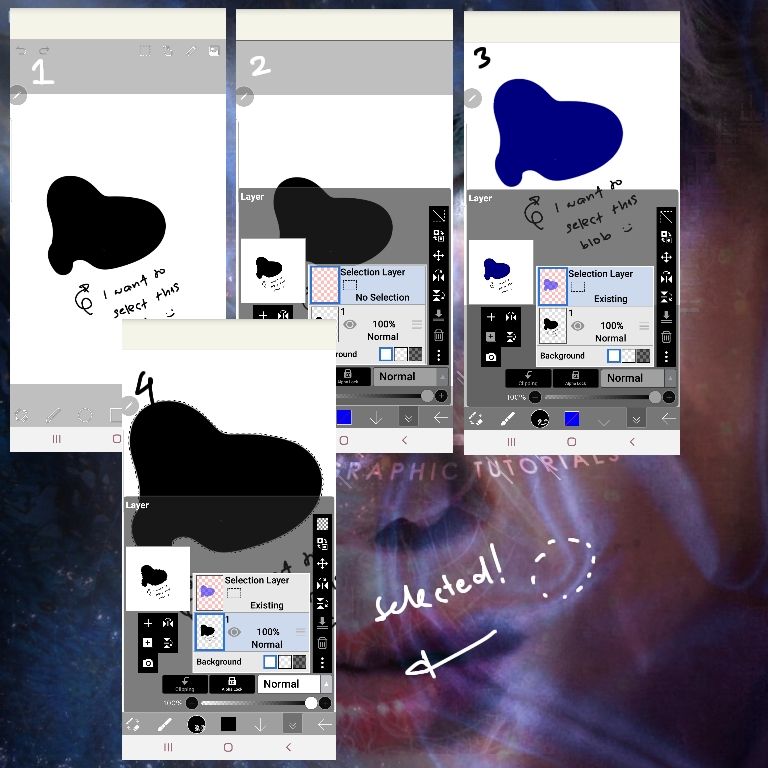
1. Have the object you want to select
2. Go to the pink layer that is always on top of every other layers
3. Draw over the object you want to select
4. When you go back to a normal layer, black dots will appear around the selected object.
What it does :
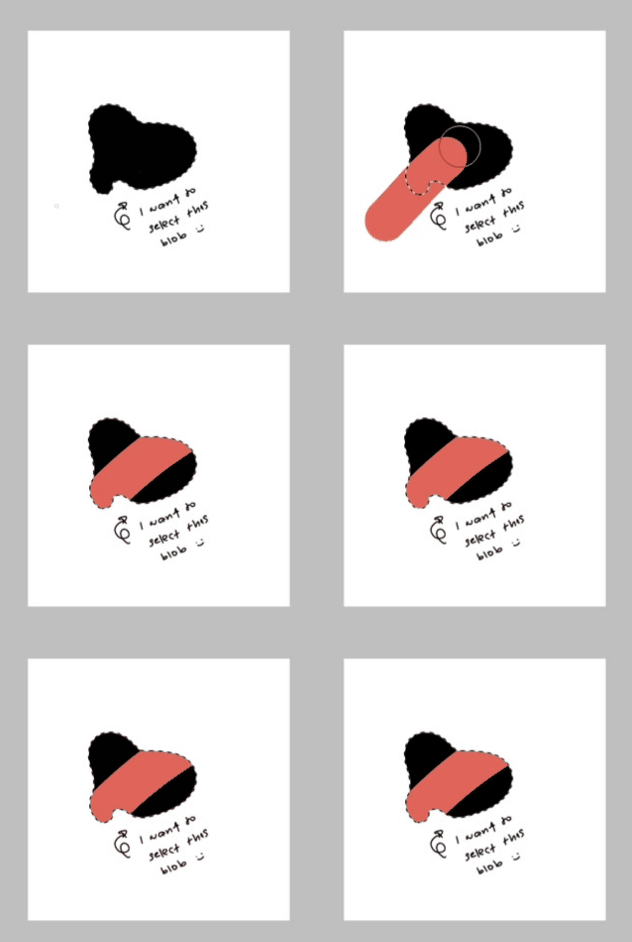
*dang should've added this is my first book :/.
**so if my tutorial has a step and it says 'select it' then refer back to this.
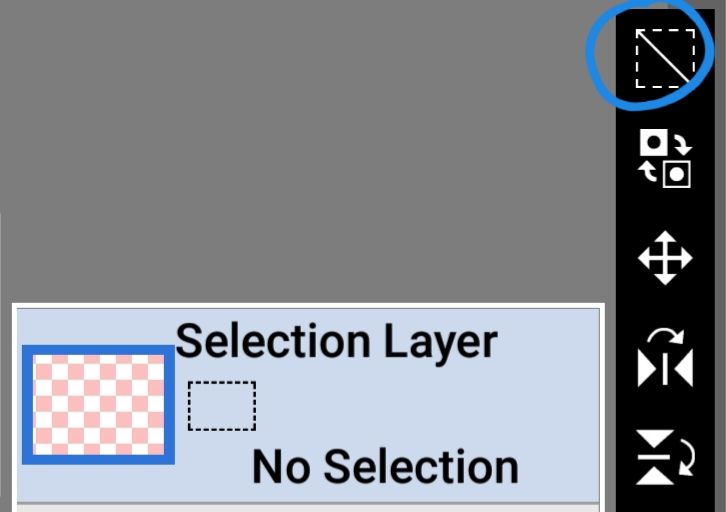
***(29-06-21) edit : to remove the selection just simply tap here ⏬
F I L T E R S
I explained everything about it in my first book, but here's a summary.
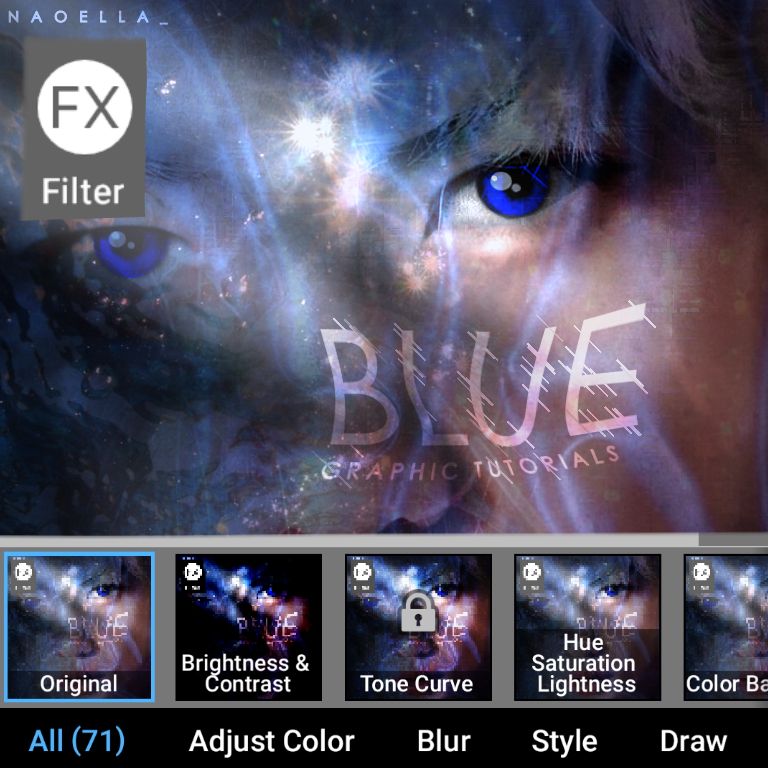
There are 9 sections in the filter tool
1. Adjust color
2. Blur
3. Style
4. Draw
5. AI
6. Artistic
7. Pixelate
8. Transform
9. Frame
If I mention 'go to filter > style > drop shadow', it means go to the filter tool, then the style section, and then the drop shadow filter.
T O O L S
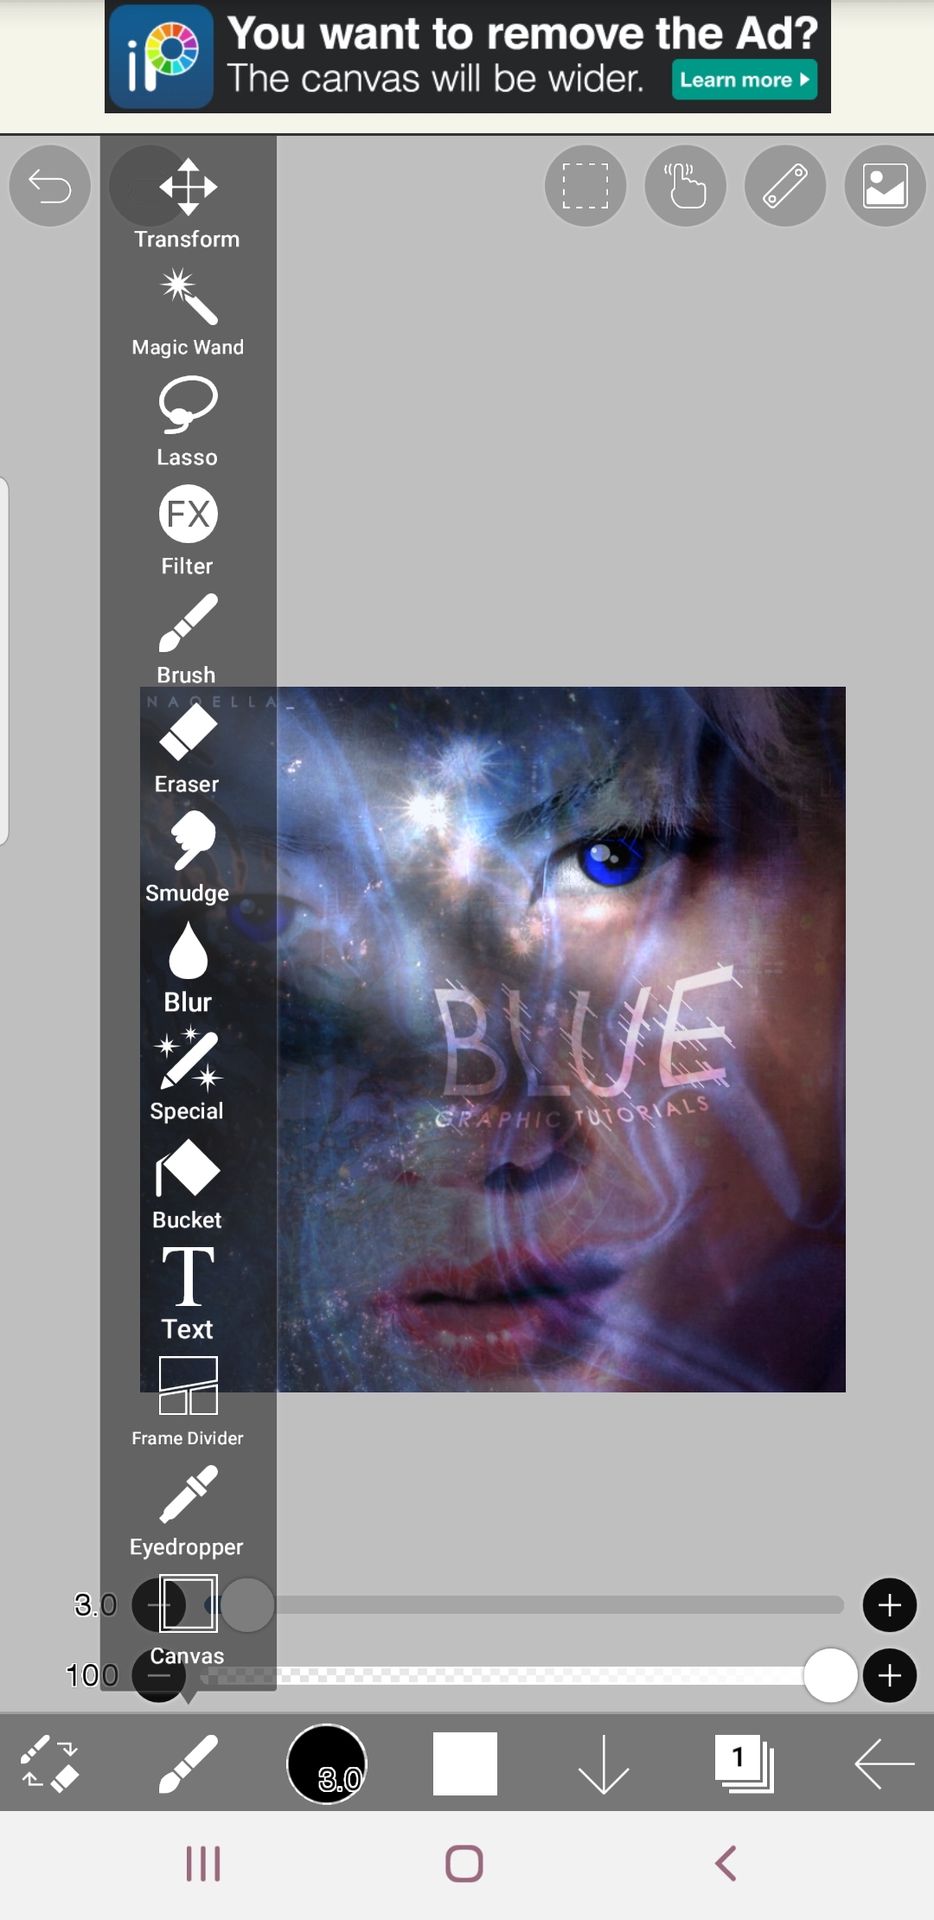
From top to bottom :
Transform - to move the layer
Magic wand - to select things by color
Lasso - it's like a brush tool but it moves in a circular motion (don't worry we won't use it)
Filter - to add filters to layers
Brush - to draw
Eraser - to erase
Smudge - to blend stuff
Blur - to blur stuff
Special - it's recently added, and I don't know what it does (comment if you do)
Bucket - to fill in colors
Text - to add text
Frame divider - to add frame
Eyedropper - to sample colors
Canvas - to adjust the canvas
----- - --- (❁'◡'❁) --- - -----
I think that's all the stuff you need to know before we advance to the tutorials!
Bạn đang đọc truyện trên: AzTruyen.Top