vector tutorial
yes, i know this will be pretty much the typical vector tutorial, but bear with me please.
one:
go to PicsArt and select the png you want to turn into a vector. I chose an Ariana Grande vector because her outfit is very simple and it should be easy to edit.
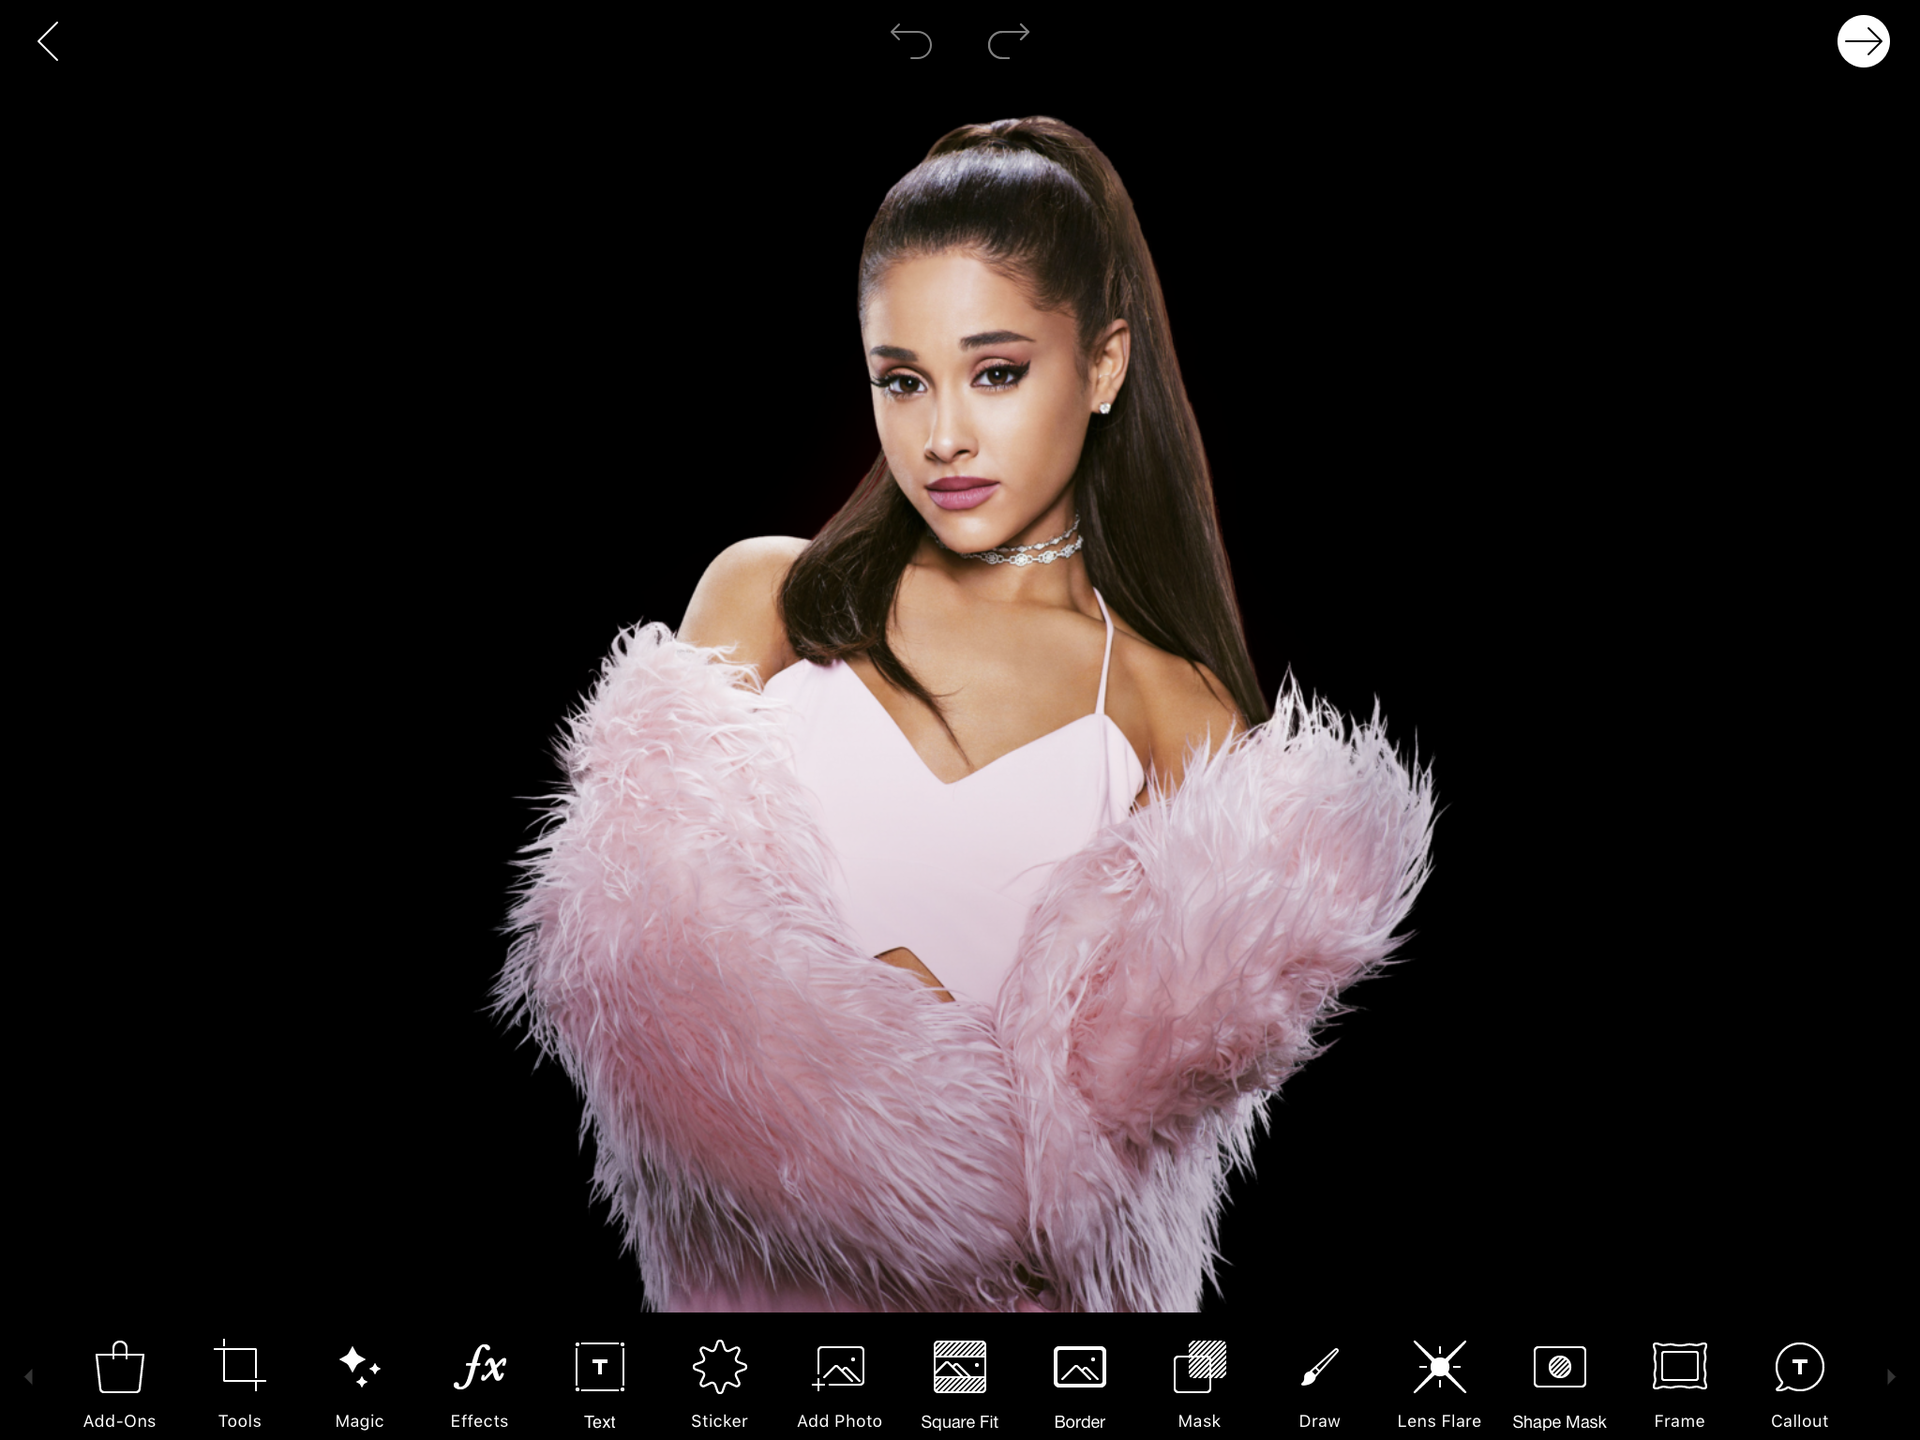
two: go to draw.
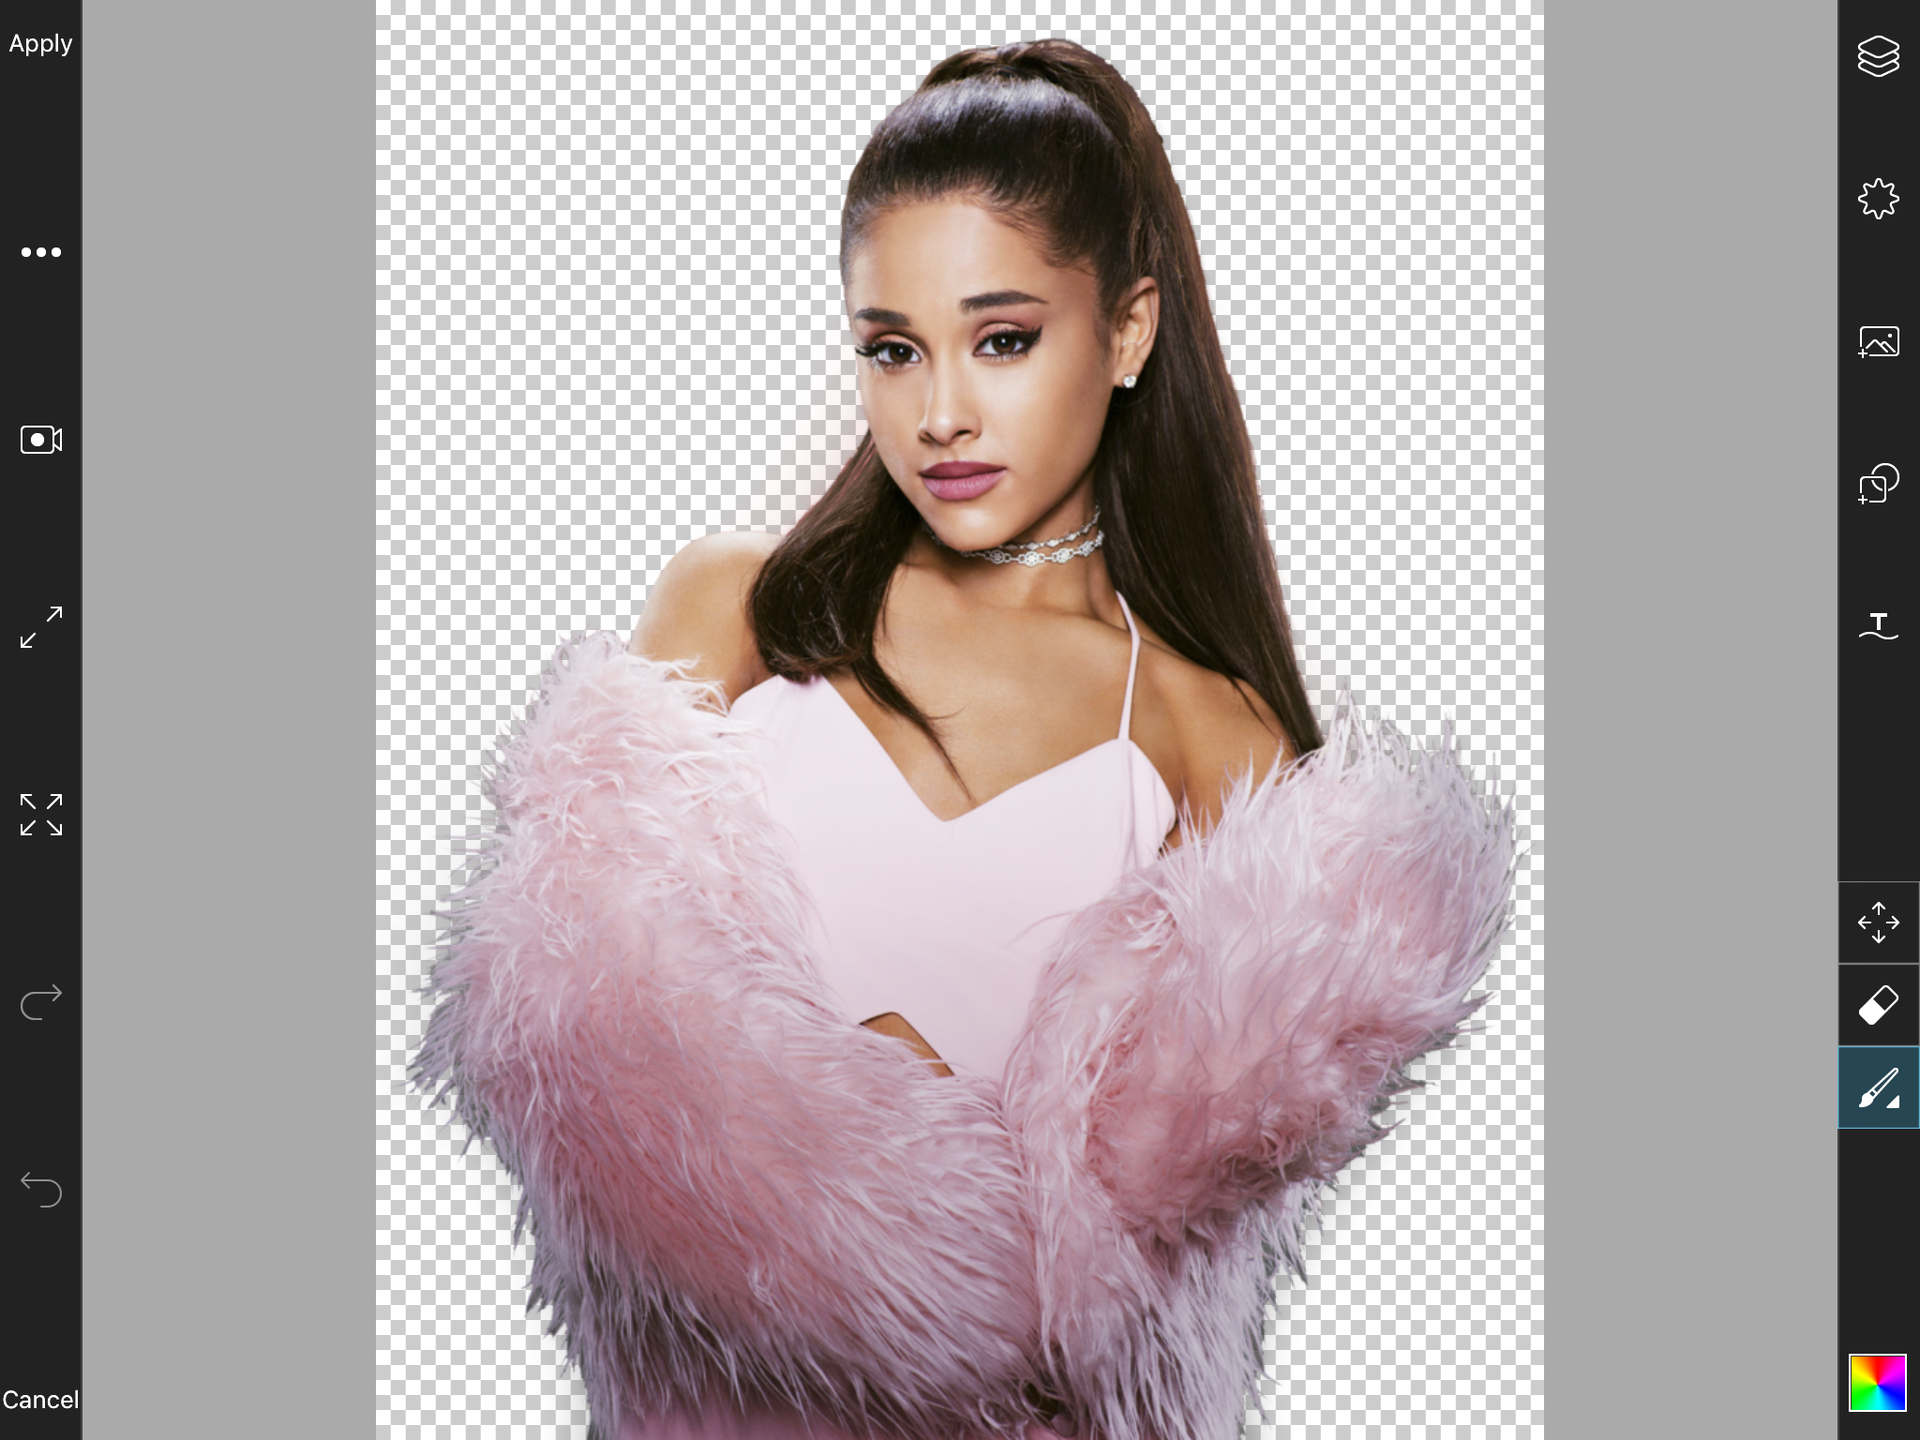
three:
go to the colour picker in the right hand corner.
Do you see that little syringe thing under the checkmark? click on that.
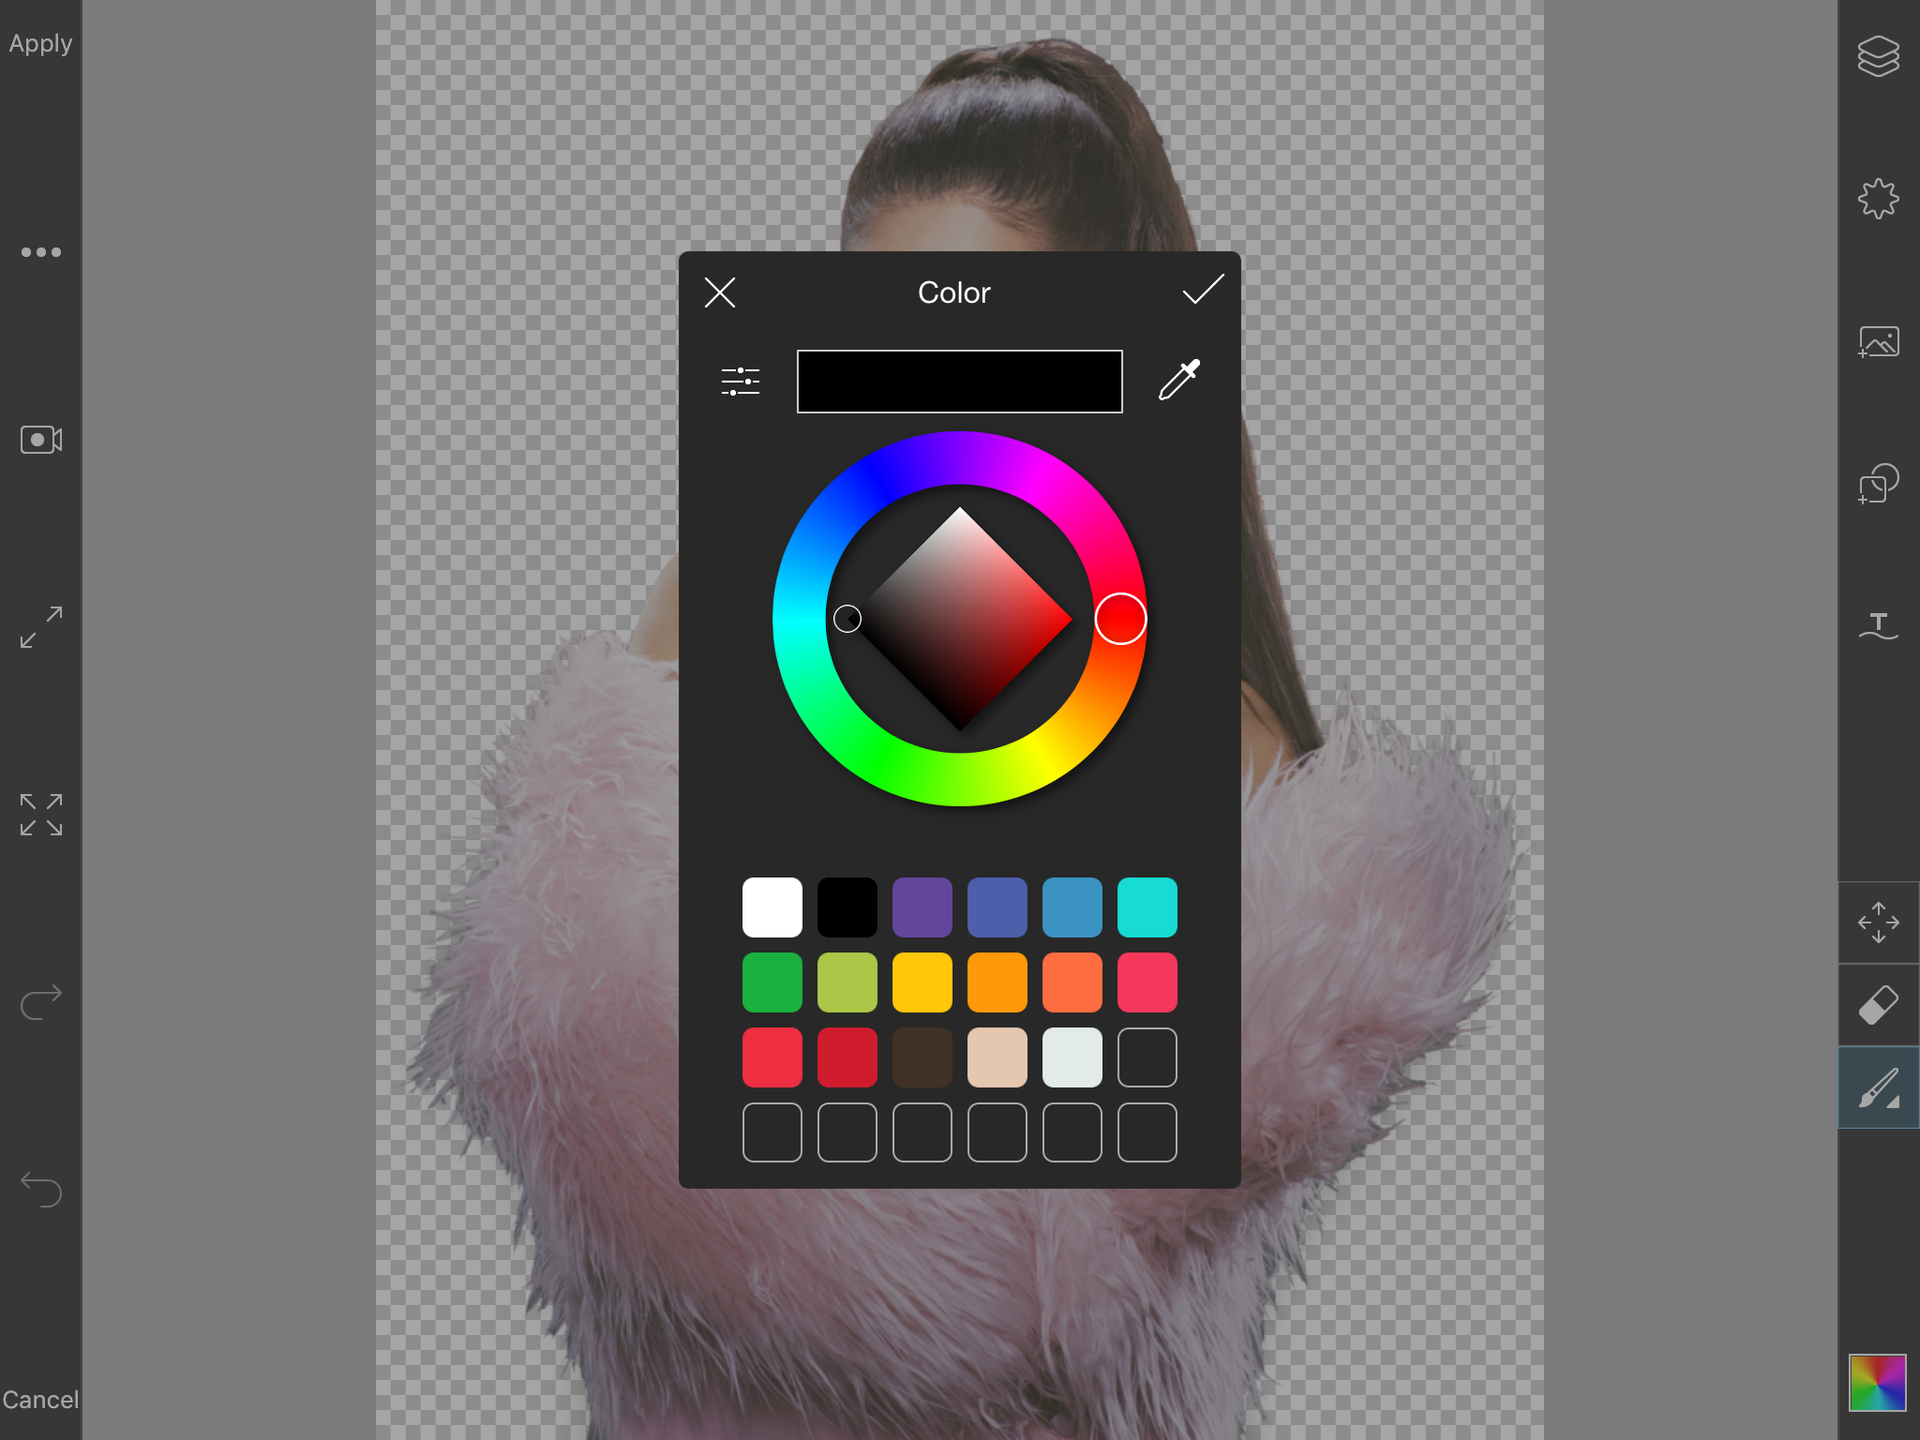
this will appear:
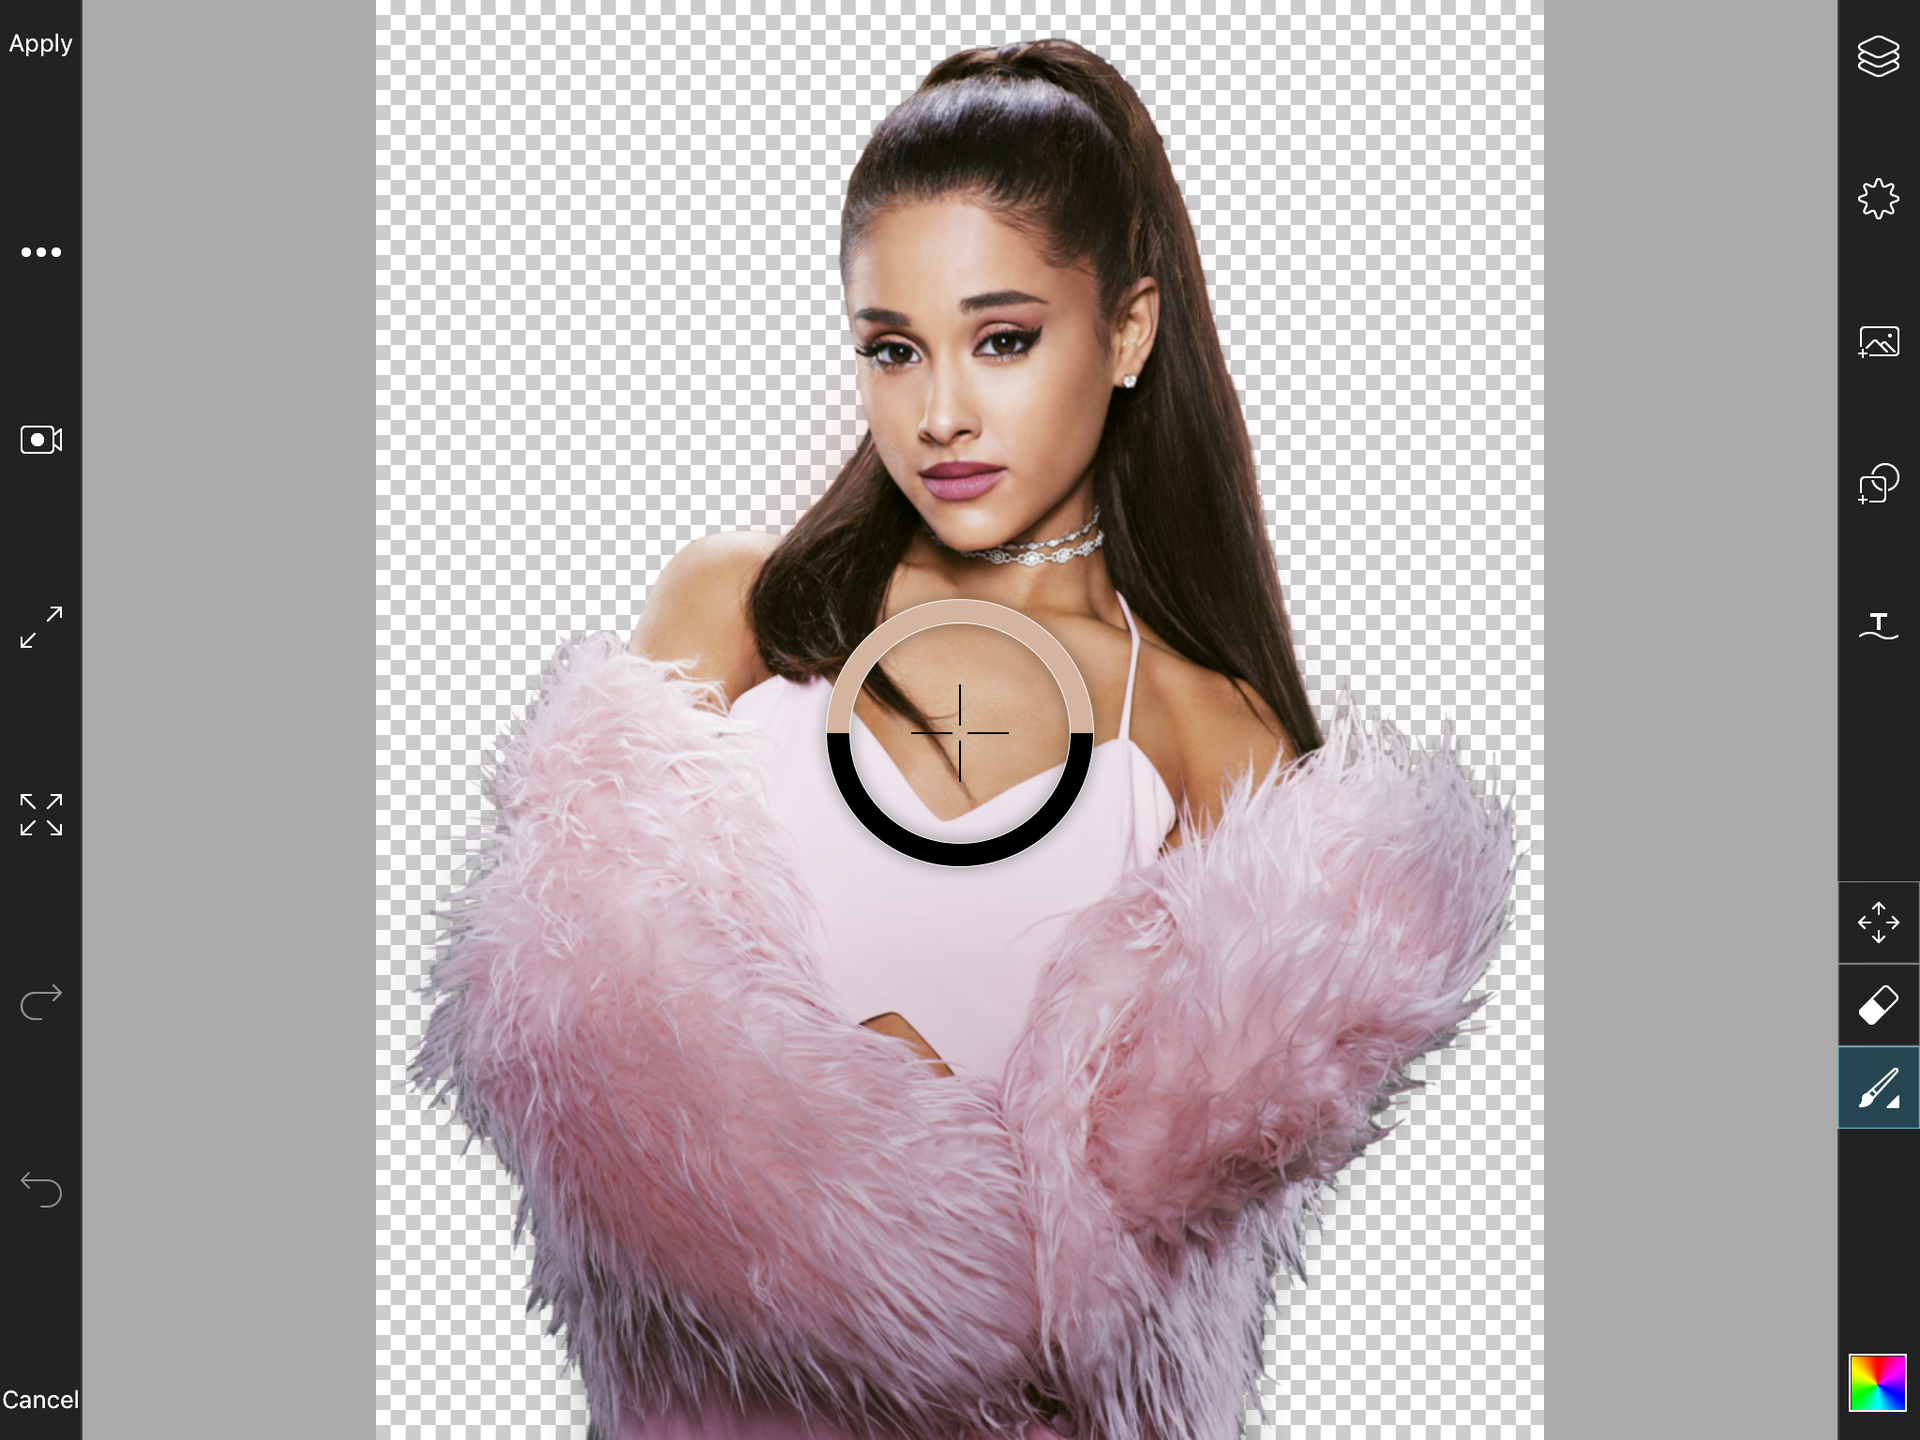
drag it over to whatever colour you want for the clothes, skin, or whatever part you're doing. I put it on the lower part of the hair.
four: zoom in with two fingers and start drawing over the part that had the colour you chose. increase or decrease the size of your brush of needed.
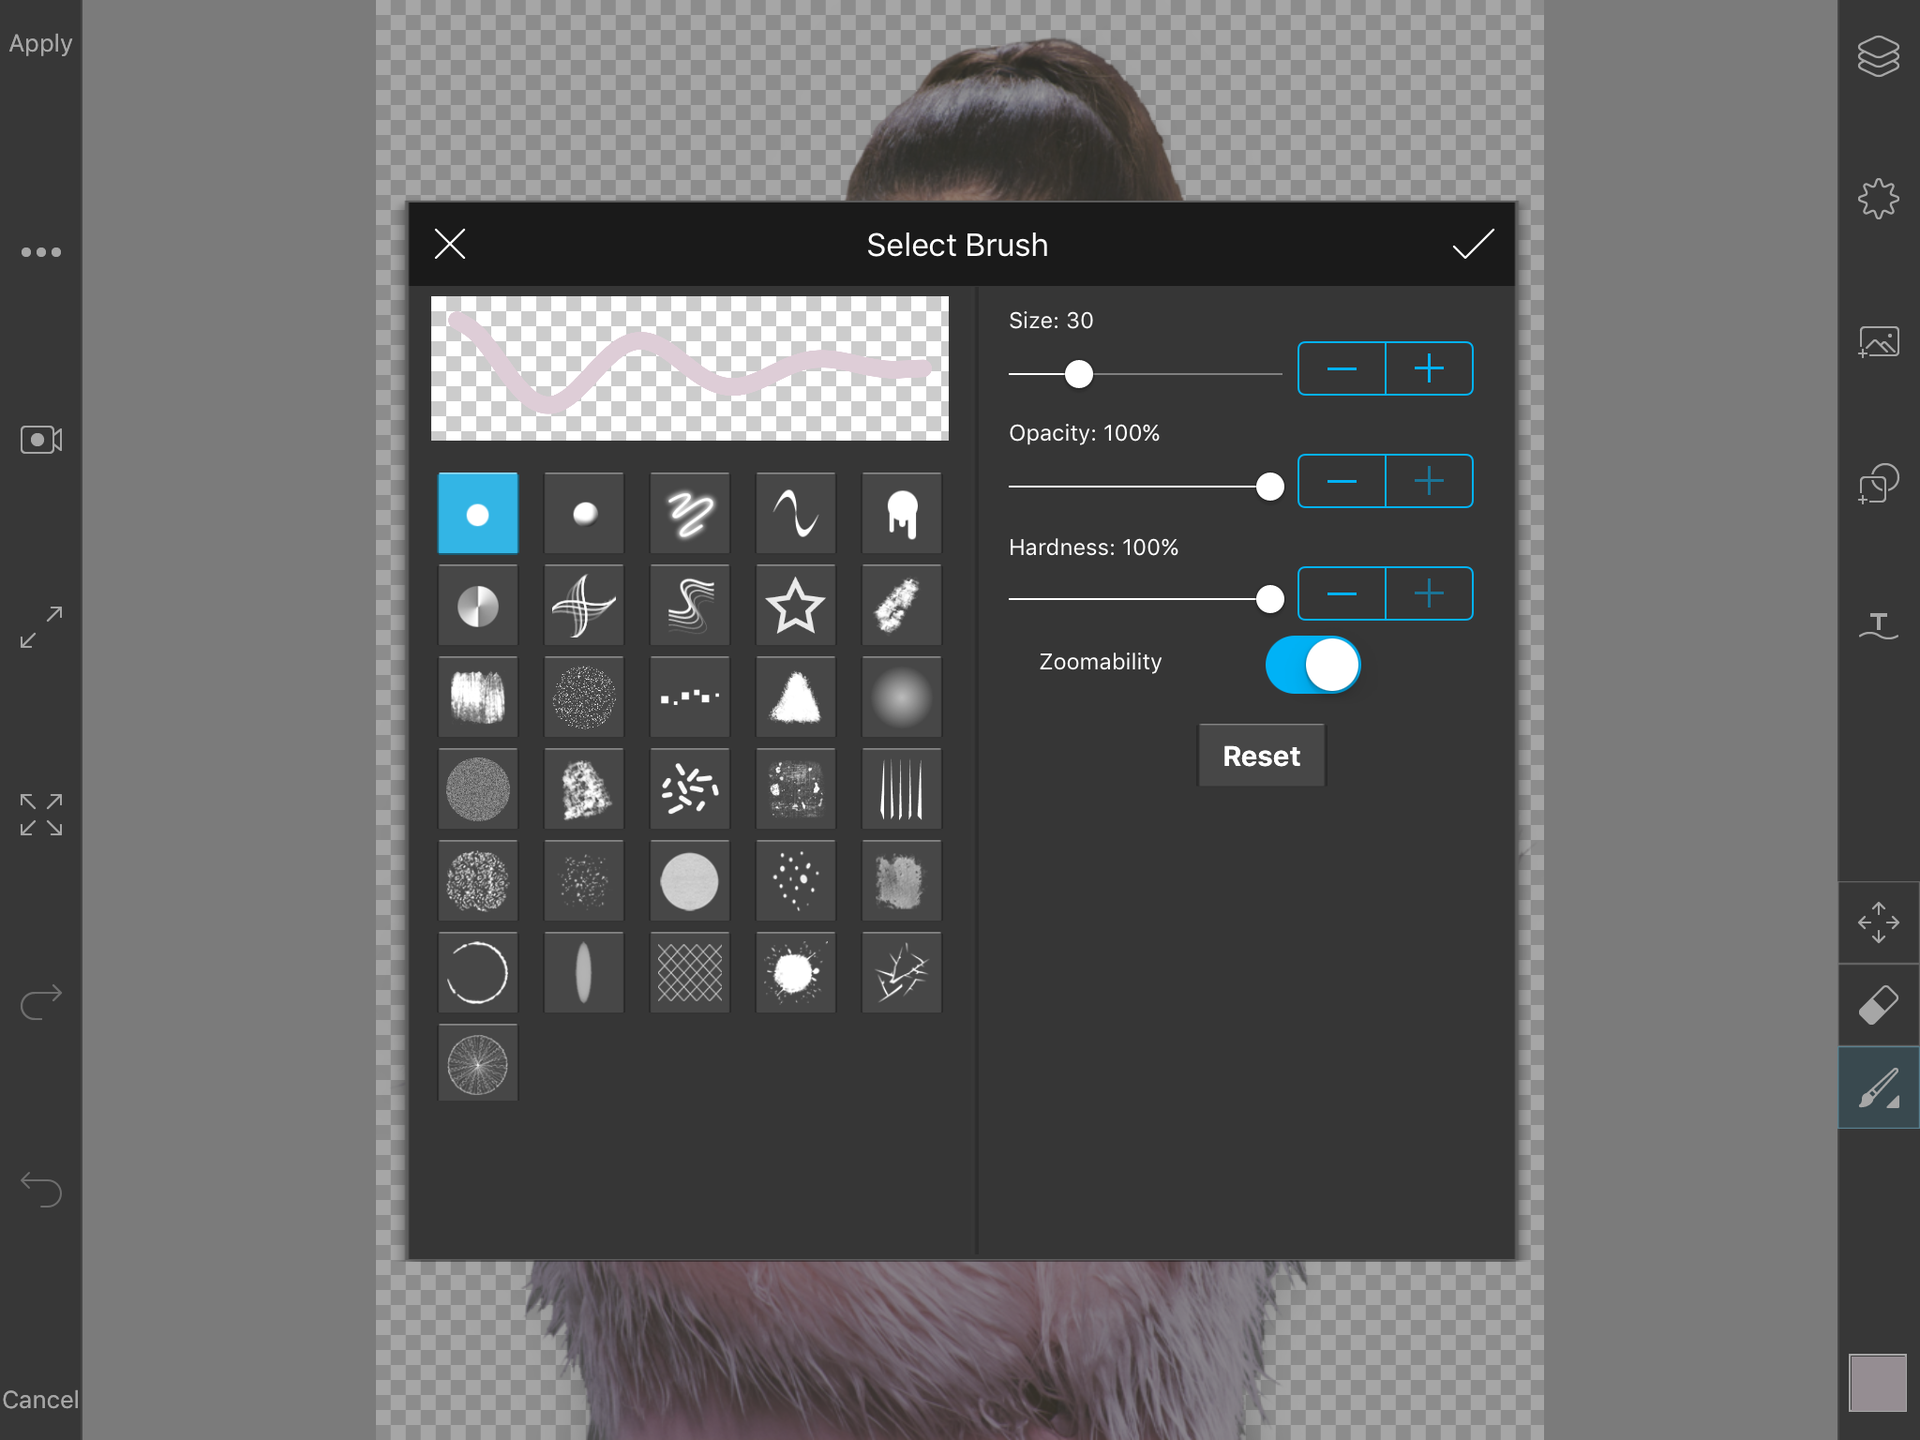
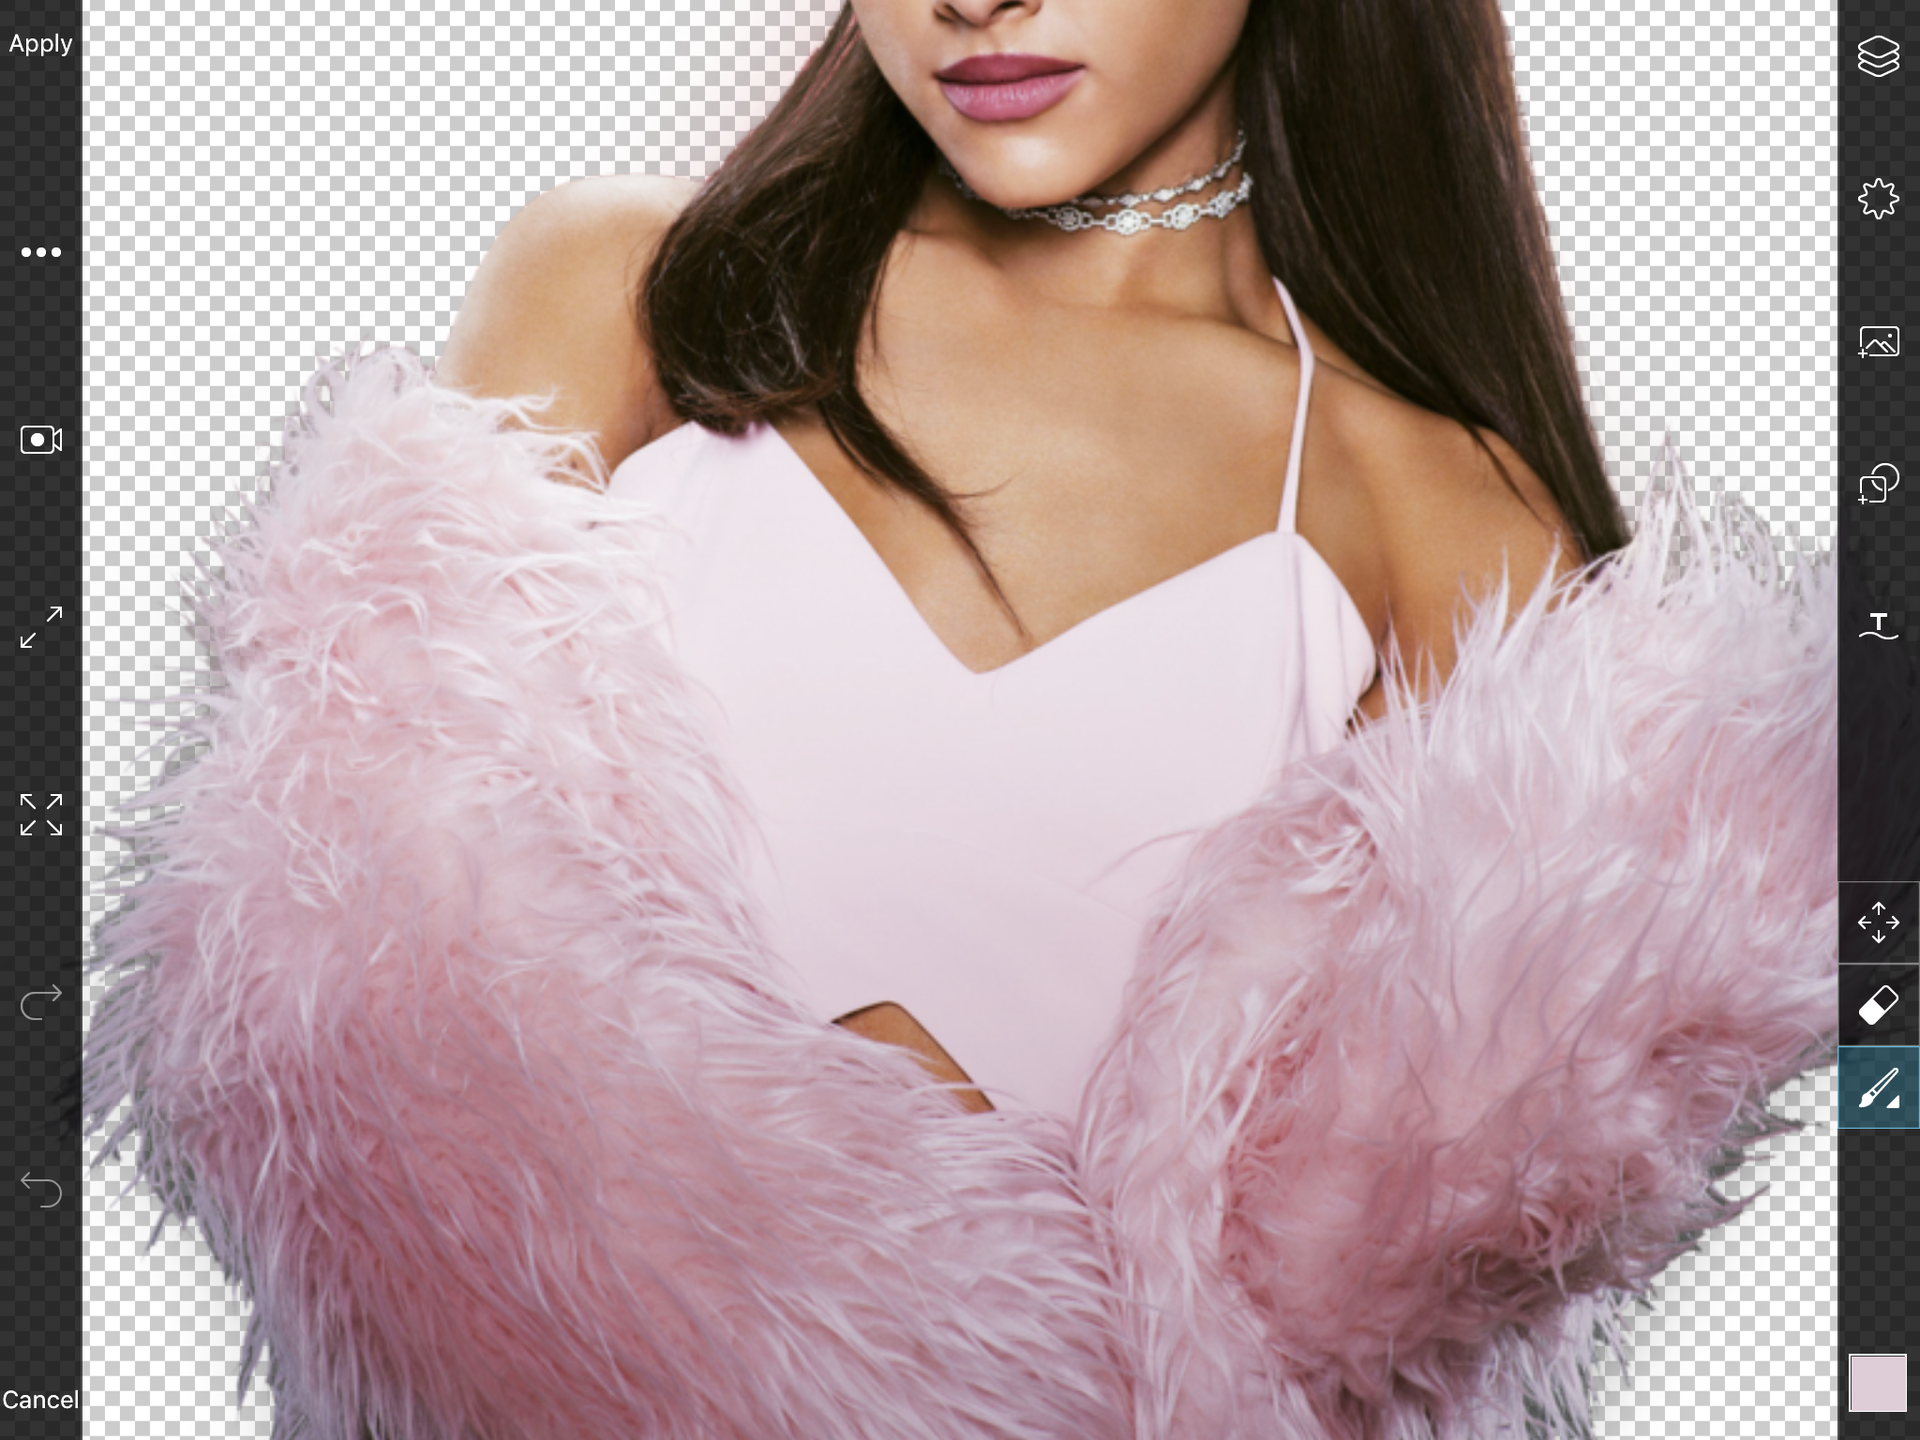
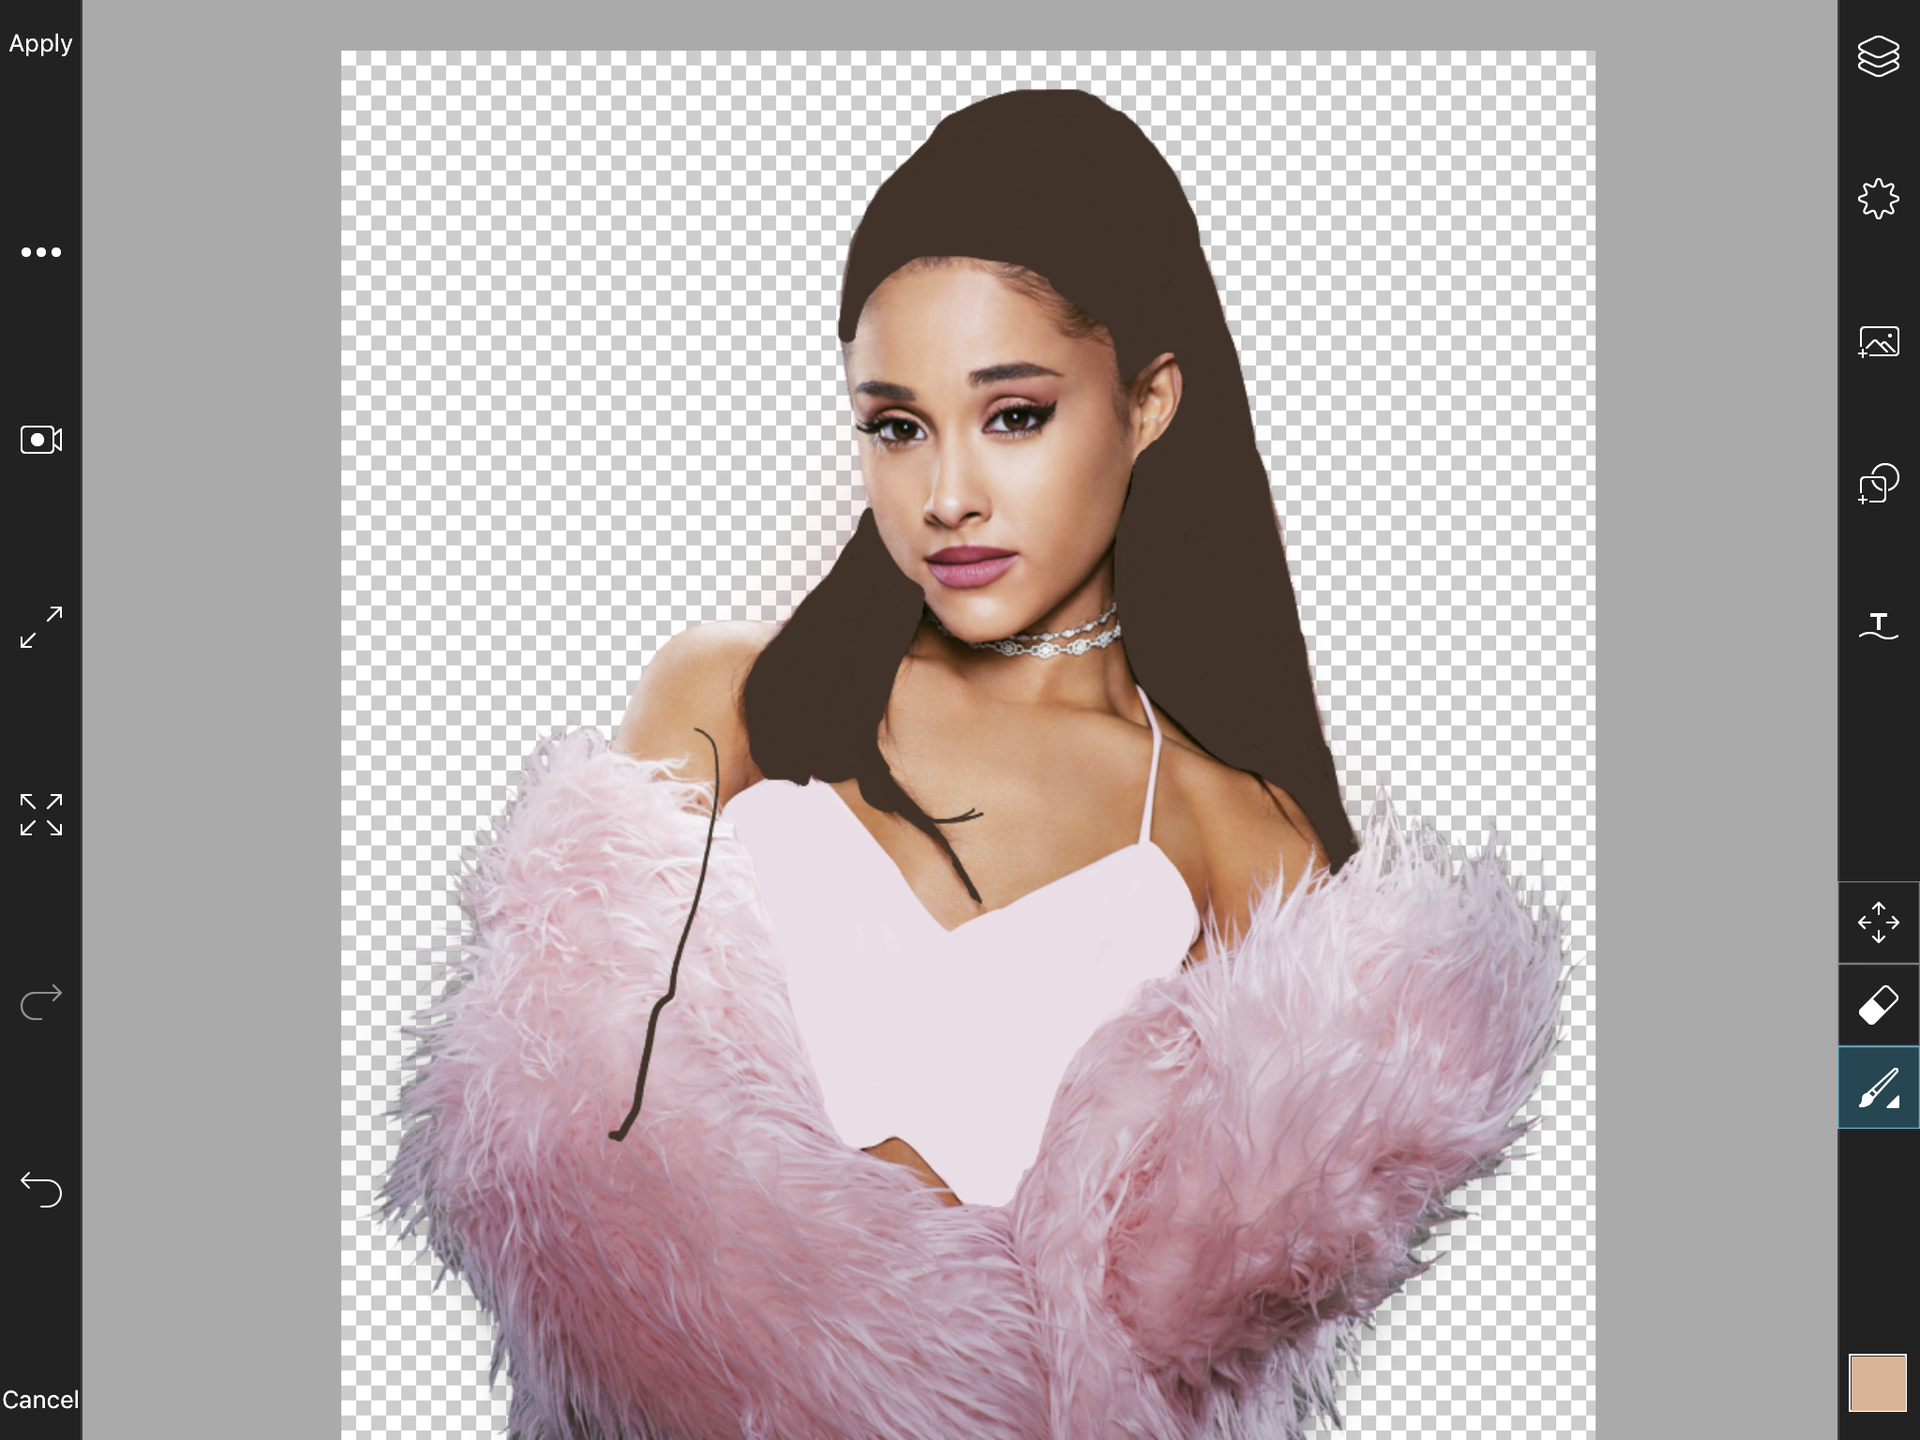
((ignore that little scribble there lol))
five: repeat steps 3 & 4 until you have covered the whole png.
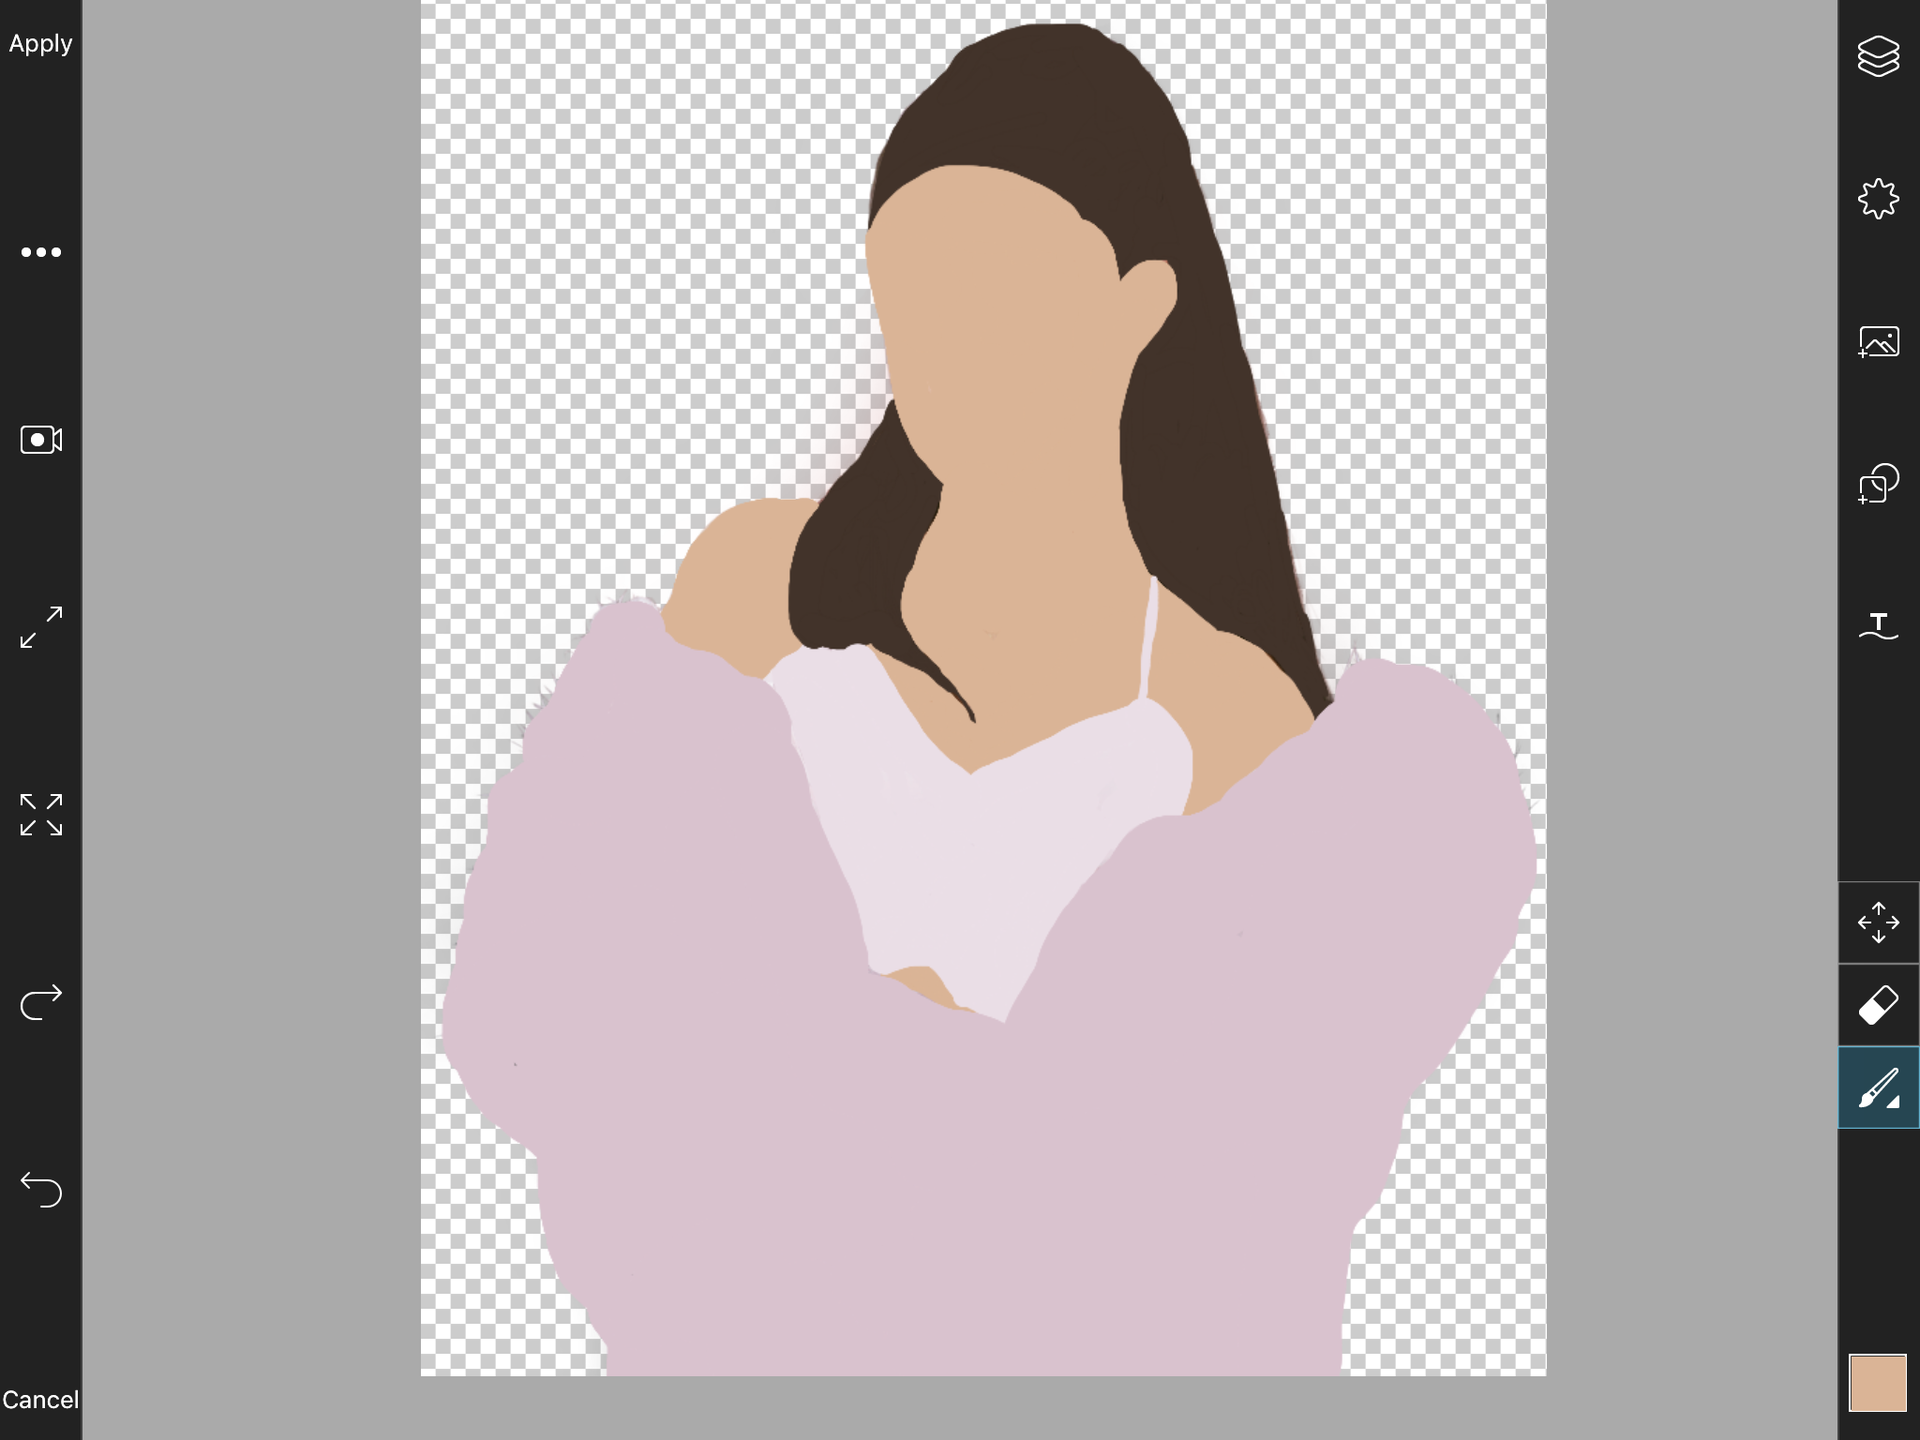
tips:
-always, and I mean always, zoom in when you draw on your png. I never did when I first tried, and let's just say that ended up as a big fail.
-don't do specific details unless you're a professional. there is an earring on Ariana's ear, but I decided not to put it because it was pretty small and would've been hard for me to do, being a newbie and all.
-use a big brush to finalize everything. your vector might end up choppy because of small brushes, so when you're finished, get your brush to a larger size to smoothen everything up.
-always do the png first. it gets pretty hard when you have a finished graphic and you try to make the png a vector.
Bạn đang đọc truyện trên: AzTruyen.Top