↬ wild album edit

today we shall discuss about:
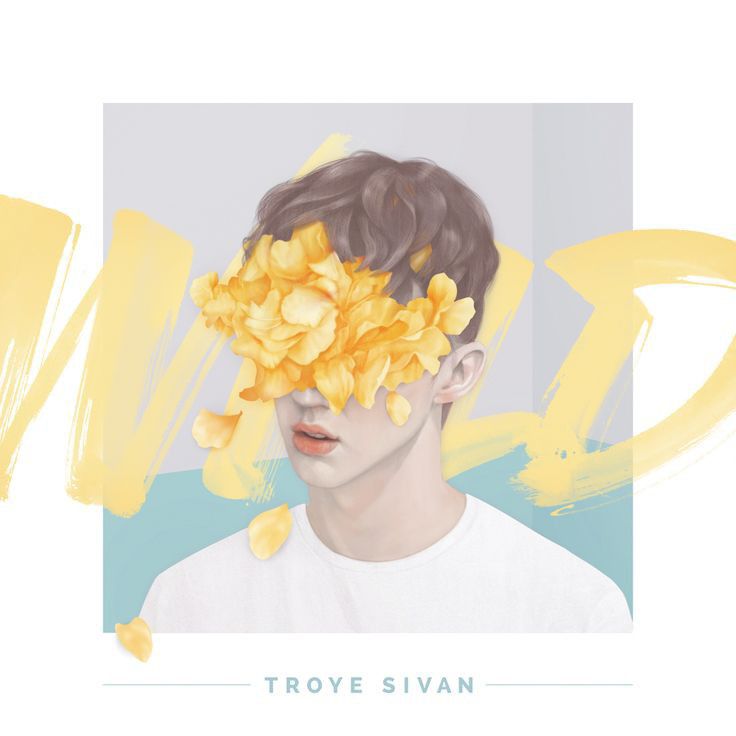
wild album edit
this album cover of troye sivan was so unique and iconic that even now, people made edits/paintings/drawings of their favorite celebrities in a style similar to this one. many cover shops on wattpad (mine is no exception) had templates inspired from troye sivan's album.
i shall be giving away resources for this chapter too so comment the key word inline here. you will have to follow me since the petals pngs are all made by me.
the font for wild is unfortunately custom-made and not for public use. however, a font very similar to it is available, called da streets.
i made this edit using two apps (you could use any app that allows you to have a blank canvas and eraser):
i. over
ii. phonto
steps to make this edit ::
¹; have your resources ready for assembly:
since i cannot install new fonts in over, i have da streets saved in phonto. you can download it from dafonts.com but i will be including a zip of it nonetheless in the resources pack.
you need to have a transparent background on your disposal, for phonto doesn't have any (you will realise why later). you can make one on over or any other app that allows you to save transparent backgrounds and has layers (ibispaintx is a good one). open over and click on the yellow button in the bottom of the screen and just select any random canvas size (preferably this one):
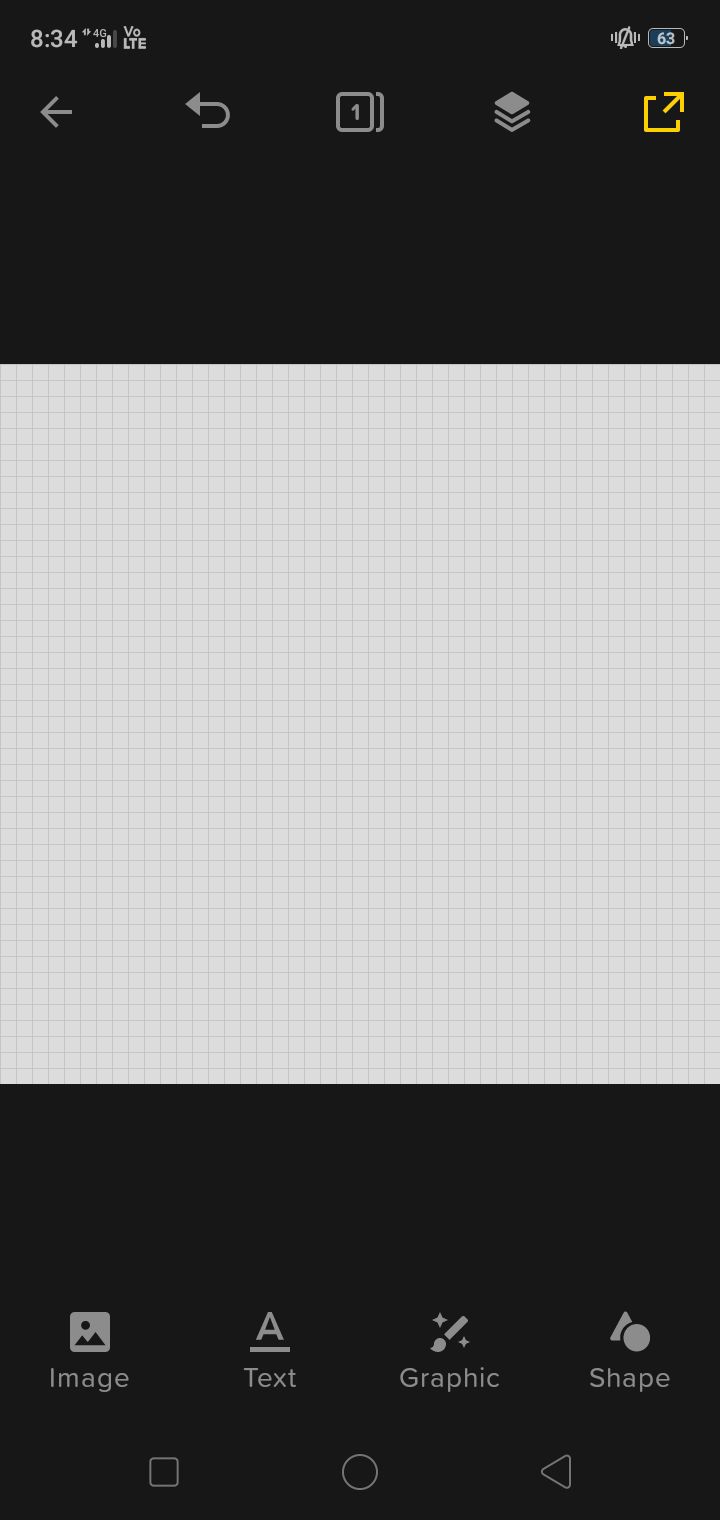
see the yellow button on the top-right corner? that's the save button. click on it and save it as a png, not a jpeg.
open phonto:
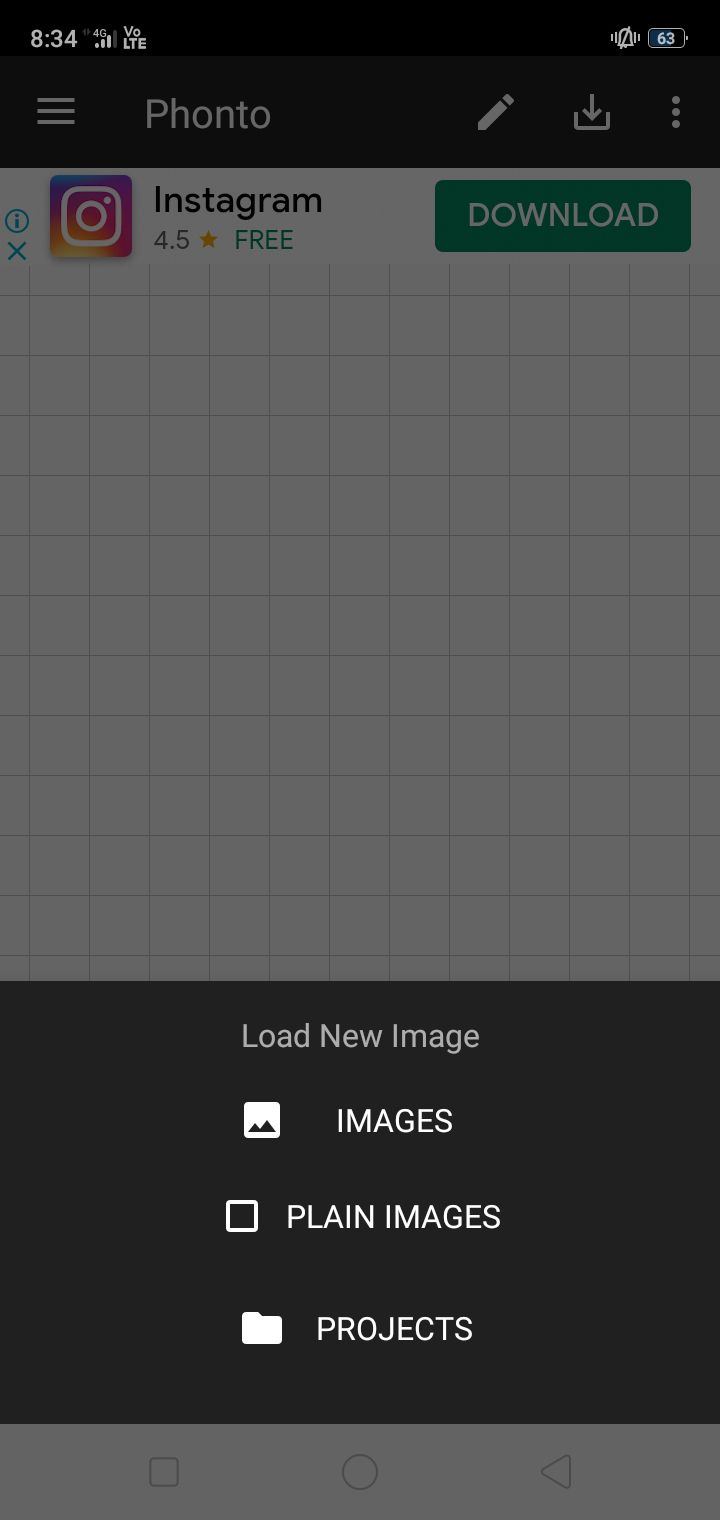
select load new images and open the transparent one in your gallery, it will appear black but dw it will look like this:
.
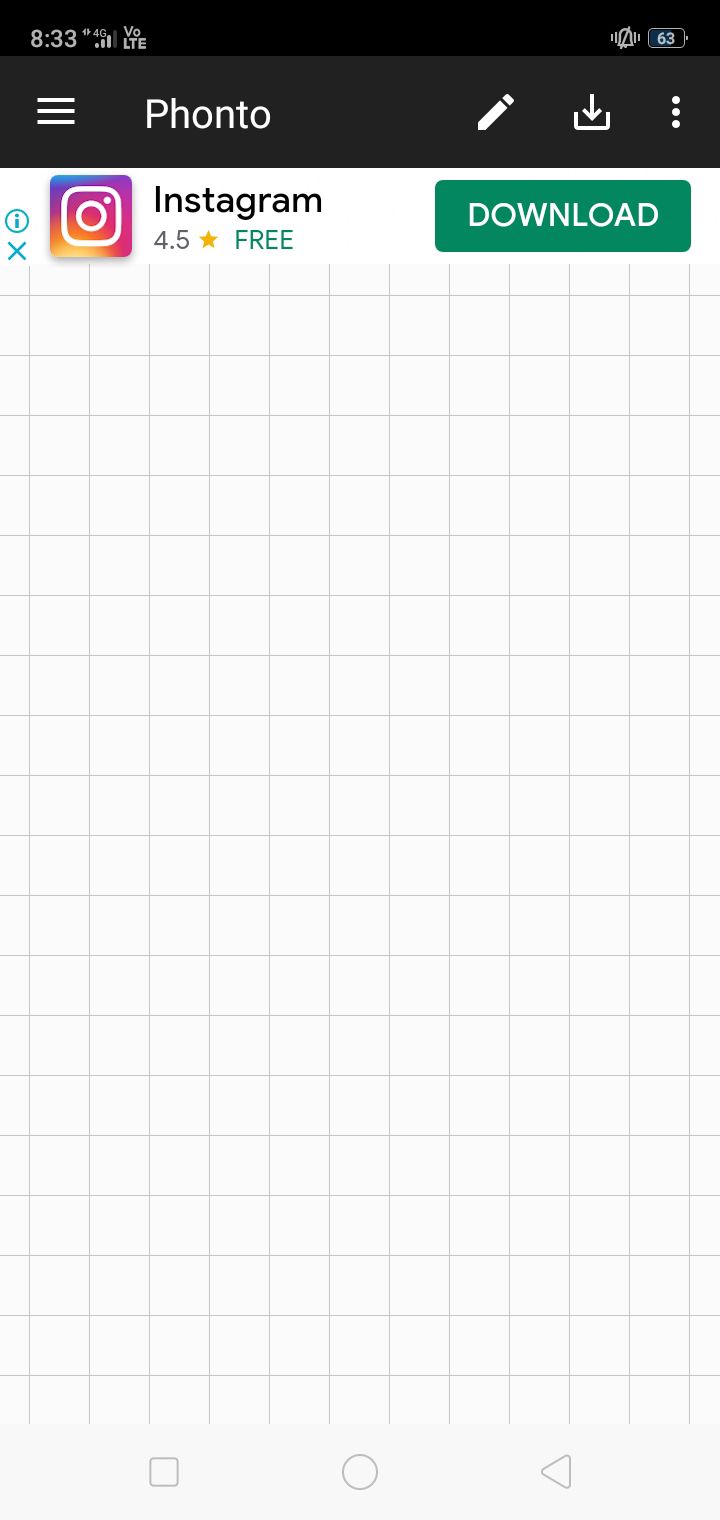
click on the pencil icon above, enter your text (align it if you wish) and select the font da streets. then change it to a color (click on style) that fits the scheme you want and adjust the size. remember to keep the title as small as you can manage it and refrain from using words longer than seven words:
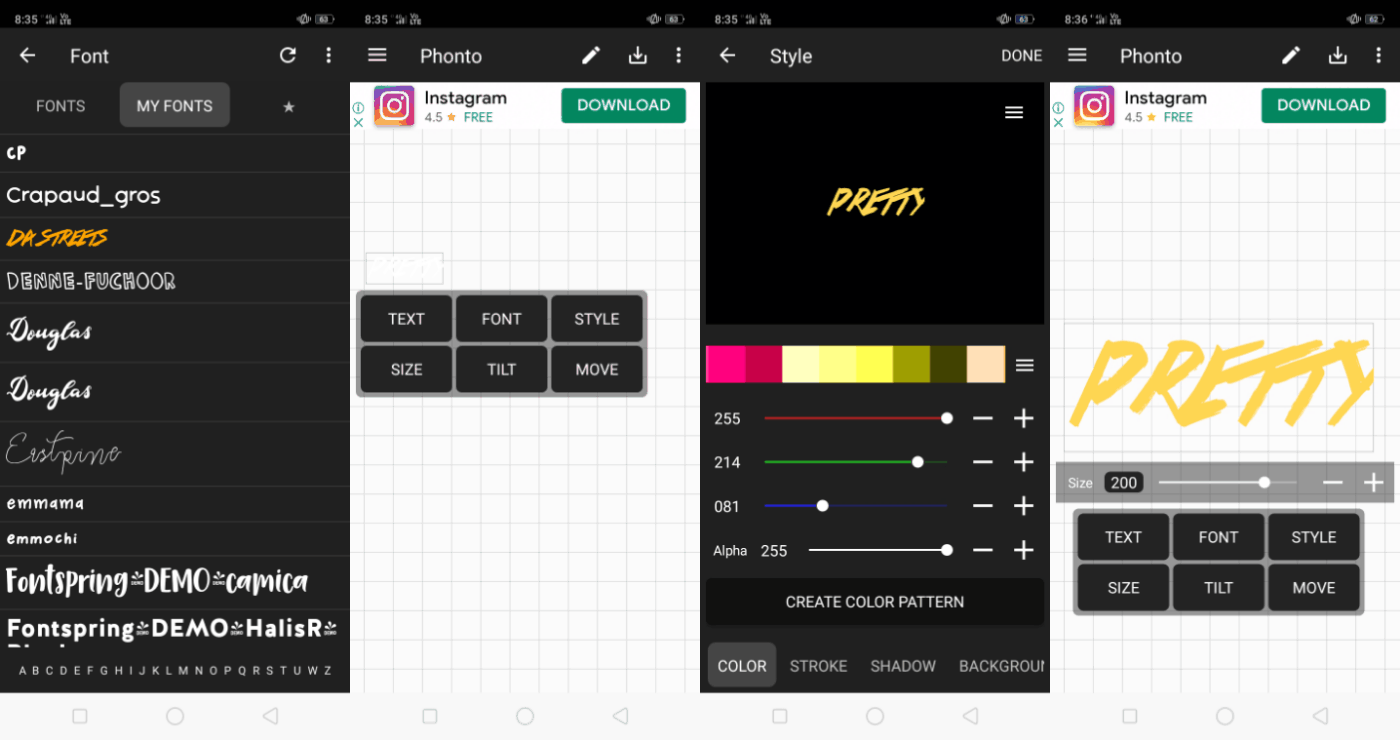
save the image by clicking on the download button next to the pencil icon.
have your faceclaim ready as a transparent png (you can find them on deviant art OR make them on over by using the eraser tool if you're feeling up to it). i used a pretty yeri png by hallyumi on deviant art for this tutorial.
make sure you have the background and petals ready in png form too (refer reference image). i have provided all of these (the petals too - in colors apart from yellow) in the resource pack.
²; set up the base/background
open over, select the yellow plus and enter the measurements (remember to turn off the constrain proportions) for the wattpad book cover:
2000x3127 px.
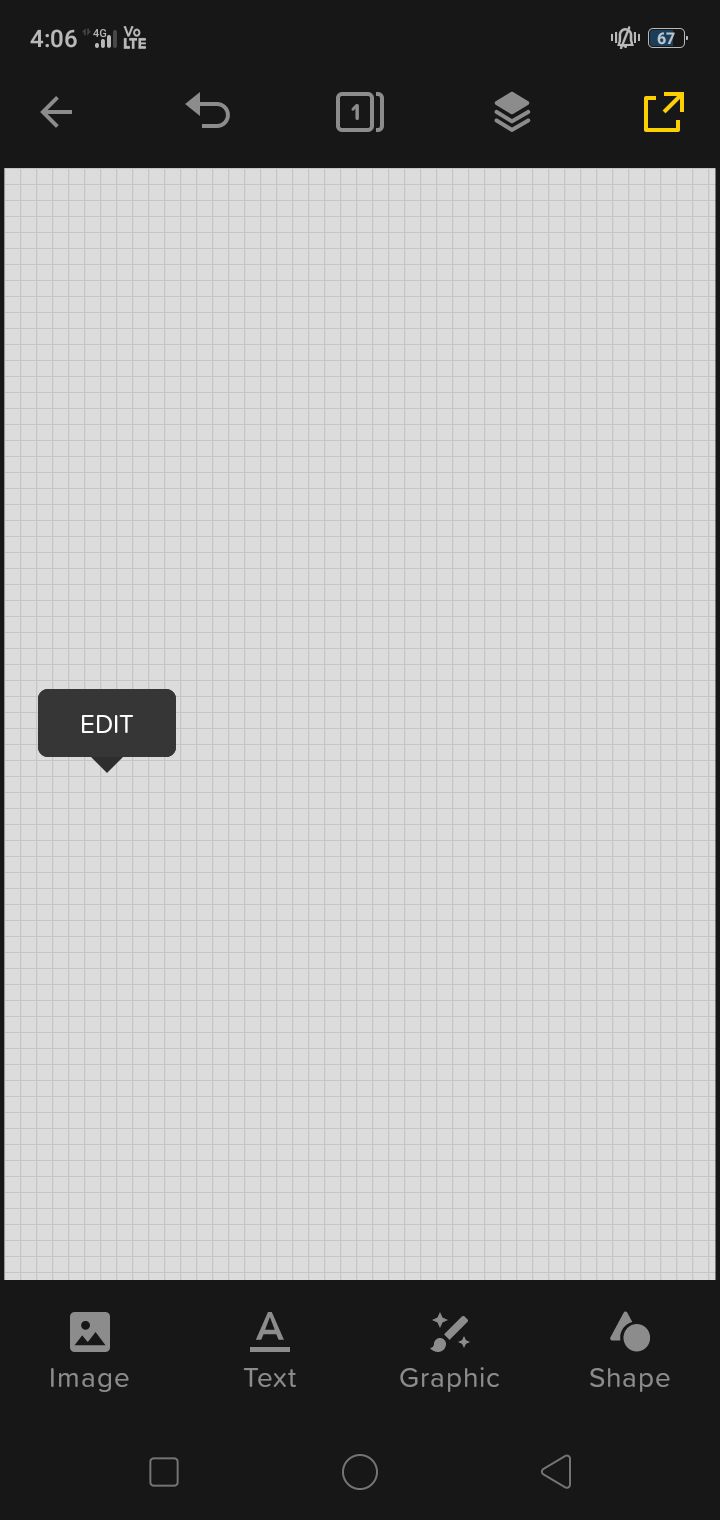
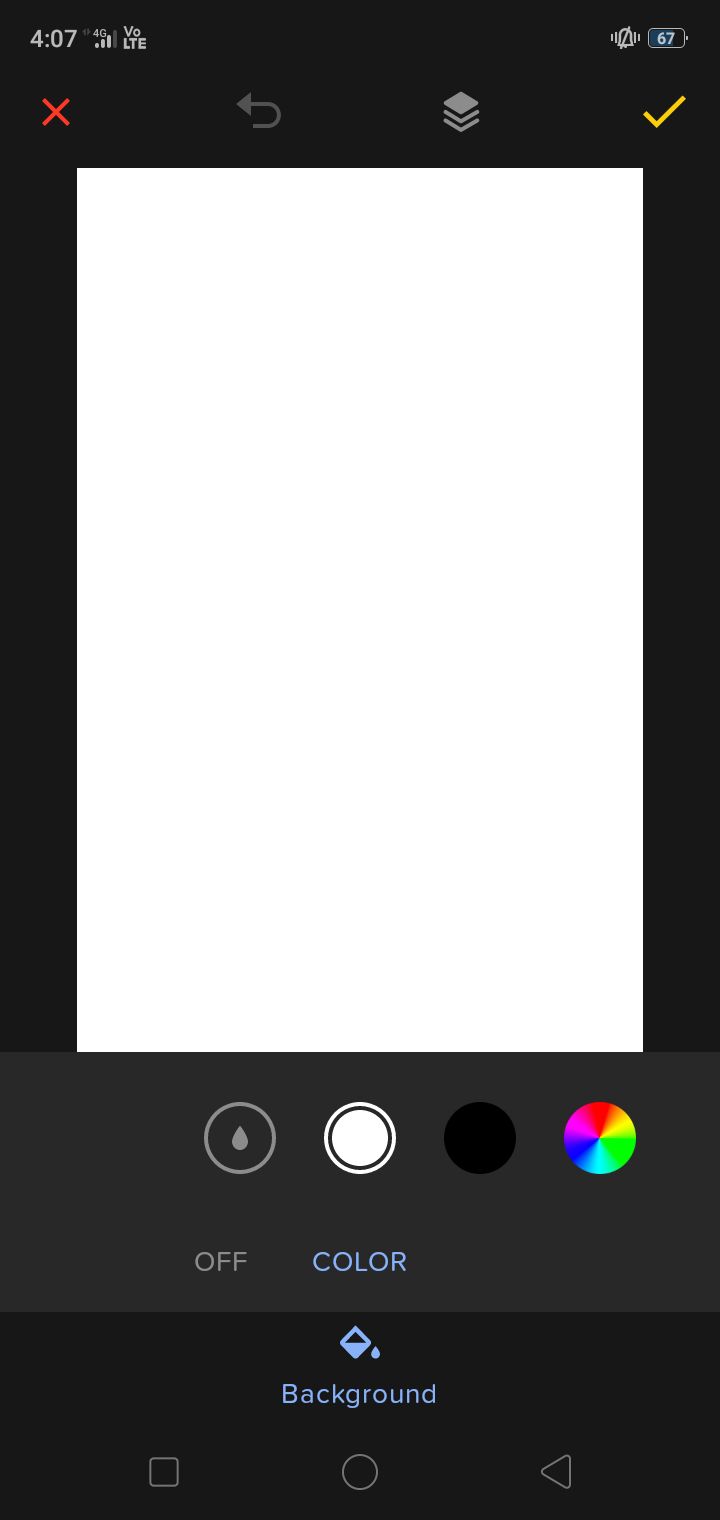
click on the canvas and the edit option pops up. select on that, and you will get the option for a background color. change it to white:
open the wild album background by selecting the image option:
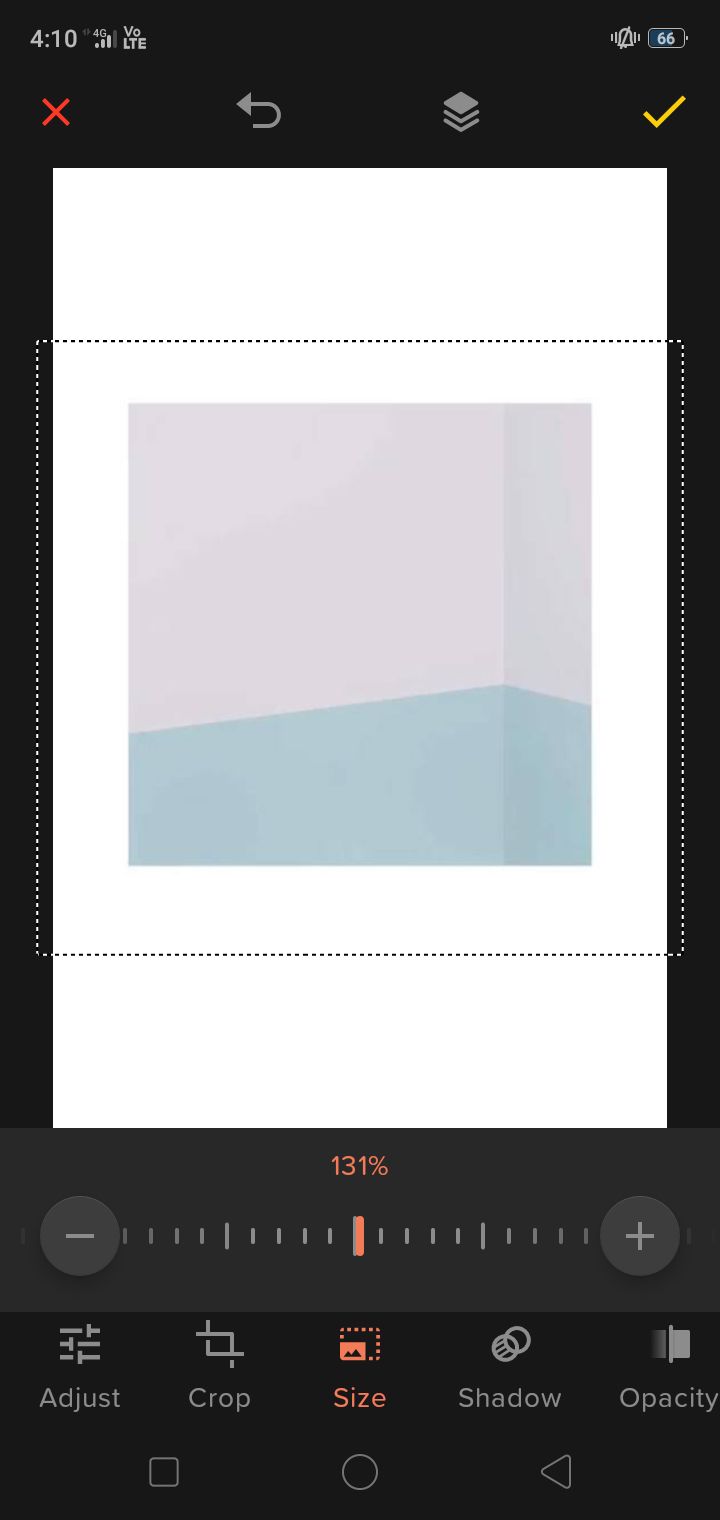
adjust the size as shown by clicking on the edit option for the image (touch the image and that should appear along with replace, duplicate, delete, etc.). place the background, not in the immediate center of the canvas, but slightly more above than it as shown in the image above.
add your faceclaim by using the image option:
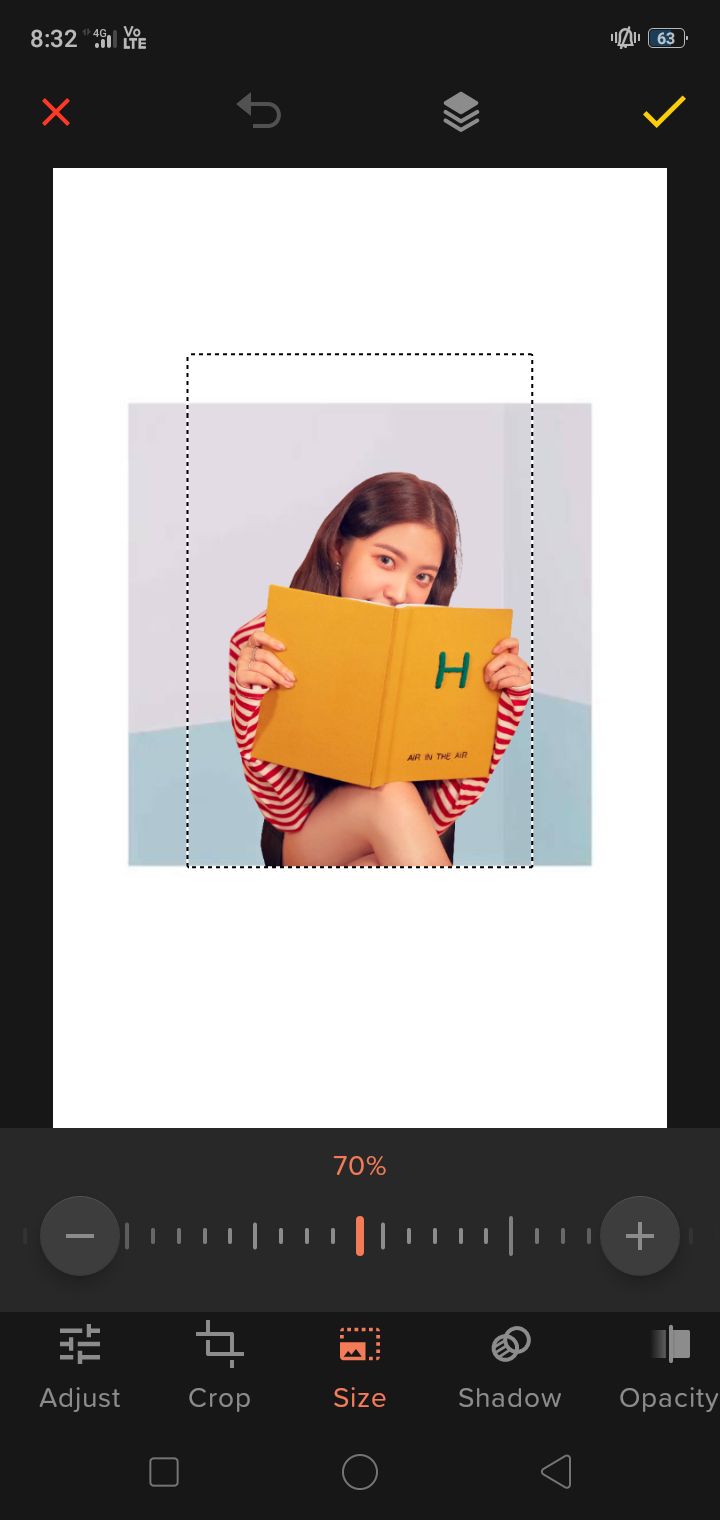
adjust it as shown. since it's looking a bit awkward with the knees (idk just me) i decided to crop it to a more suitable frame. remember, just keep it to the torso for a better look (look at the reference).
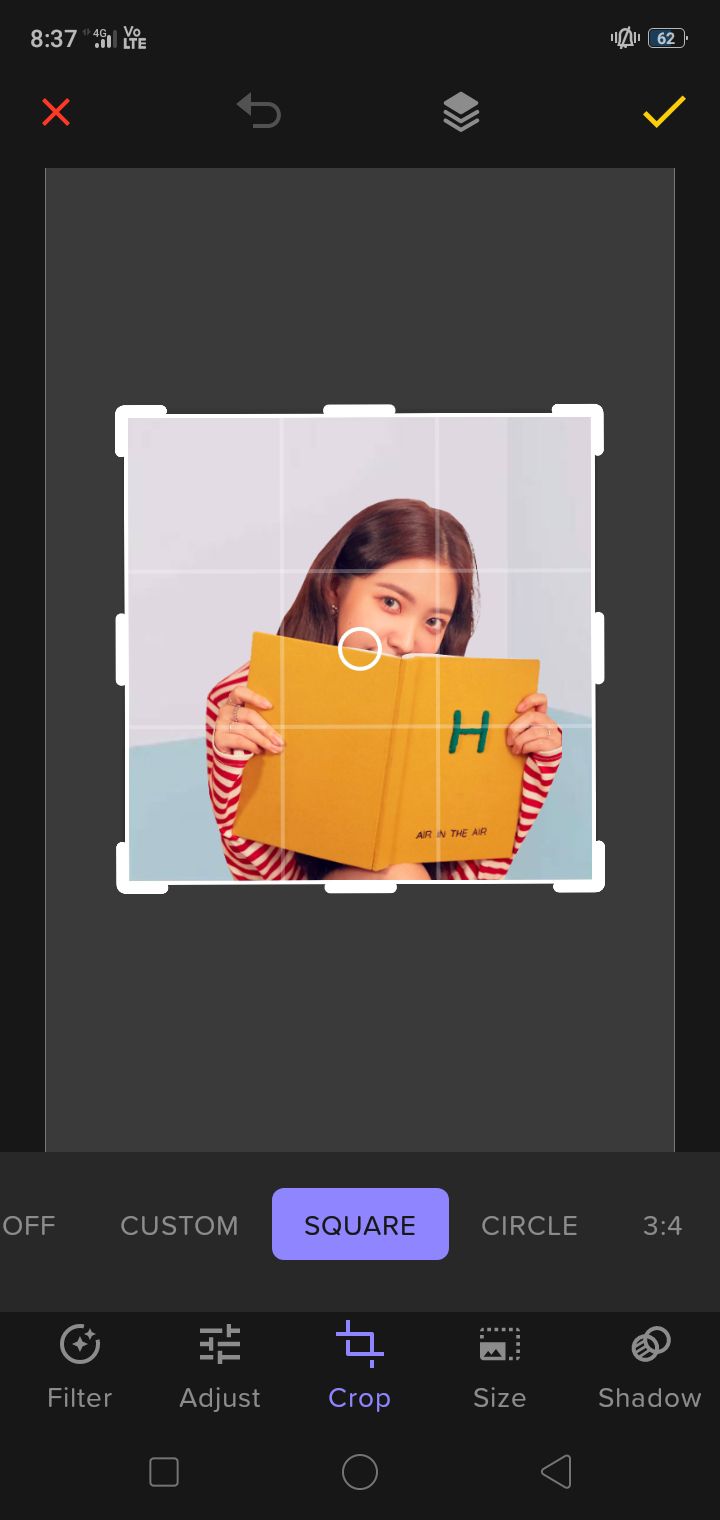
now, onto the next step.
³; assembly

open the png with your title text saved as a png from phonto and place it in the way shown above. it looks the best that way, but if you wish to tweak it, go ahead. you can adjust its coloring (go to tint and select a color, adjust the color's opacity) if you wish so. i don't, so i won't.
increase the size and place it in such a way it looks as if its coming out of the cover, but legible enough to read.
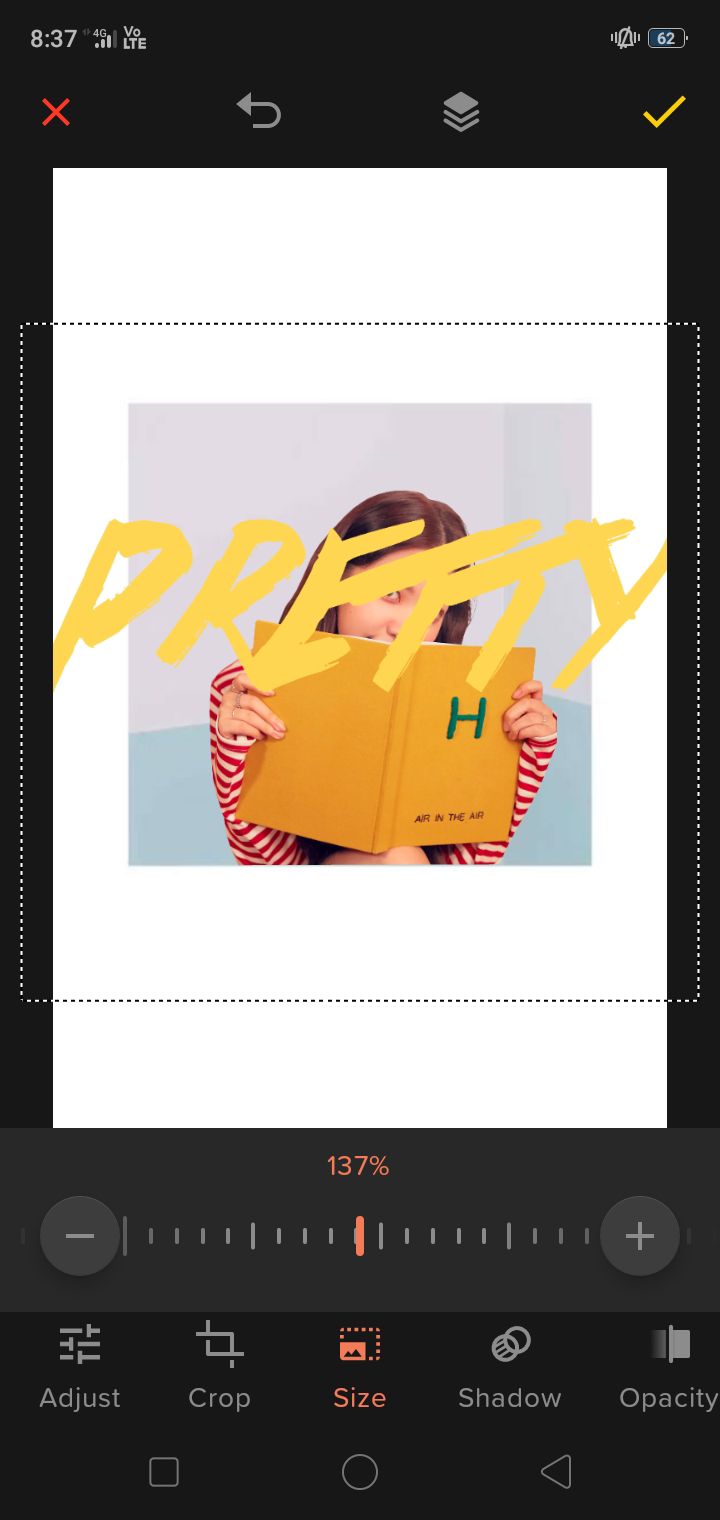
click on the yellow button to save your progress. notice the button no its immediate left? it's layers option, which allows you to have a look at the layers of your project. click on it to see this:
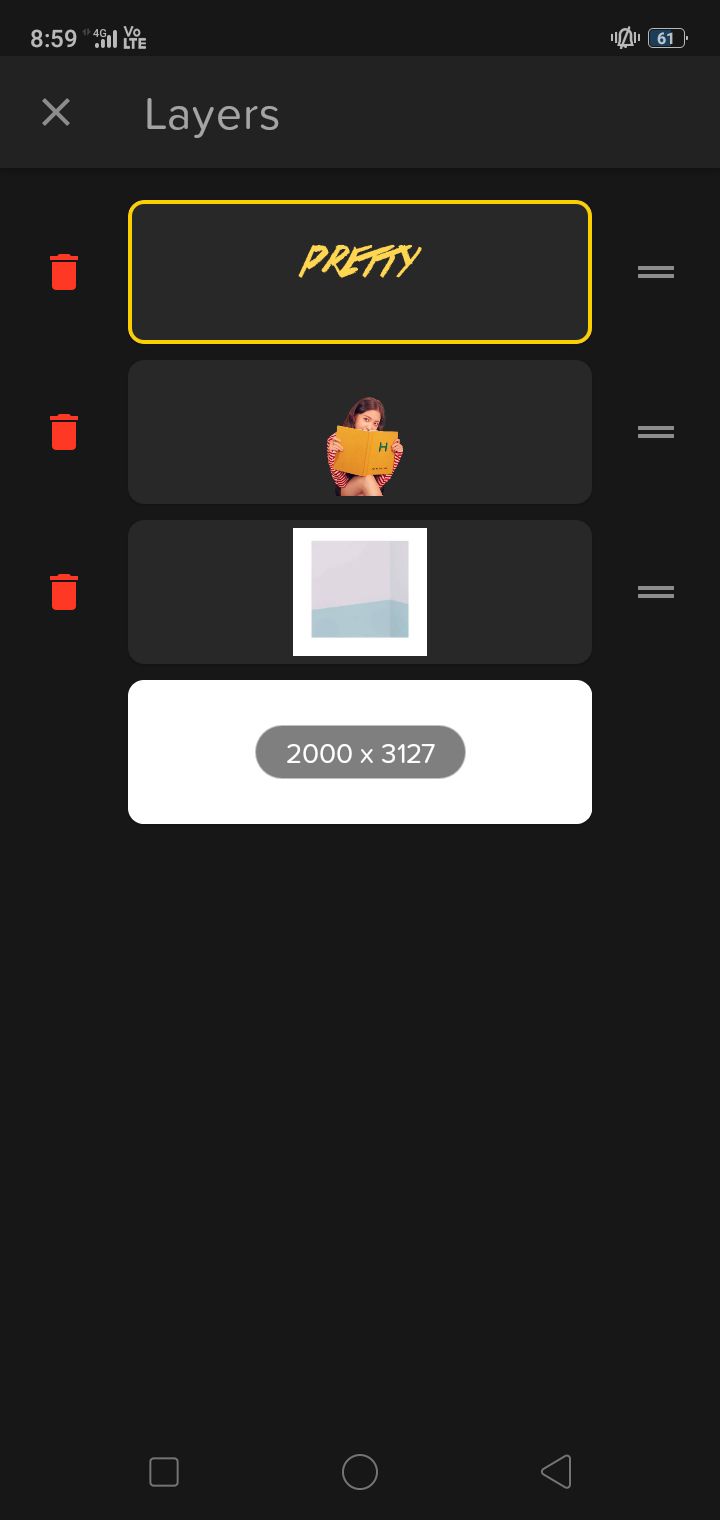
drag the title font layer below the faceclaim by clicking on the two lines besides it.
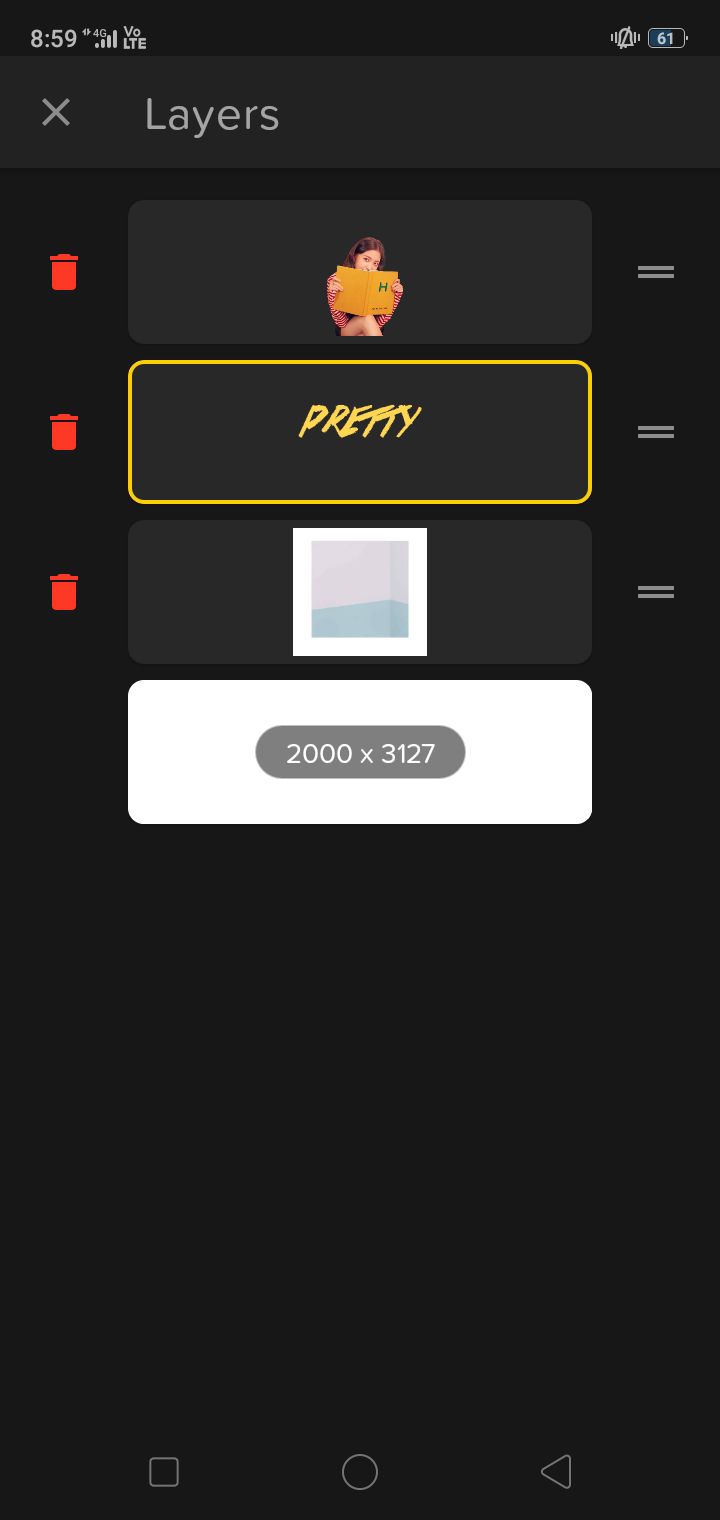
now click on the 'x' on the top left corner and the result should look something like this:
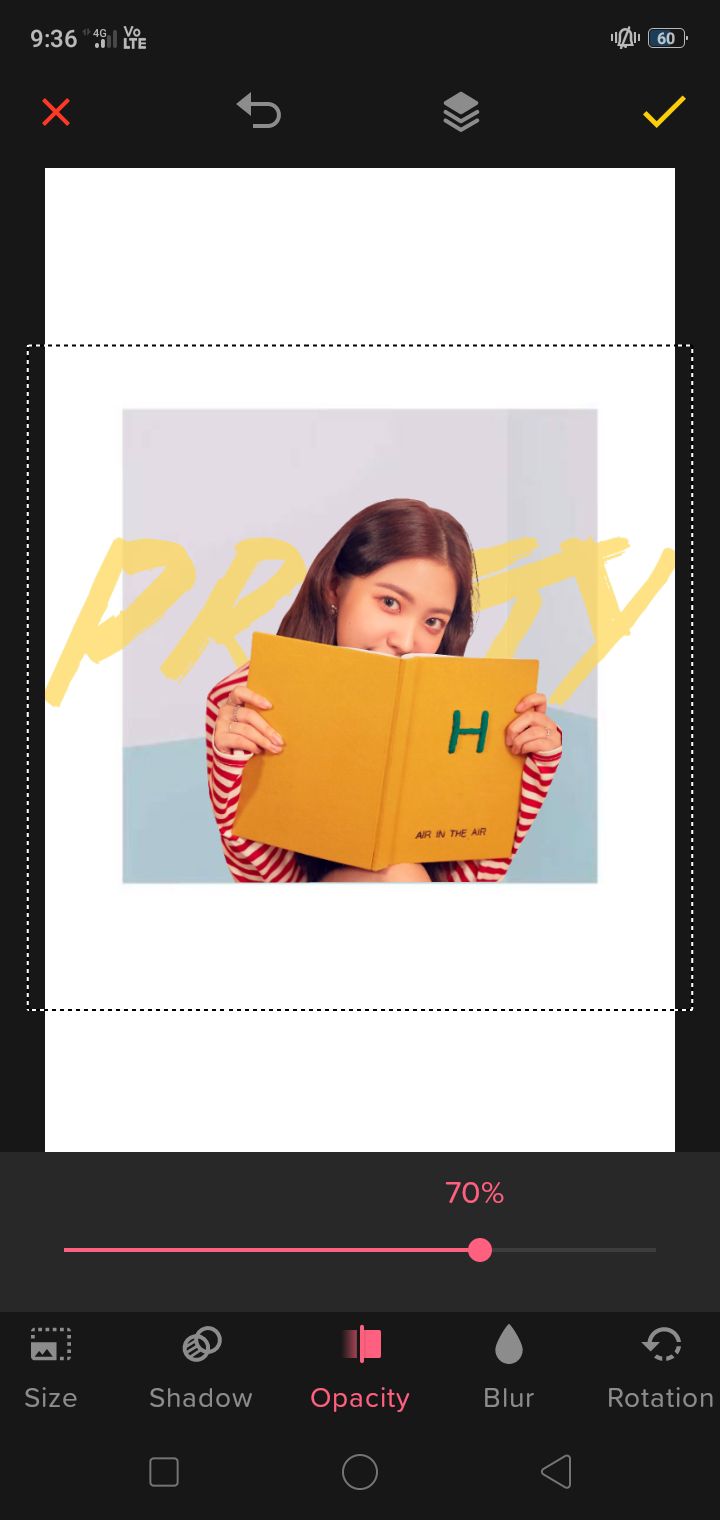
while you're at it, decrease the opacity of the title font so that it can look more authentic (or don't lmao it's okay)
add your petals using the image option and adjust the size. if you're going for a different color, i suggest playing around with tint and the adjust options for the petals.
now select text and enter your username or pen name, using the raleway font. change the color by using the eyedropped tool as shown in the gif:
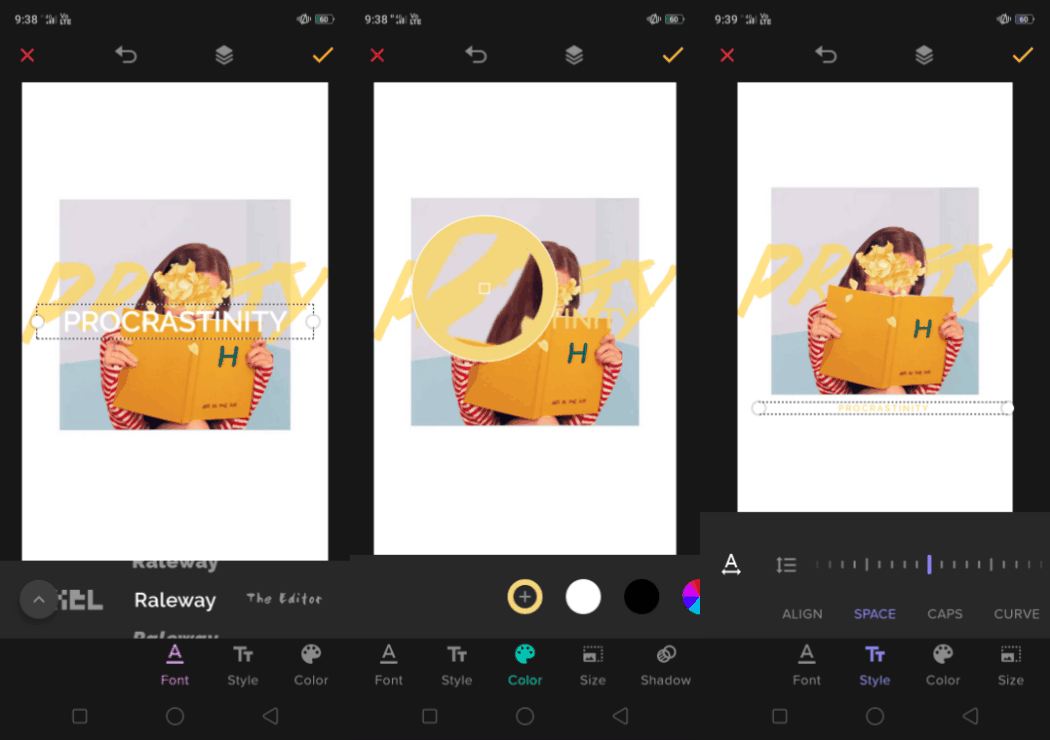
in the last part, you may have seen me increasing the space between the letters (swipe left) for a nicer touch. don't do it too much, just a little bit will be fine (there's no specific measurements for that, unfortunately).
now, open graphics and click on the basic shapes option and go for the thinnest line shape. change its color to the same shade as the author name. place it right on top of the author name and then, erase (mask) the part that comes on the author name (do it neatly please - zoom in as much as required). click on the yellow button to save your progress (do that for every step lmao).

for the mask option, i used the left-most option (the complete filled circle). the one on its immediate right is also an eraser, but it gives more of a cloudy erased look and i prefer the sharper cut one for this edit. you can go with either (to be safe, go with the cloudy filled circle - it's good for beginners who aren't confident in their erasing skills - what am i saying lmao). the right-most option is an un-eraser (if that makes sense). it helps to unerase parts that you have erased. again, like the left options, there's a foggier option on its immediate left. dumping this info here if you're gonna use over so that you don't get confused.
click on the yellow save button right on top and save the image as a png (to be safe and to save space - jpegs tend to take up more space in my gallery). dw, the quality will not be affected bc the measurements are pretty hq imo
and here's the pretty yeri cover!
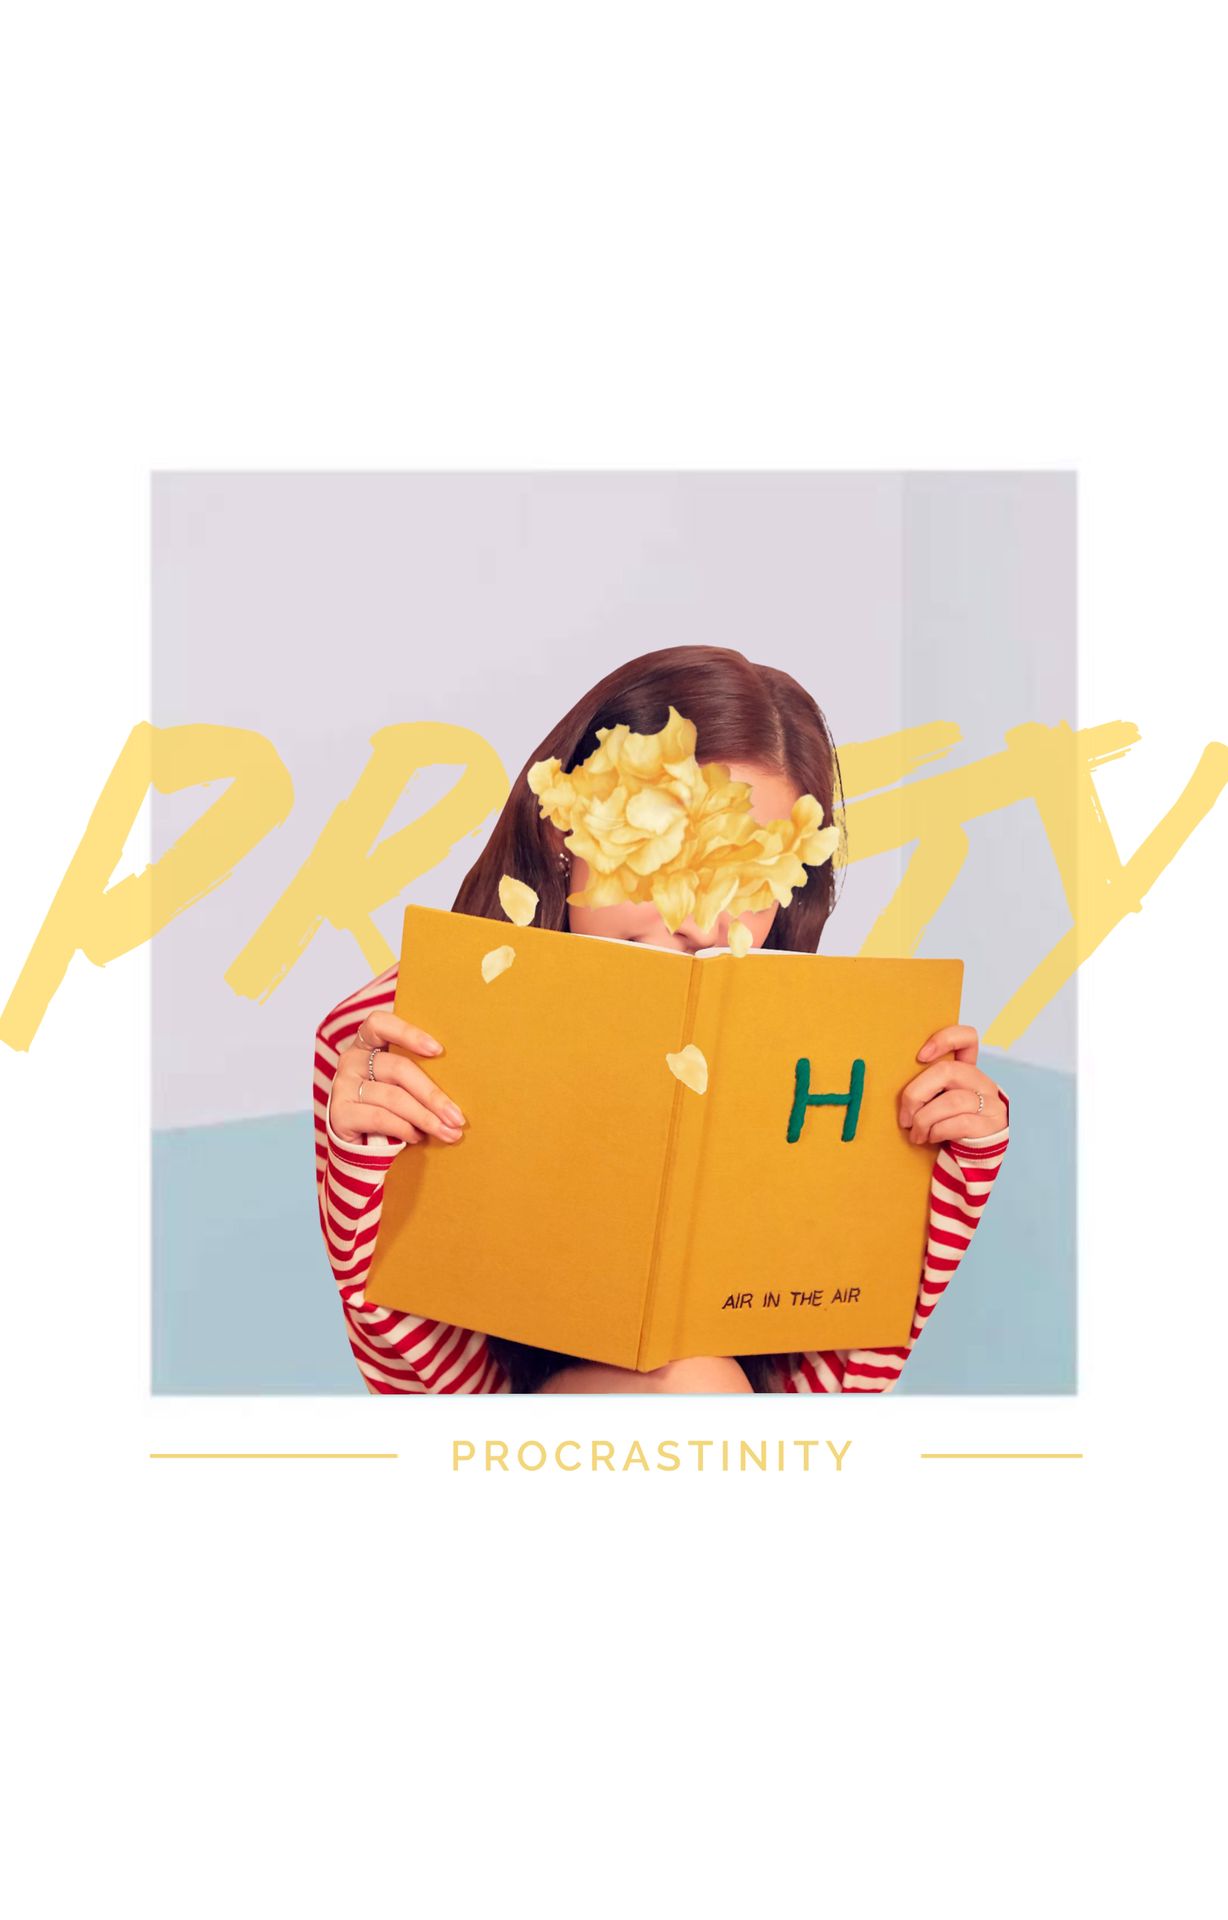
i hope this was helpful! i made this tutorial bc some people in my cover shops asked me to do so and i think it was time to listen lmao so here you are!
comment your tutorial requests on the tutorial chapter, please! not anywhere else :")

Bạn đang đọc truyện trên: AzTruyen.Top