↬ scrolling gif

today we shall discuss:
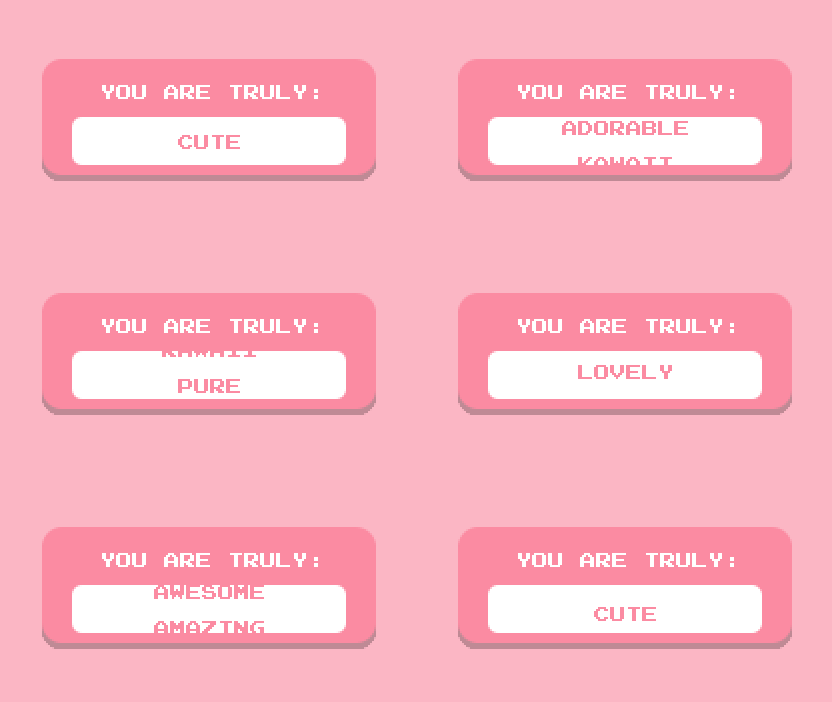
scrolling gif
hopefully this tutorial will be of some assistance to you because I haven't come across a tutorial to make it - either on mobile or pc.
it's very, very tedious and you must be extremely precise. when you get to the animation part of it, kindly remember to save every step and do each step as accurately as you can. my own final result isn't as perfect as the above given example.
perhaps there are online editing sites that give a ready made animation for this, idk. feel free to look for easier and less time consuming methods.
I took seven hours (excluding the breaks I took in between to get back to life lmao) to make this as well as come up with it - just saying. it took me two attempts to get it right. so it's okay if you take it easy with this one, there's no stress of losing all your progress like in the loading bar gif; as long as you have saved each step as a separate image. otherwise you'll have to start over.
kindly credit me as stated in terms & conditions, if you ever do make it.
with that out of the way, let's begin!
for this gif, you will require:
i. any decent editing app with adjustable layers (I've used over in my case) and a nudge option
ii. gif maker-editor
steps ::
¹; canvas
you can make this in any size you fancy. just remember not to make it too small or else it might get messy.
I went with one of over's standard canvas proportions - one for a facebook header.
go to graphics → library → basic shapes and select the filled oval if you do not have a rounded rectangle option. you can go for other shapes; but it just looks cleaner and better this way.
crop it in this way:
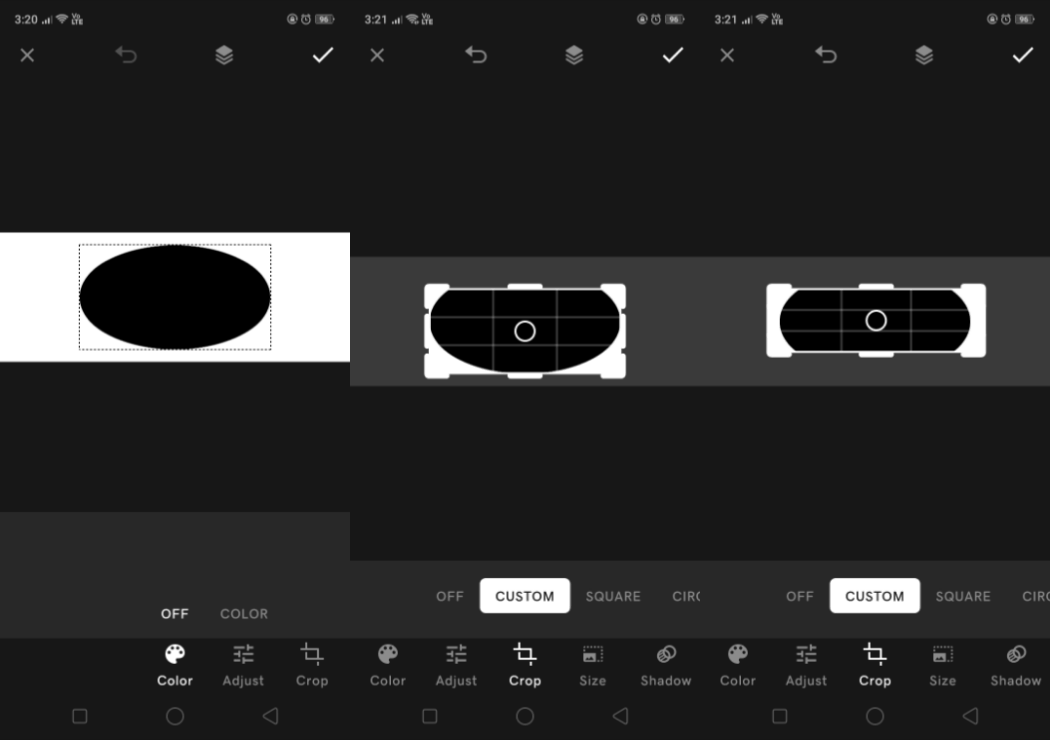
remember to keep it proportionate. this is the closest I could get to a rounded rectangle lmao
²; color schemes and final setup
change the color of the canvas to smth darker or lighter than the the rounded rectangle in the middle.
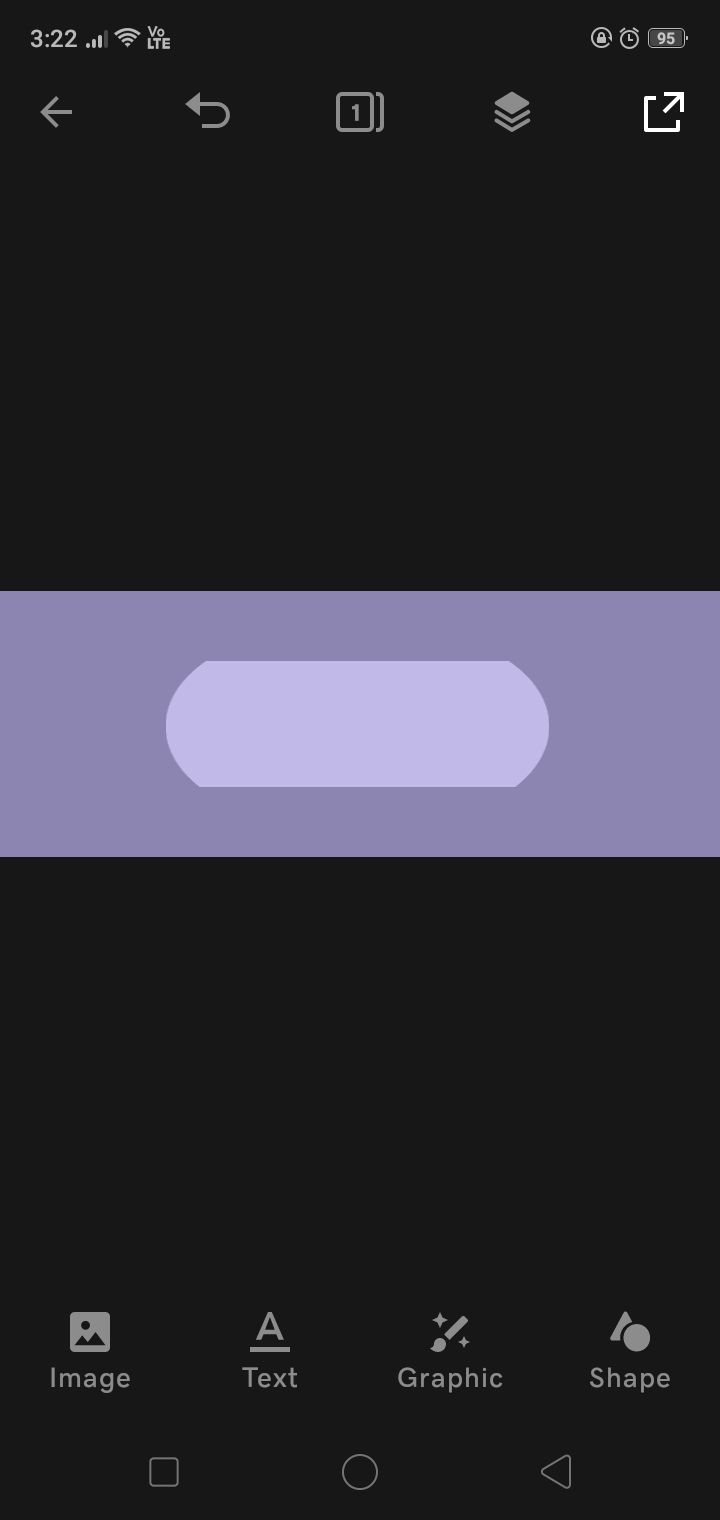
repeat the same steps with a smaller oval, only make it a little thinner in width. change its color to white or something closer to white and the color of the rounded box.
because I'm extra and I hate myself, I added a border around the damn box which took way too much time than it should have. oh, and I also added some decorations on the side:
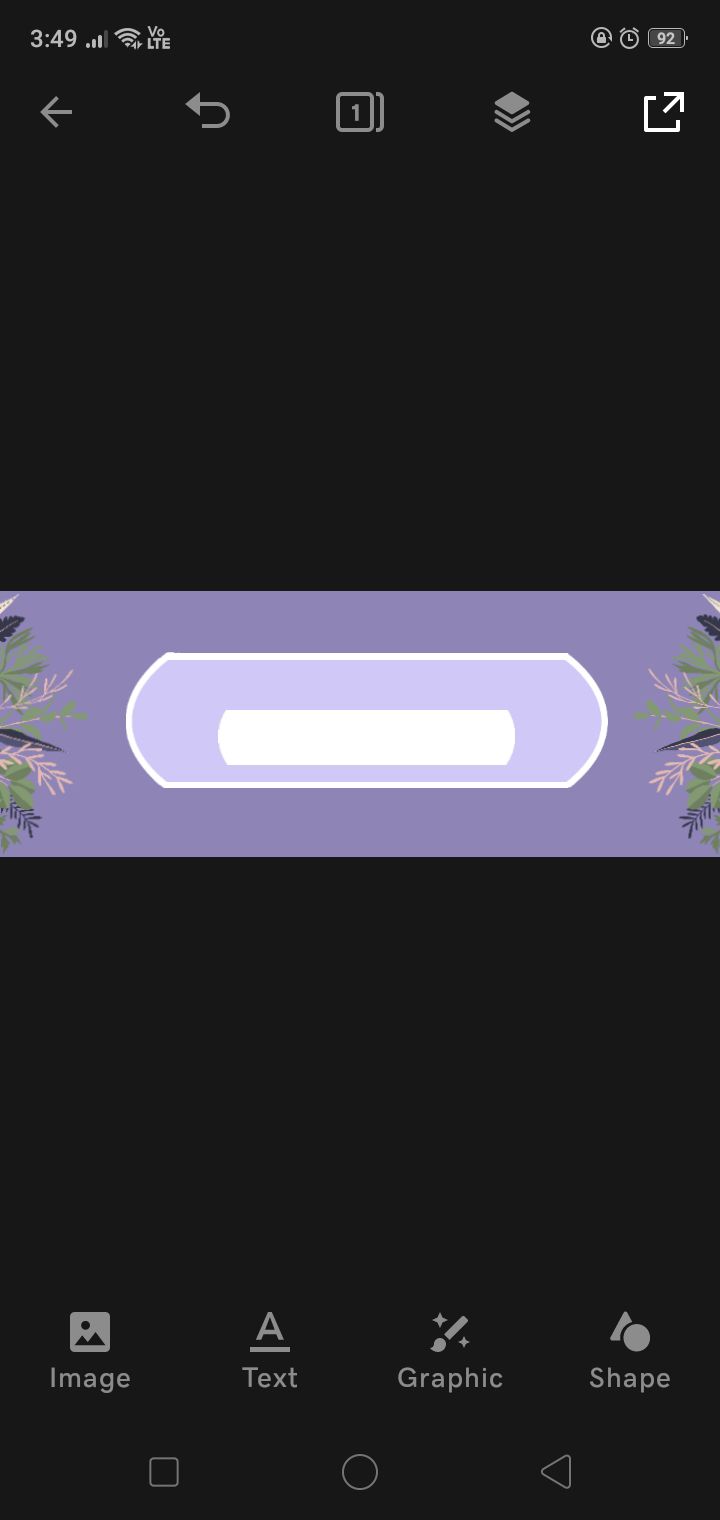
im gonna pretend as if that alone didn't take me fifteen minutes ugh
you may add a shadow like in the example above. I opted out of it because it didn't look good.
now onto the gOoD sTuFf
³; starting animations
type out the main text of your graphic (like the above given example was a sentence that ended with various words). I went with something related to this book ;))
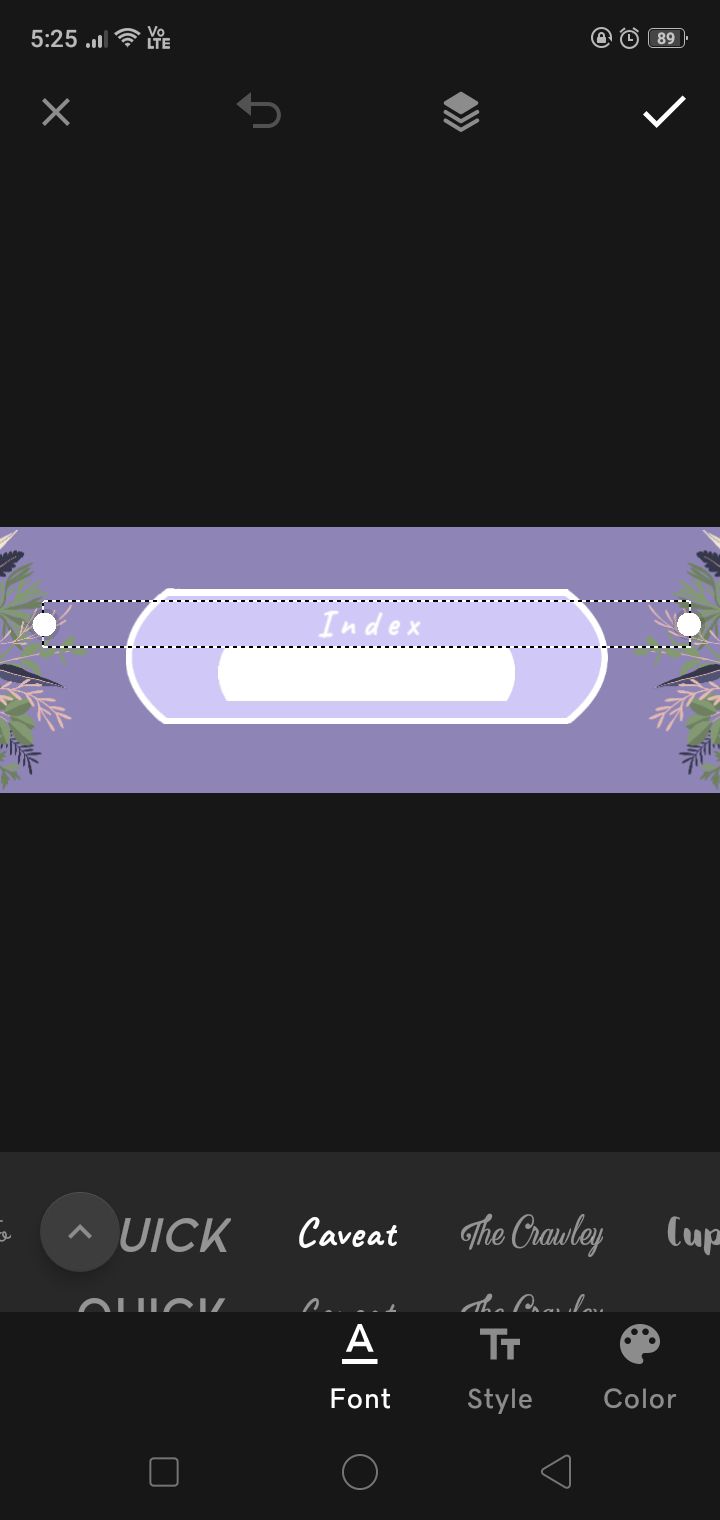
size should be small enough to not exceed the length of the inner white box.
I chose the font caveat but any decent, cute font can do. try to not go for script fonts - cursive fonts - and decorative fonts - really bold, attention-seeking fonts.
duplicate the text and place the duplicated text right in the middle of the white box, directly below the original text. change the color to same color as the outer box. It'll come in handy later.
change the text to whatever you fancy. tap on it and select edit (see my previous tutorials if you are confused about it) and go to nudge. now, keep this in mind - it is very important.
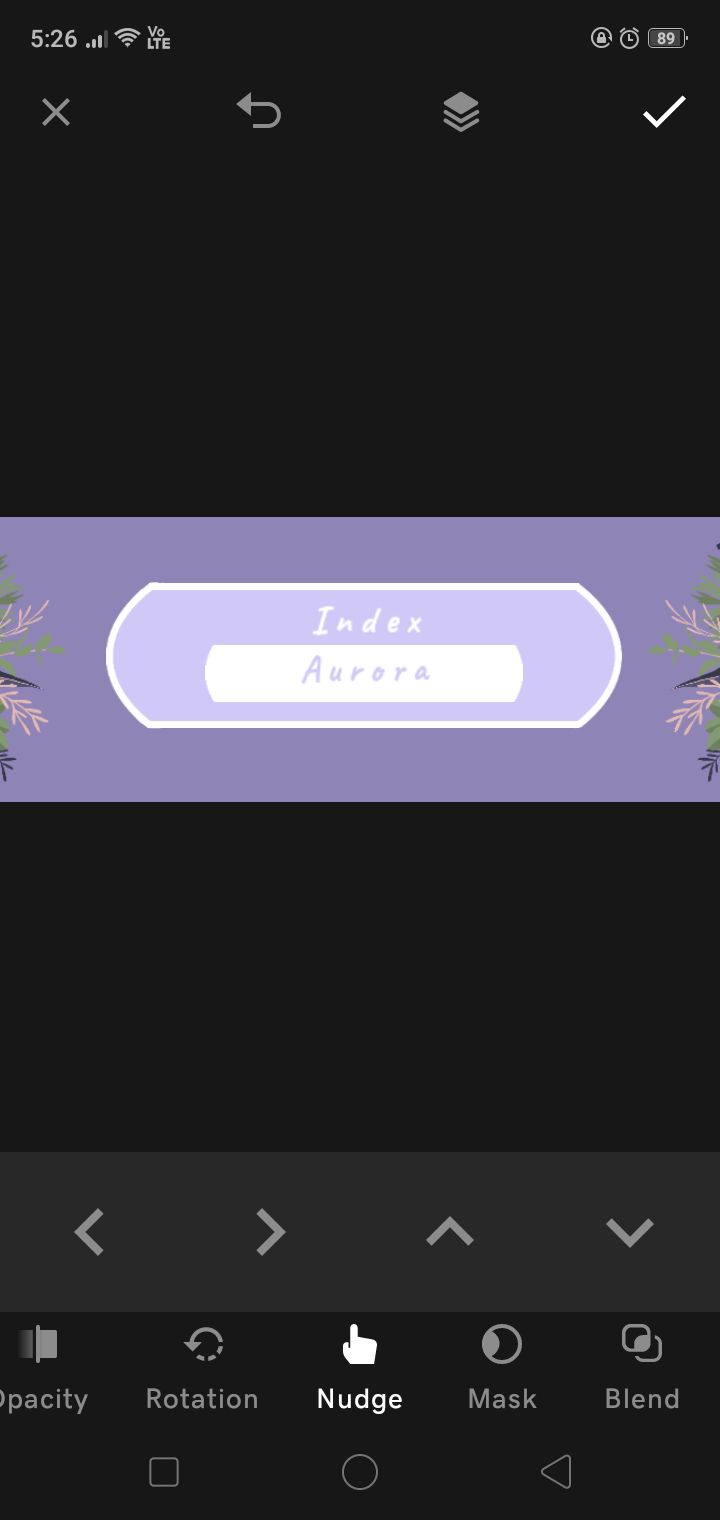
nudge the text upwards by exactly two pixels. (one pixel - one tap). you can do three pixels but more than that and the smooth transition's lost. after you've done that, save the image. did you read that correctly? yes, save the image. one more time? yes, save the image.
after you save the image, nudge the text upwards by two pixels (or three, whatever you started with - don't forget!) again and save the image AGAIN. keep doing that until your text reaches this stage:
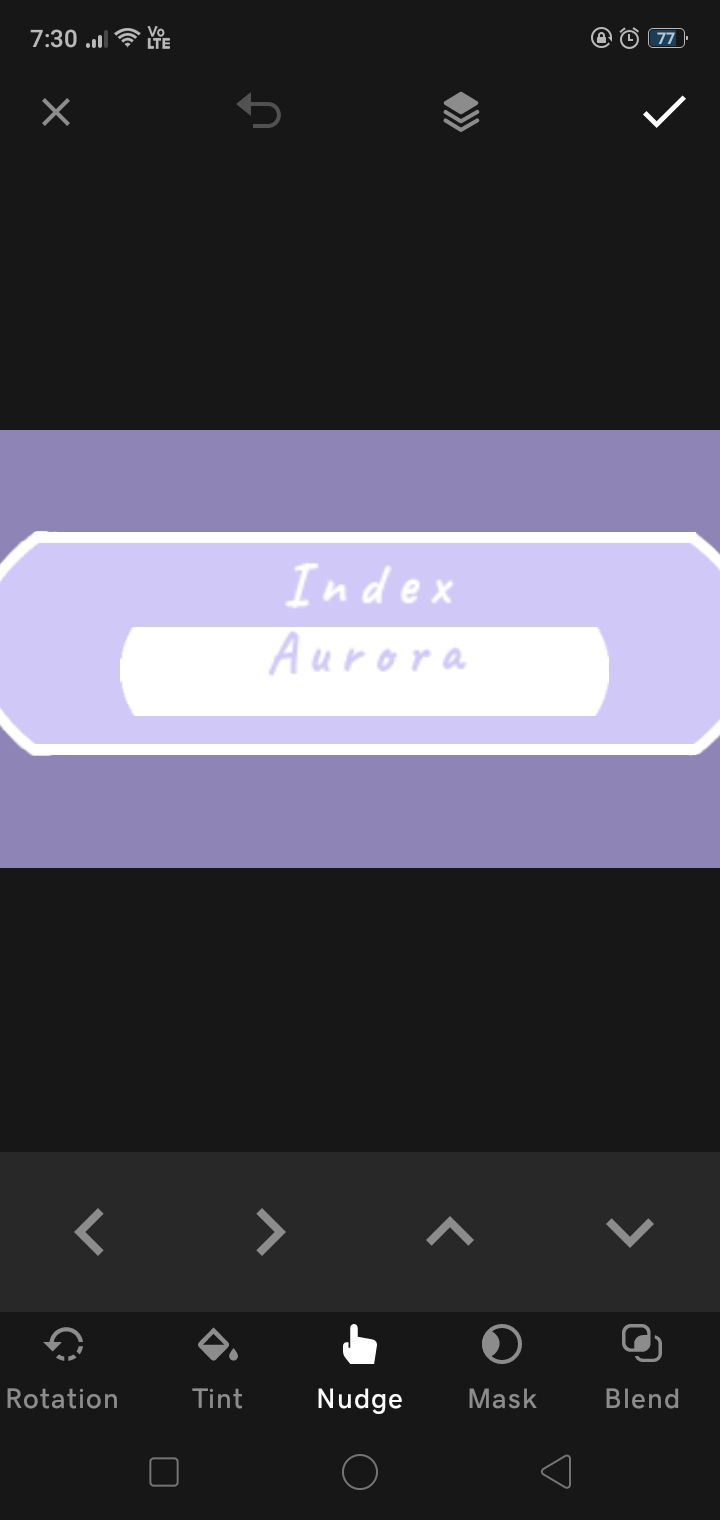
see how close it is to edge of the box? not exactly TOUCHING it but almost there. don't save the image just yet, we have work to do. now, duplicate the second text, change its text to whatever you fancy (one word only pls it shouldn't go out of the white box) and go to layers (the icon next to the white tick above)
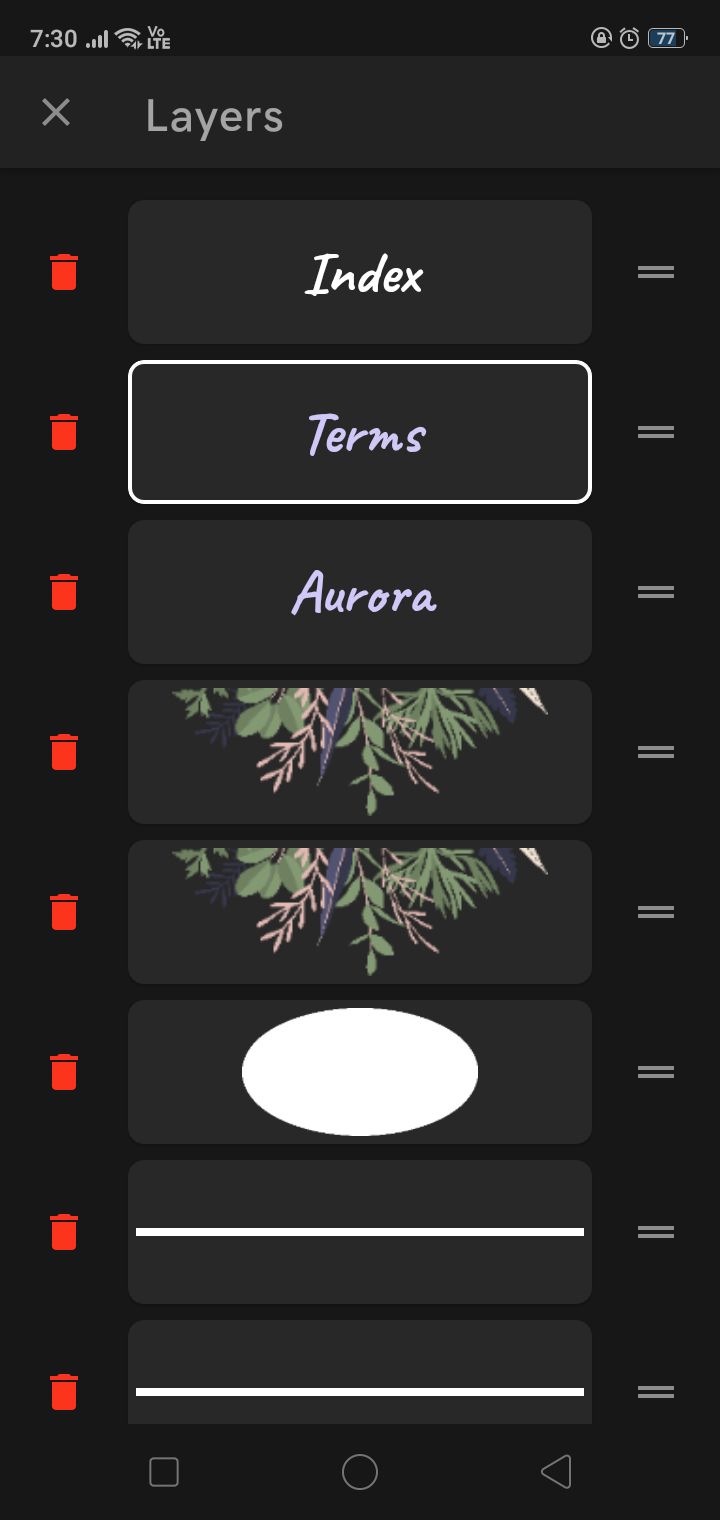
using the white lines next to each layer, drag both aurora and terms (the duplicated text - I've changed its text) below index.
tap on terms and using nudge, place it right below aurora in such a way it's peeking into the white box but not in there yet. well, it's kinda difficult to explain. just make sure it isn't visible on the white border of the purple box (if you have made one like mine):
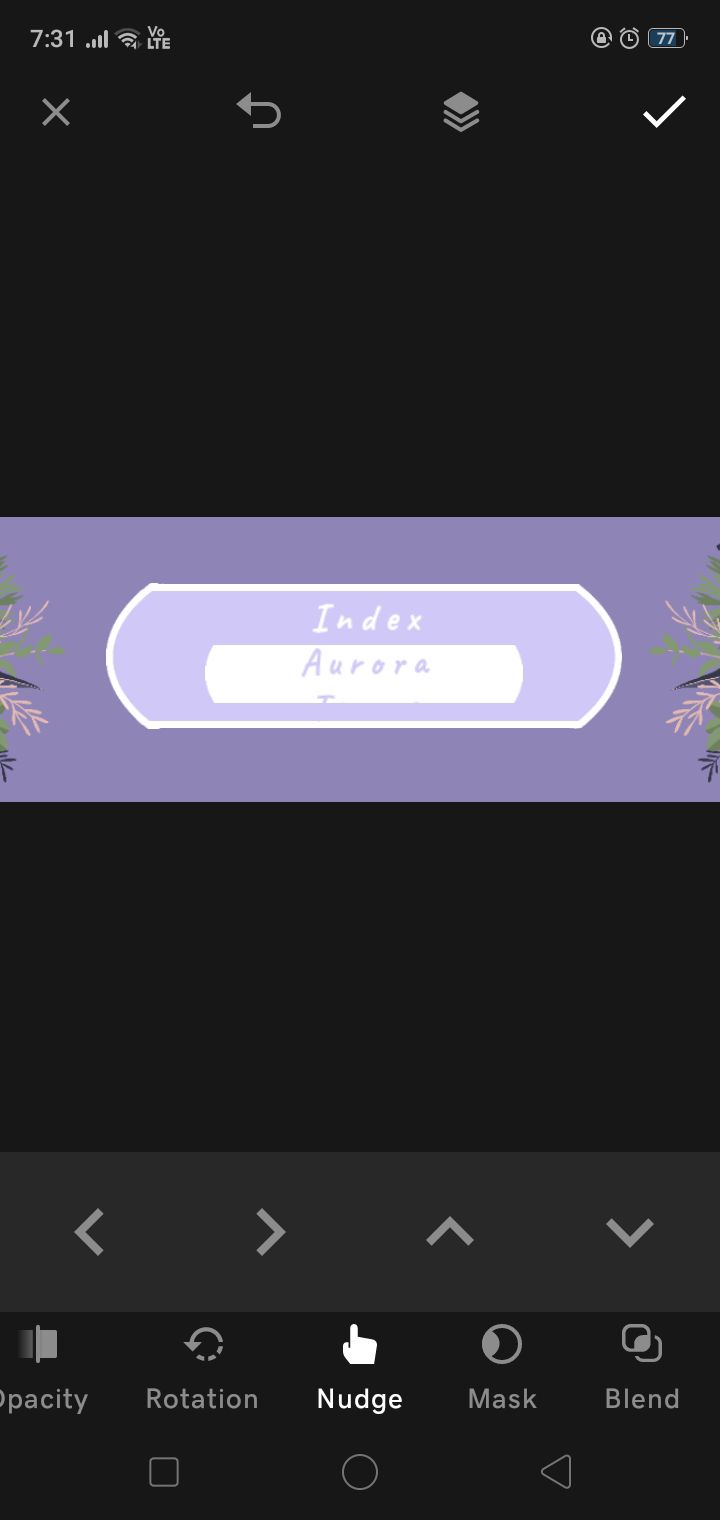
can you see the "T" popping above a little? yes, that's how it should be. now, save the result.
keep up with the two pixel and save rule, only this time, save only after you have moved both the texts upwards by two pixels. once the first text is out of the white box, don't bother shifting it upwards anymore. it won't be visible because a. it's the same color as the outer box and b. because it's behind the index, since it was placed below it. keep shifting terms upwards however and keep saving it.
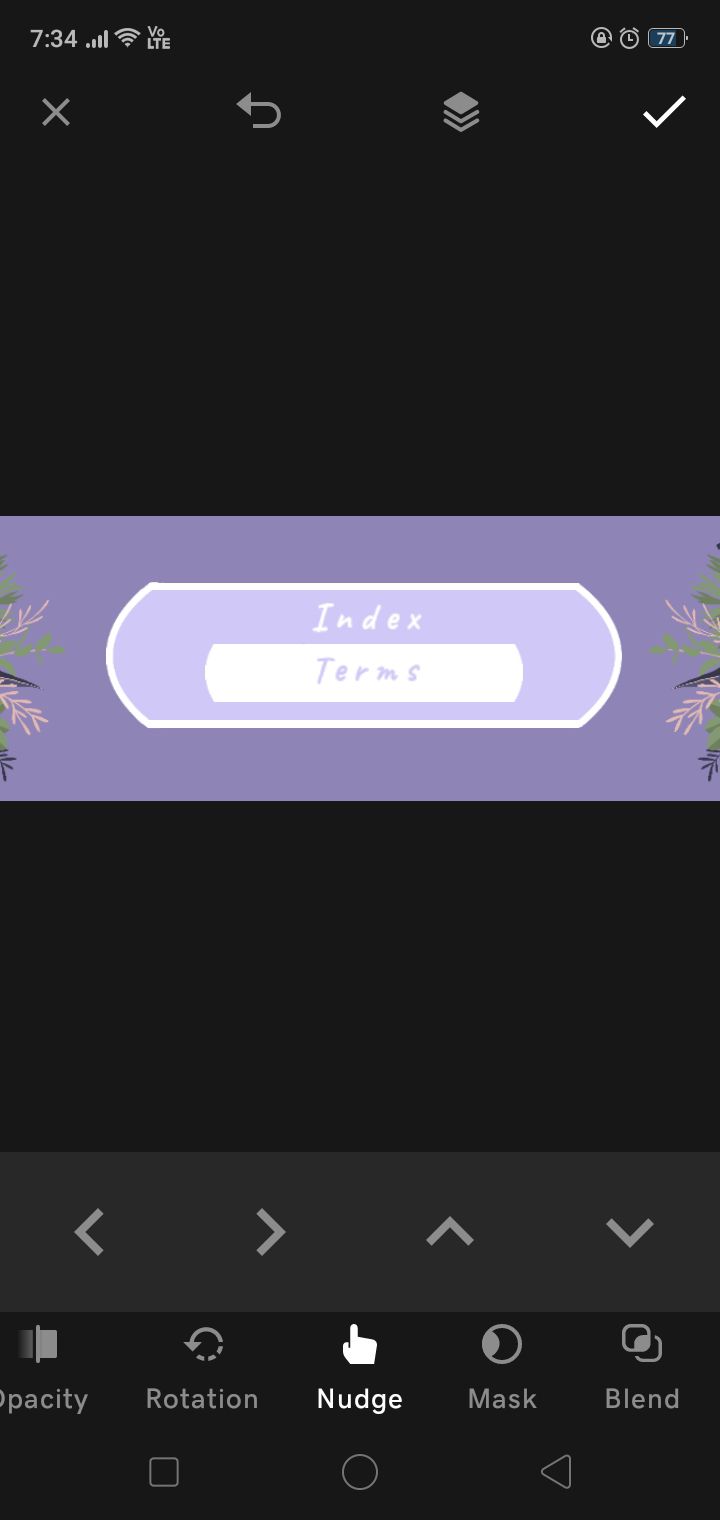
⁴; improvising/getting the hang of it
when terms has also nearly reached the edge of the white box,
you do the same thing as you did with the aurora text.
duplicate, change text, nudge below until its just peeking from above and follow the two-pixel rule and save.
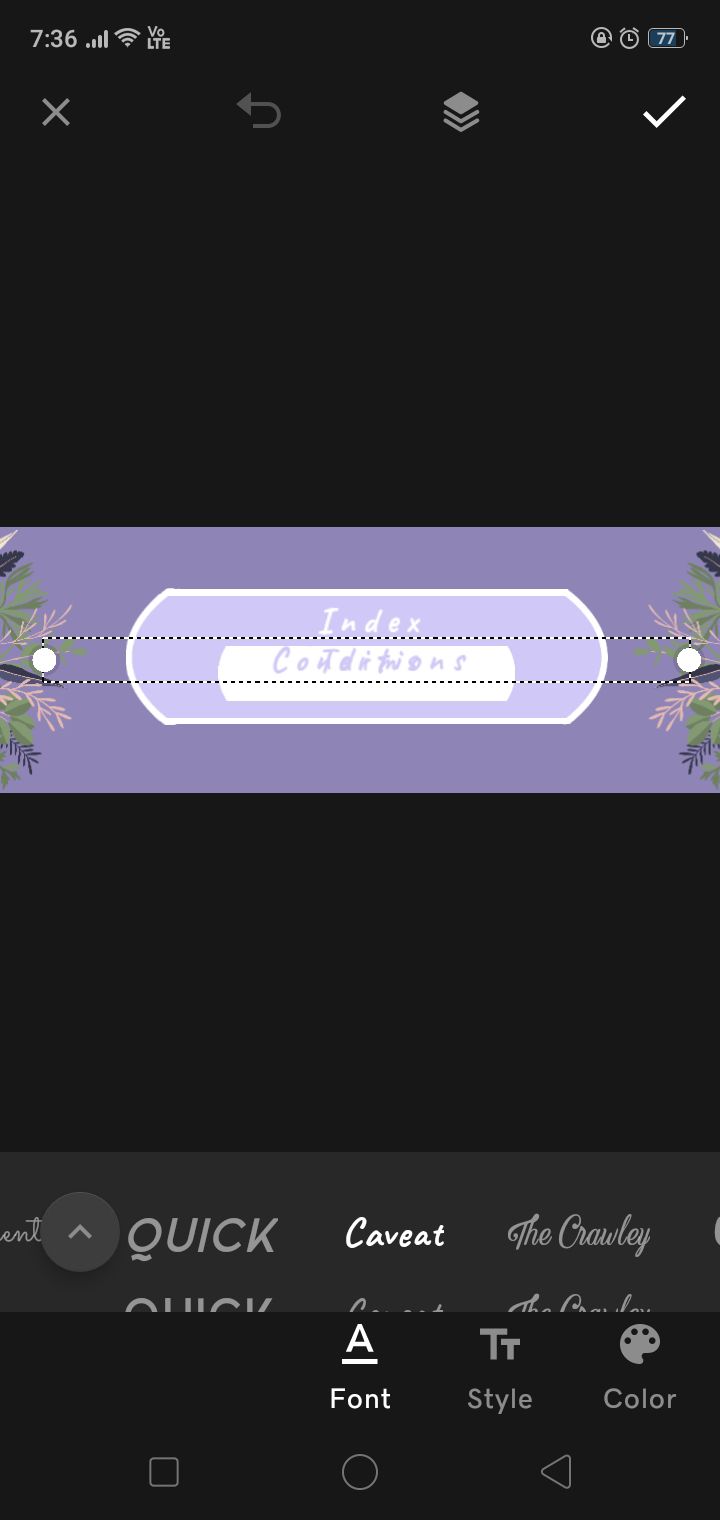
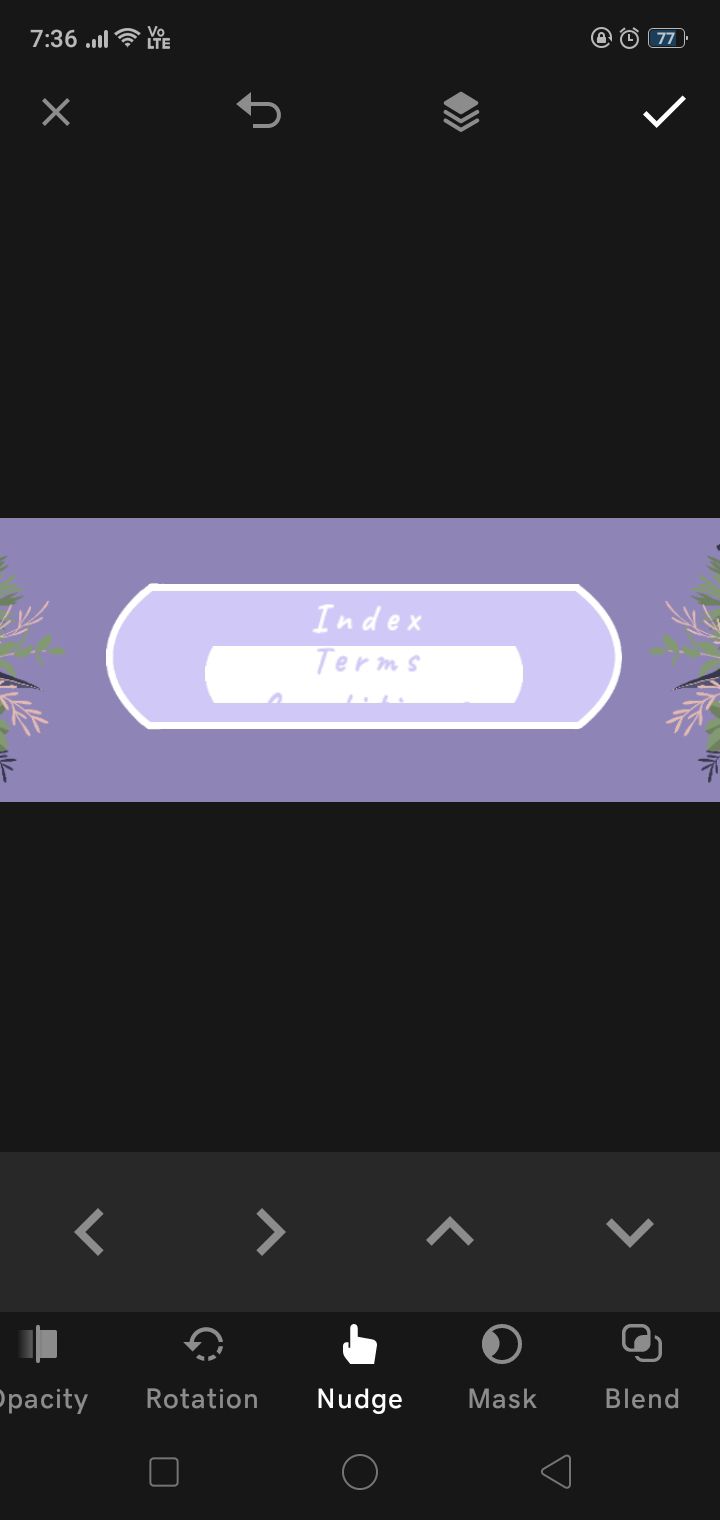
keep doing that until terms is also out of sight and continue with the two pixel rule only with conditions (oh and remember to keep it below index in layers).
add your fourth text the same way. keep doing steps three and four until you reach your desired number of texts.
⁵; finishing animations
when your final text has nearly reached the edge of the white box, go to layers and bring your first text (aurora) right at the bottom of the white box, when it's just peeking upwards:
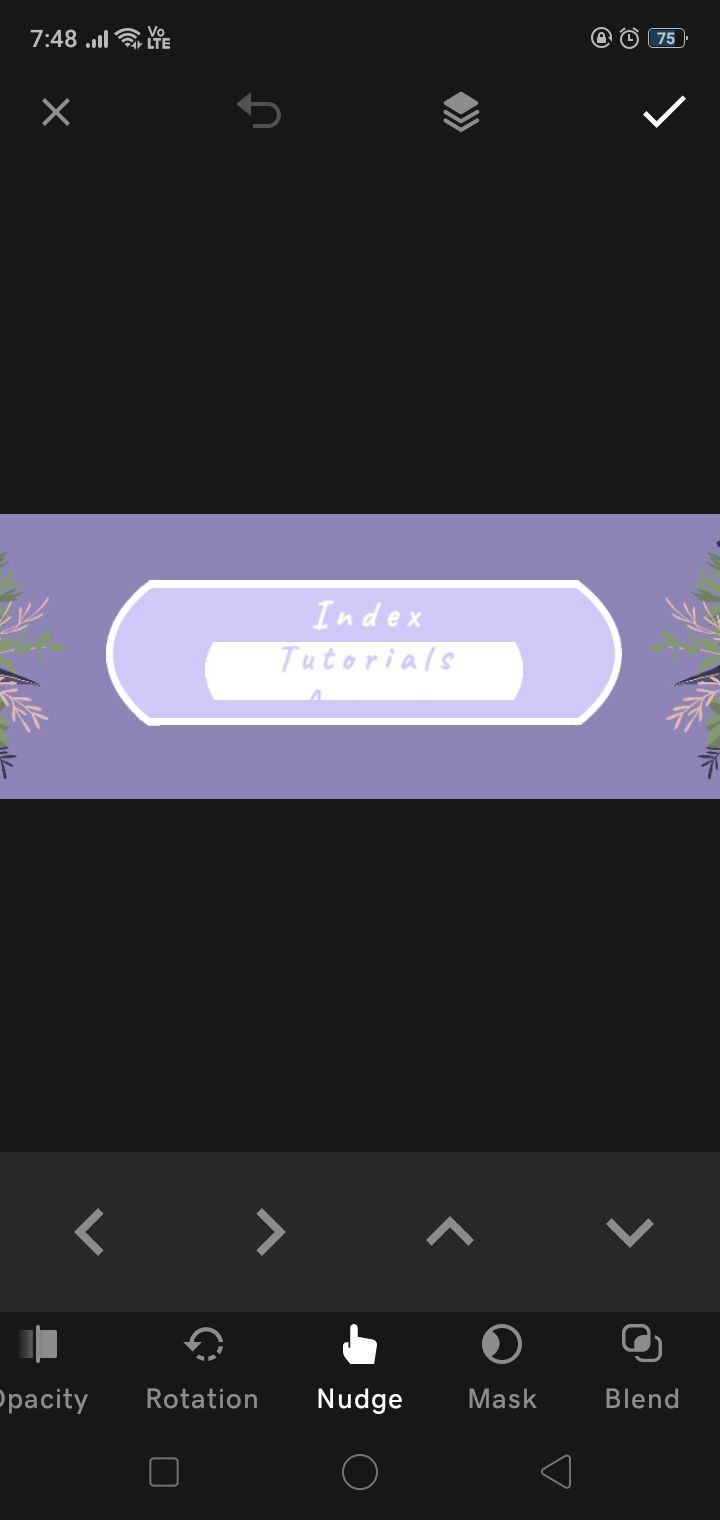
you know what happens next. two pixel and save. when aurora reaches the middle of the box (tutorials should be out of sight too), stop saving.
it's time for finishing up.
⁶; complilation
go to my second life saver, gif maker-editor.
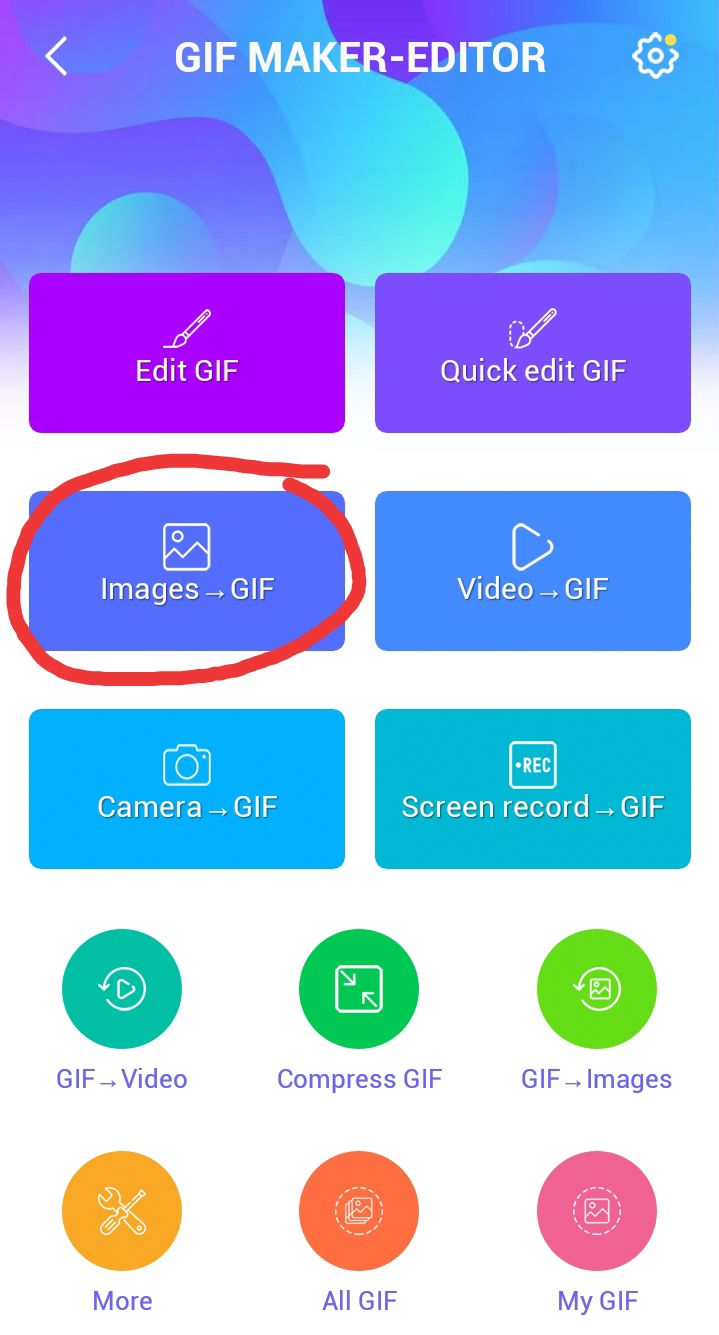
select images to gif, select all the saved images (in chronological order PLEASE) and click on the blue button.
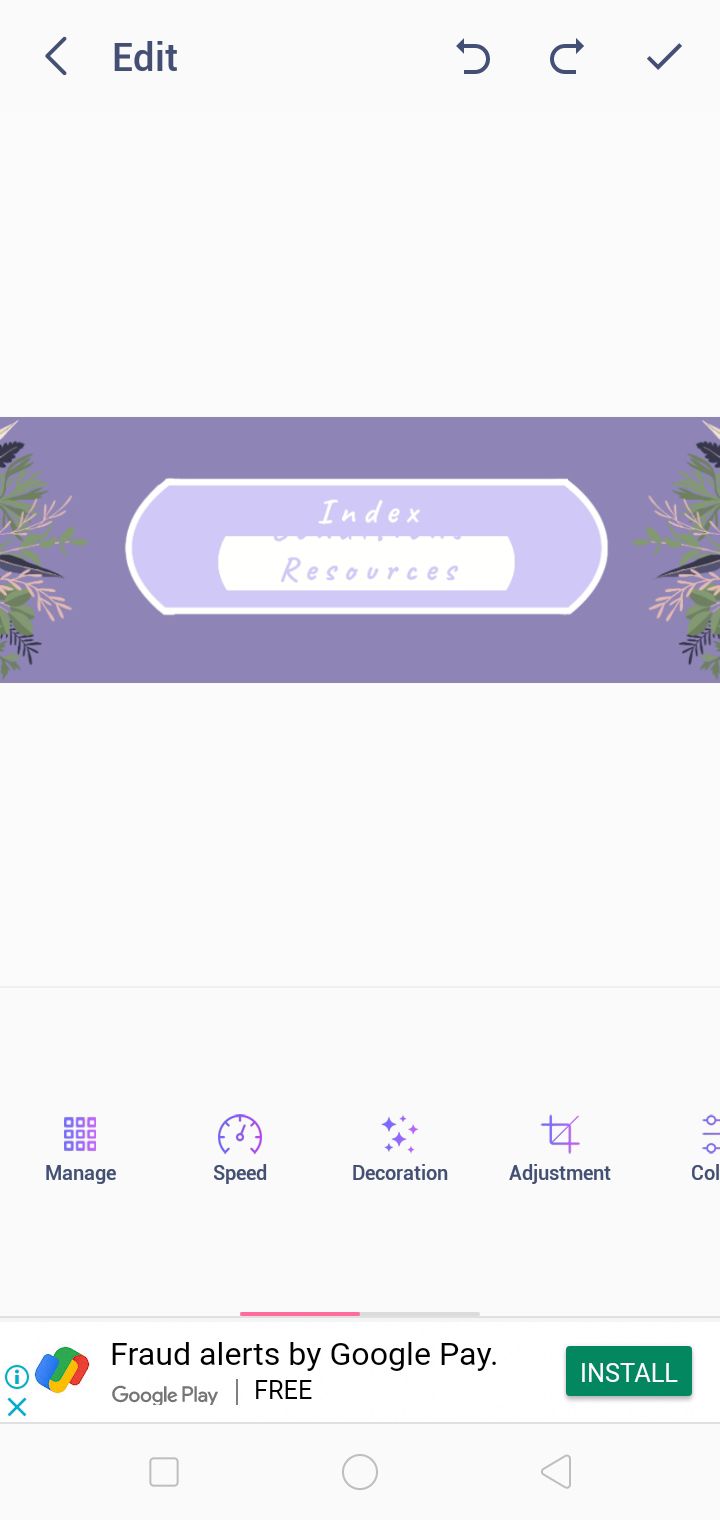
adjust the speed (I went for 0.05) and click on the tick button to save. for quality, settle for middle if you've done more than four texts, like me. the file might end up being bigger than wattpad's size limit. this was 2.19 MB:
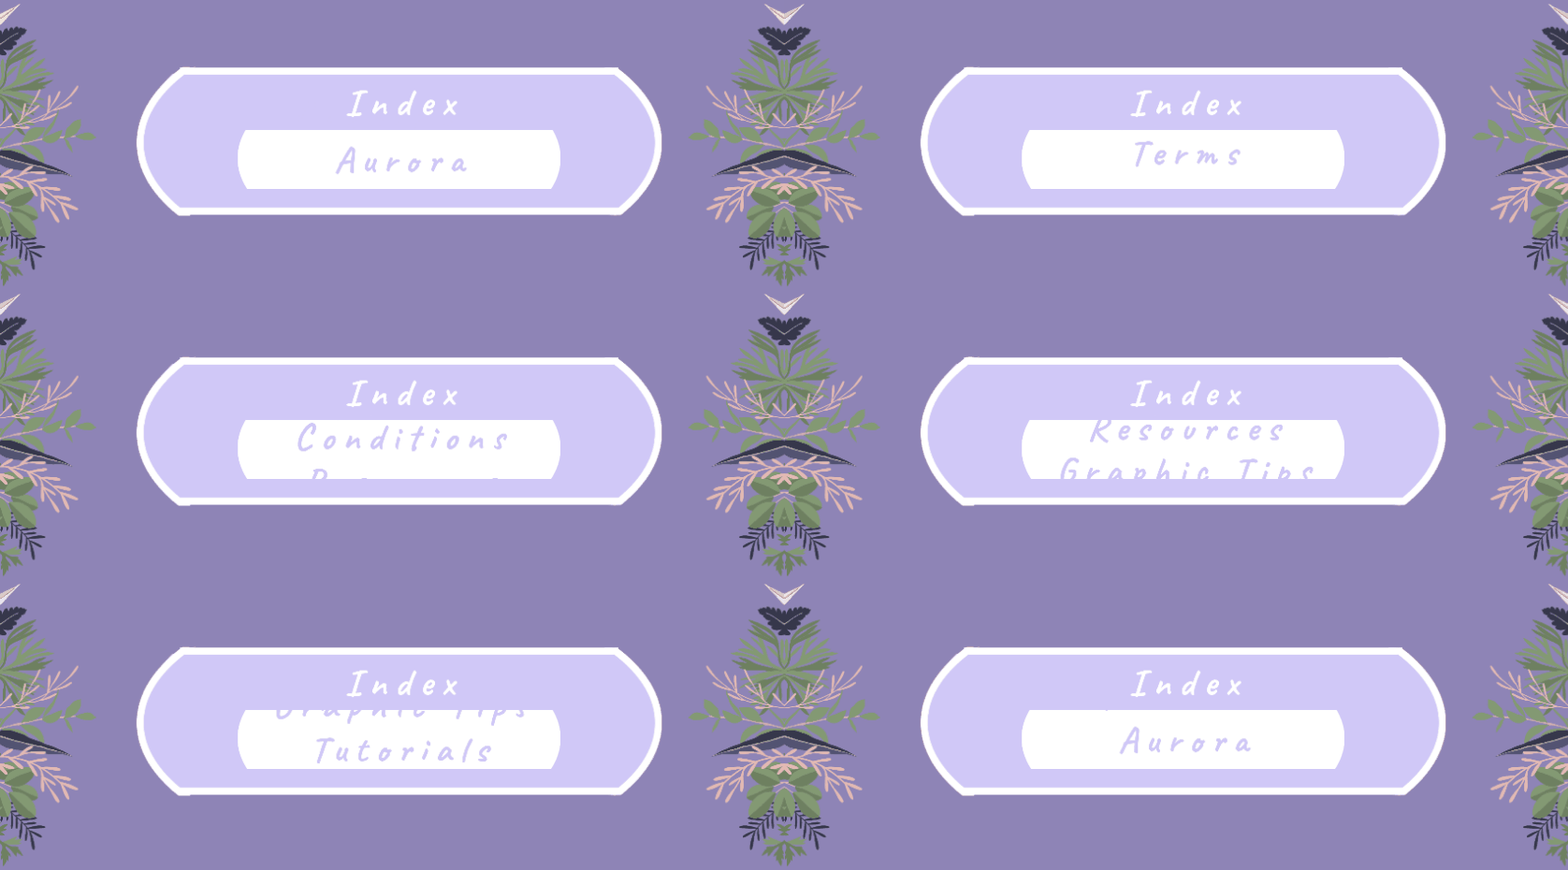
as you can see, it paused at aurora because my stupid self saved the last step so there's a bit of a pause.
yesh it's the index for aurora :')

Bạn đang đọc truyện trên: AzTruyen.Top