↬ blotting/biting gif (r)

evy and lisa placed a request for:

blotting/biting gif
this is kinda similar to the loading bar gif - as in, save the image of every step. the original request was actually "bye for now" but that had more layers and I didn't want to go through the pain of recreating it even with my shortcut. that one resembled more like a cookie bite gif (plus the colors helped) and this one is kinda more like paint blots.
so i made a new one huhuhu it's inspired from cherrieah's pretty template in her shop midnight inbox.
remember to credit me if this helped. detailed instructions in terms & conditions.
steps to make this eyesore ::
for this, you will require the assistance of:
i. over
ii. gif maker-editor
¹; canvas
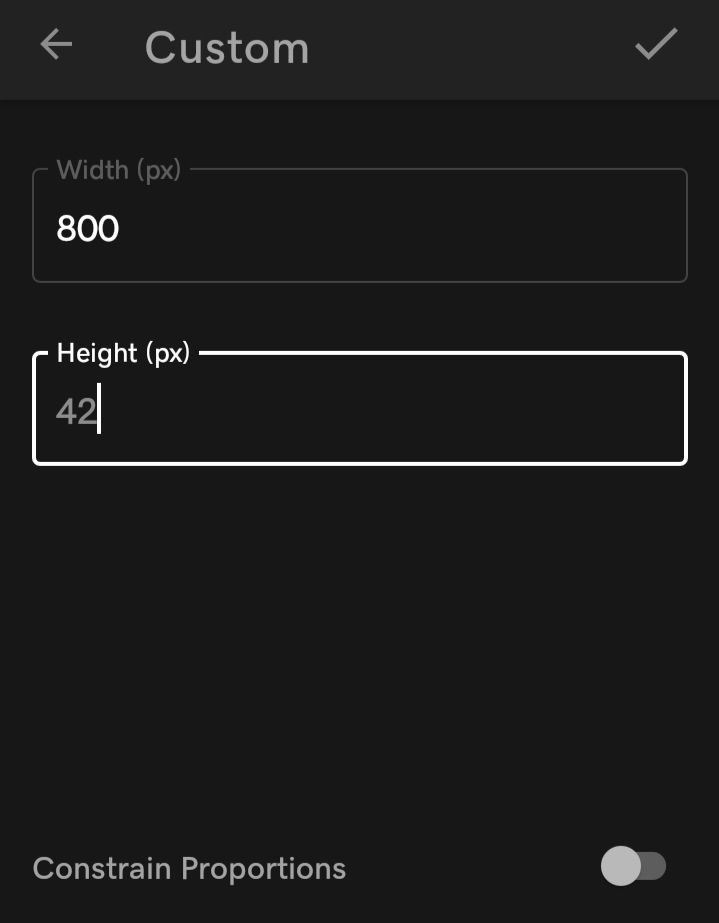
open over and enter the measurements for the canvas whilst remembering to turn off constrain proportions:
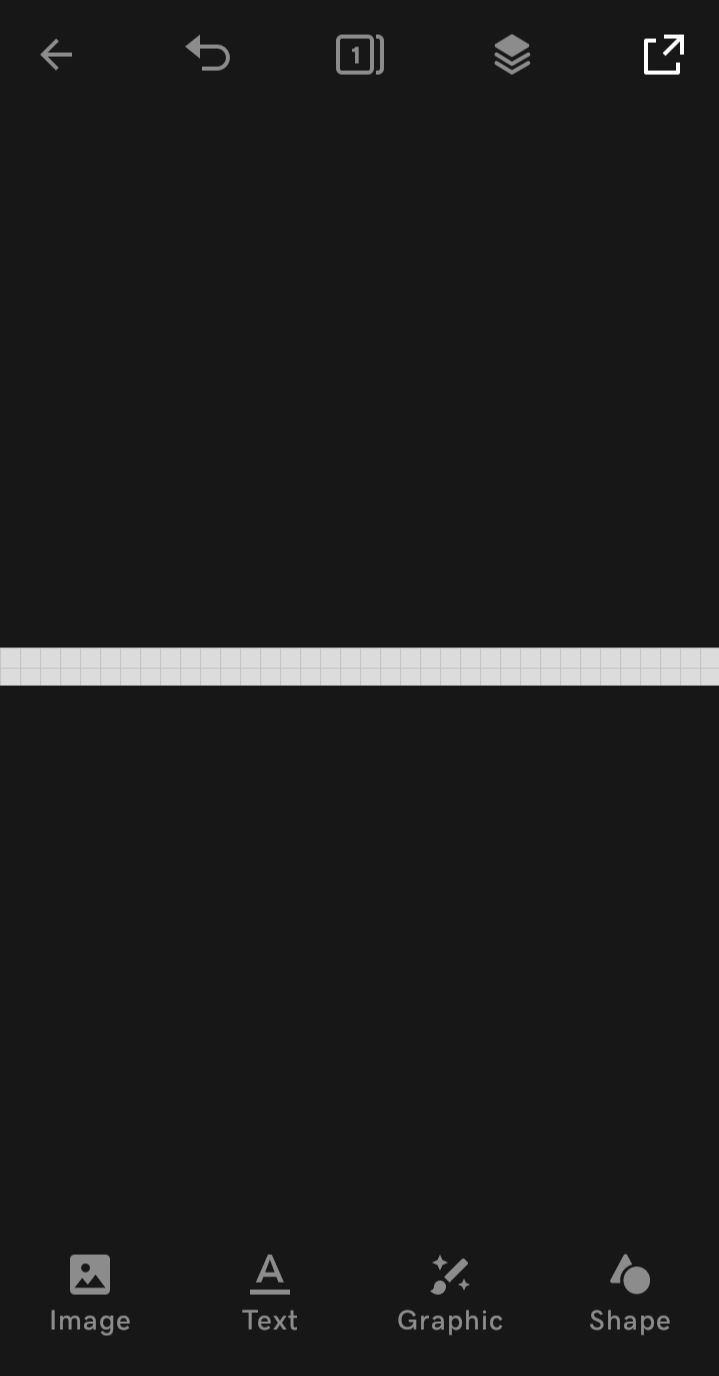
the result should be somewhat like this:
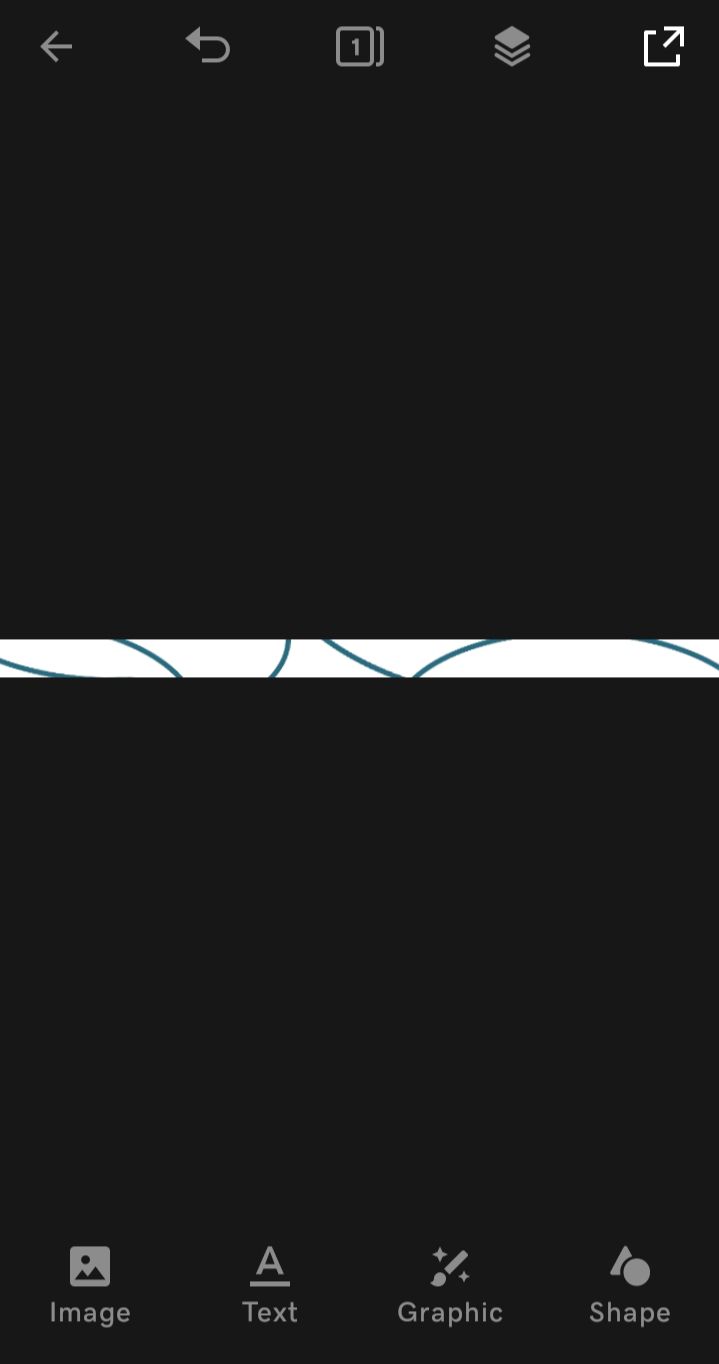
change the background to your preferred color (a light shade to be safer). you may add some edits to your background (as long as they are super simple). this is what my background looks like:
ofc, you can go plain too uwu
save your result, but do not exit out of the project (as you remember from loading bar tutorial).
²; text
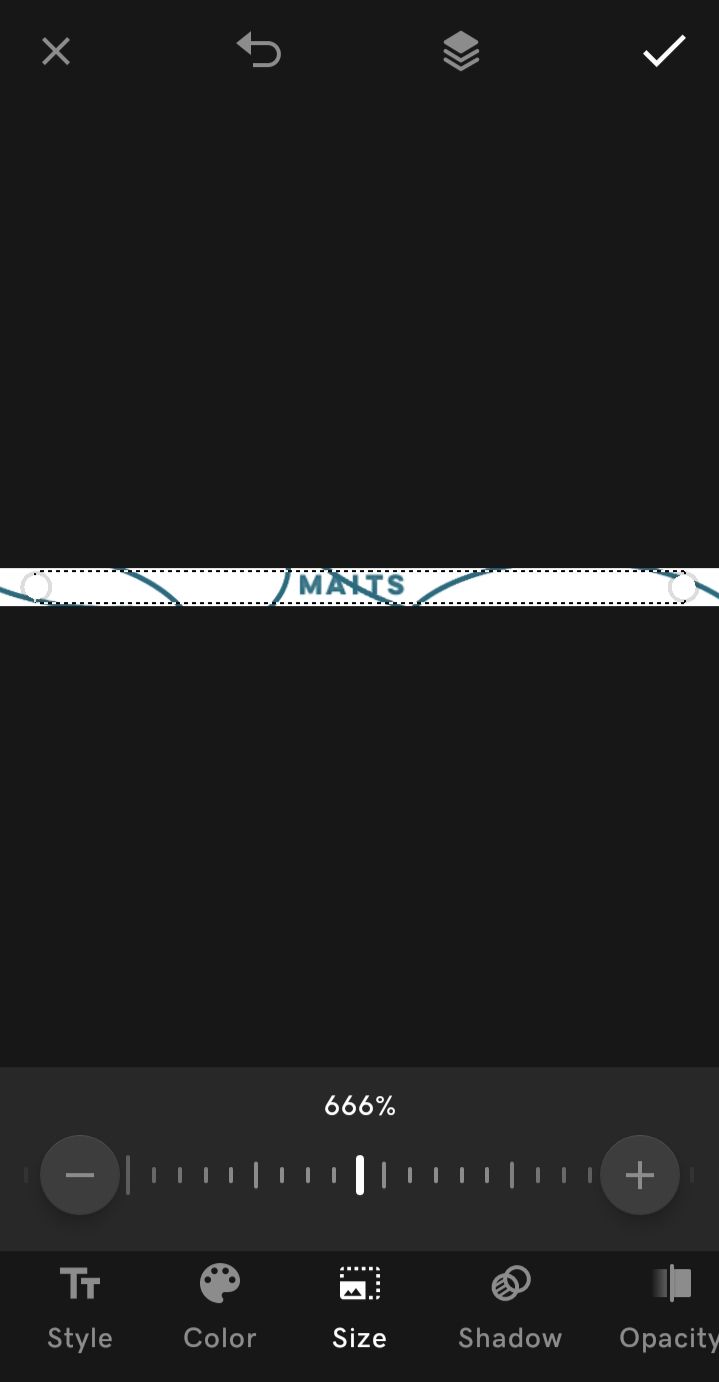
add your text, preferably the same color as the edits you may have added. it shouldn't be invisible against the background. always keep a light-dark contrast.
i chose the font lulo for this edit and increased the size bc it was very tiny when I first wrote it.
save your result.
³; blots
now, open graphics and choose from basic shapes the filled circle. change its color to the same shade as the text and reduce its size a bit, something like this:
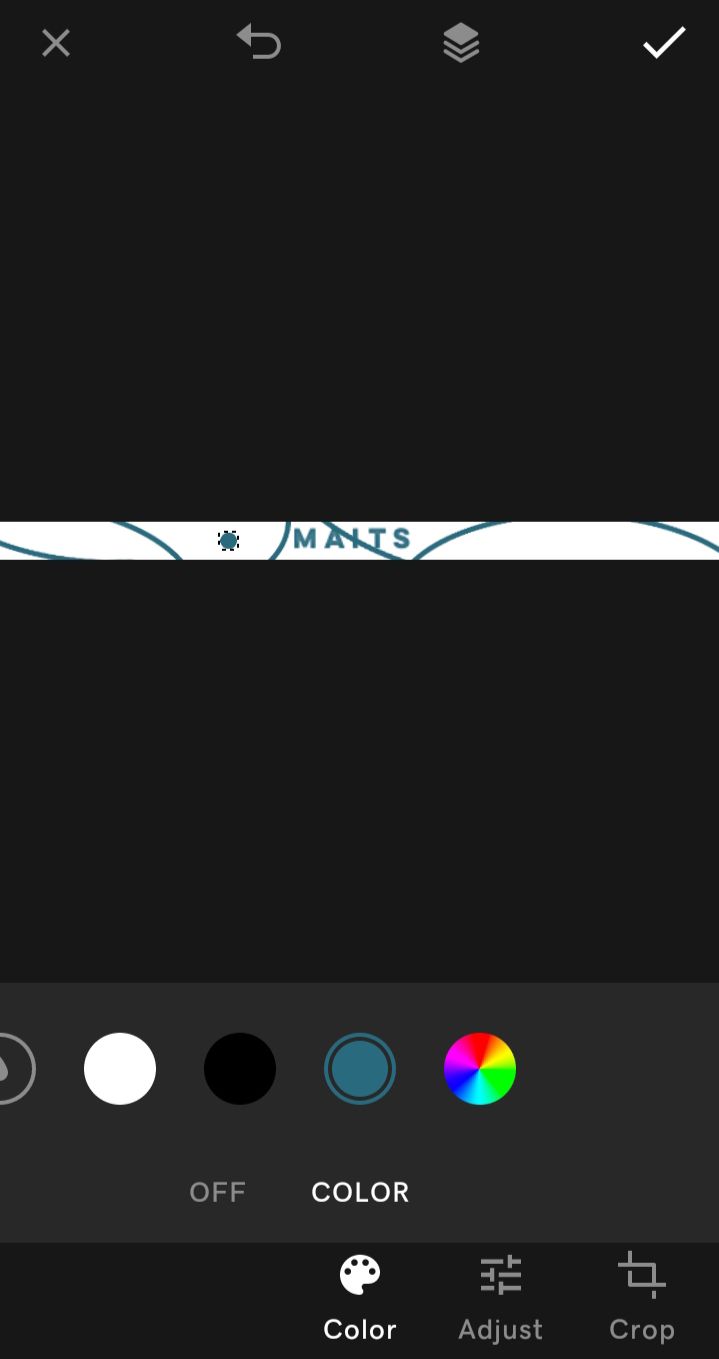
place it somewhere randomly on your canvas and save your result.
remember the duplicate option from the loading bar tutorial? well, it's time to use it. duplicate the circle increase its size a bit (or decrease whatever's your fancy) and dump it somewhere random (not necessarily close to the first circle). save the result.
keep duplicating circles (increasing or decreasing their size drastically) and drop them randomly at spots. you don't have to stay in the canvas either. let them go out of canvas, it's okay. just remember to save your result as an image each time you add a circle.
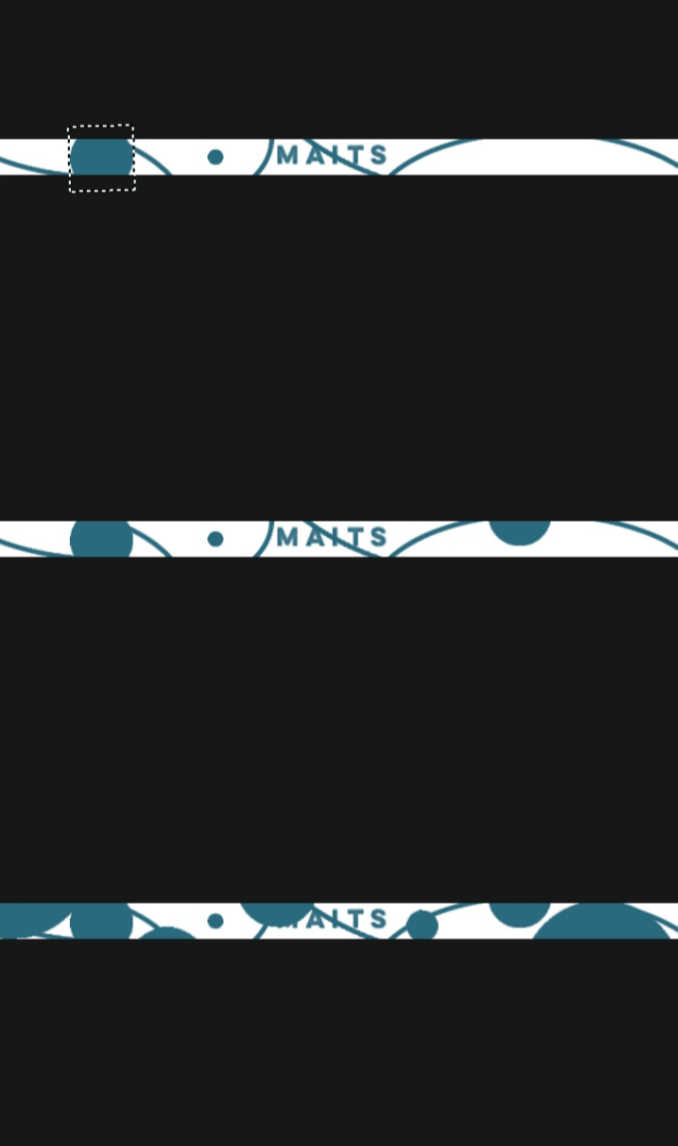
when at least five-seven circles have been added, add a circle on the text.
keep placing circles randomly (as if you are dropping blots of paint on paper) and saving the result each time you do so, until the entire canvas is covered and not a spot of white is left. save the result of that too and move on to the next step.
⁴; finishing up
add the second part of your text by going to layers and duplicating the first text layer. that way, you'll get the same size and font.
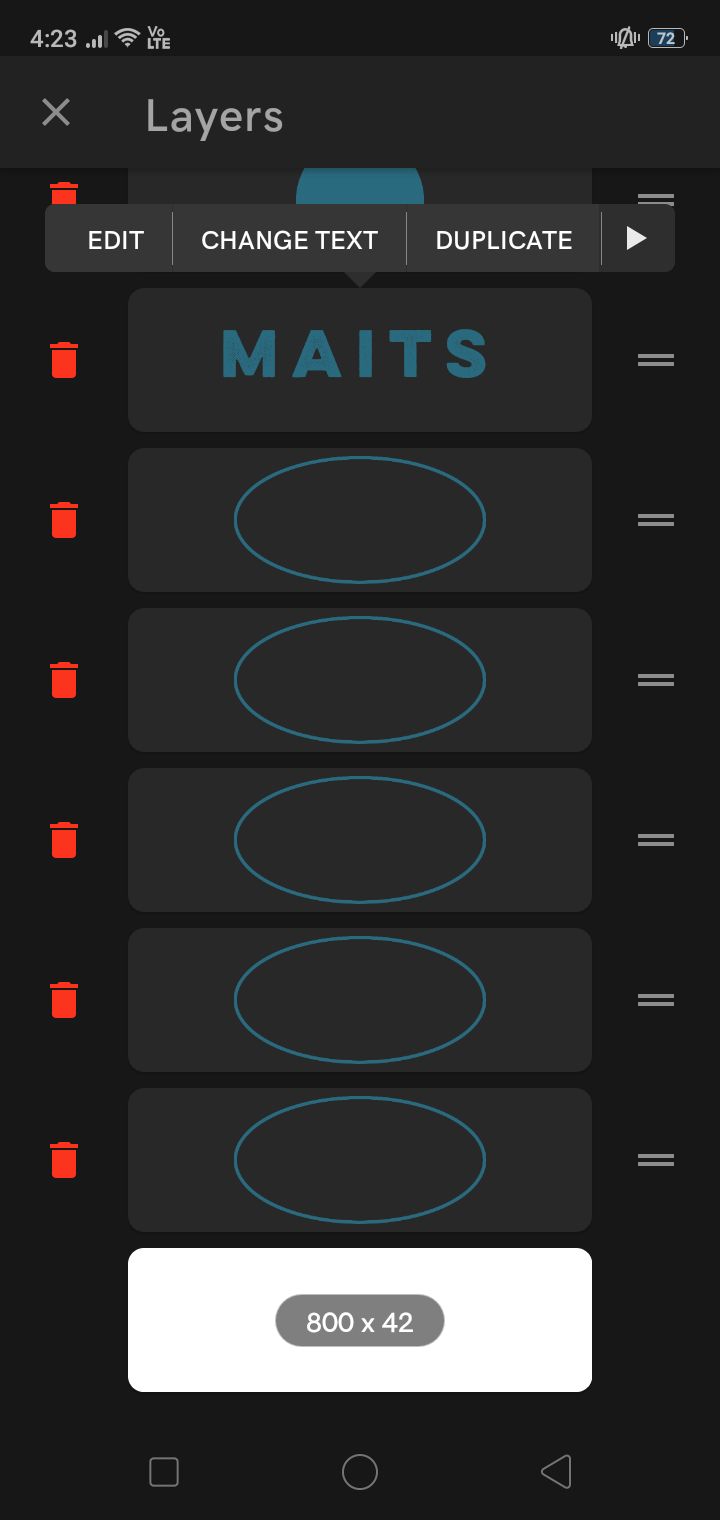
change the color of the second text by selecting edit → color to the same color as the background and change the text:
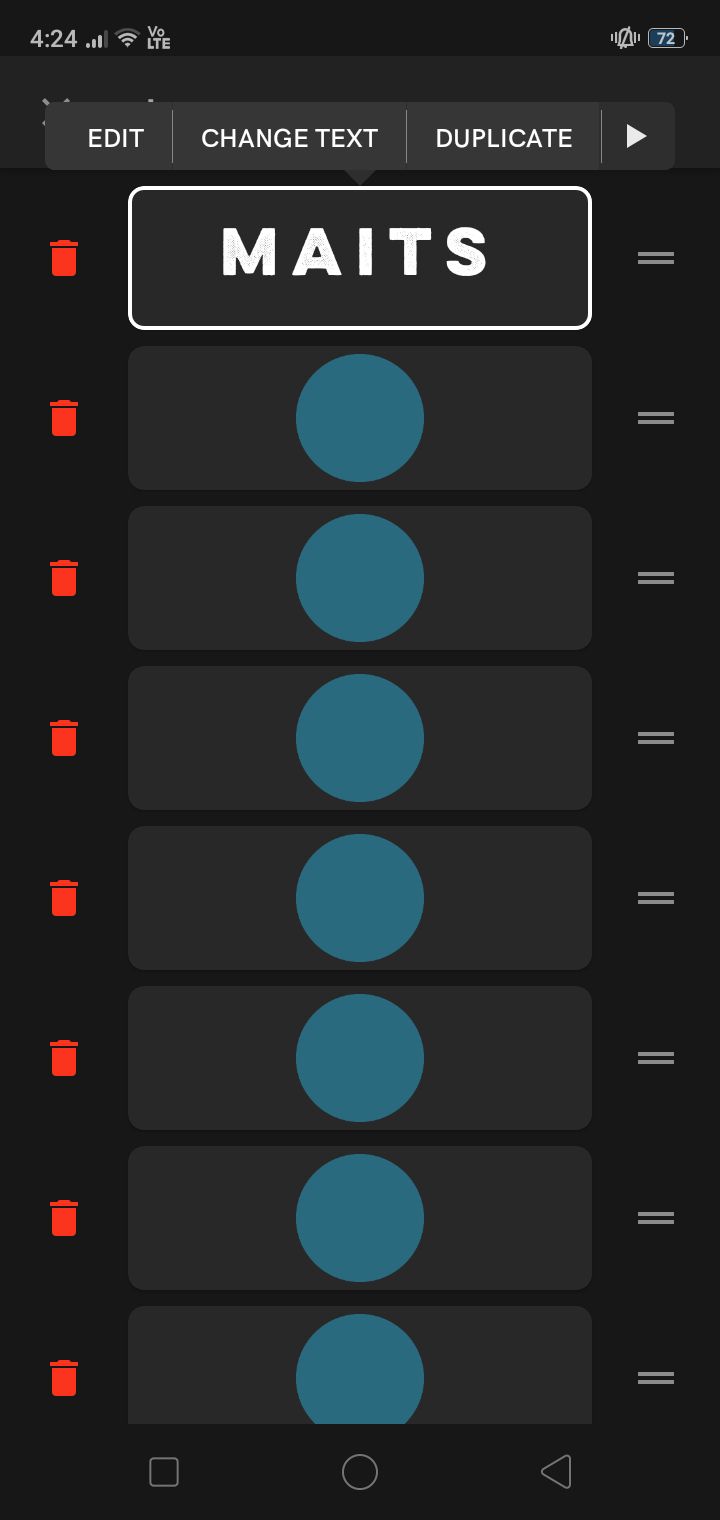
the result should be somewhat like this:
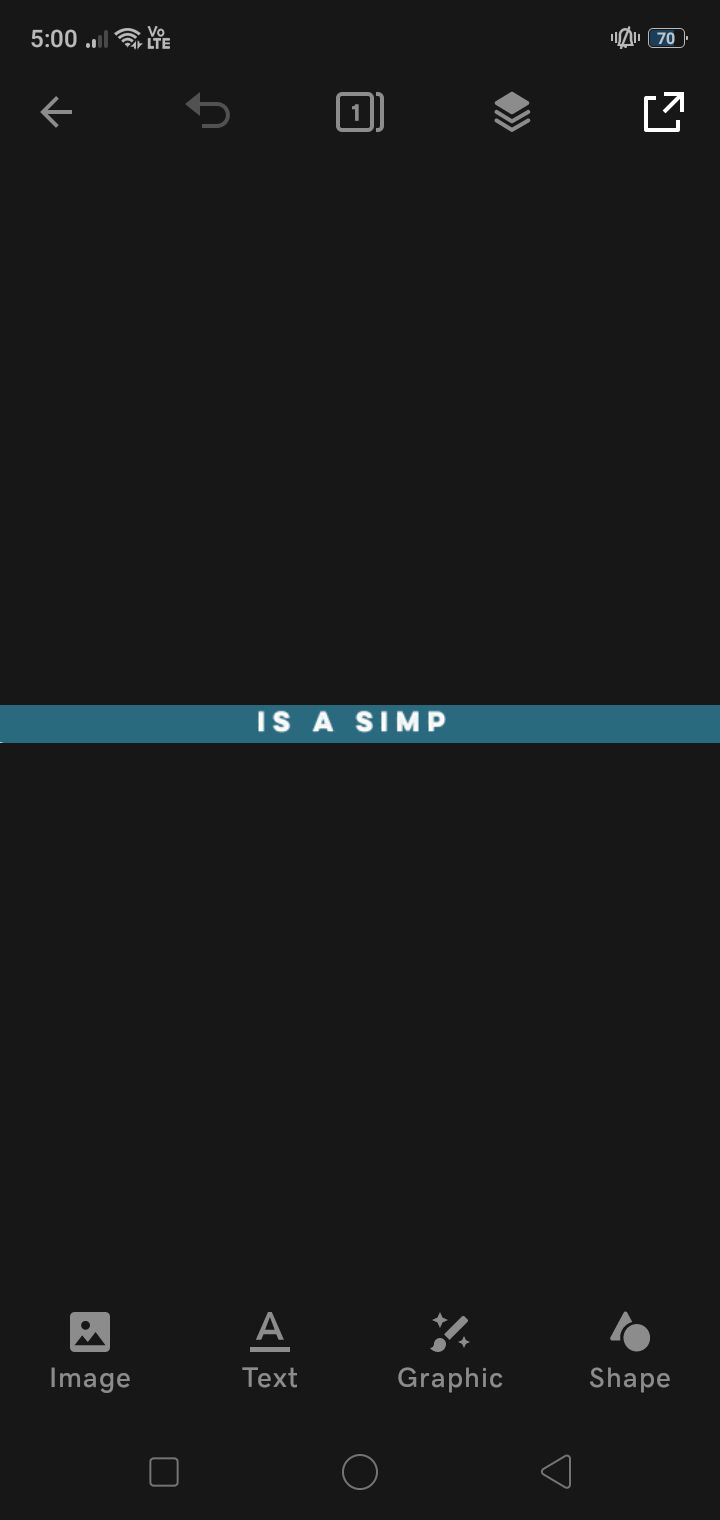
save the result and move on to the next step. my suggestion for a little interval between each playback of the gif: save five-ten images of the final result.
⁵; assembly
open gif maker-editor and select images → gif

select all the images (aka your layers) that you saved of each step in order (from earliest to latest):
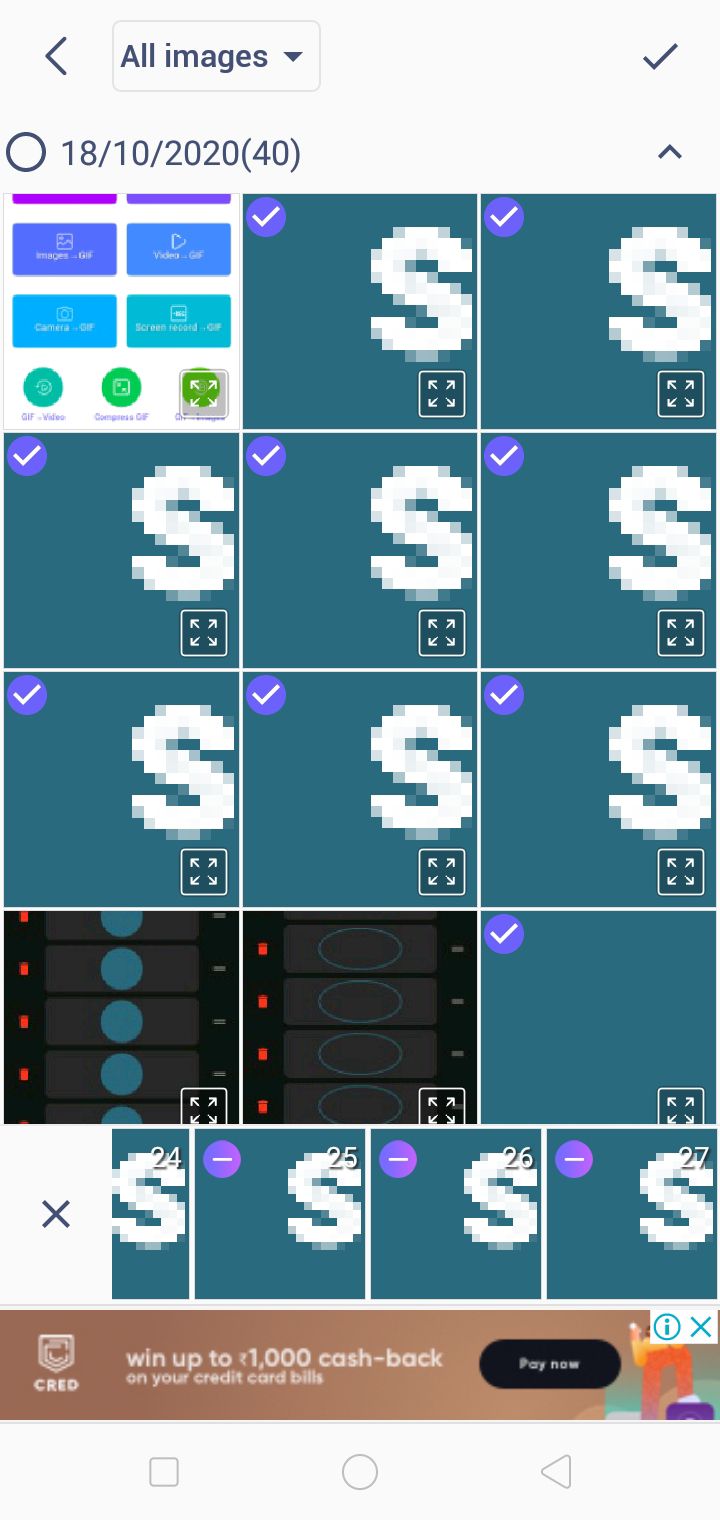
yes i took screenshots while making the gif 😔✌️
now click on the tick on the top-right corner and you will get a high quality, super speedy gif. make your gif calm down by increasing the time between each frame:
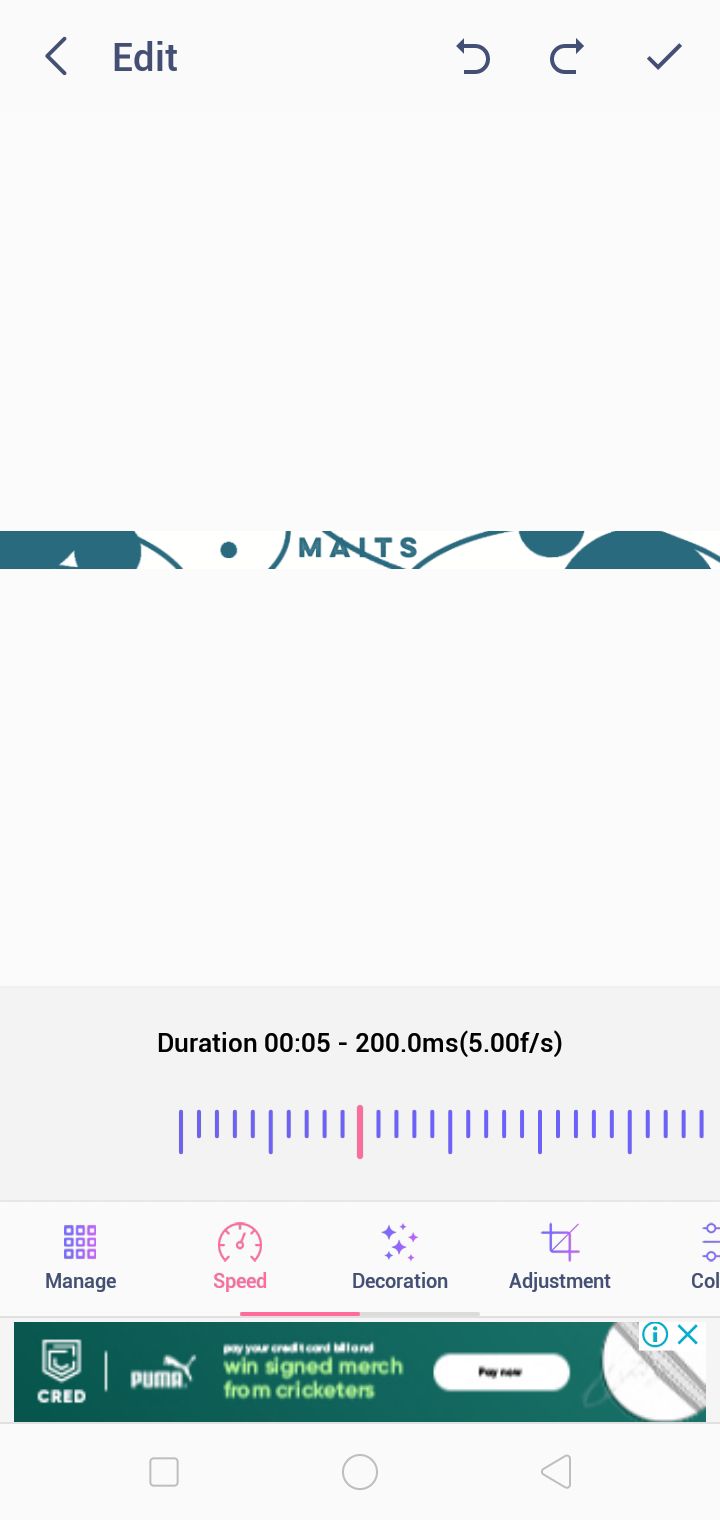
i would recommend the speed given above for a smoother transition.
save your result by clicking on the tick on the top right corner and select the setting high for the quality:
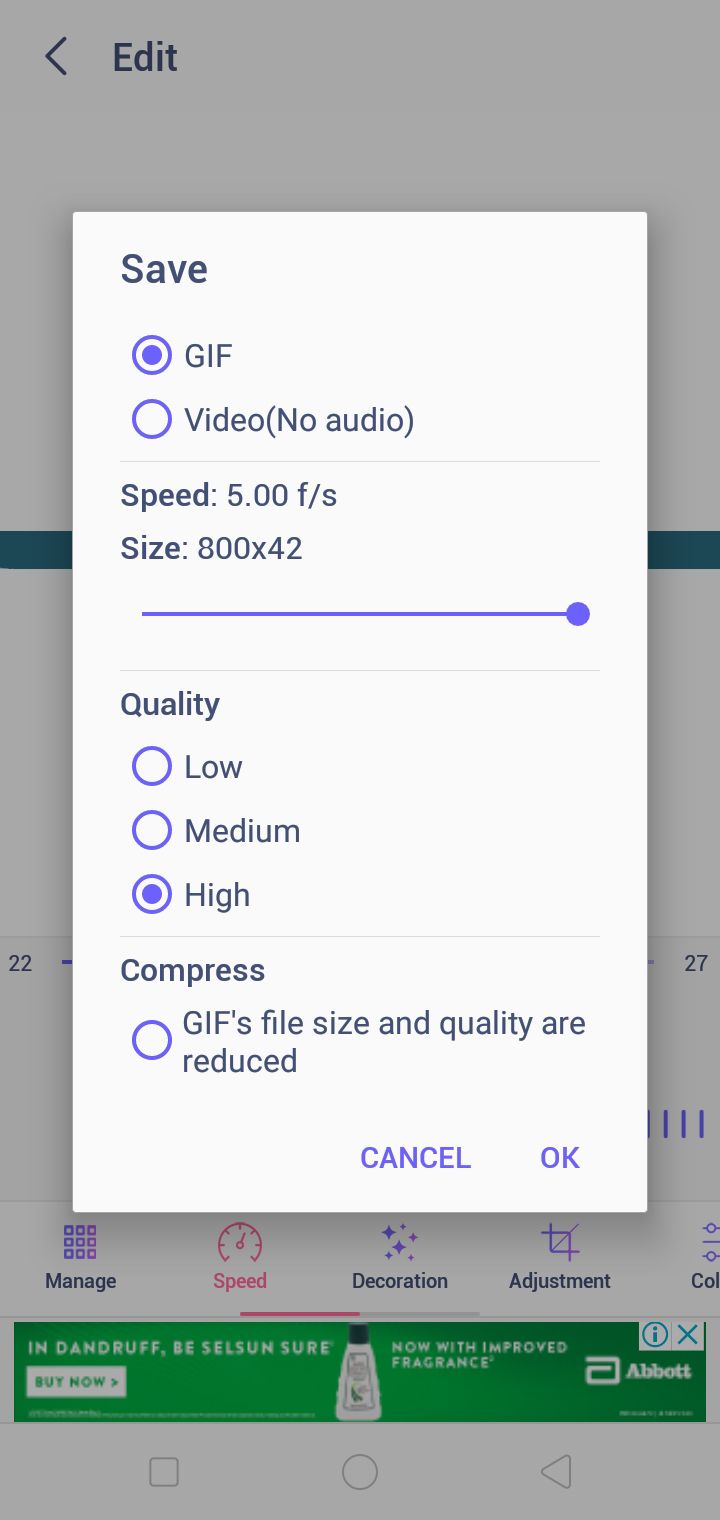
and there you have it, your gif is ready uwu


this was fun to make haha. it's not as tedious as the loading bar gif either. if you want to recreate the gif (after making it once), i have given some steps in that loading bar tutorial to recreate it.

Bạn đang đọc truyện trên: AzTruyen.Top