Drawing Cats Tutorial!
So this is in dedication to Ilovesweettarts2016! she really wanted me to teach her how to draw but I obviously can't do that one on one. so I will be making a tutorial book! I sadly didn't have a lot of time to do more than one but that's Ok! I will try to explain this as much as possible. This tutorial is mostly for digital art but can be achieved with Paper and pencil as well! You can ask me about Paper and pencil by PM. Anyways! Here we Go!
1) Start out with drawing a sketch. If you're doing this with paper and pencil. I don't suggest a colored pencil for guidelines as it may not be erasable so do this with a lead pencil. but do this lightly
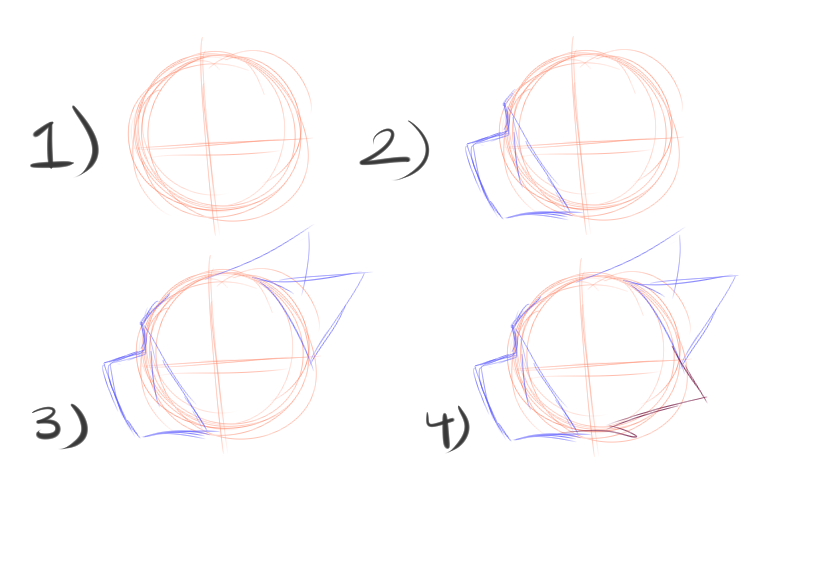
2) Continue adding sketch details such as eyes
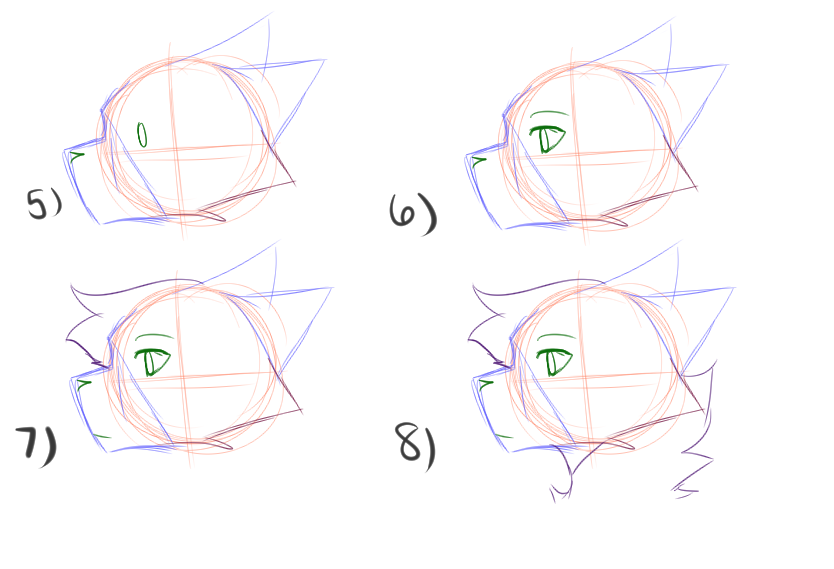
3) Now the sketching process is done, Time for Lineart! Now if you're doing digital. I use ClipStudio paint EX and Can download multiple brushes apart of the program so I'm unsure on what brush you have on your program but you can literally use any as long as it's more of an inking pen and not fat. as for Paper and Pen peeps, you can use whatever just use a fine tip. such as micron pens.
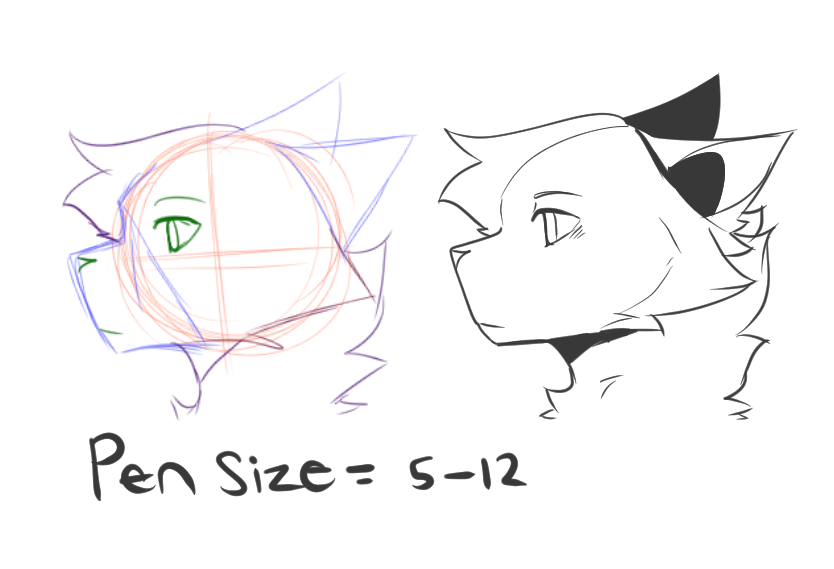
4) Time for color!
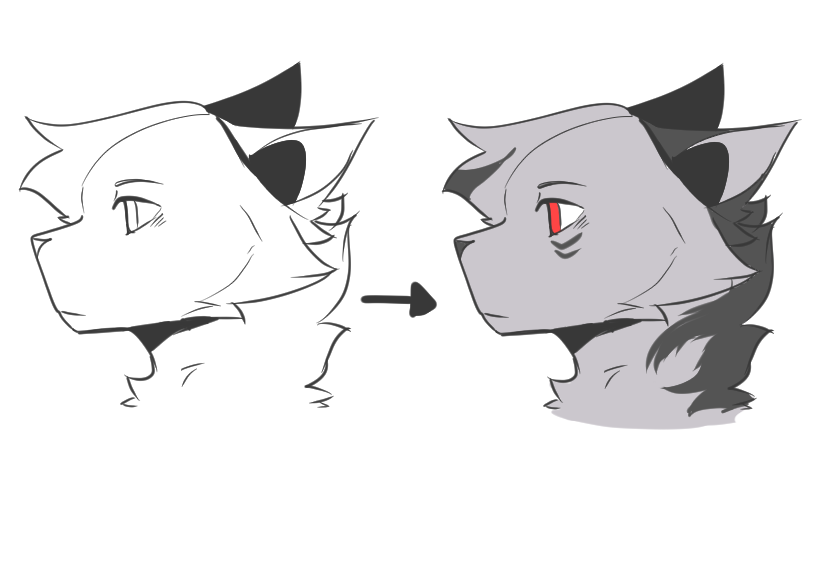
5) Now when you do lineart for you digital artist, you should have an option to clip a layer onto your original lineart layer. once you do that color the inside the same as the base color. as you can see in the picture below it looks like there is no inside lineart
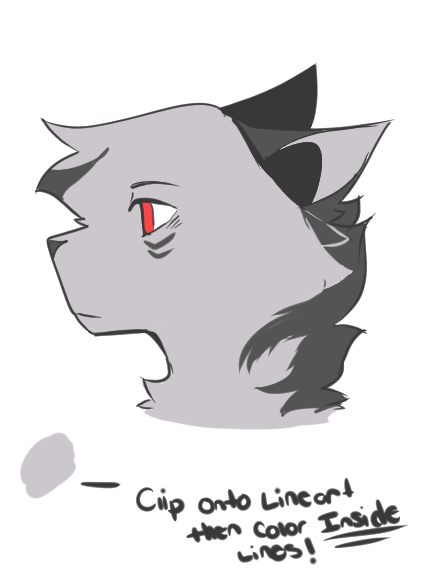
6) great! now there should be a setting where you can change " Normal" into "Hard light. depending on the program you should have one. ( Don't worry too much for you artist not using digital. simply lineart yours in all black)
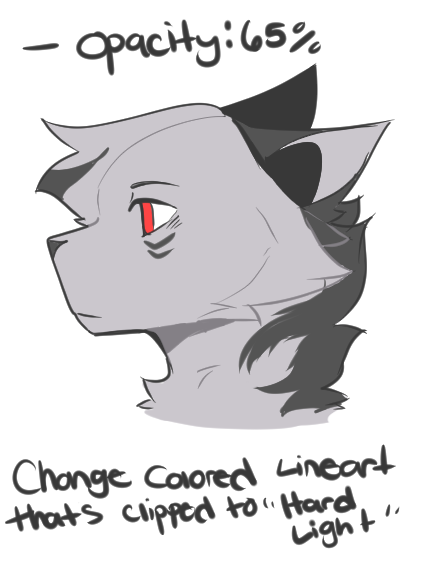
7) Great, your inside lineart should look a lot lighter and not so harsh! now it's time for shading!! my favorite part. now the hard part is figuring out as to what color to shade with. I typically use either Analogous colors ( Side by side colors) Or Complimentary ( Across from each other colors) just be sure to NEVER USE BLACK. It will make it look disgusting and too dark. for this cat, I used a light purple after messing with the opacity to get the shading I wanted to compliment this grey.
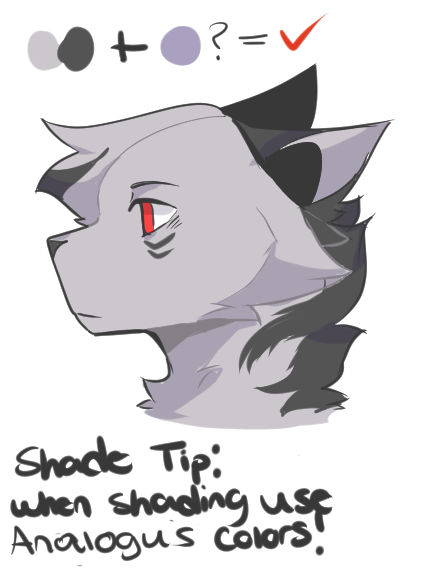
8) Great, now that shading is done, it's time for highlights!
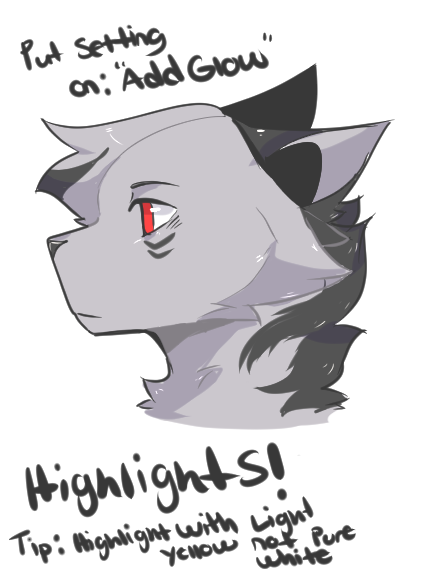
9) Almost done! now it's time to finish up some small details in the eyes
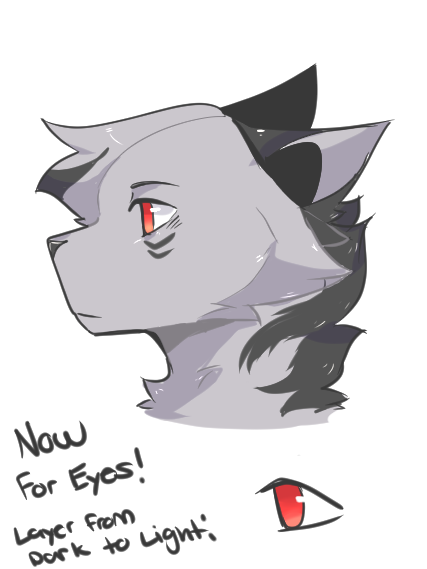
10) Now, one last touch. you don't have to do this of course to brighten your picture but that's typically what I do to give it the nice glowy effect.
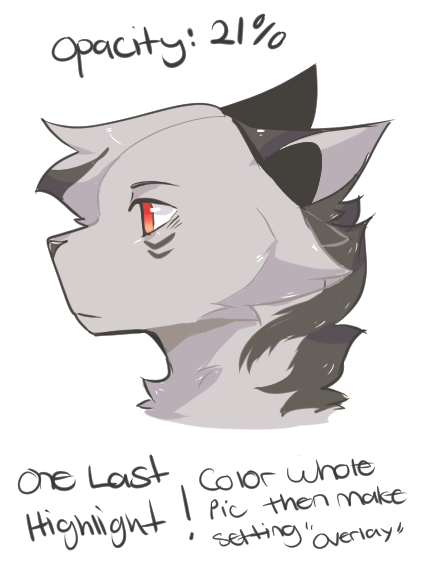
11) Guess what?? You're done!! not too bad, was it?
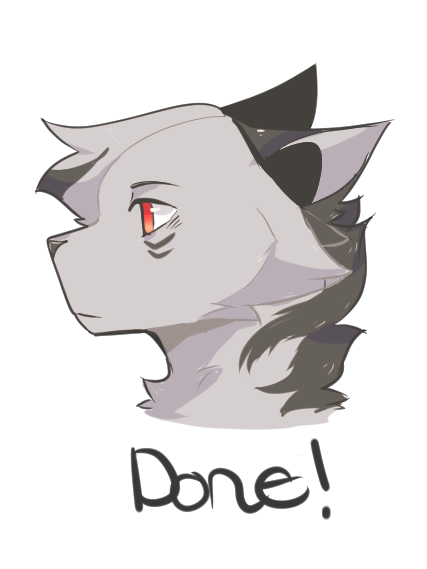
Now I'm sure I confused some of you non-Digitals so I will some up quick steps for you guys!
1) Do a sketch as you saw above
2) Lineart, make sure you have a fine tipped Pen or a ballpoint. you may do this with a pencil if you'd like but it looks way better in pen
3) Color!
4) shading rules still apply like above. please be careful I recommend starting with a light shading then getting darker in some places. say your base is brown. the shade with magenta. an Analogous color to brown as it's just a darker shade of orange.
5) Highlights! these may be hard but I recommend making an indent in the eyes to make it seem a white dot is there. Unless you have a white gel pen you may have to improvise.
6) add soft details such as markings and even more shading if you want!
7) Done!
obviously paper and pen have fewer steps lol I hope this helps you guys. if you need me to clarifiy some stuff please let me know!
Bạn đang đọc truyện trên: AzTruyen.Top