Fullbody
*each of the smaller things will be broken down, such as head, hands, arms, and wings. If you wish, I can also go into scale types and tricks, tail ends, and whatever else you have questions on.*
First, you're wonderful supplies.
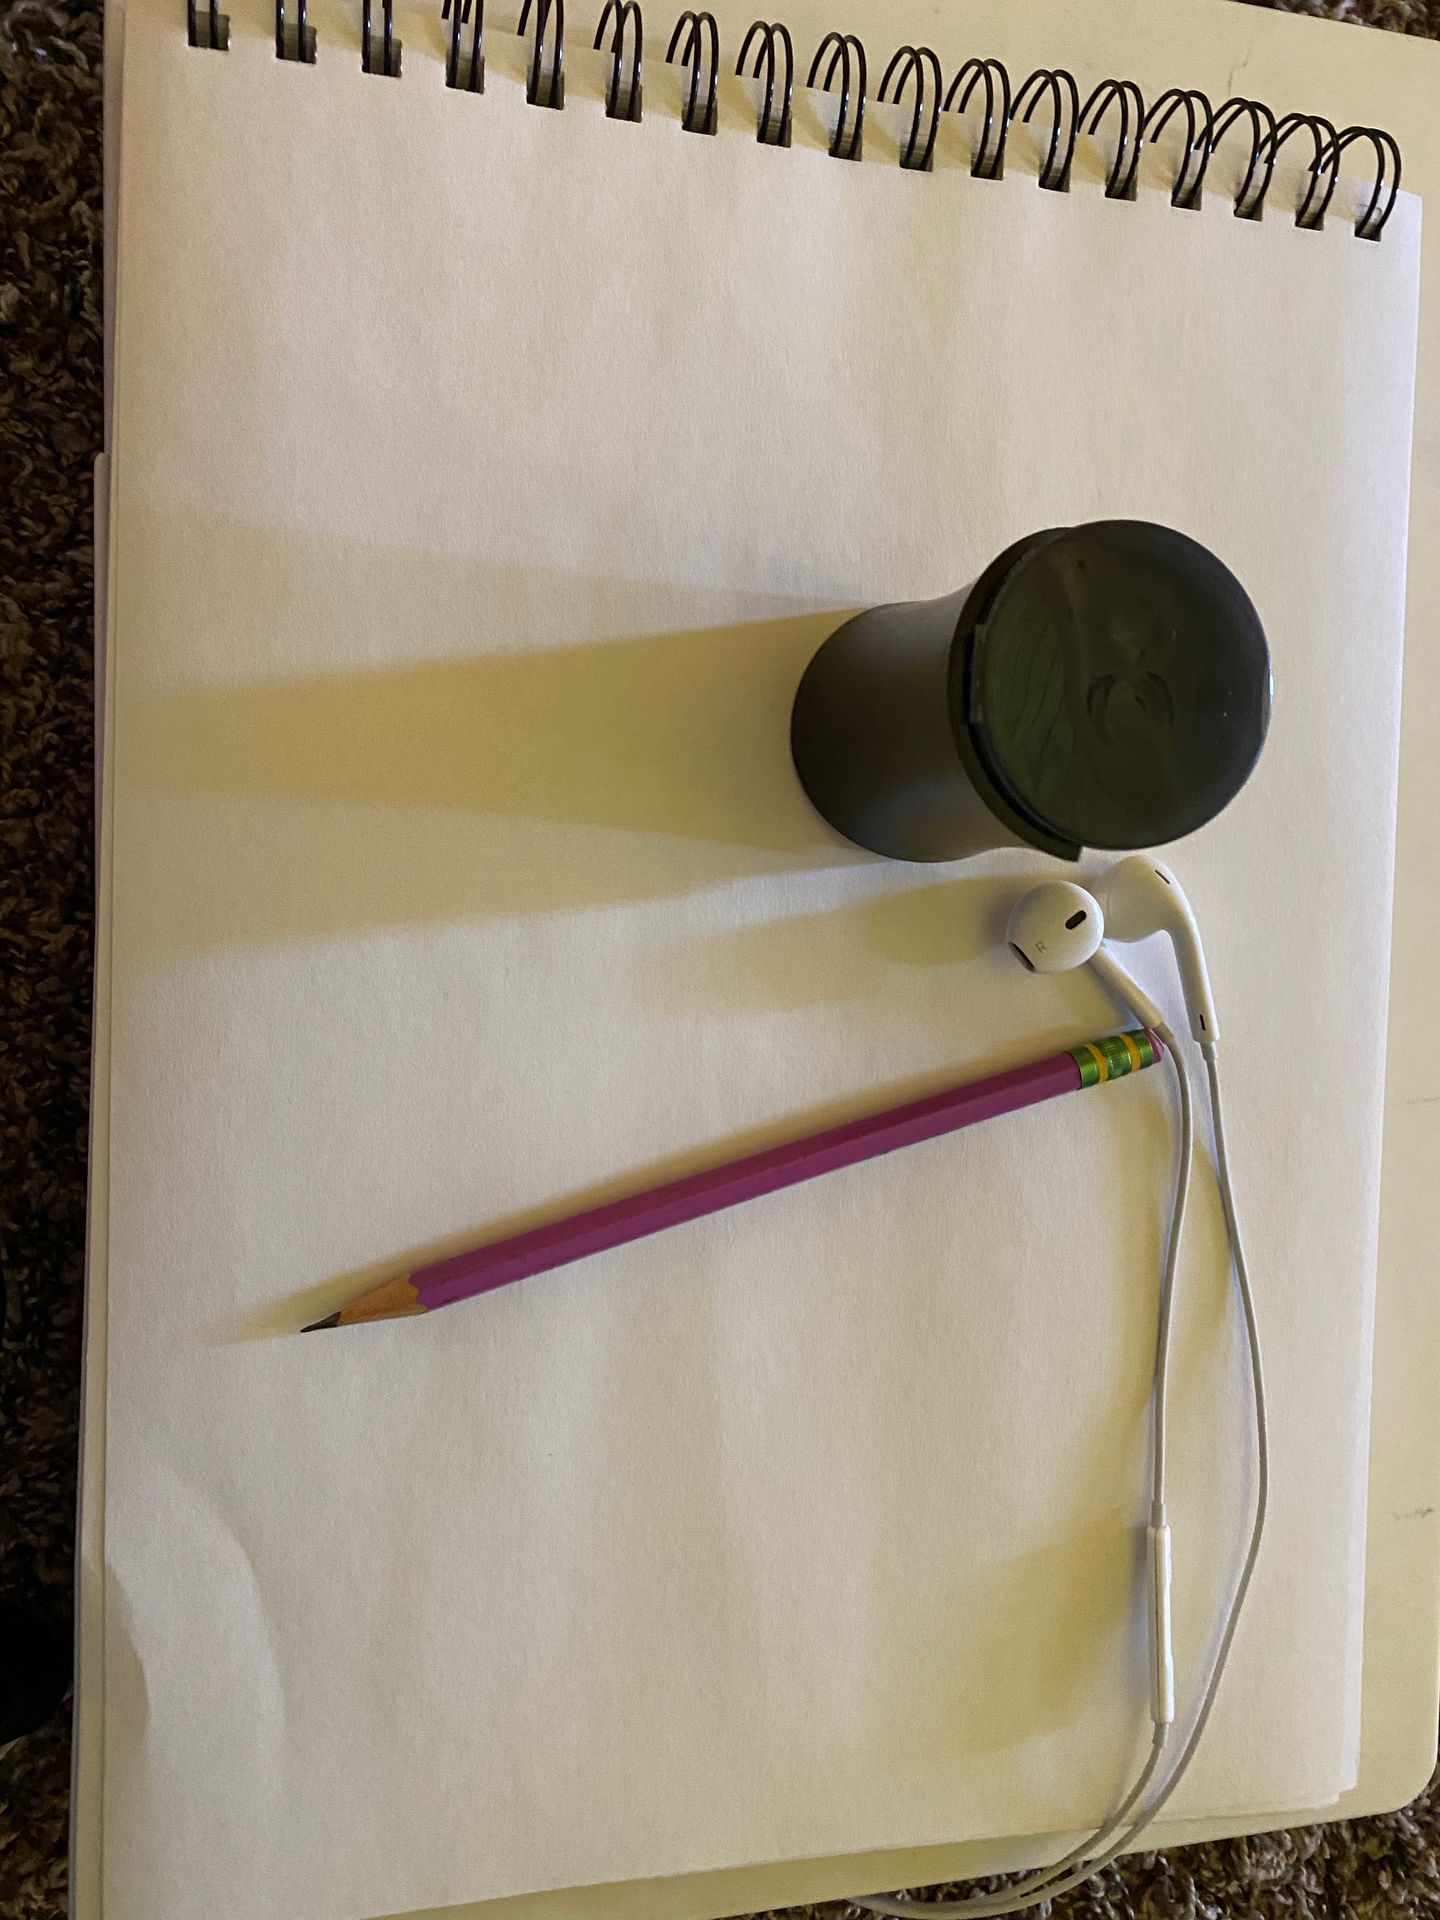
(I know it is sideways- I'll try to fix the rest.)
•Pencil
•Sharpener (cause I can't have wide lines)
•Earbuds for music.
And most importantly
•A seat/position that will make your lower spine go numb and/or compress.
Jk, jk. Please don't.
•Paper and something to draw on, which happens to be my mini lap desk.
Step one: Decide on the dragon dragon pose
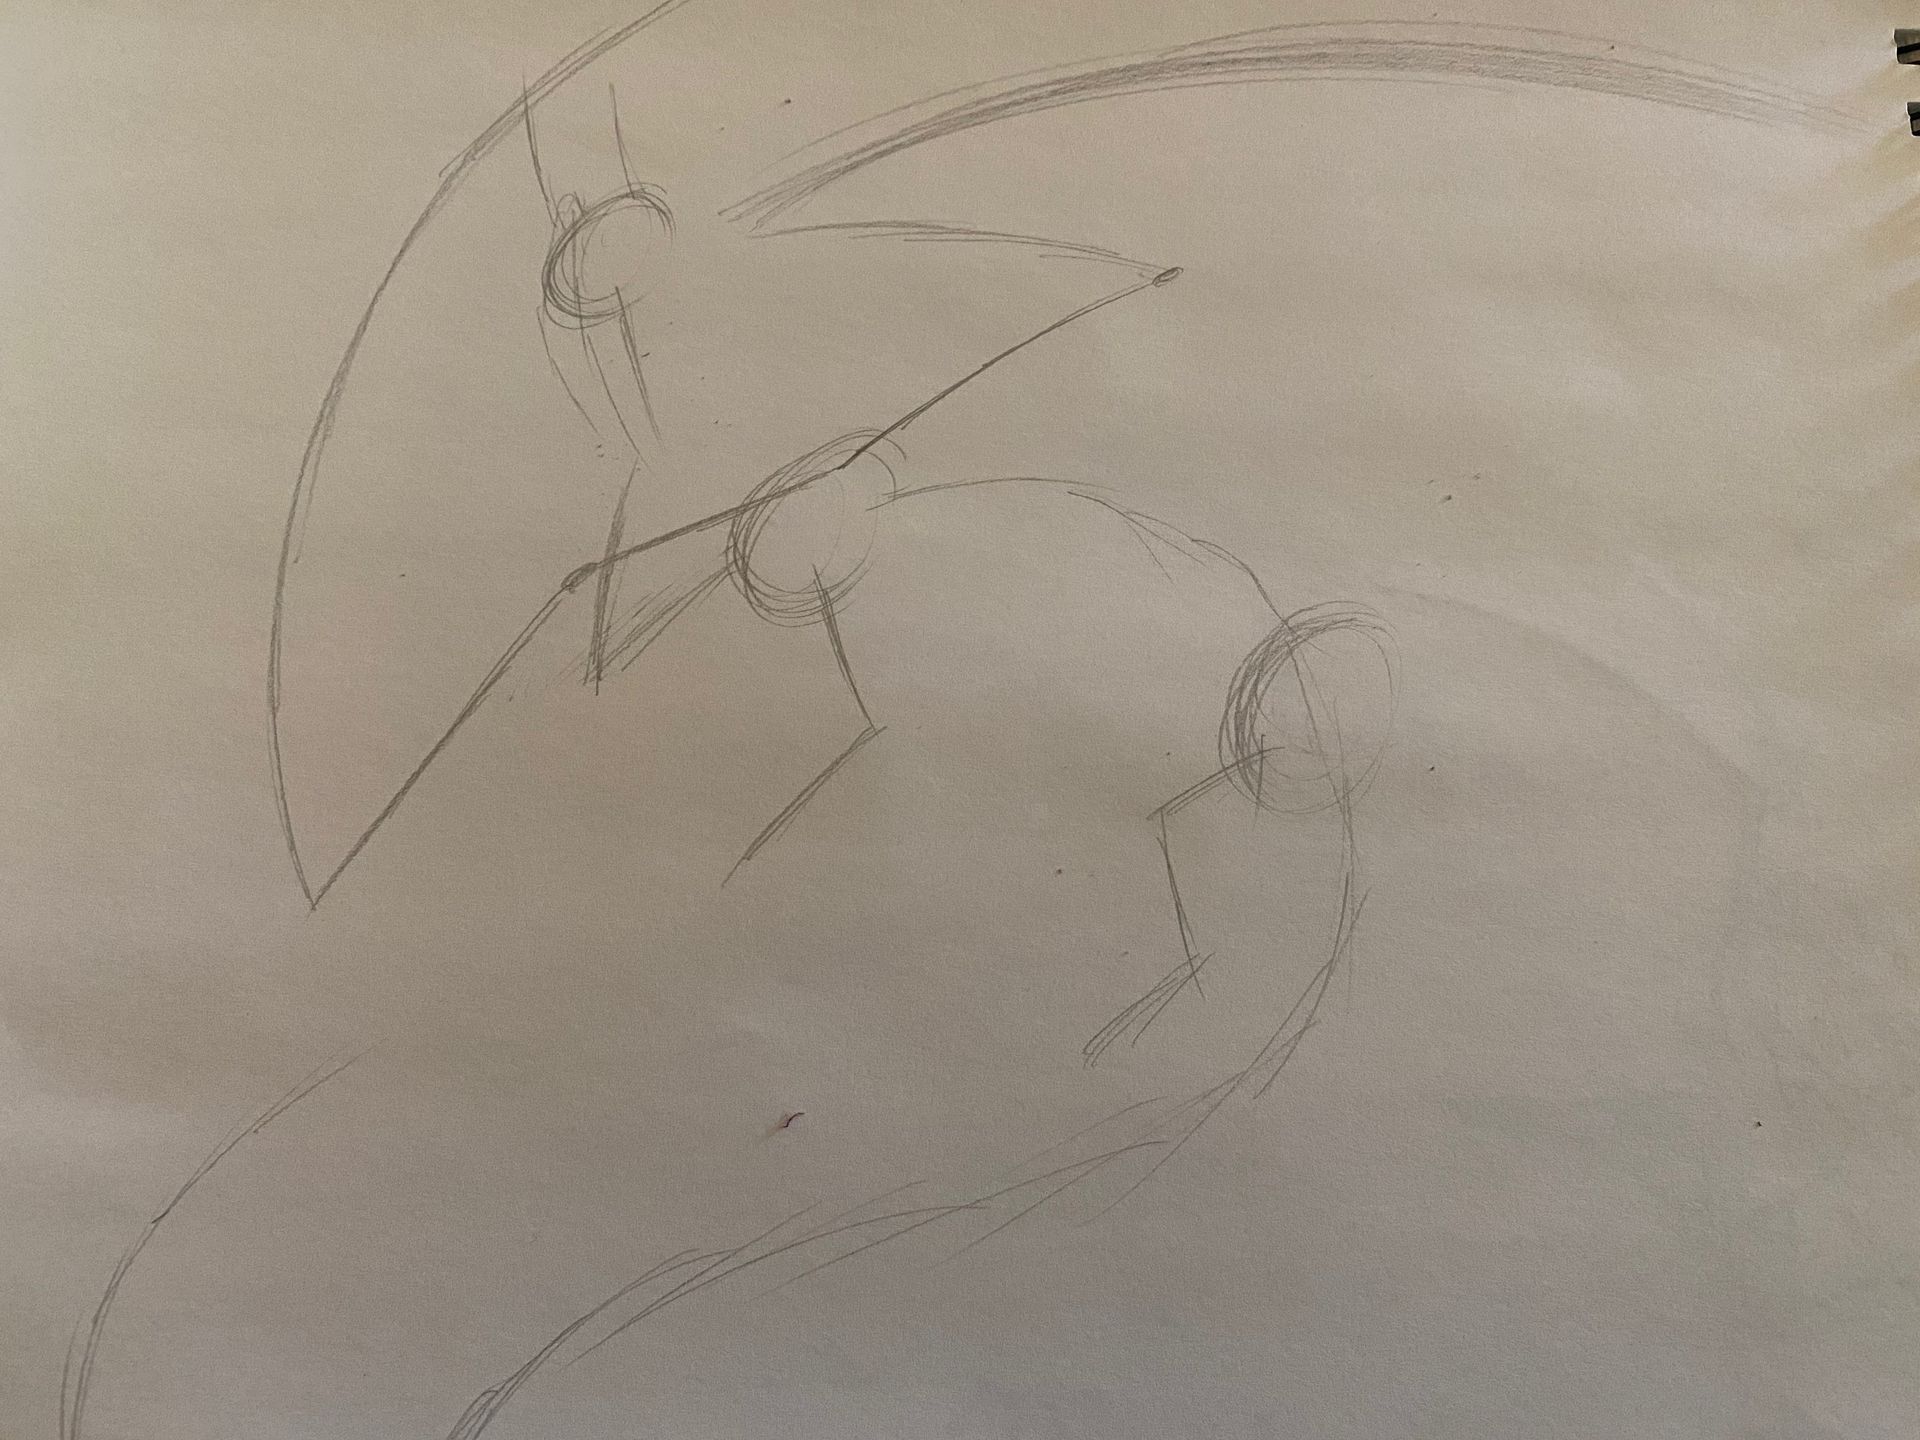
I started off with the head, then I focused more on where the chest will be. I wanted a more regal-like dragon, so I decided to have a hand on their neck while the other braced it. After that I placed the hips then finished out the tail. The legs came next, with the wings being the last ones.
For the large wing curves I just pivoted my hand where I wanted the curve to be.
I suggest you practice on the curves and the pivot and see what feels best.
Step two: Broaden out your body.
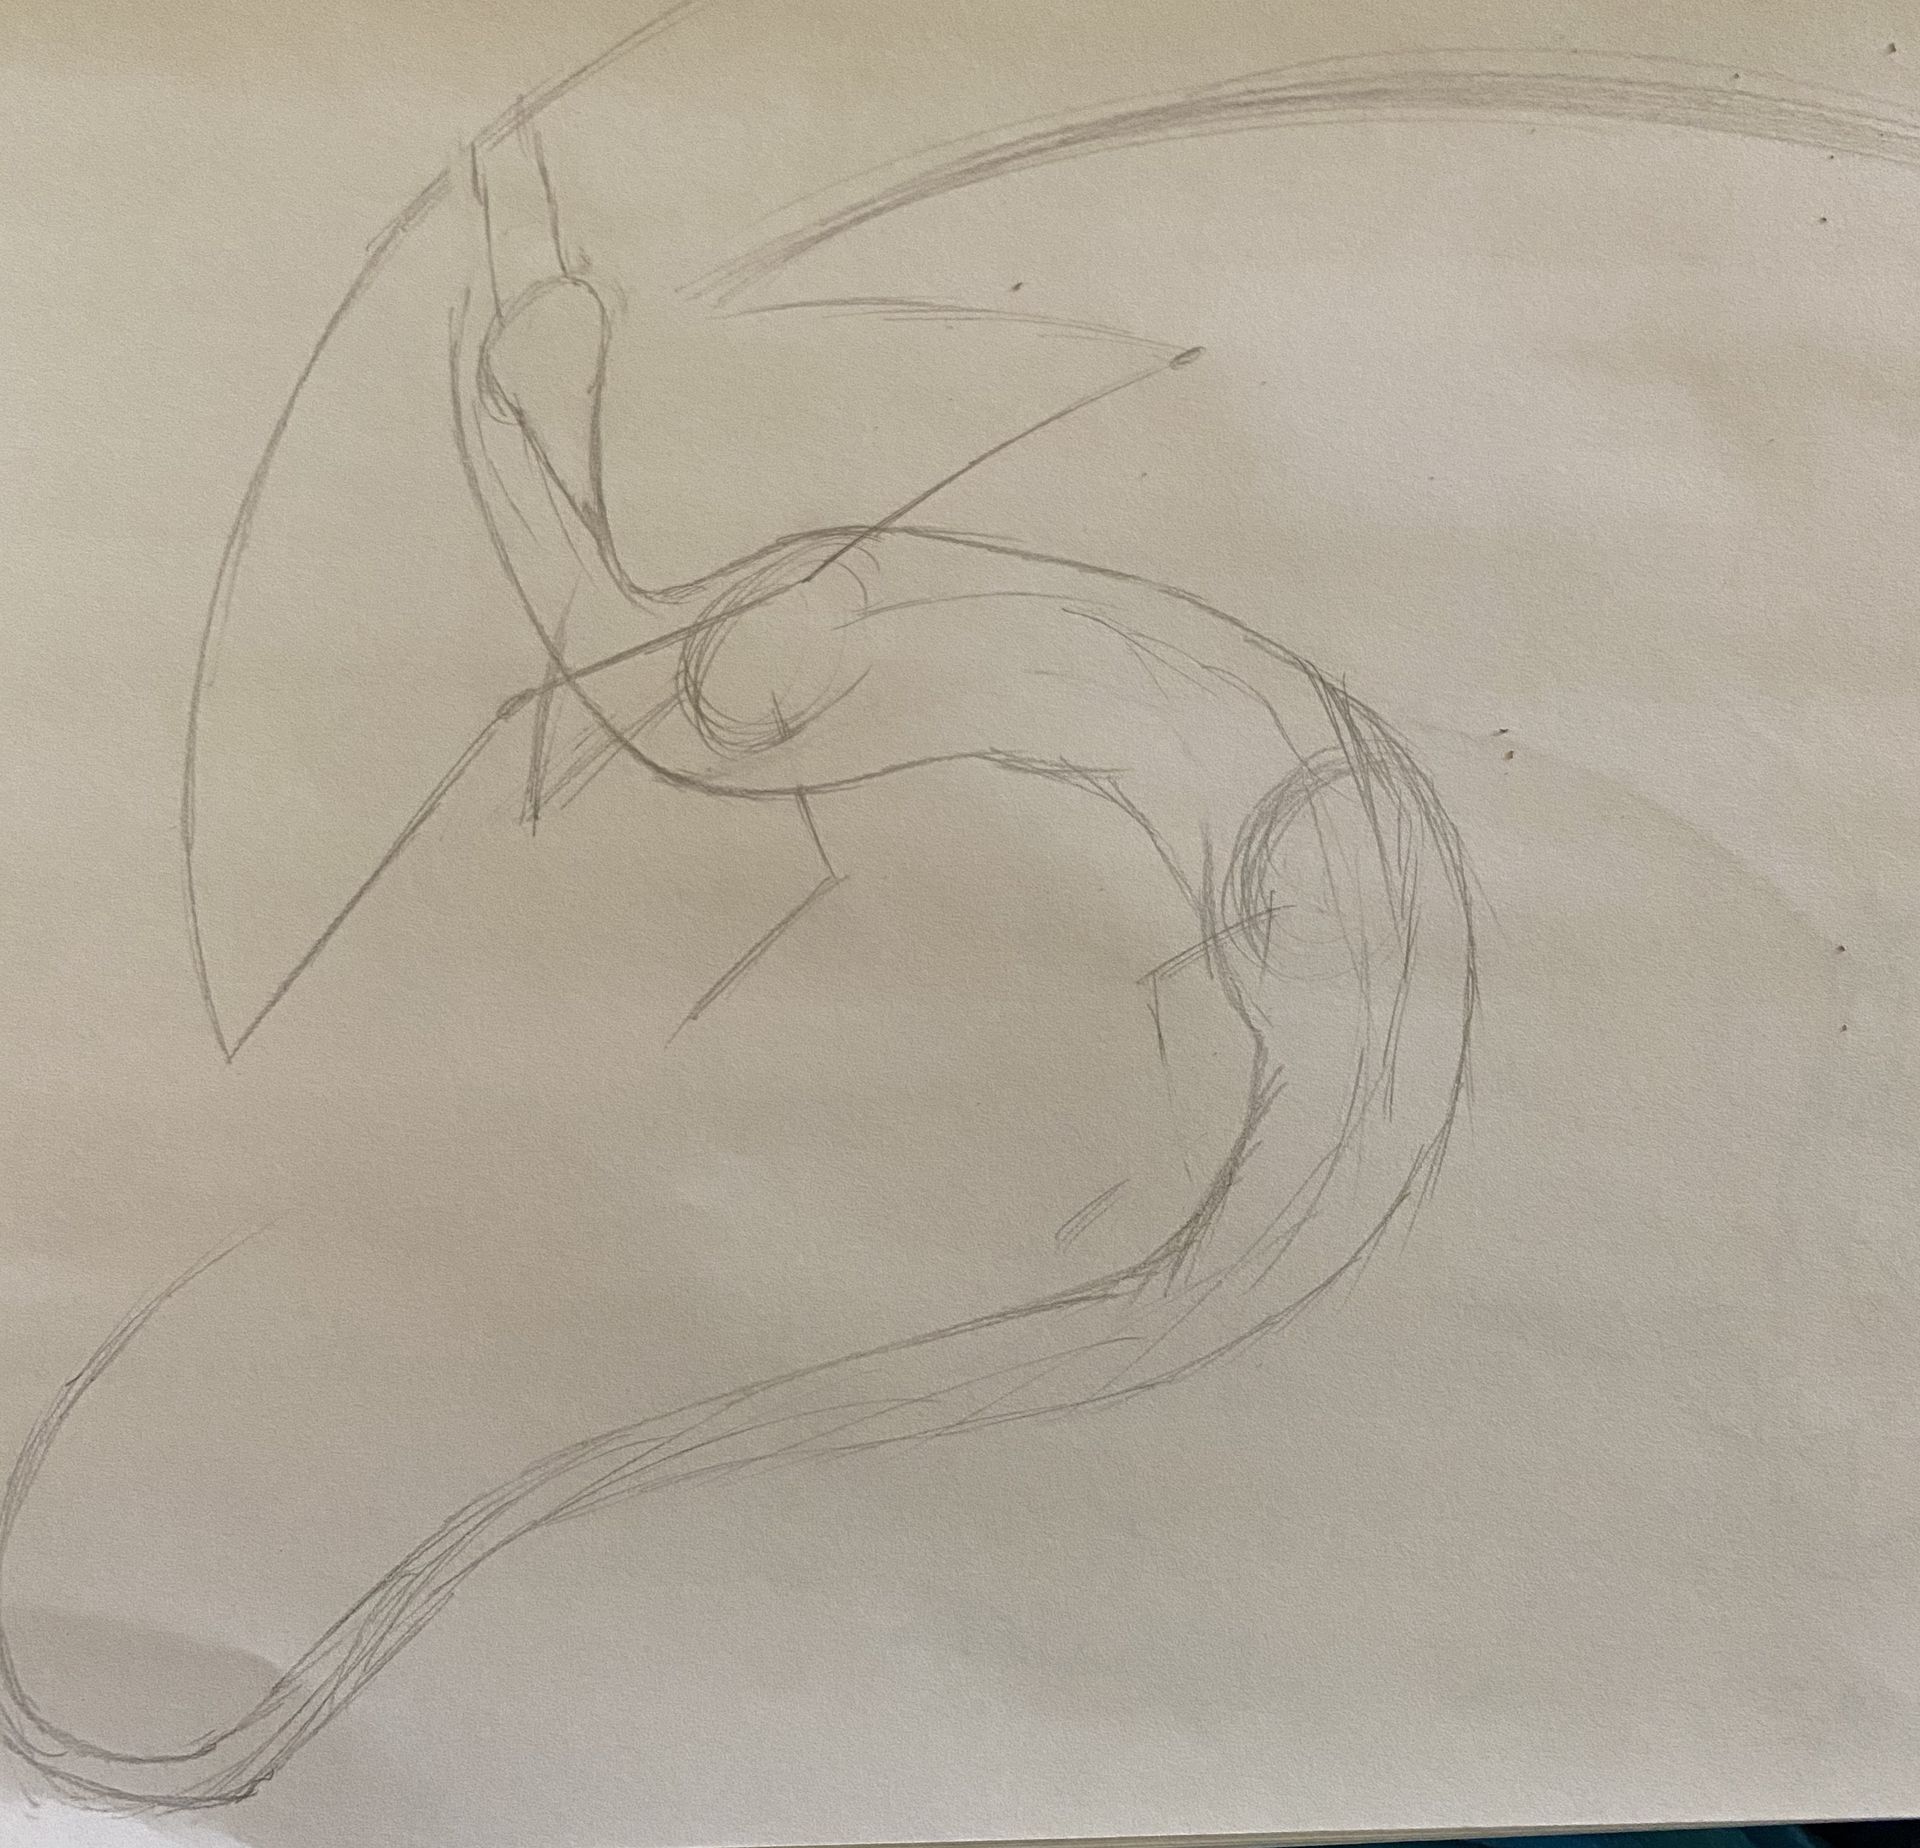
Don't worry about the limbs next. We are getting there. For me it helps to think of a bird in the front and end more reptilian at the end. Not sure if that helps you or not.
Step 3&4: Head and limb sketching
Yes, but don't worry. Heads will be up soon.
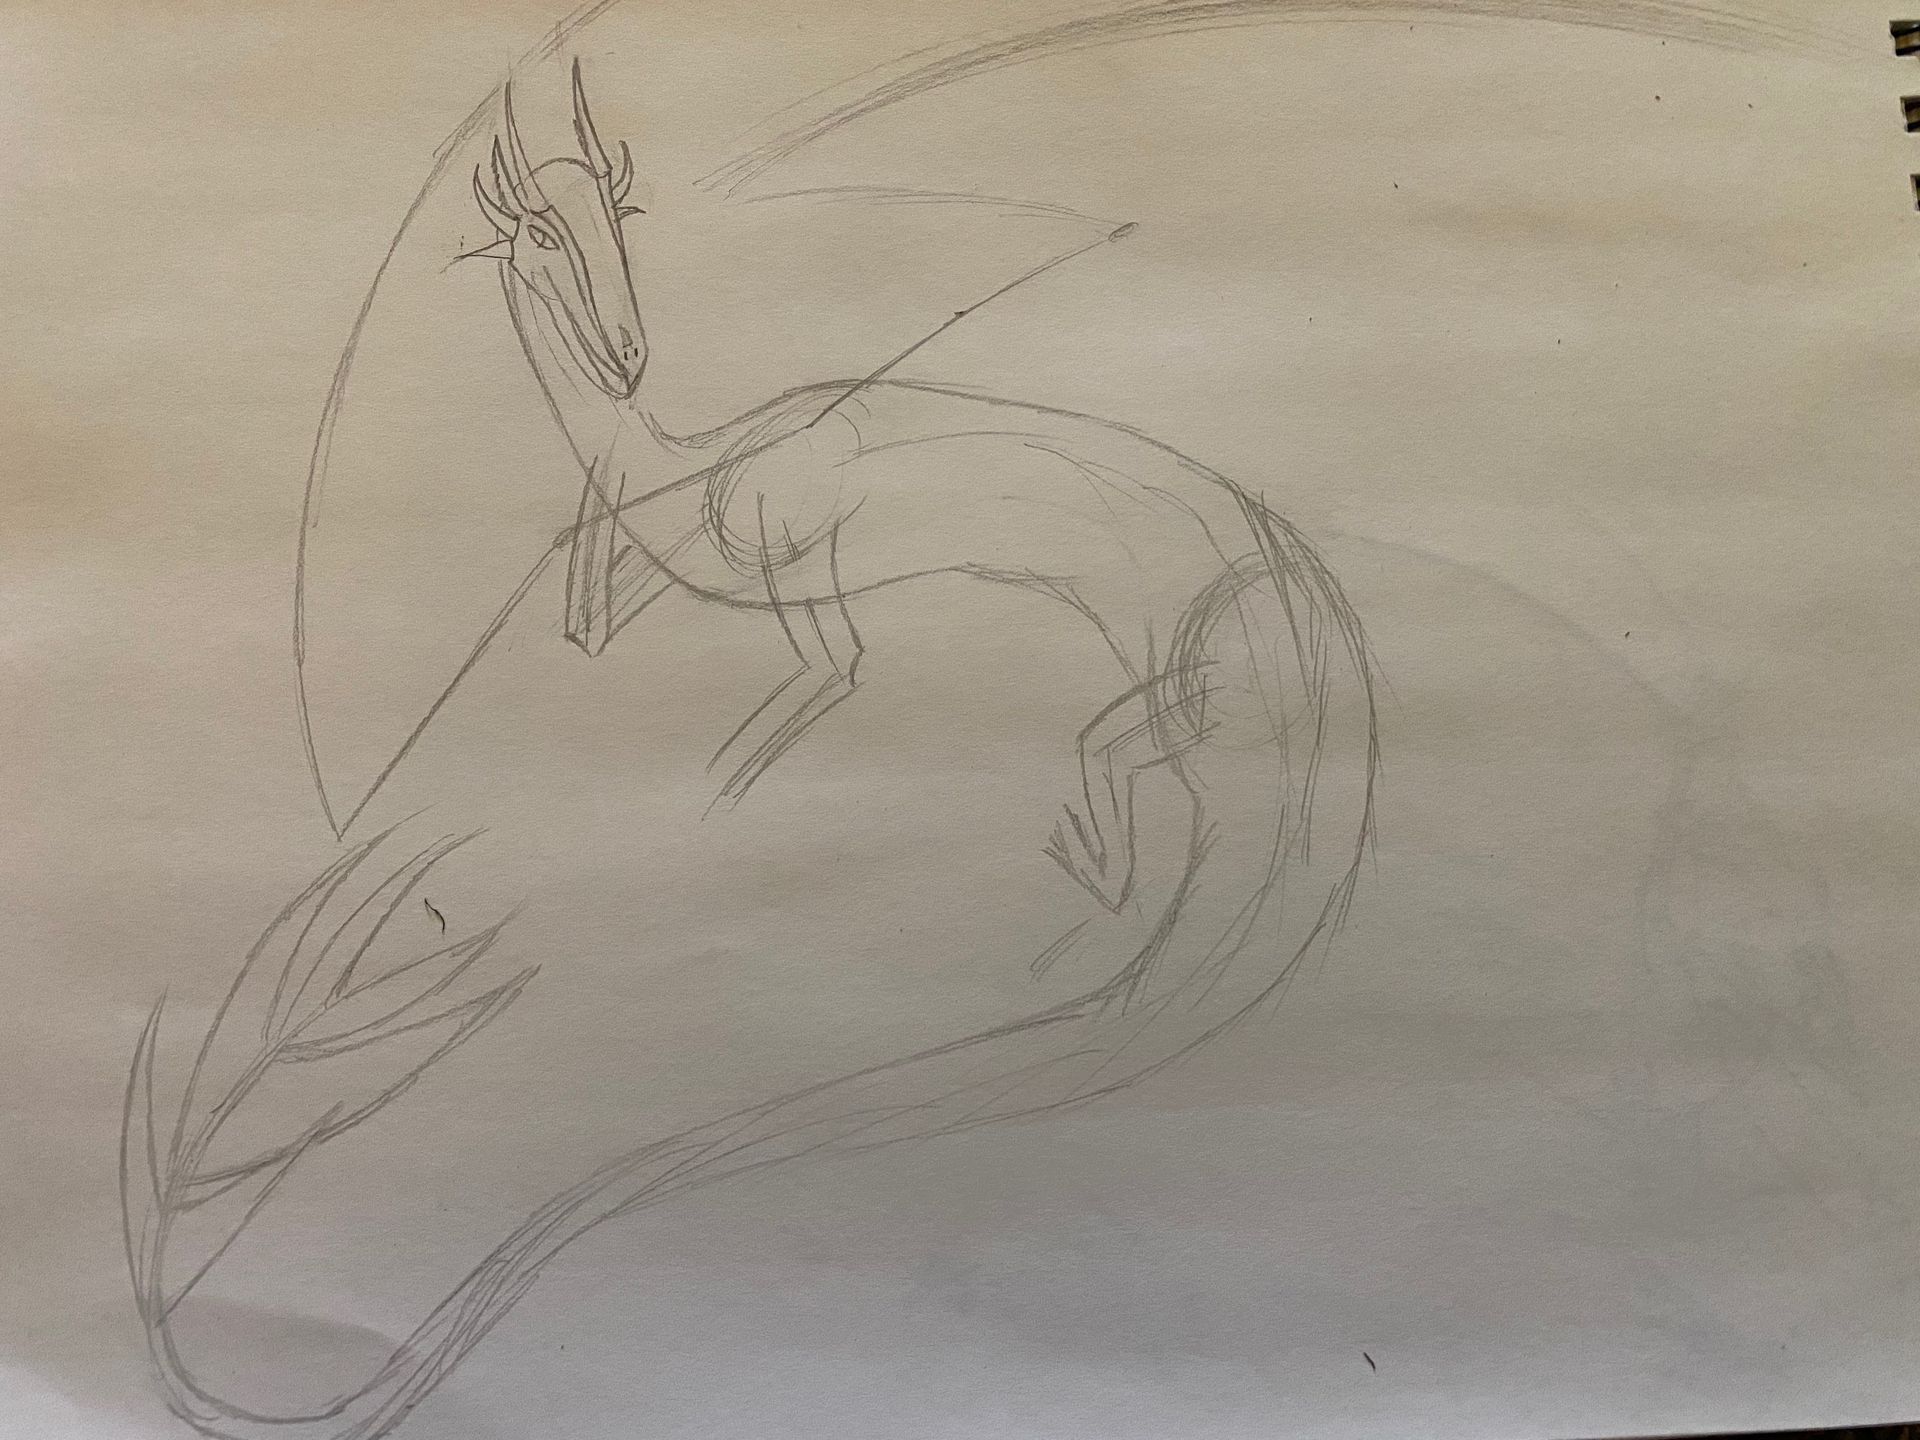
Here I start to add form to the legs and arms. The best way I can think of when it comes to what is visible and how it looks realisticly: it to do it yourself.
Seriously.
If you have trouble with a pose, don't afraid to do it yourself. The arms I actually did pose myself, the same with the visible leg. It. Is. Possible.
Granted, you need to lengthen the arm-length in your head, but the concept is still there.
And I did decide on what I wanted the final product to look like- hence the tail. If needed I can do a bit on different tail endings ranging from spikes, feathers, clubs, etc.
Step 5; "Finalize" your limbs and add fingers.
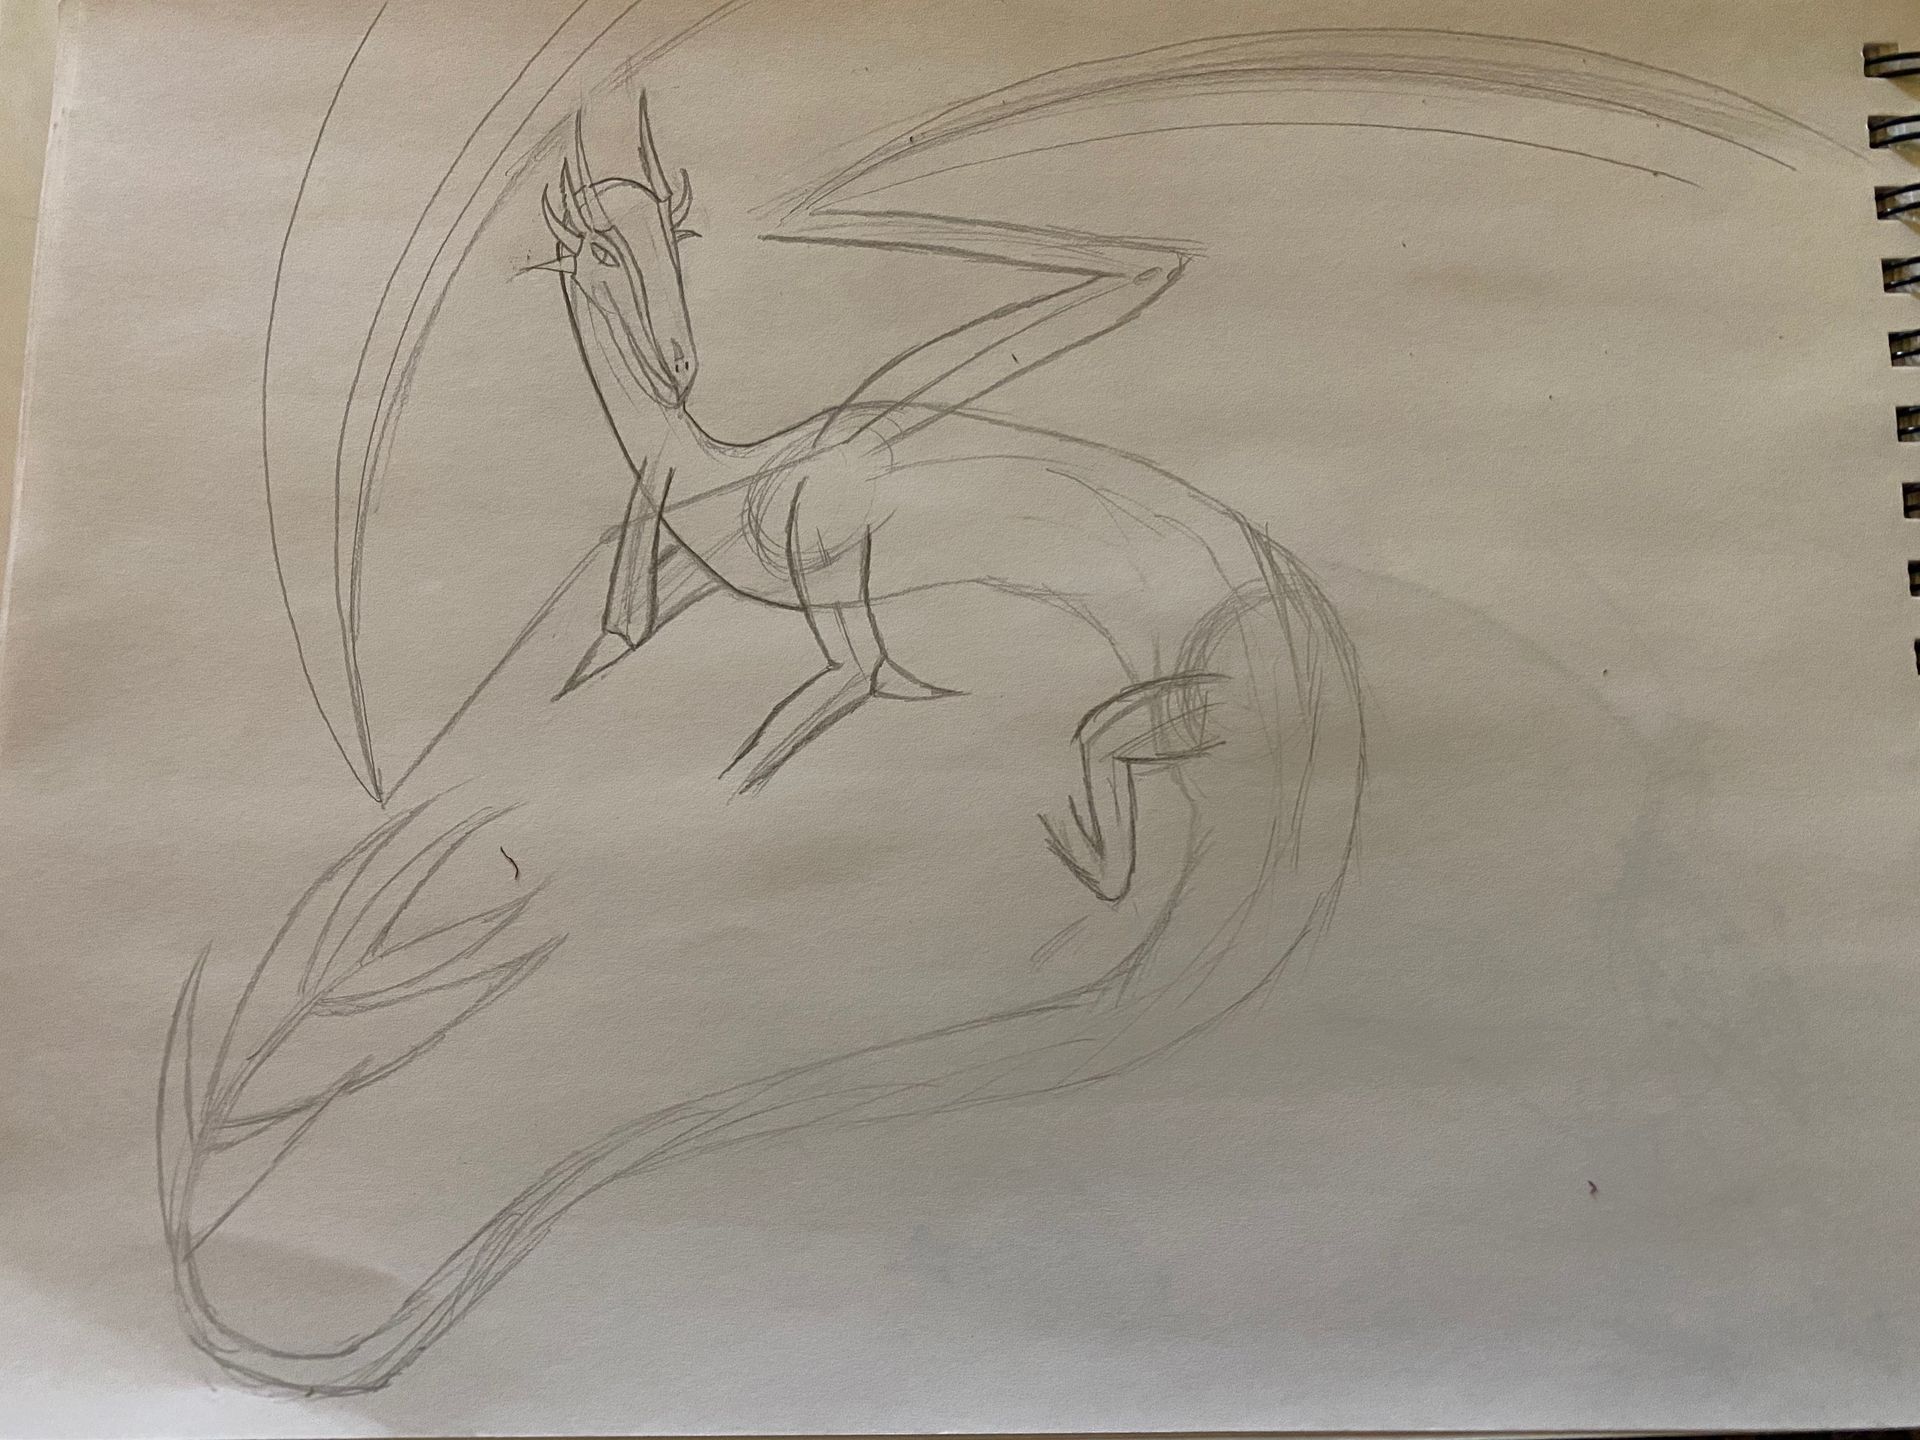
Finalize what you feel confident in. This(for me) is often the arms, legs, head, and neck. Everything else I save after the wings.
Speaking of. Add fingers and work on the shape. Again, the human arm works similar to a dragon wing or more simply, a bat wing.
I often save the back wing until the very end, as well as the tail.
But for the fingers keep that similar pivot point as when you did the original.
Step 6: Wing joints, hands, underscales.
Yes. I stay busy.
For the joints, if you decide to have some, place two small dots where you find them to be reasonable.
As the fingers may or may not be close, you can use a protractor if you want to be precise. As long as it looks close you'll be good.
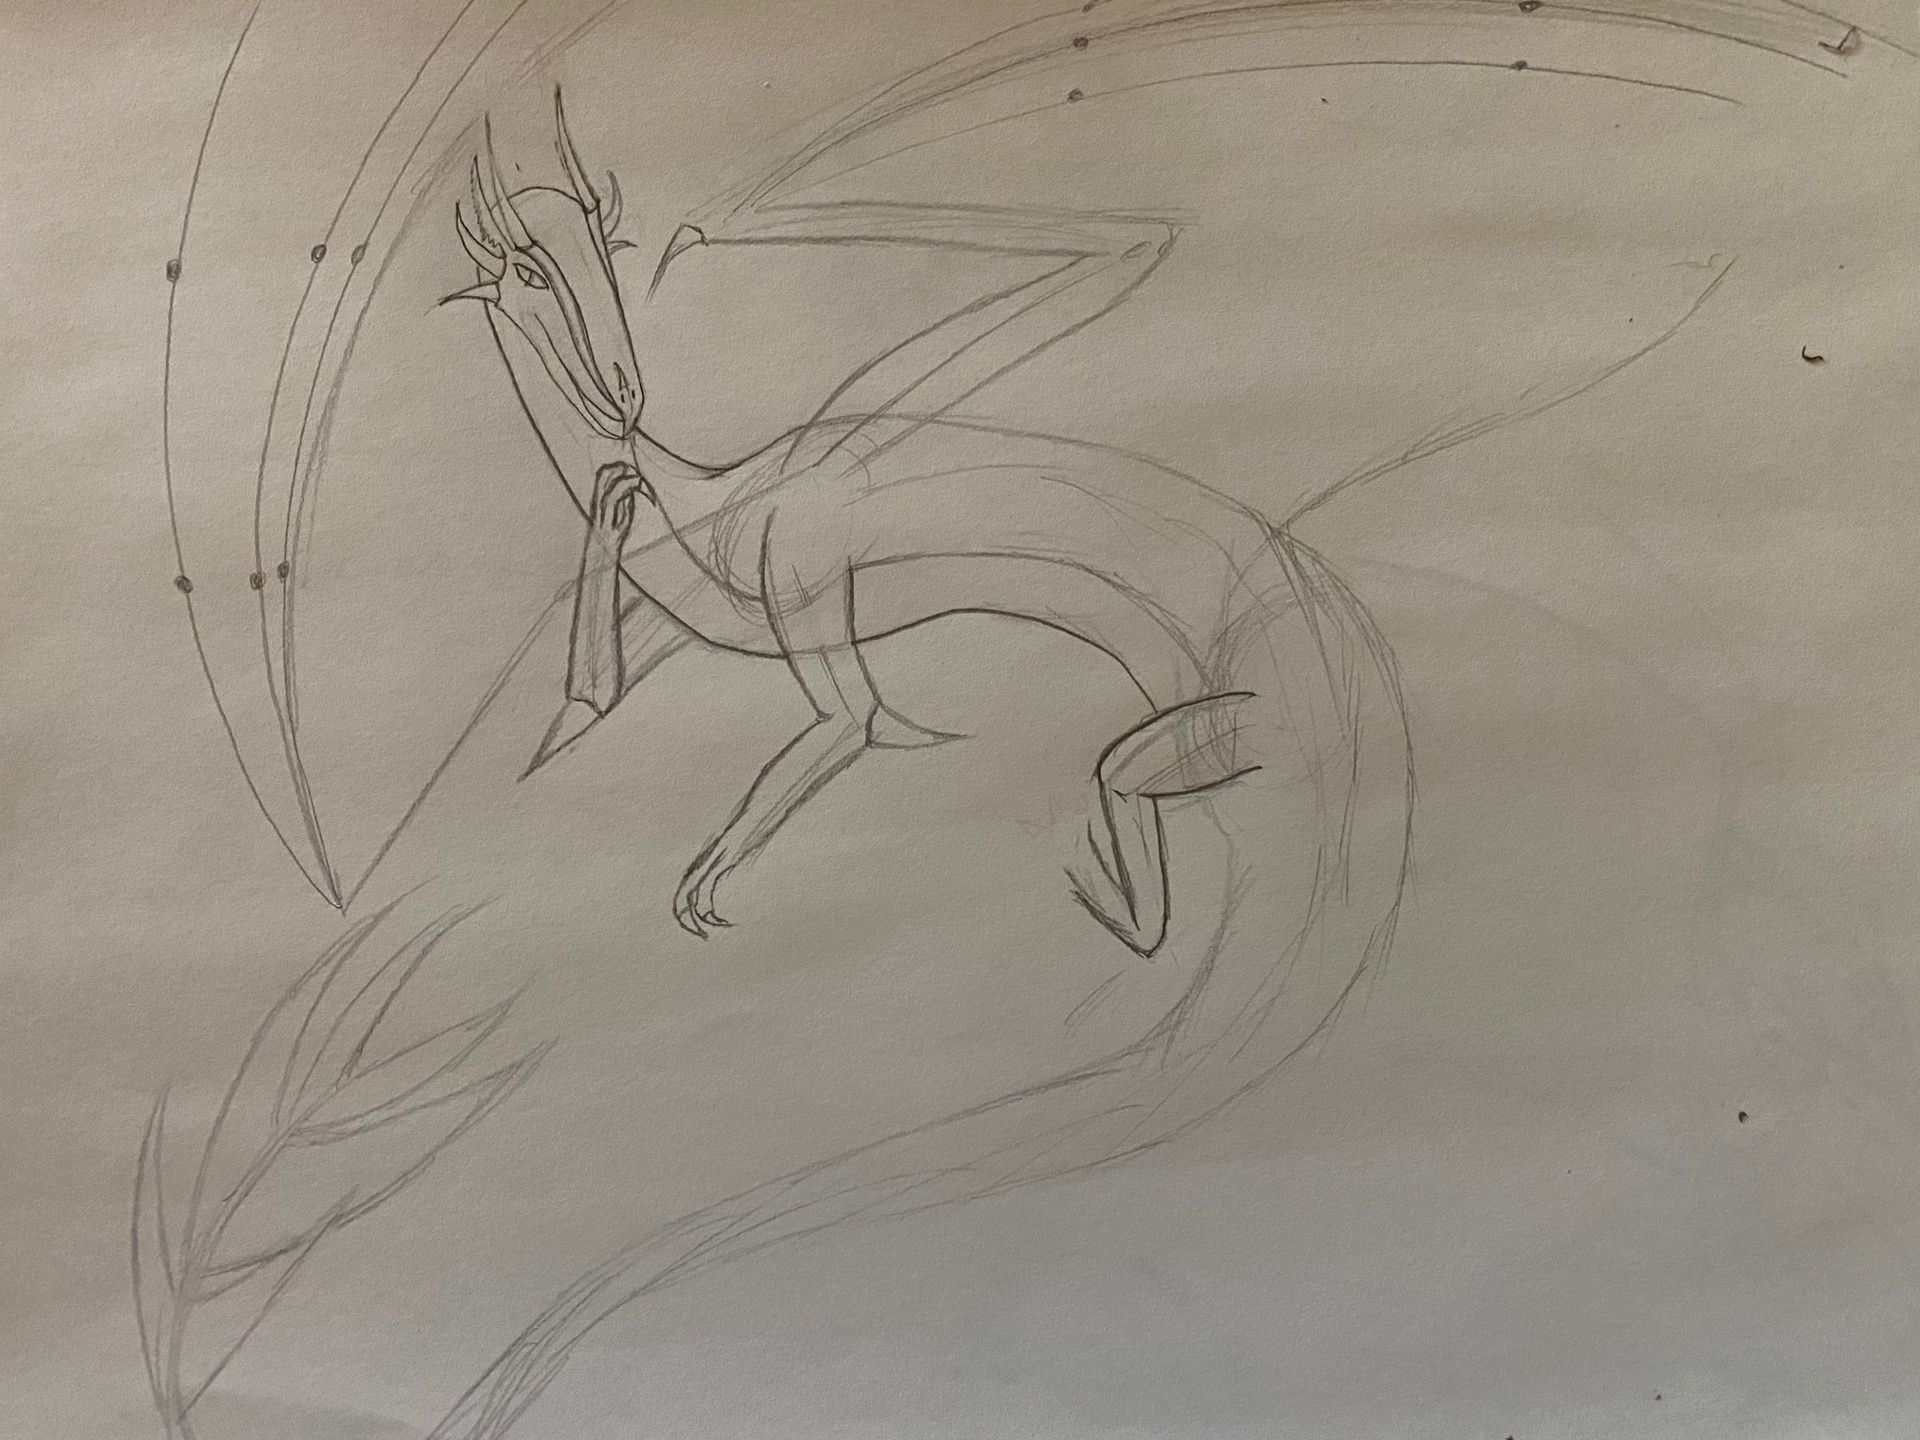
Yes. I have added hands, but don't worry about them if you don't want to. I have also muscled out the wing up to where the fingers are as where the webbing will connect to the body.
Starting a thin line for the belly, I do it based on where I see the middle of the chest and upward in my mind's eye.
Step 6.5: Resharpen your pencil.
And no. Mine did not snap off while I was lining the back, nor did the fresh tip break off in my sharpener. XD
Step 7: Wing frames
I went ahead and did the same steps for the other wing.
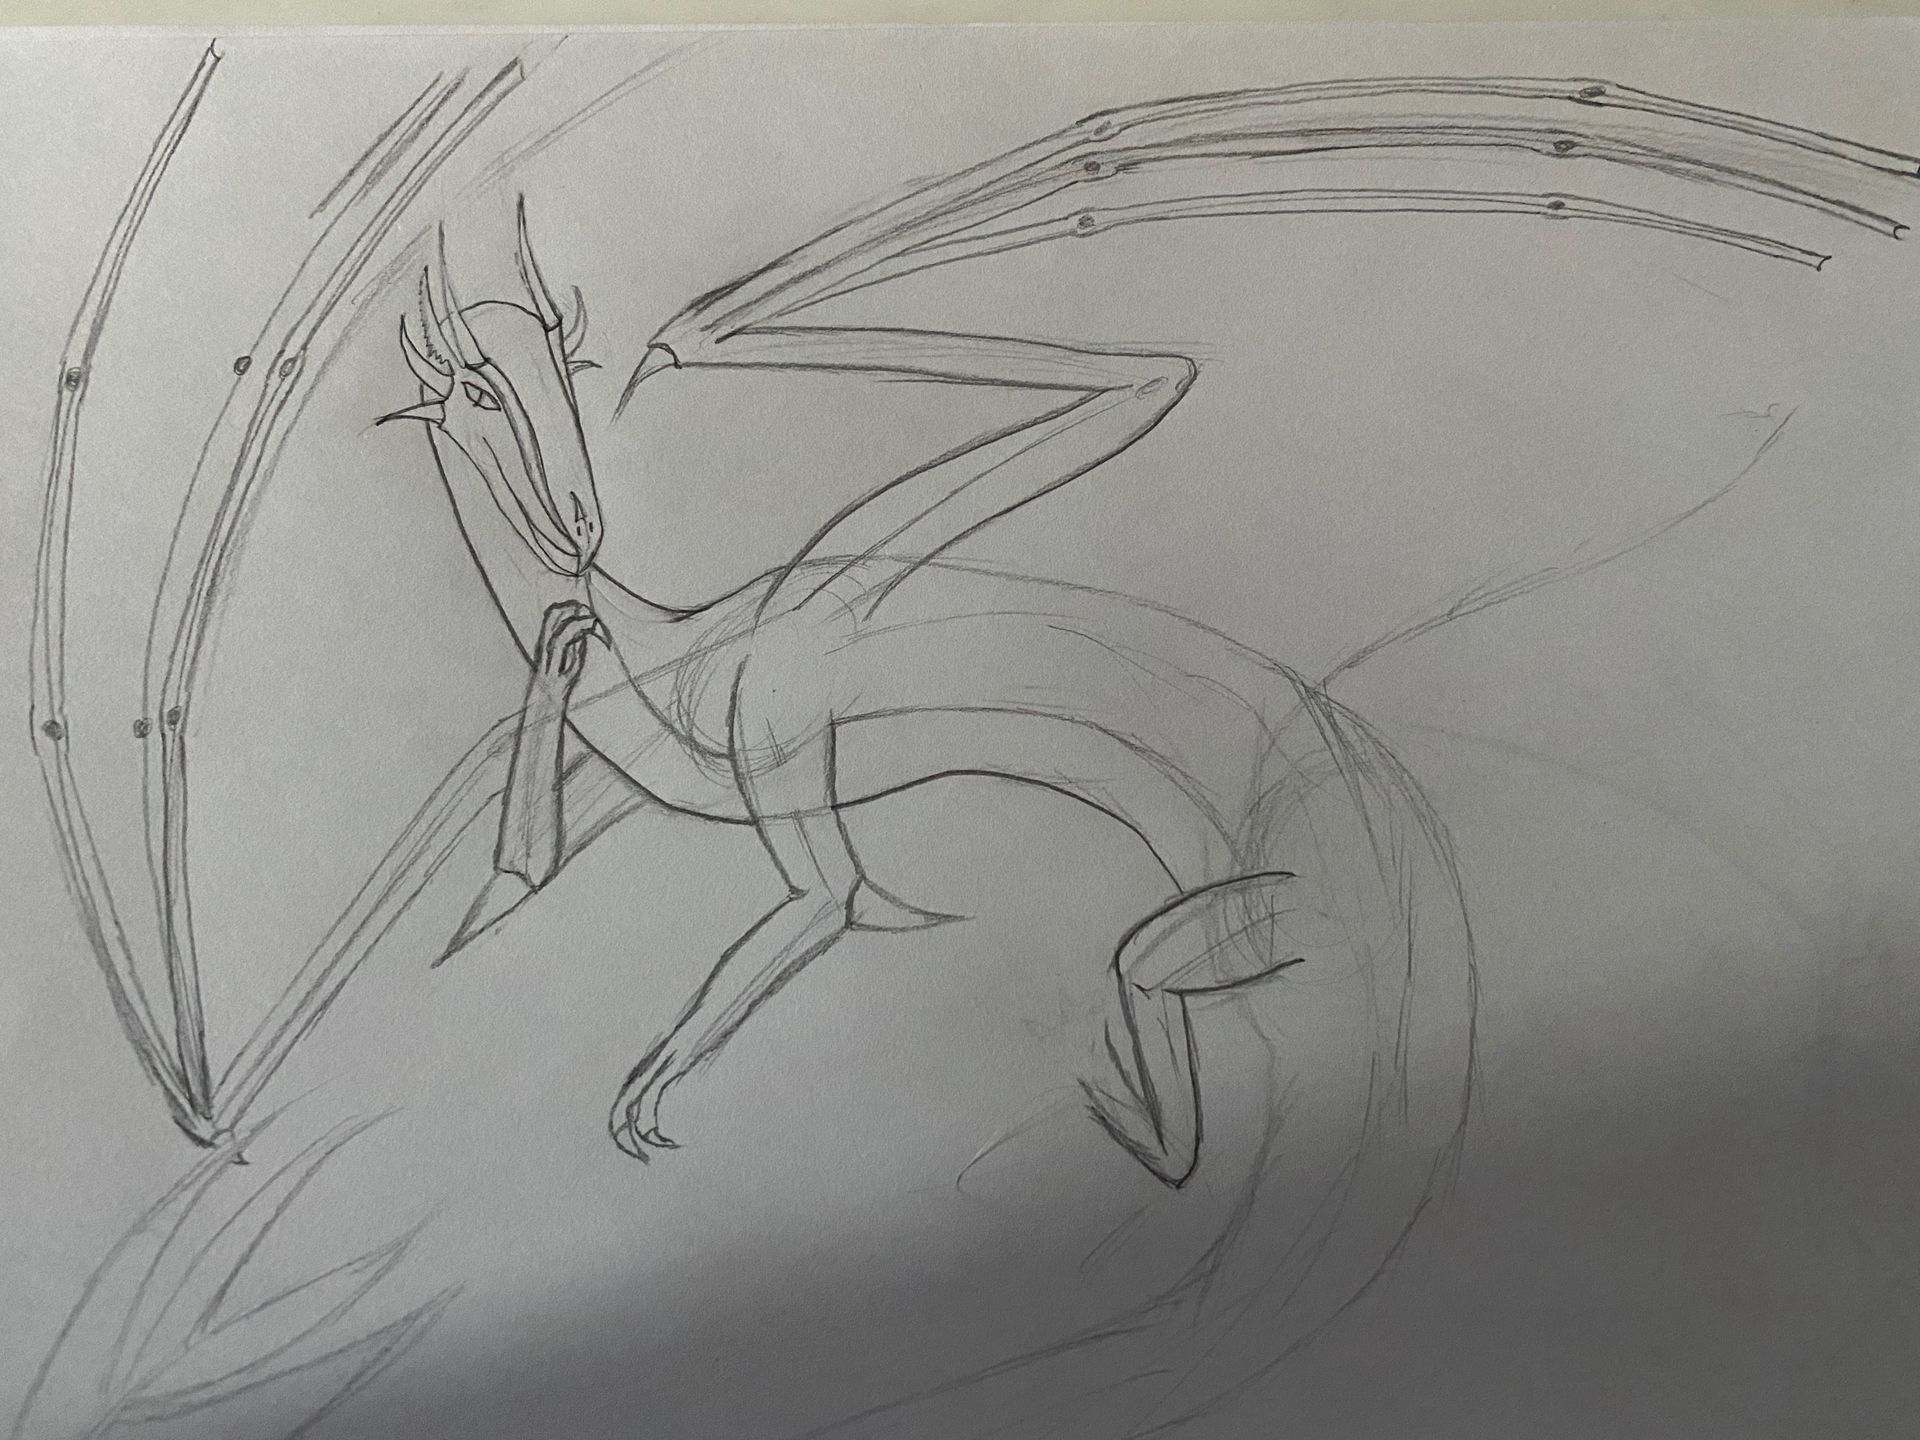
Those dots, nubs as I call them, are going to come in handy. And how good is your mostly straight unassisted line? No rulers needed for this. A little curve from joint to joint is absolutely ok! Nothing has to be perfect.
(8 y/o: It ain't perfect, but it doesn't matter.
8: It ain't perfect-
Me: Ain't is a crime to English langua-
8: BUT IT DOESN'T MATTER!!!! 😤)
For a lot of what I do I 'chicken scratch', or instead of doing it in one stroke I use smaller strokes to get the image I want. Anyway, on each nub I do an end-less oval. I'll go slower in a separate part.
From there I connect each end by a mostly straight-ish line.
Step 8: A little clean-up and wing membrane.
Simply press harder than what you have been doing, then gently bring your eraser over each line. Don't panic if you completely erase a few small sections; unless it's bigger than your thumbnail. This rubbing will get rid of the lighter lines as well as lighten the dark ones.
Everything can then be retraced with ease.
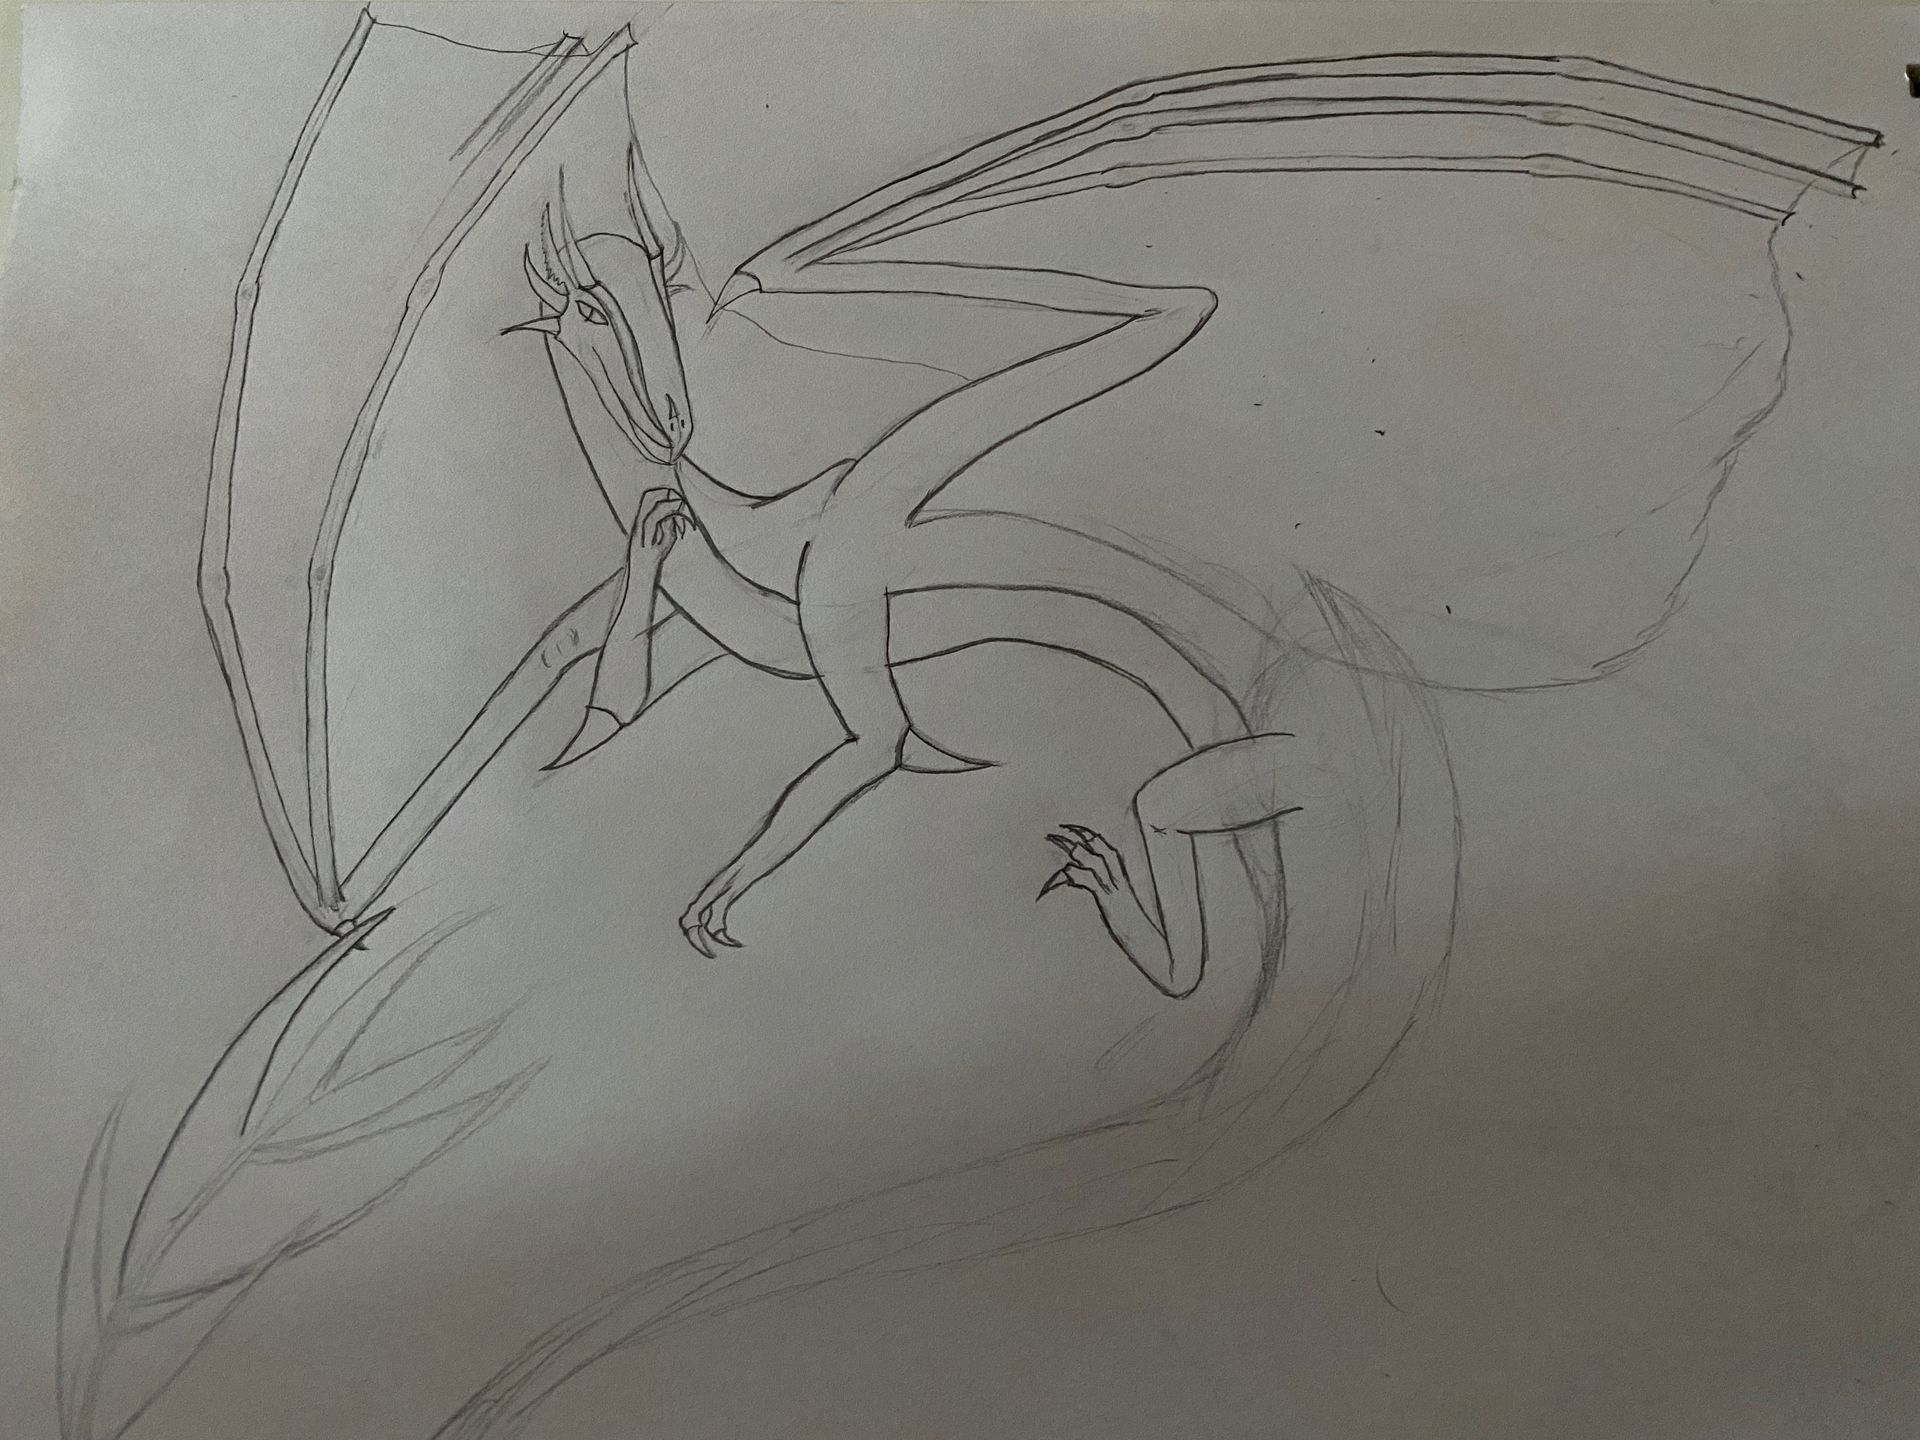
For the wings I will just do a few curves of where the edge will go. That back finger I didn't clean up for a reason, as I don't know where the membrane will fold yet.
Step 9: Finish the tail.
This can simultaneously be the easiest and the hardest thing to do. Don't worry about the under scales, we just need to get the narrowing right.
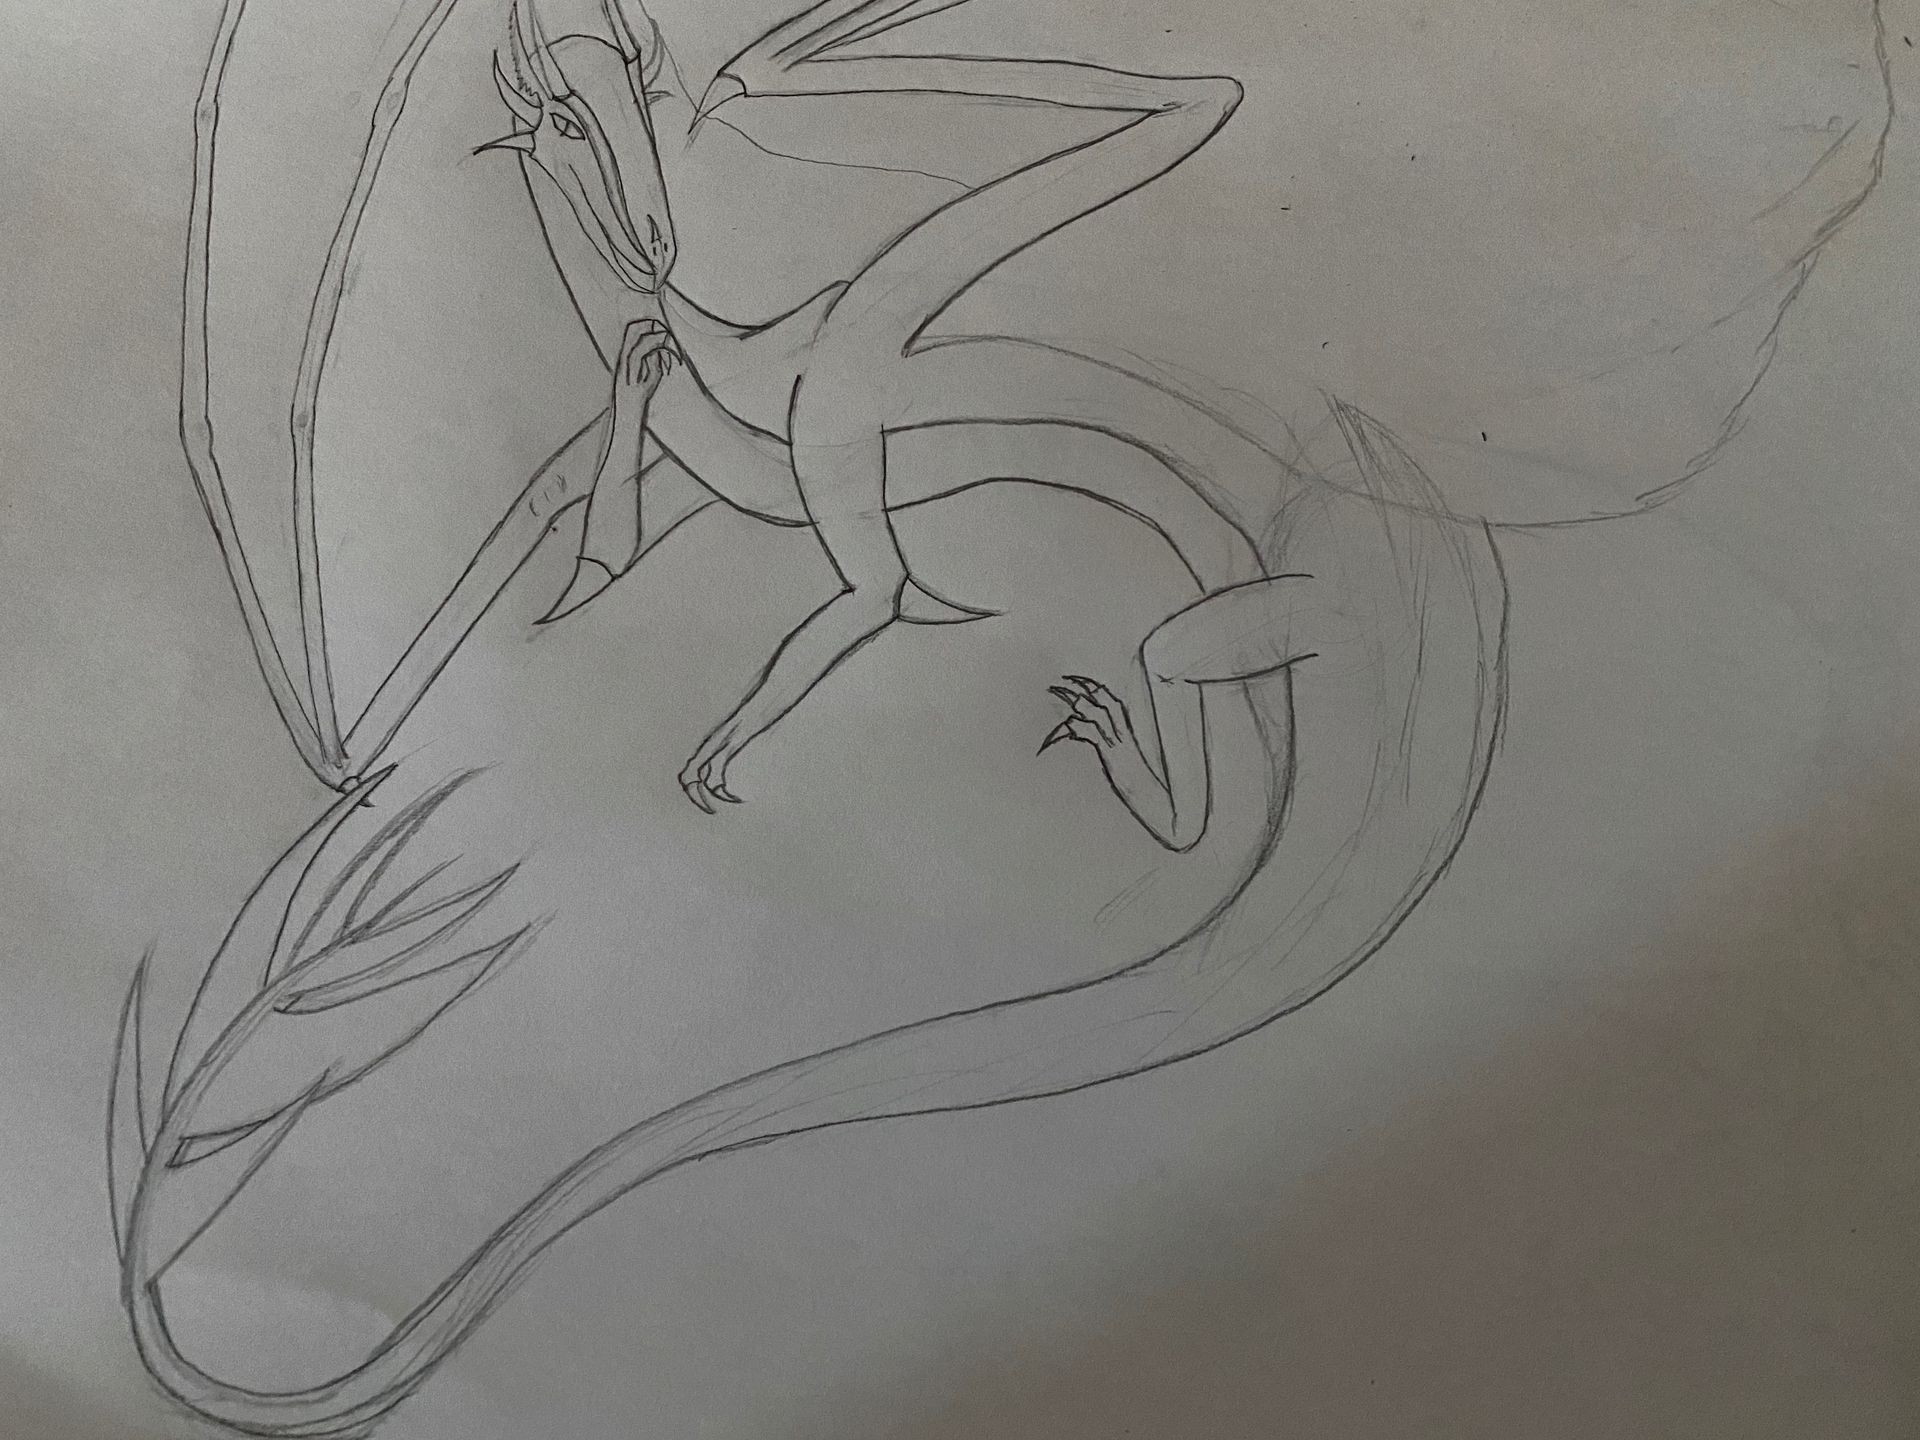
Step ten: More clean-up and wing folds.
I will go more in depth in another section of how I do the wing folds, but for now I'll just do them.
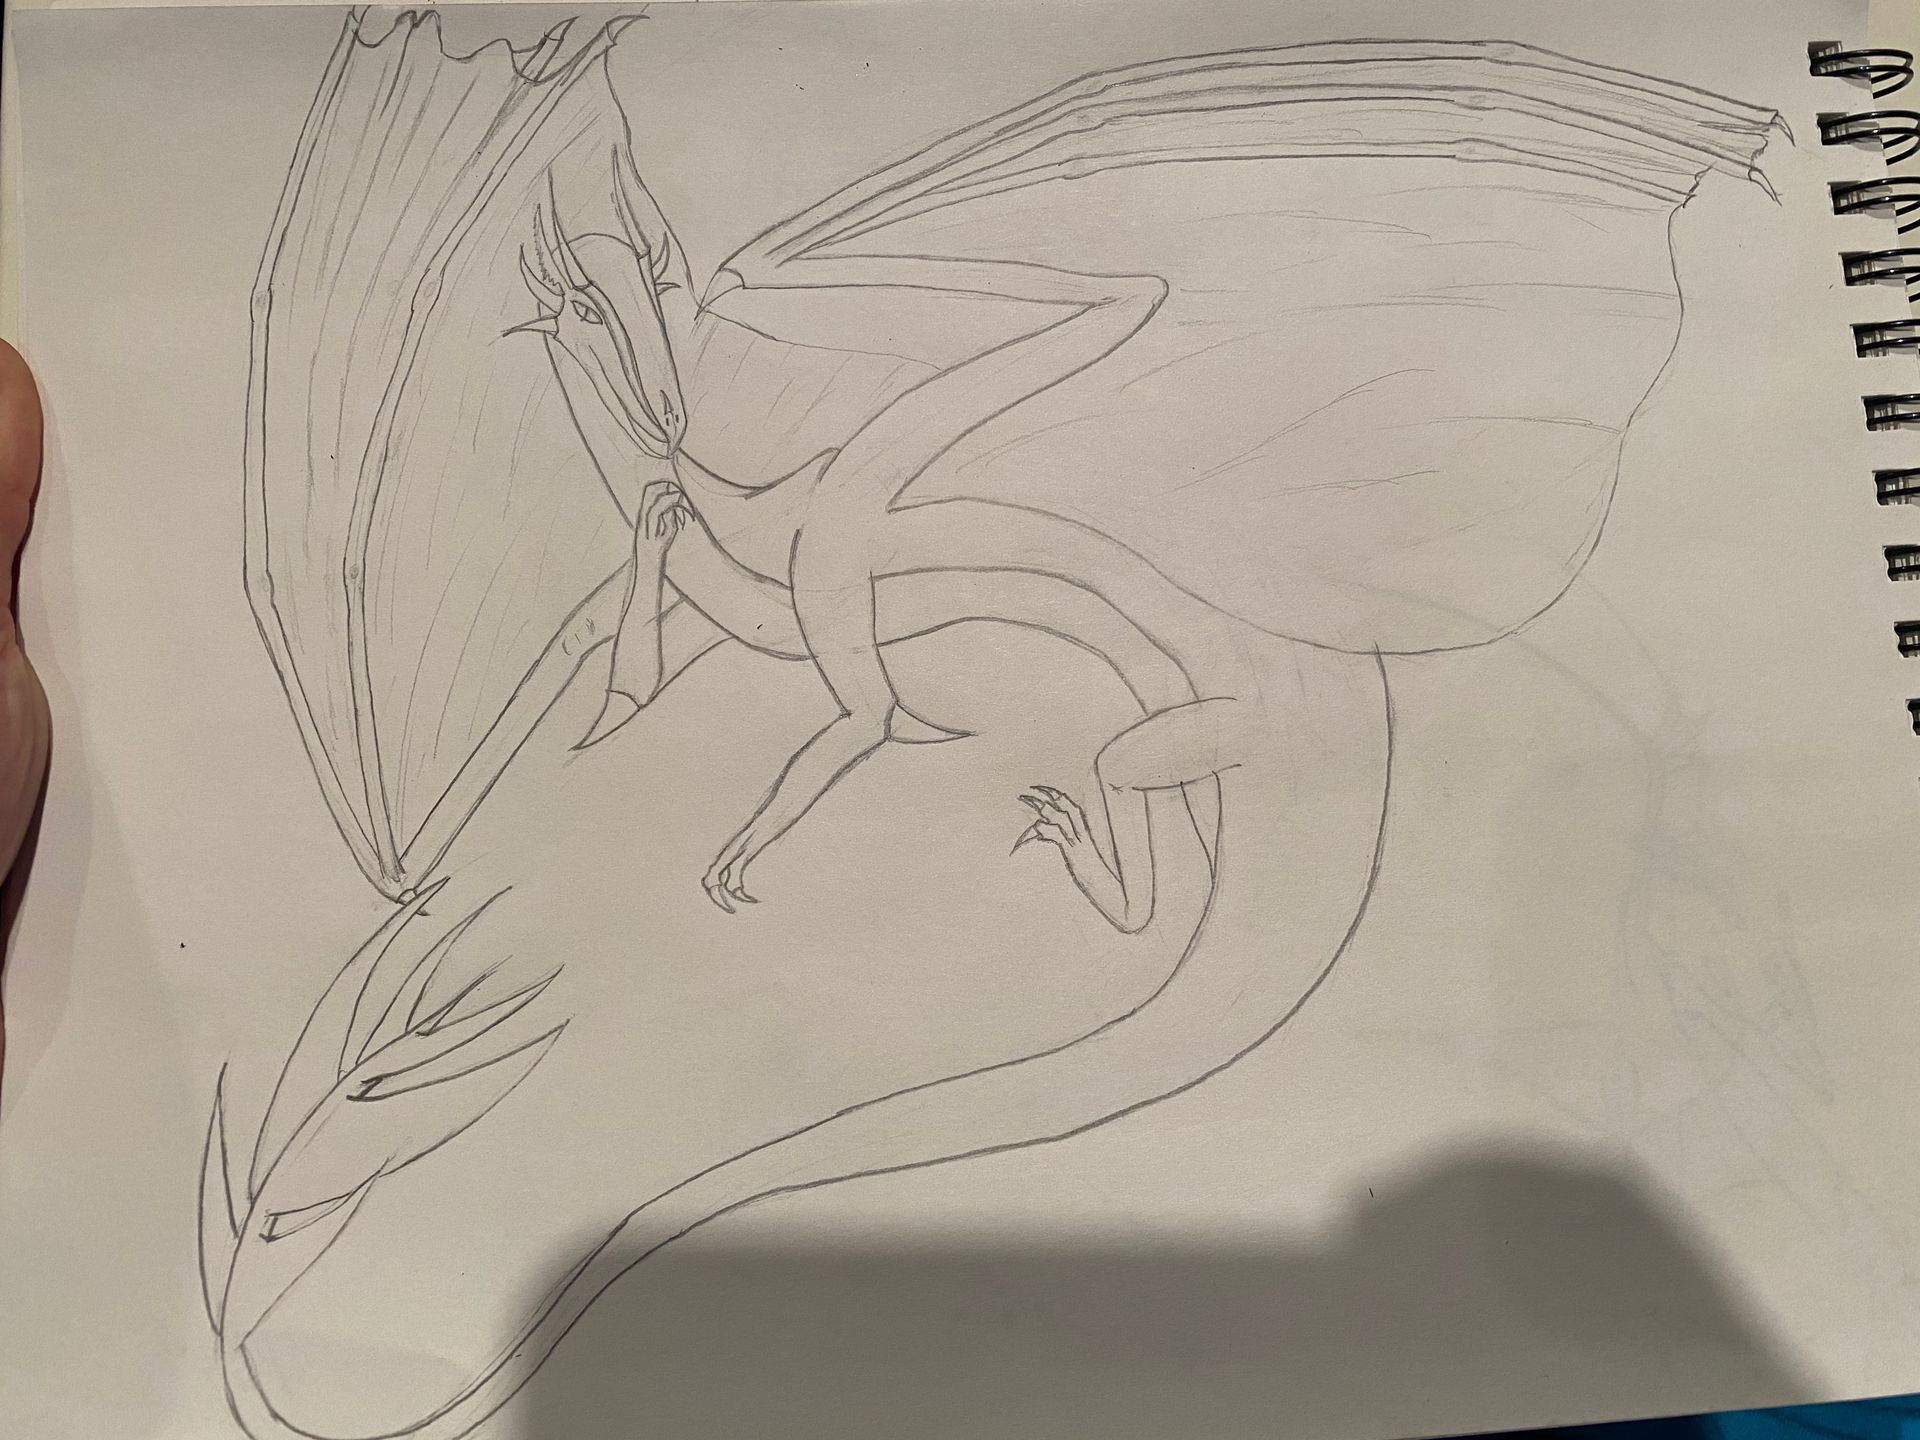
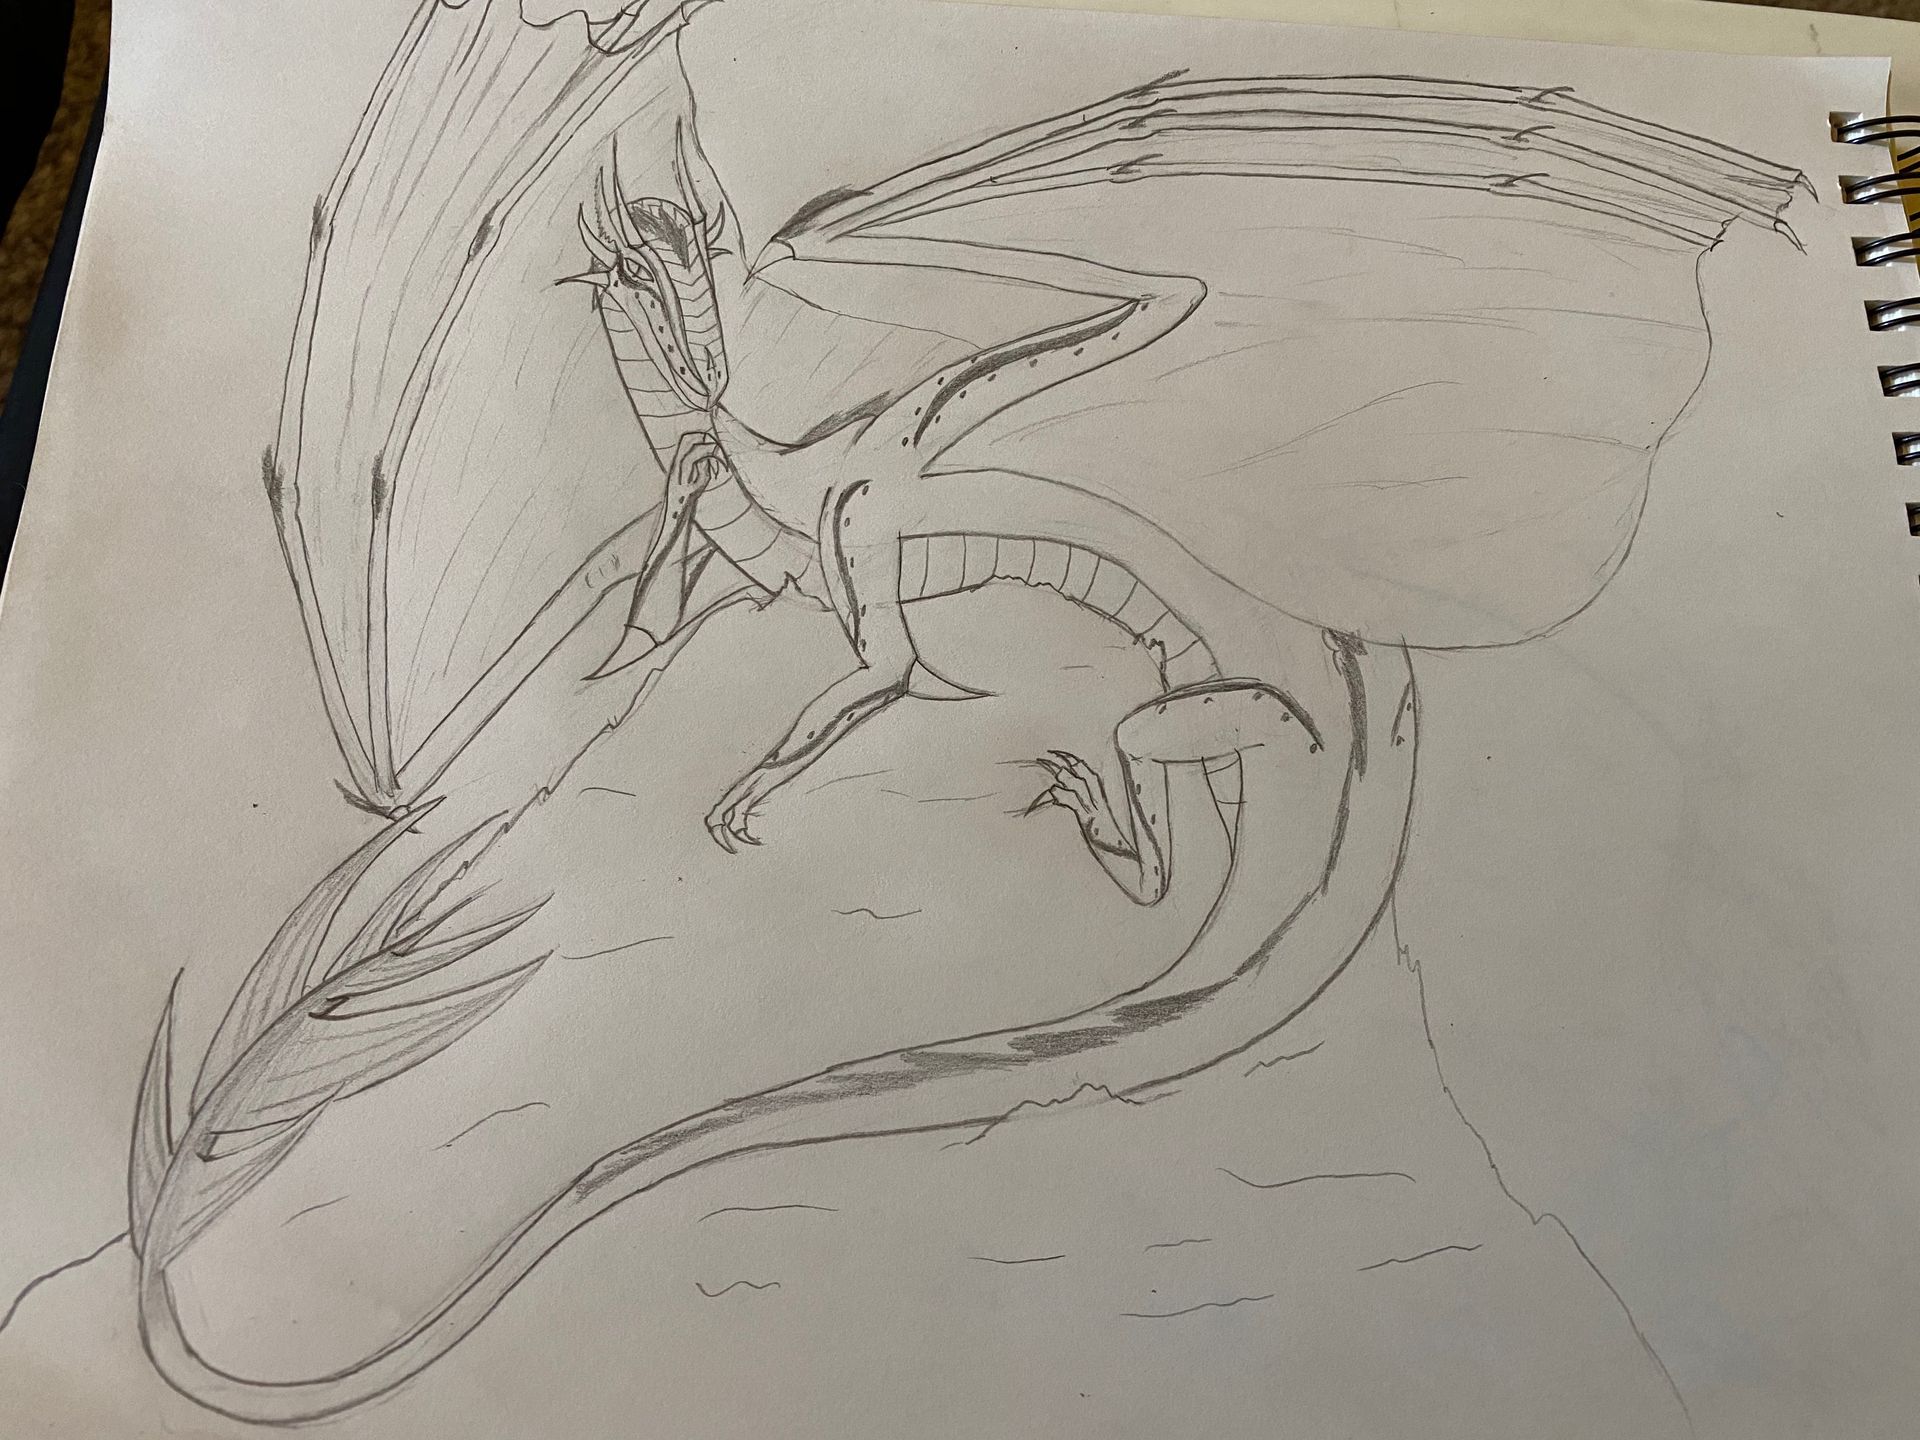
And there you are! You're very own fullbody. Granted, some more defining details are a must, but the anatomy and posing is at least finished.
Although, I'm not completely done.
Additional steps:
Step Eleven: Give our drama queen a throne!
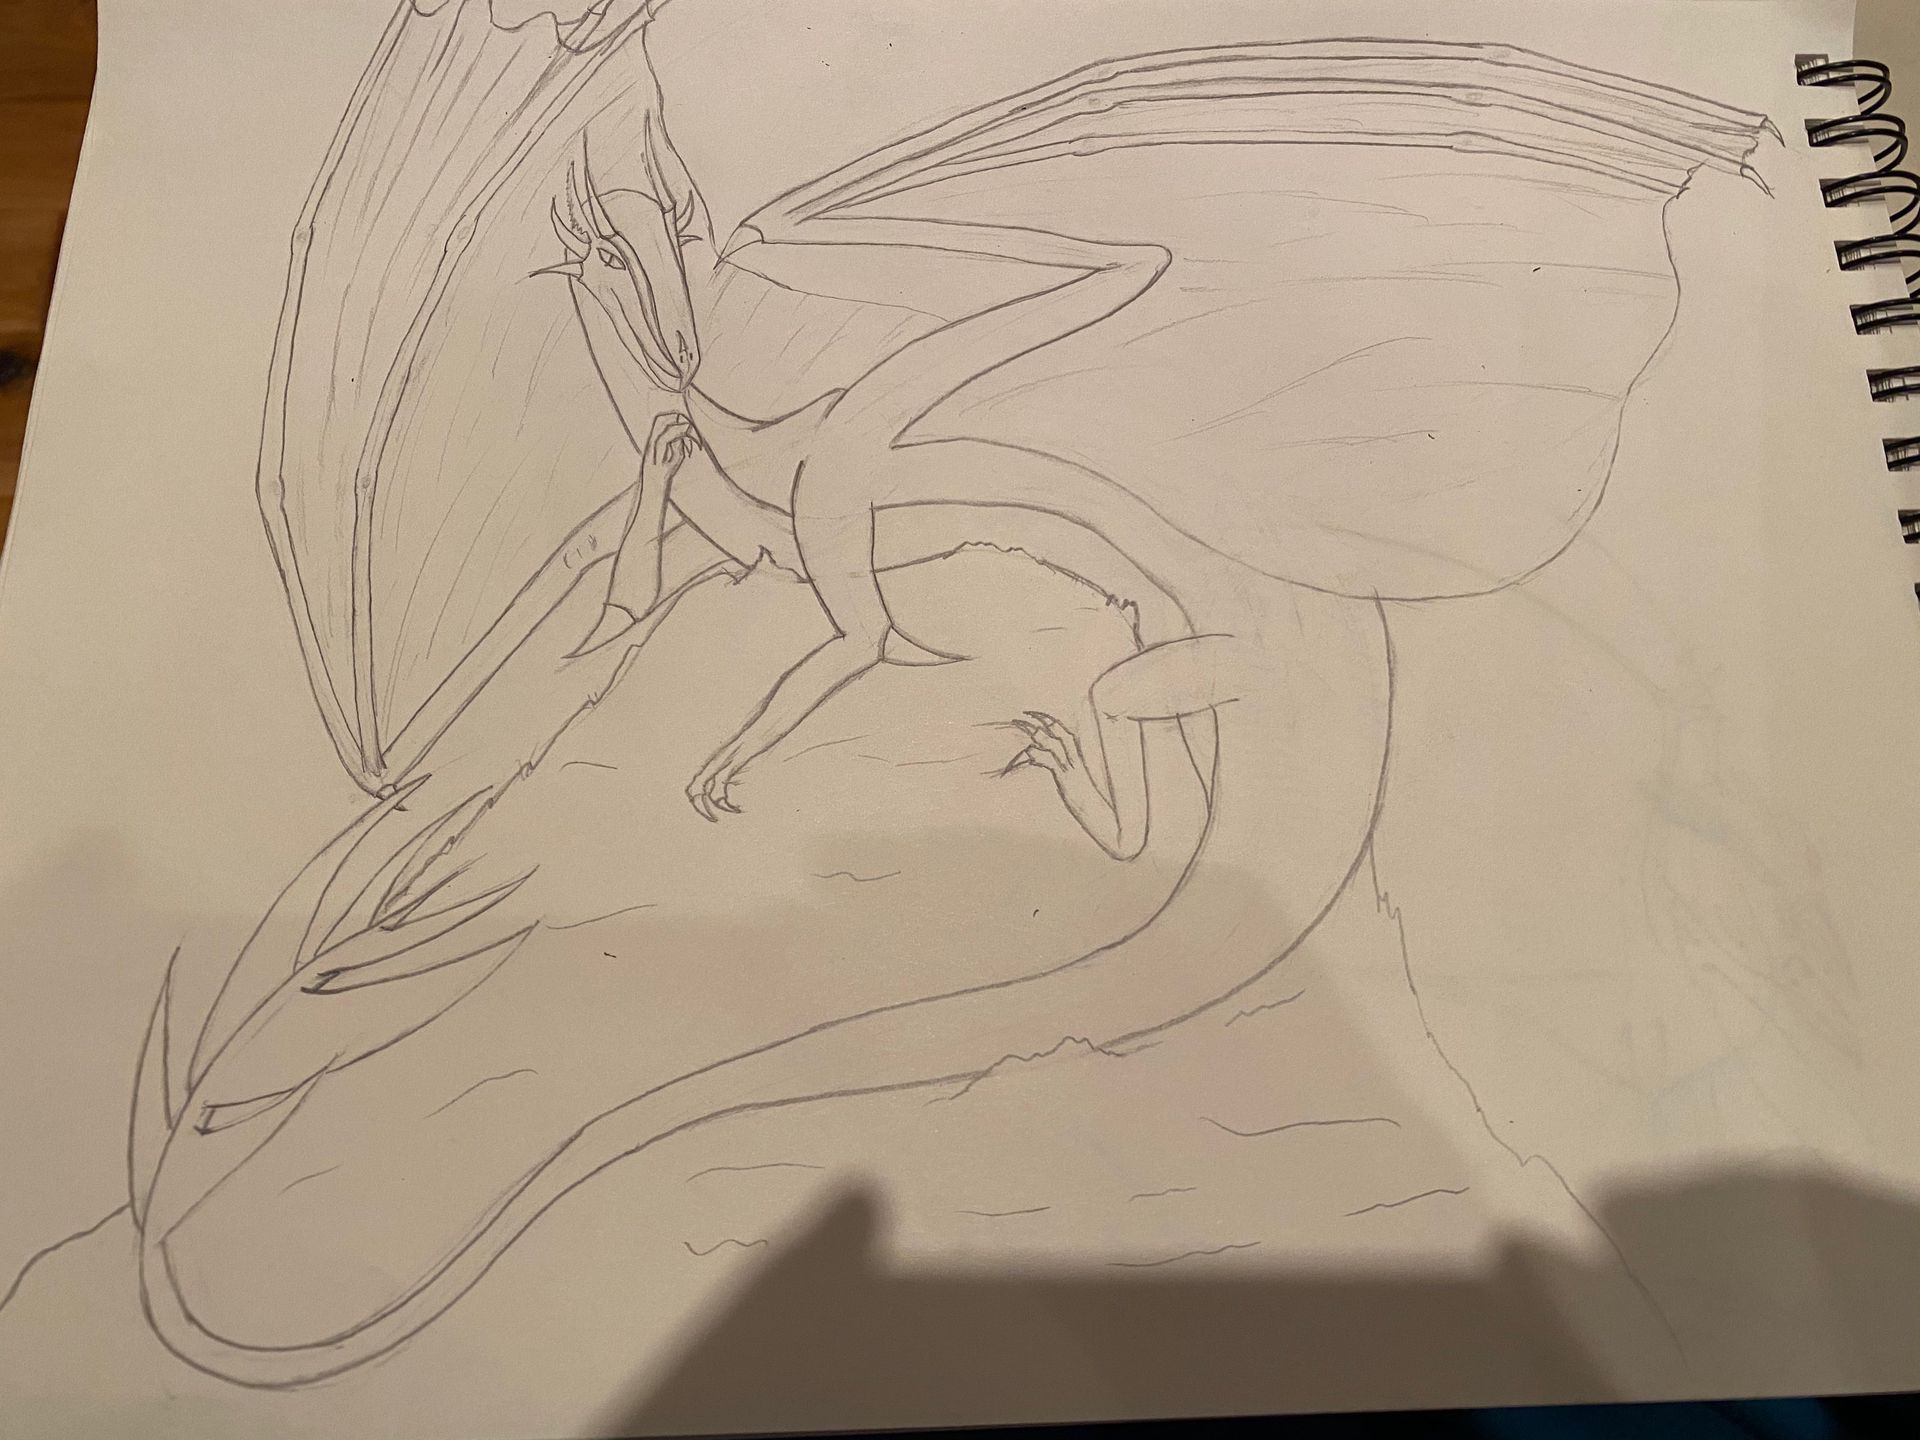
For the little rocky hill, I just did a bunch of chicken stratches down the side before hardening my stroke.
Roque, stroke, redrum.
To do the pieces of rock obscuring areas, just simply erase the line and draw a jagged rock within the gap.
Step 12: Markings.
As our drama queen is a Light based dragon, I decided to add black markings on her face and limbs.
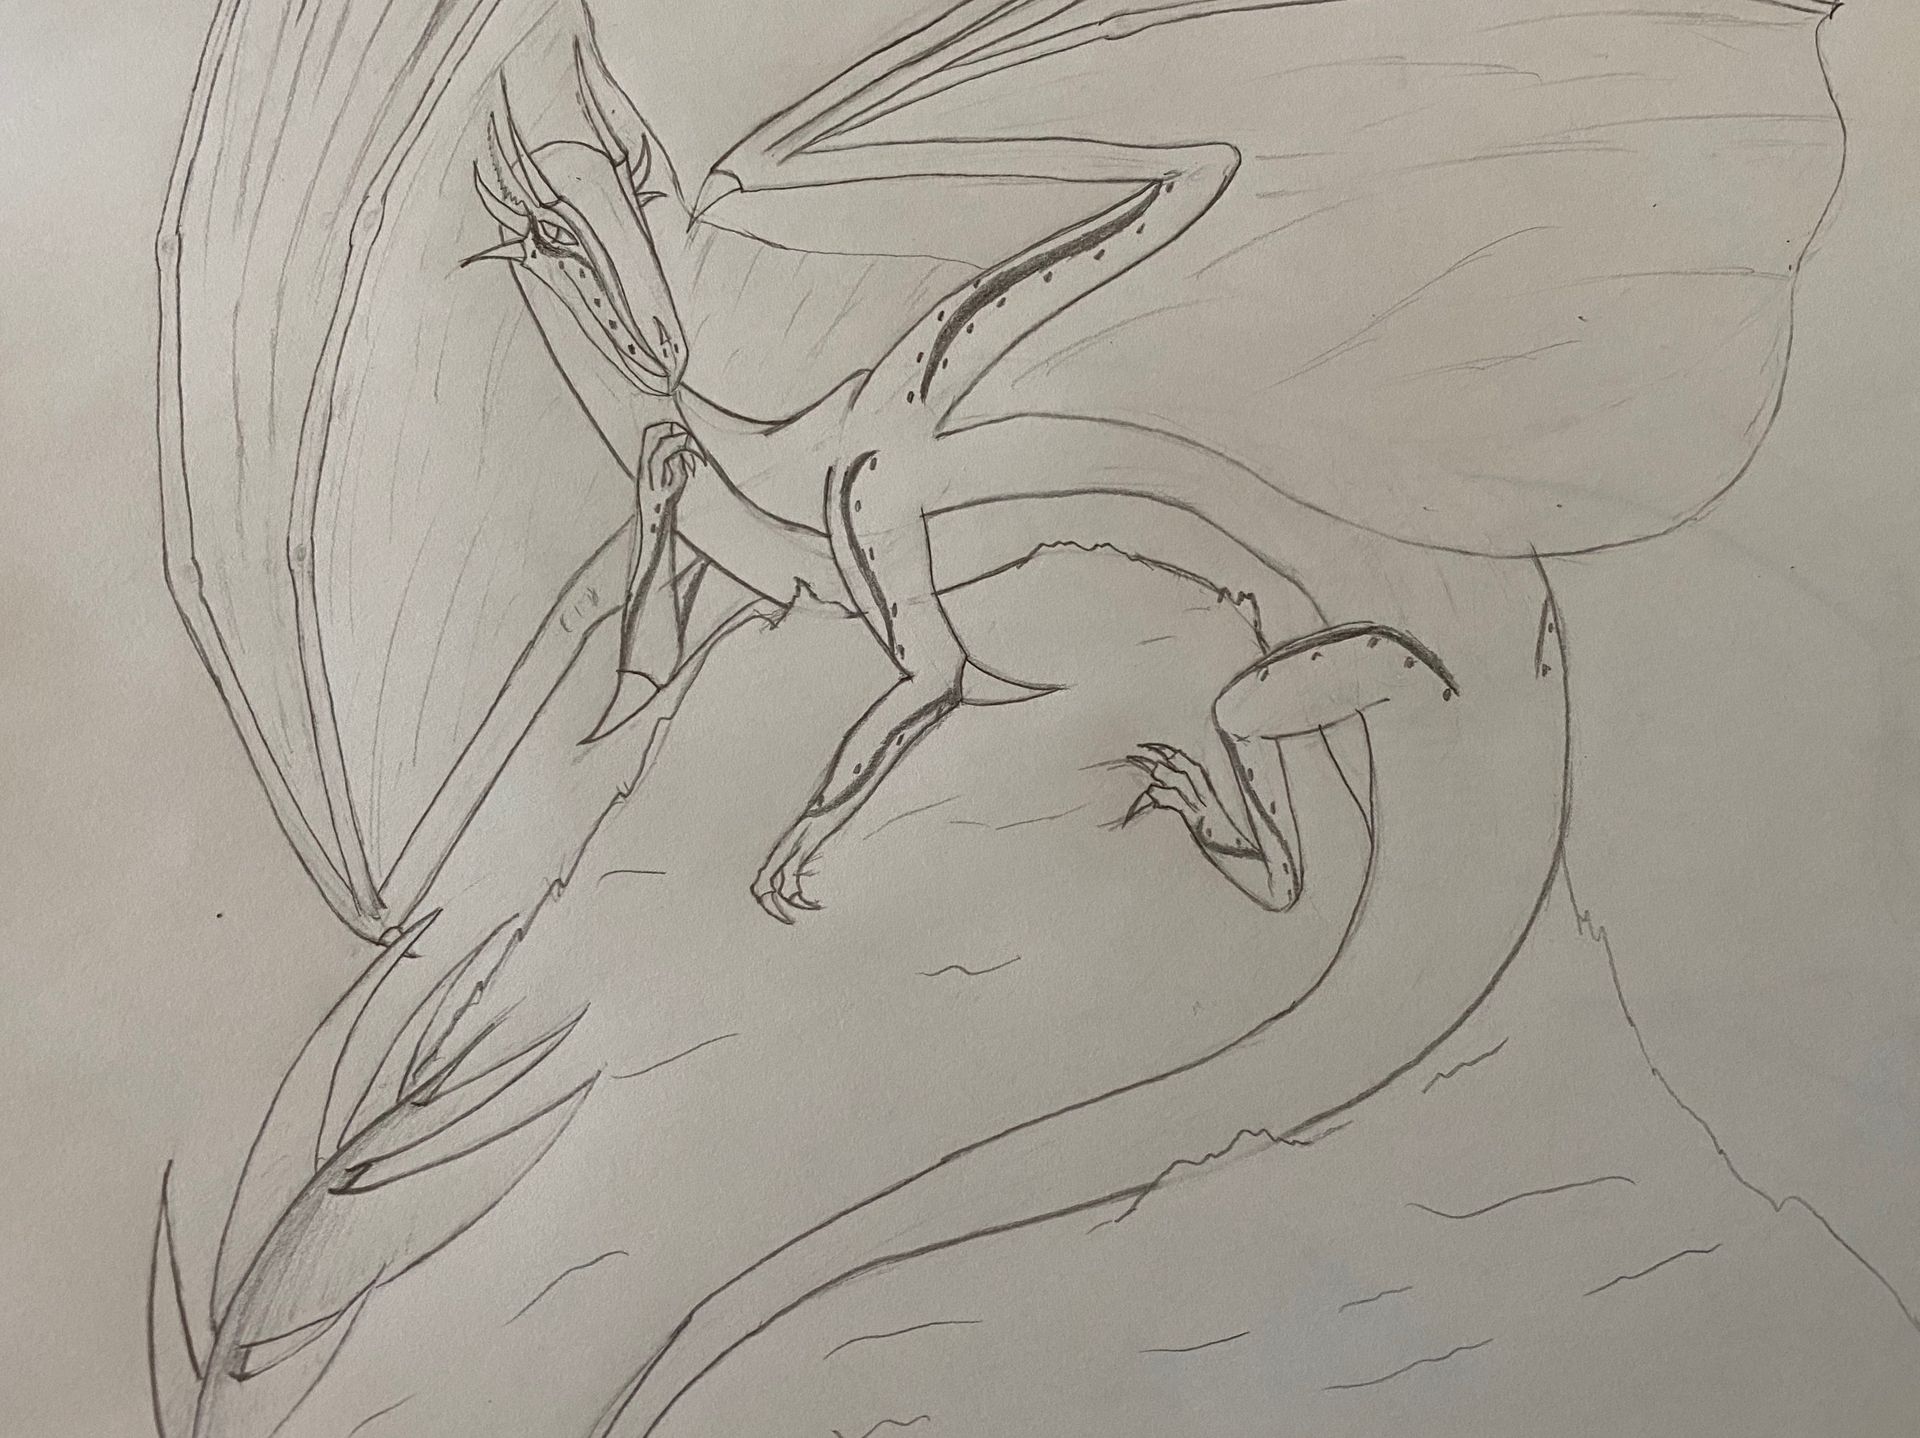
Step 13: Now for the belly scales.
I just simply curved my hand and tried to be similar on the neck and side. That bit by the tail is best is it steadily gets closer and closer together to help give the illusion of it being a physical object. I also added a small mane and head scales.
Step 14: My favorite -_-, Scales.
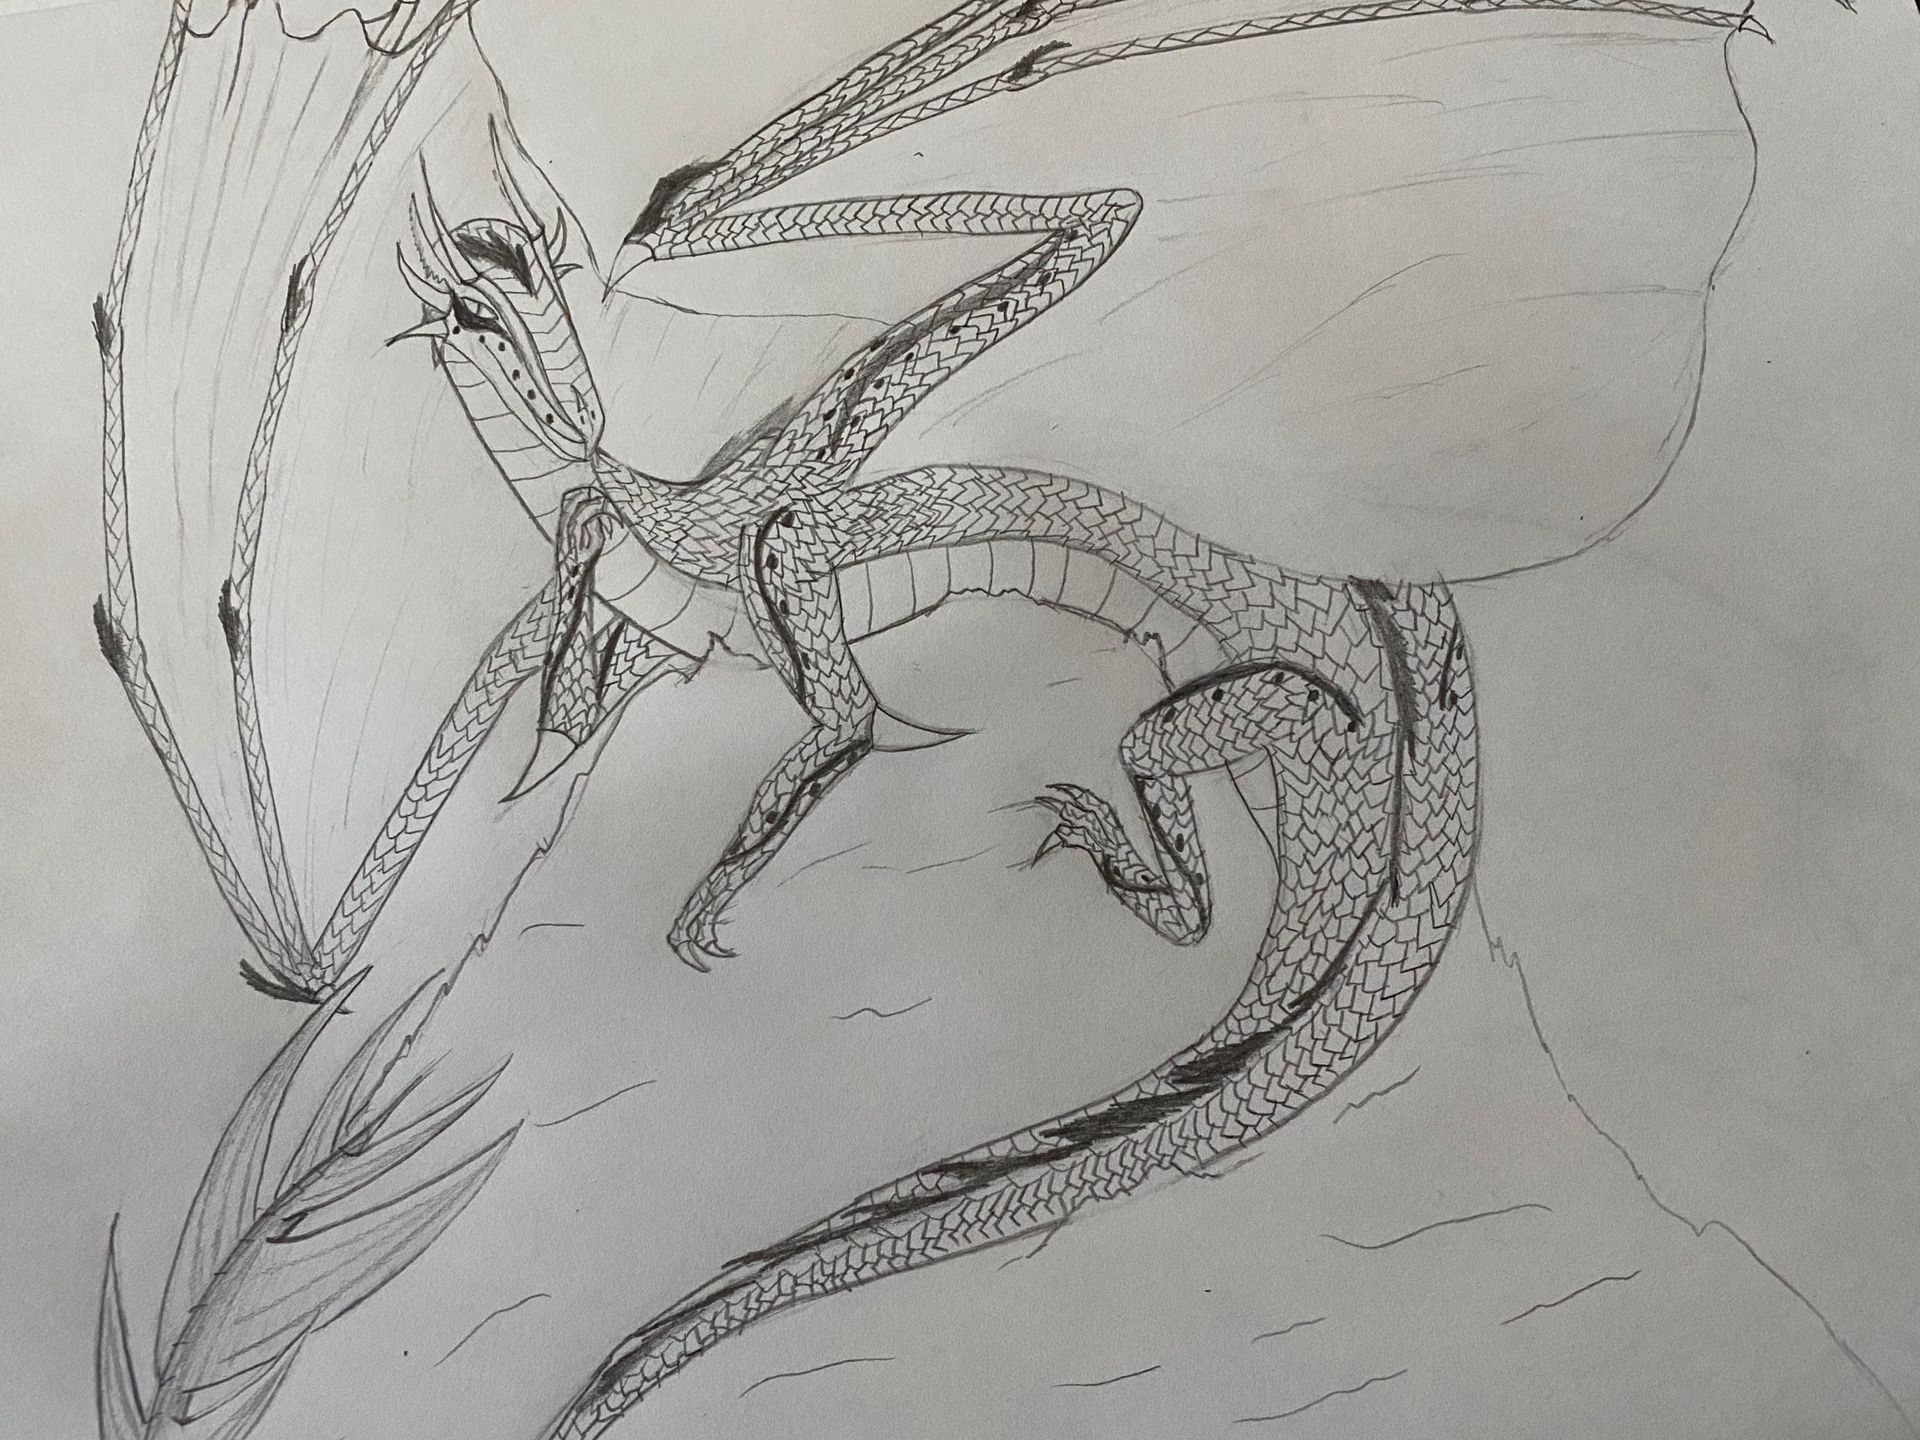
I can do a whole othet lesson just on different scale shapes and what shortcuts I use to draw them.
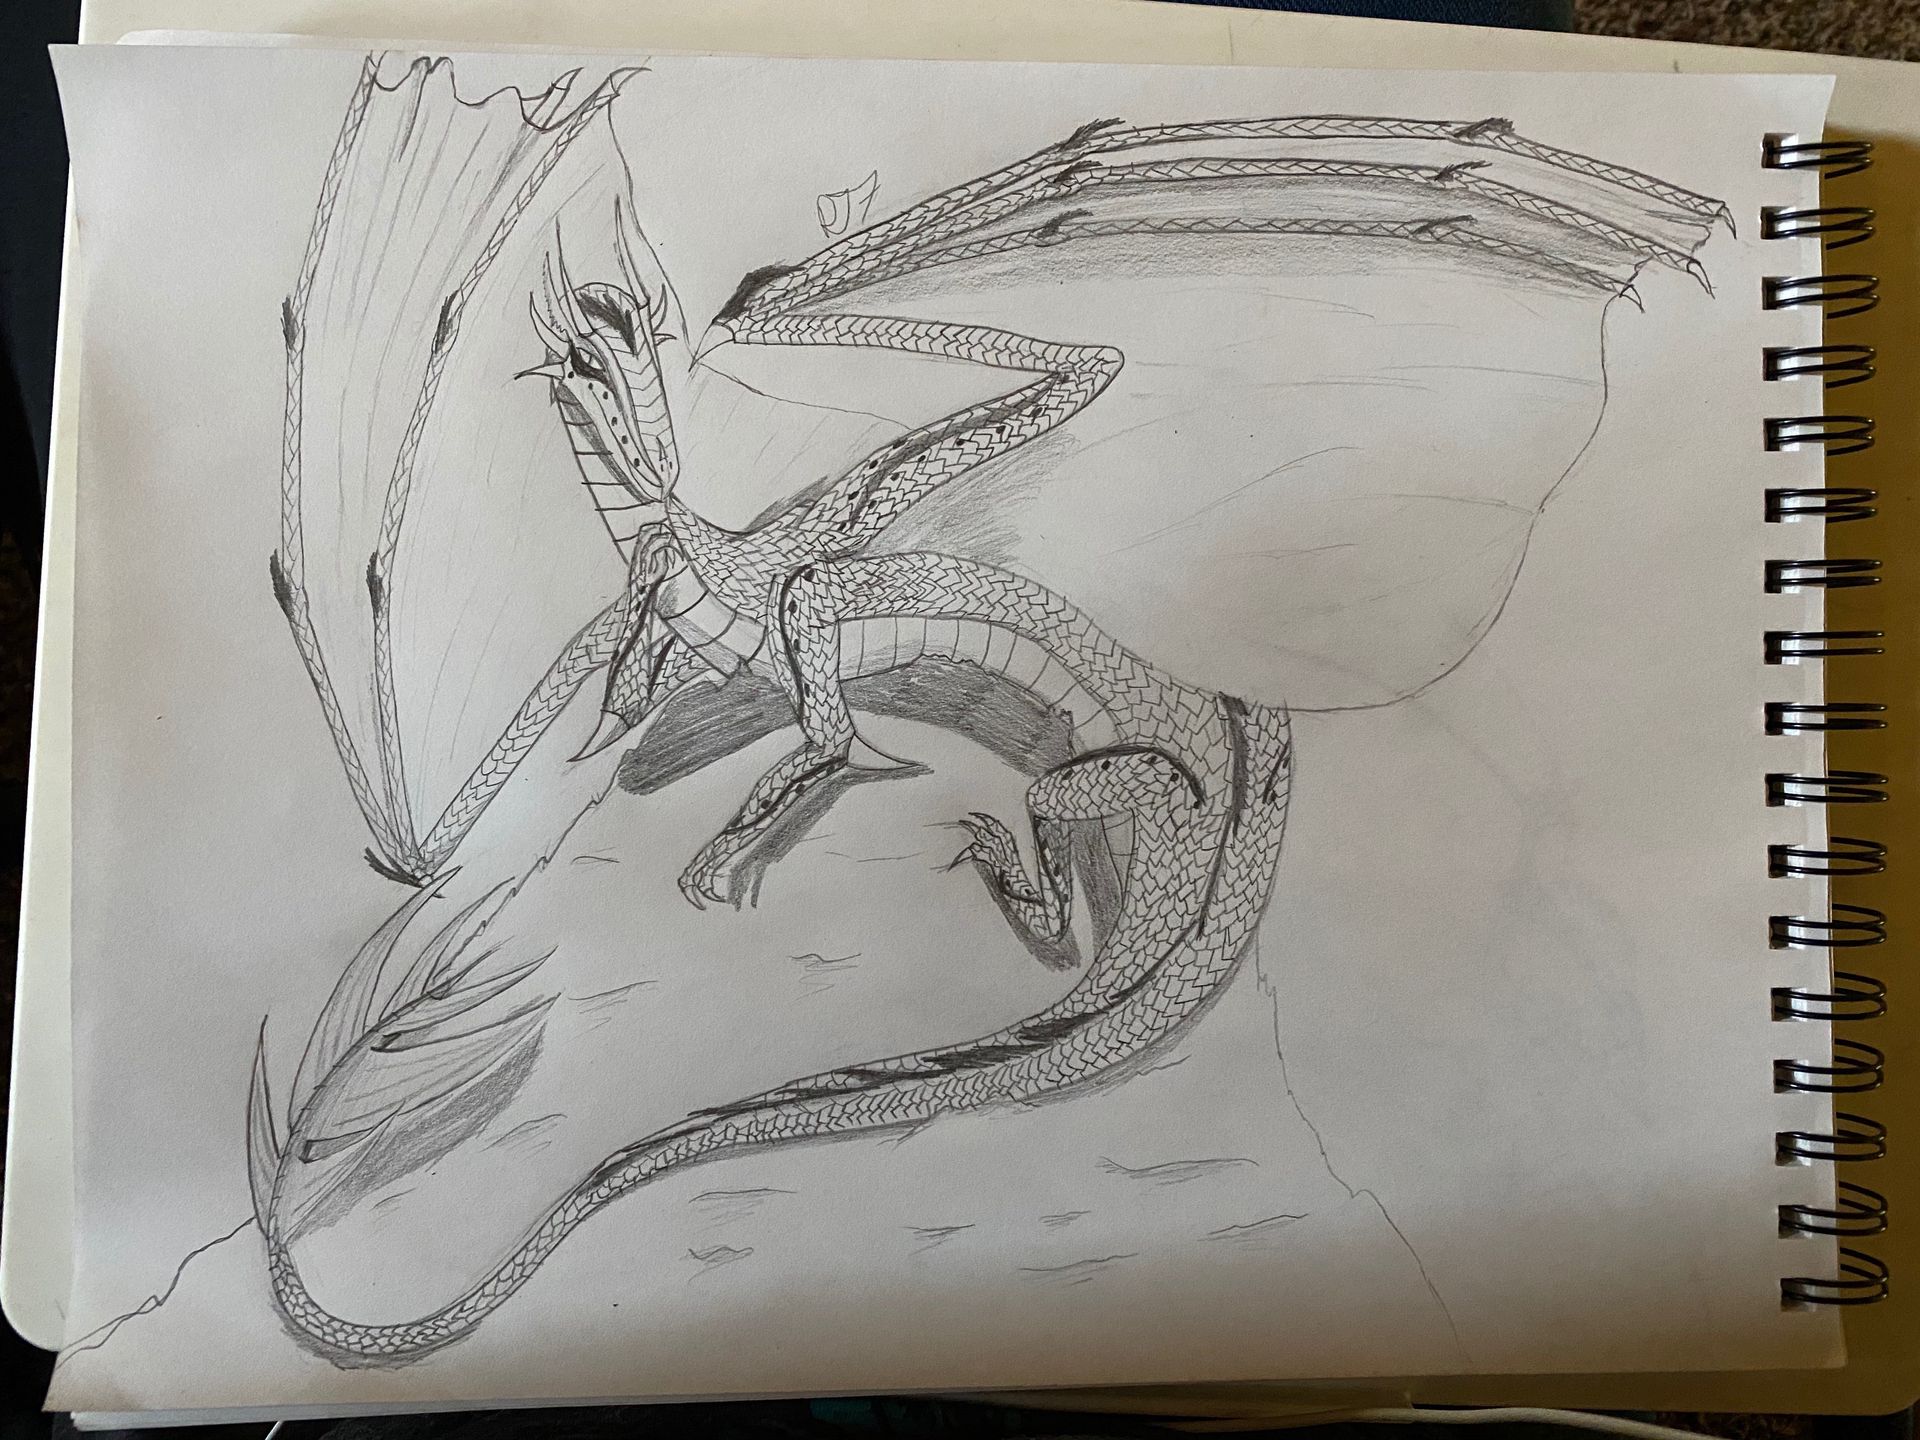
Step 15 and Final: Shading and sign
I mostly just use shadows to help add depth.
Bạn đang đọc truyện trên: AzTruyen.Top