Drawing 1 - LUK3
Yes, that's right! LUK3 himself gets the spotlight this time! He had the honour of being my first digital drawing after my year break because of my exams, so he will be the first one to appear in my art book! Hope you like him!
Here is the process of the drawing:
1. First, I have started doing a sketch of how I wanted him to look like and what pose should I make him into. I didn't get many references besides some old drawings of his first design and made changes to them according to his new supposed design.
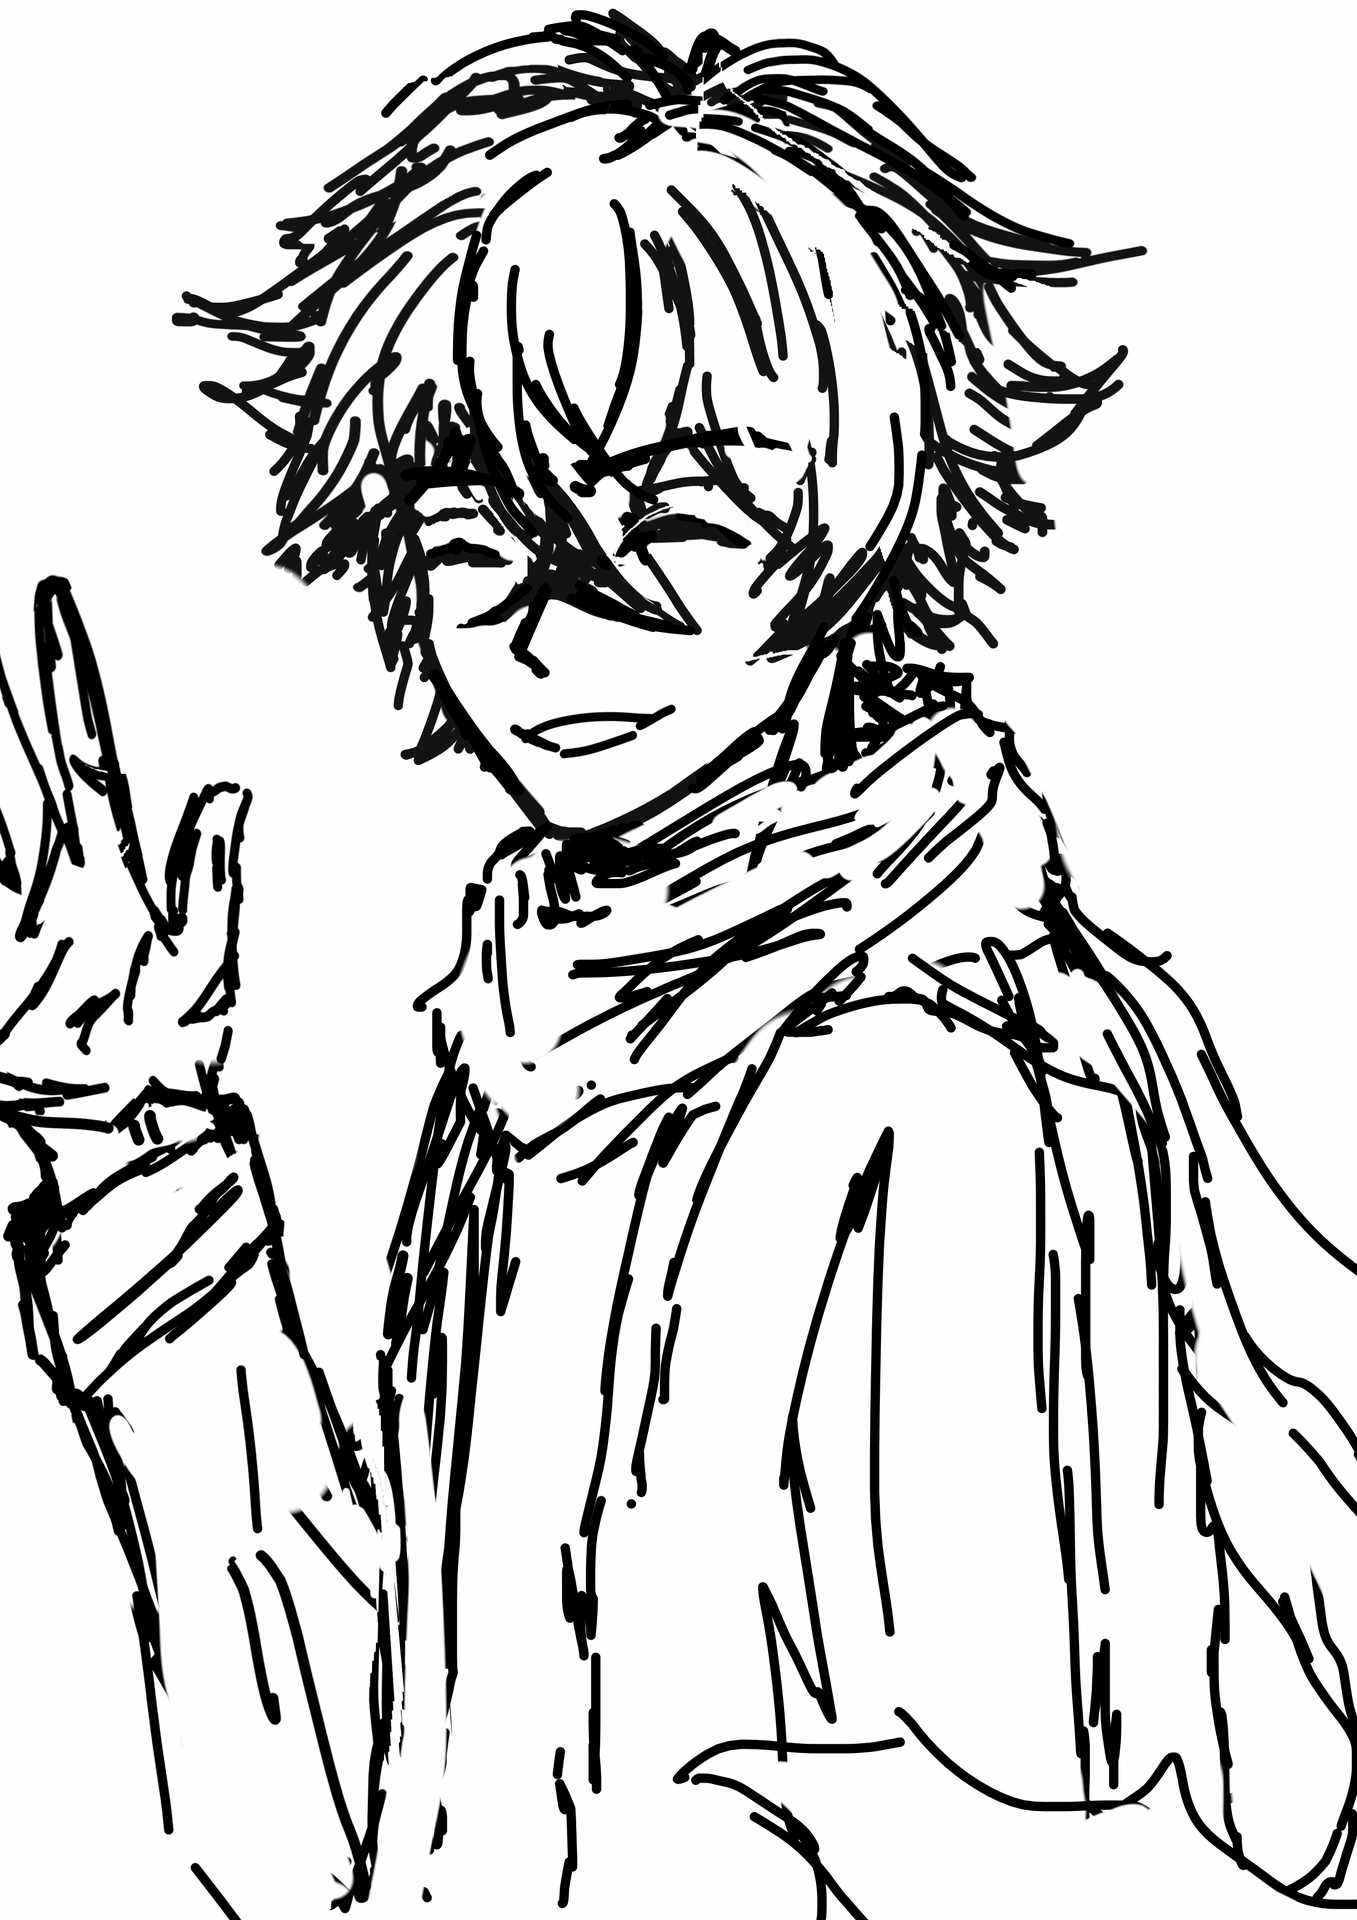
PHASE ONE - SKETCH
2. Then, I made the line art by simply making the sketch clearer. In some cases, when the sketch is beyond repairing, you will need to redo the line art from zero, which takes a bit of time. Here, I only tried to repair what I thought to be problematic on the later phase.
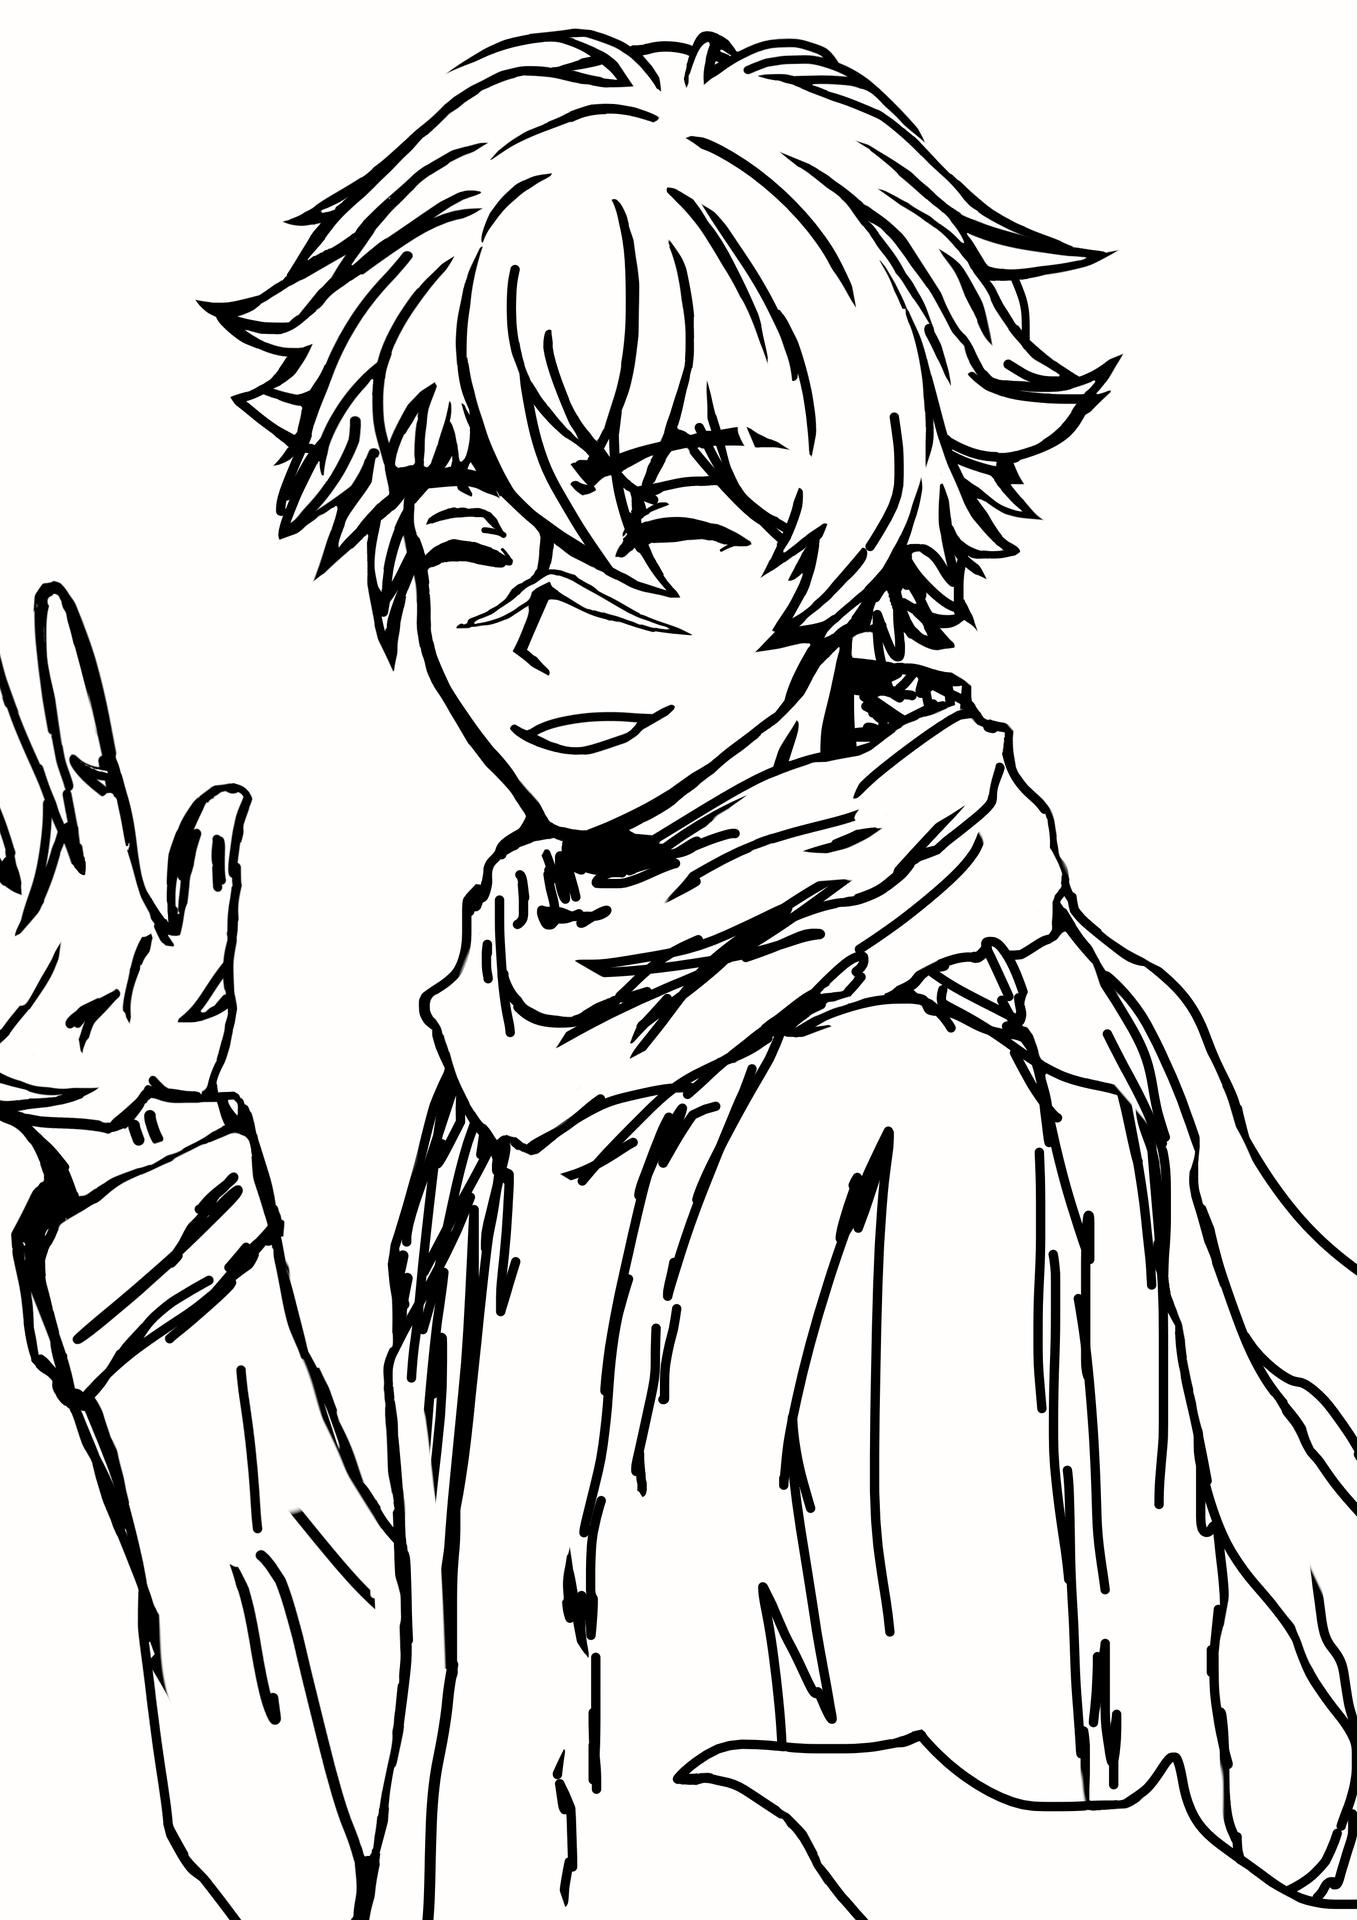
PHASE TWO - LINE ART
3.1. Now it comes the fun part. You add the colours! Be sure to make the colours inside the lines and not get them out of the line art into the background, or else it will look weird later. And also, try to make the colours of each specific part of the drawing be separated into the layers. For example, the hair should have its own layer. It goes the same for skin and clothes, and on clothes try to make some parts of it being on their own layers too. For example here, I did one layer for the jacket and one layer for the scarf. It will come in handy later.
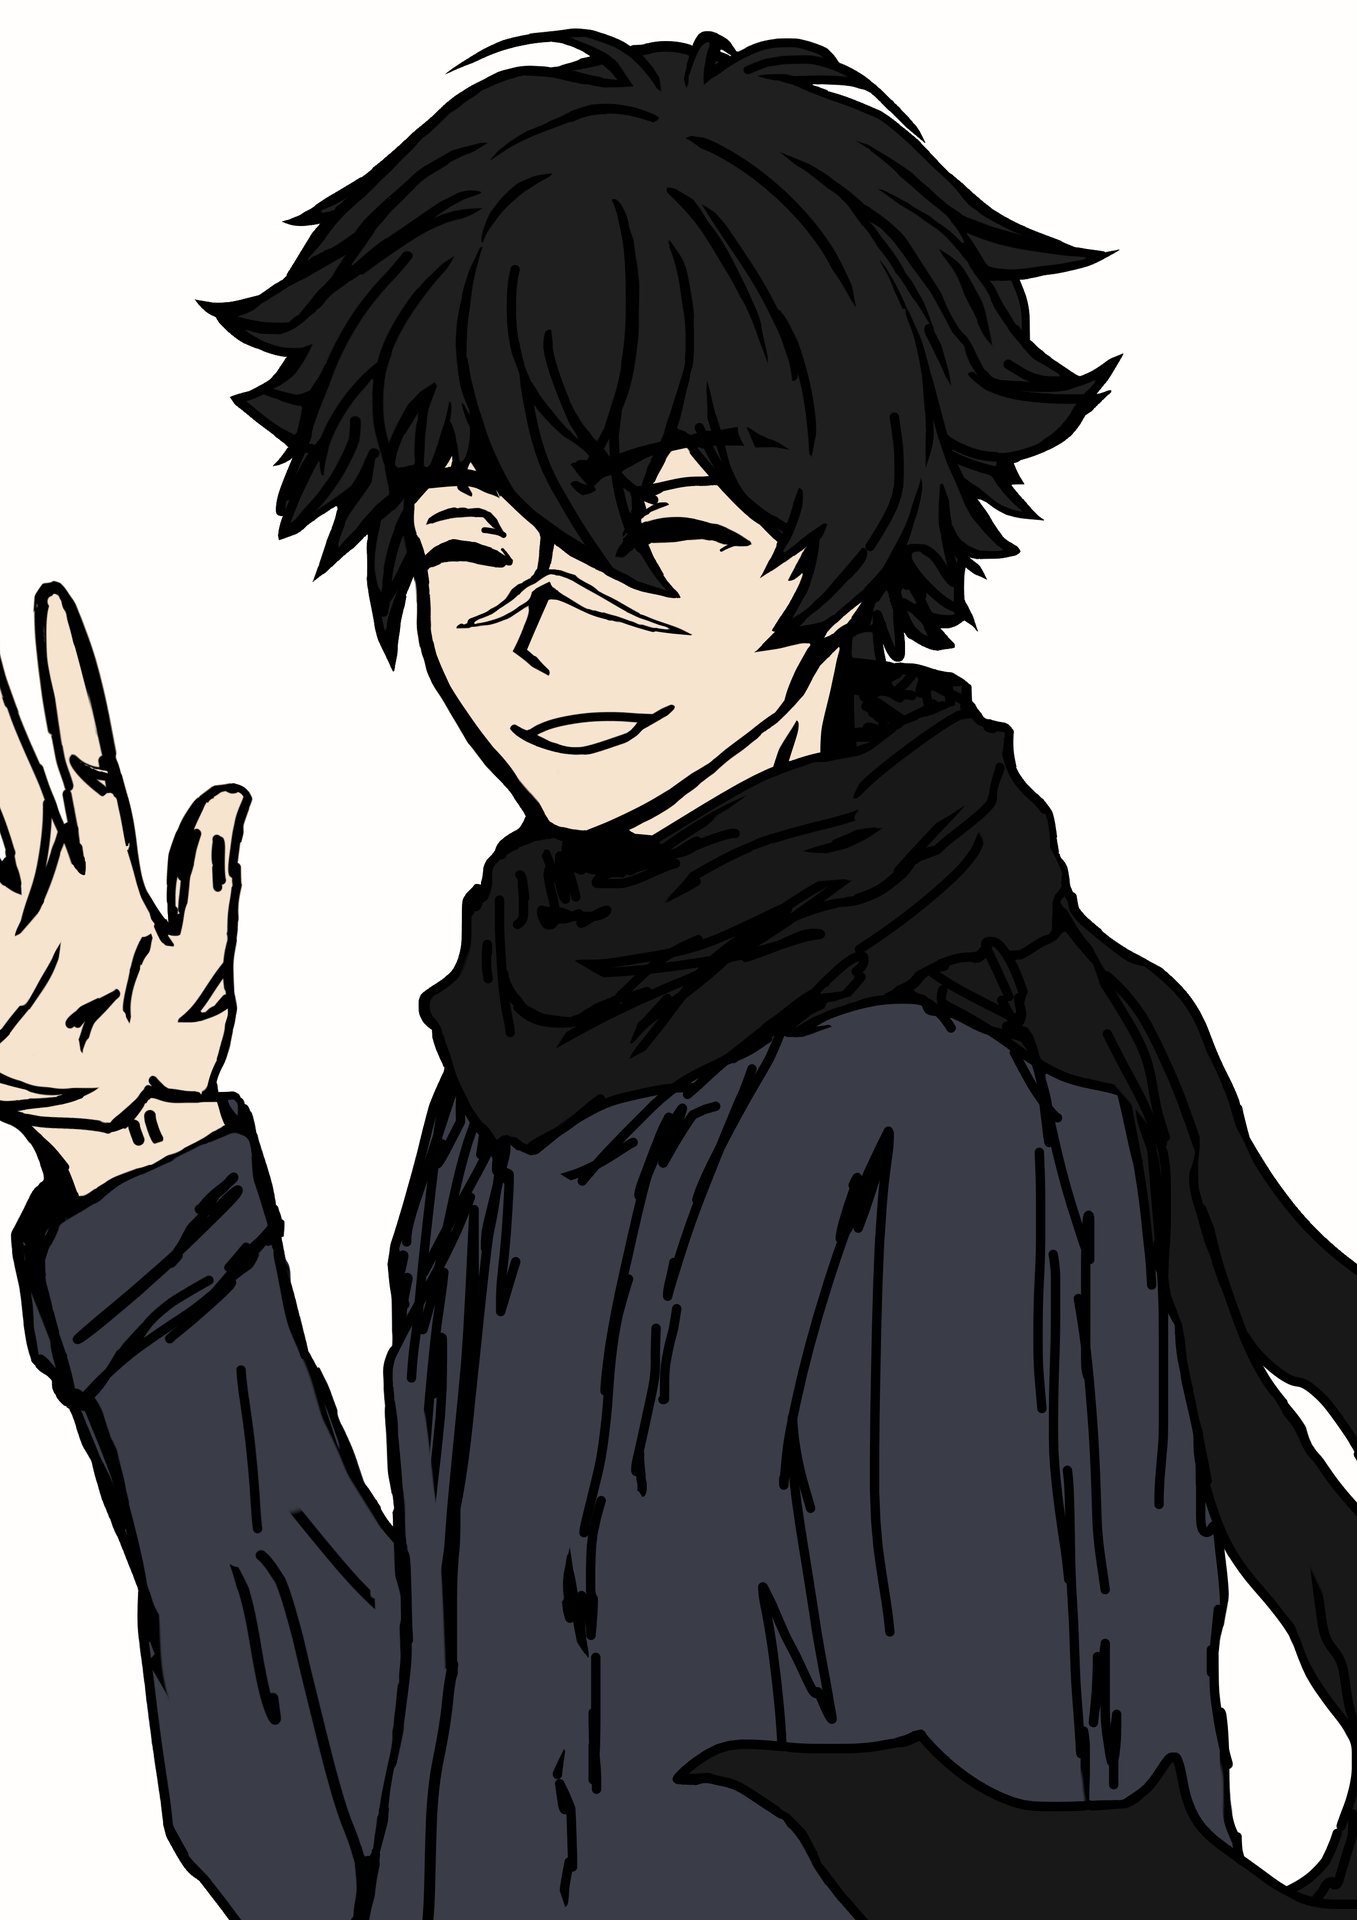
PHASE THREE - COLOURING
3.2. If you feel like adding some more details to the colouring phase, don't forget to do so! They might help you once the shades come!
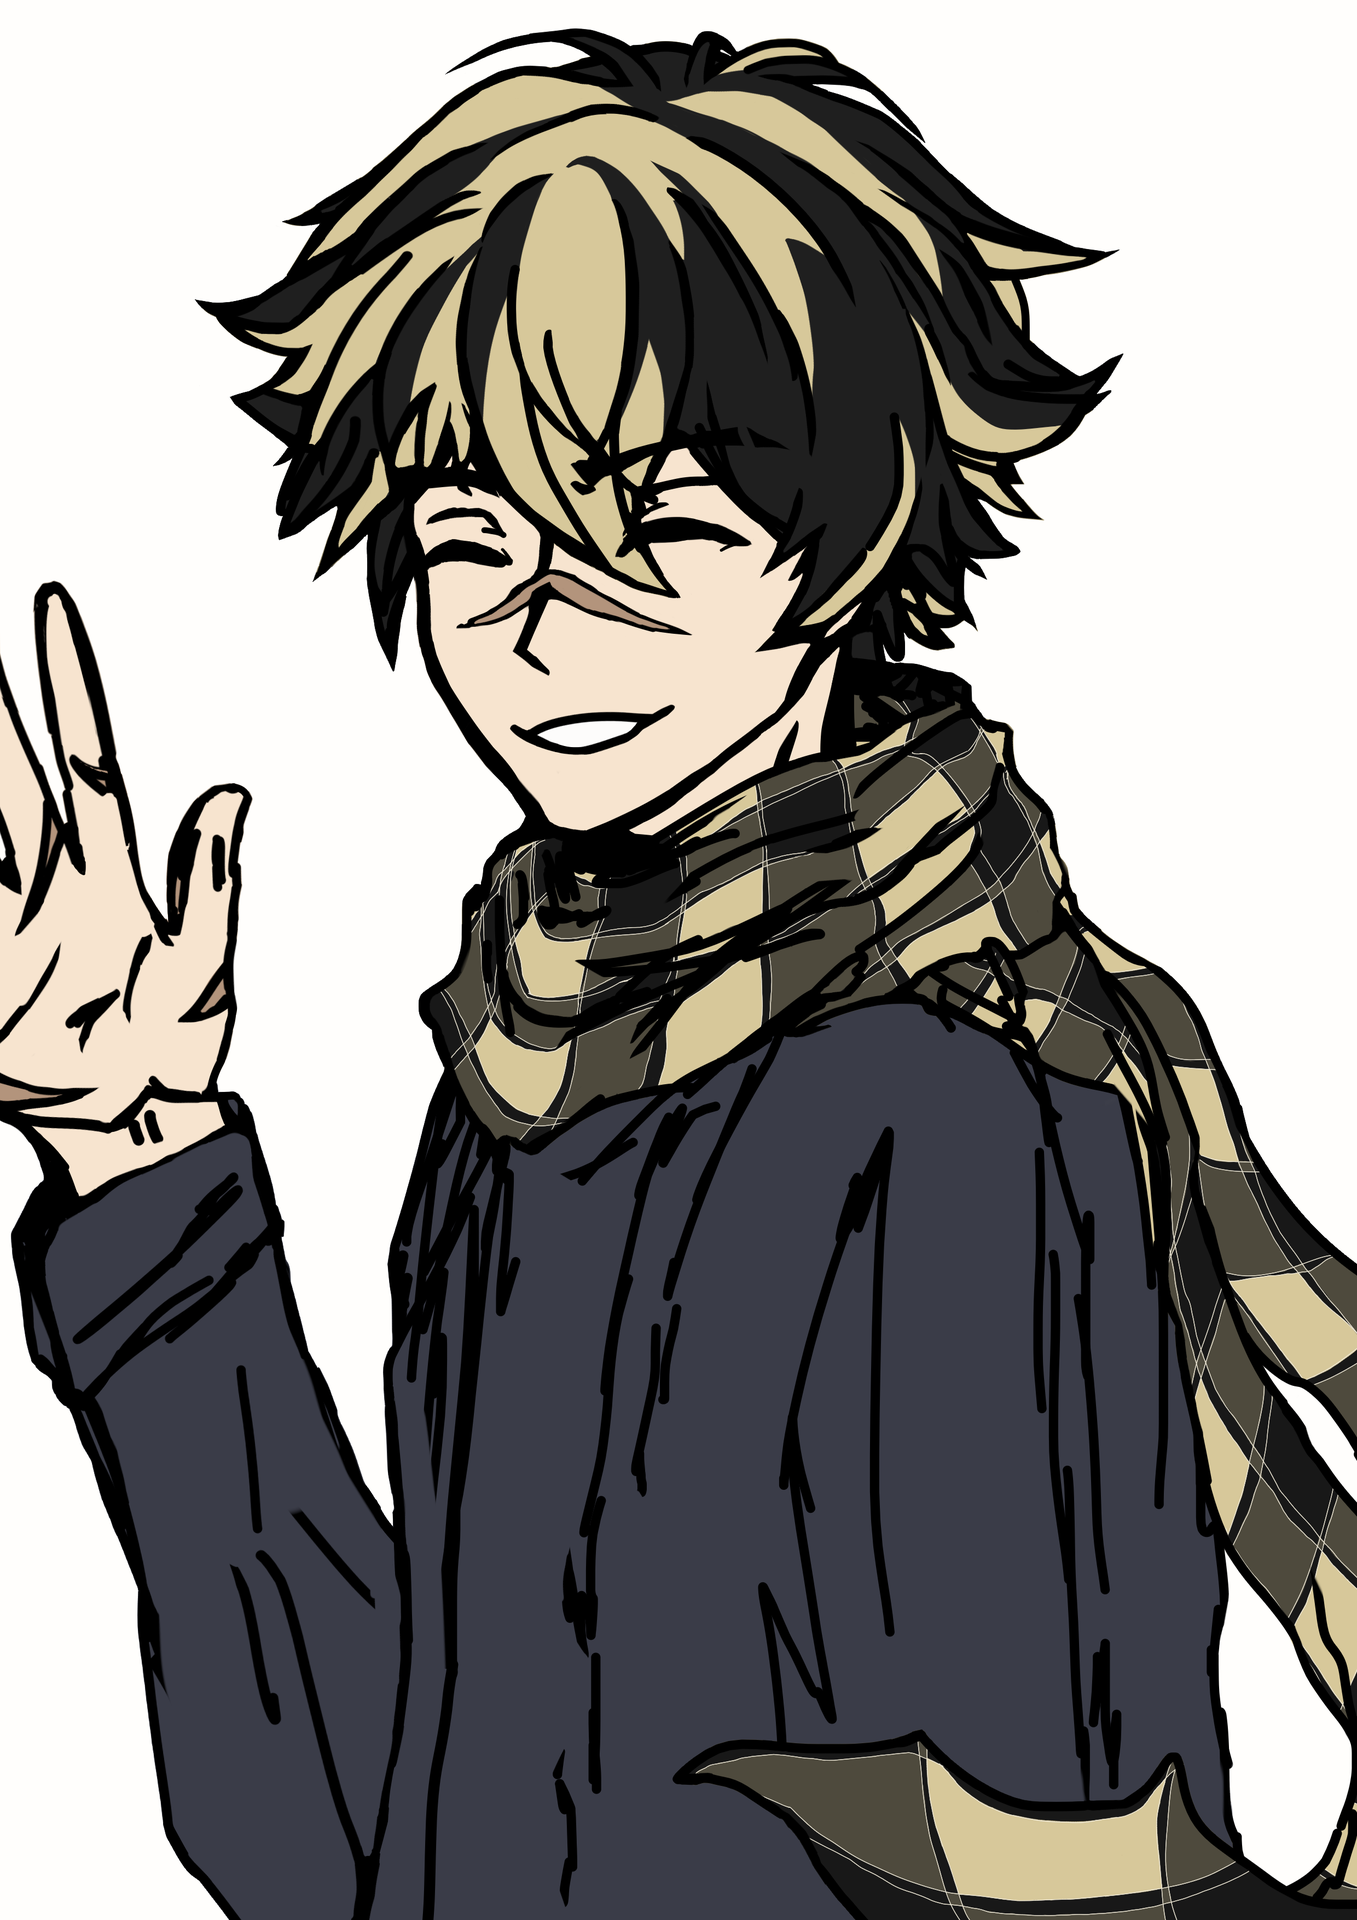
PHASE THREE - COLOURING
4.1. Now for the next part, you have to make sure that the details you will add will be locked on the specific parts of each colour. Like, if I wanted to only add details to the hair, make sure to make a group that will make every layer added in it to work only on the hair and not go anywhere else. On the App I use, the option is called Alpha Lock, which allows the layers to be locked on a specific layer I want the colours to be on. Once you made sure on your new layer that this option is on and works only on the specific layer of the colour you have made for the hair, for example, you can do the shades without a worry.
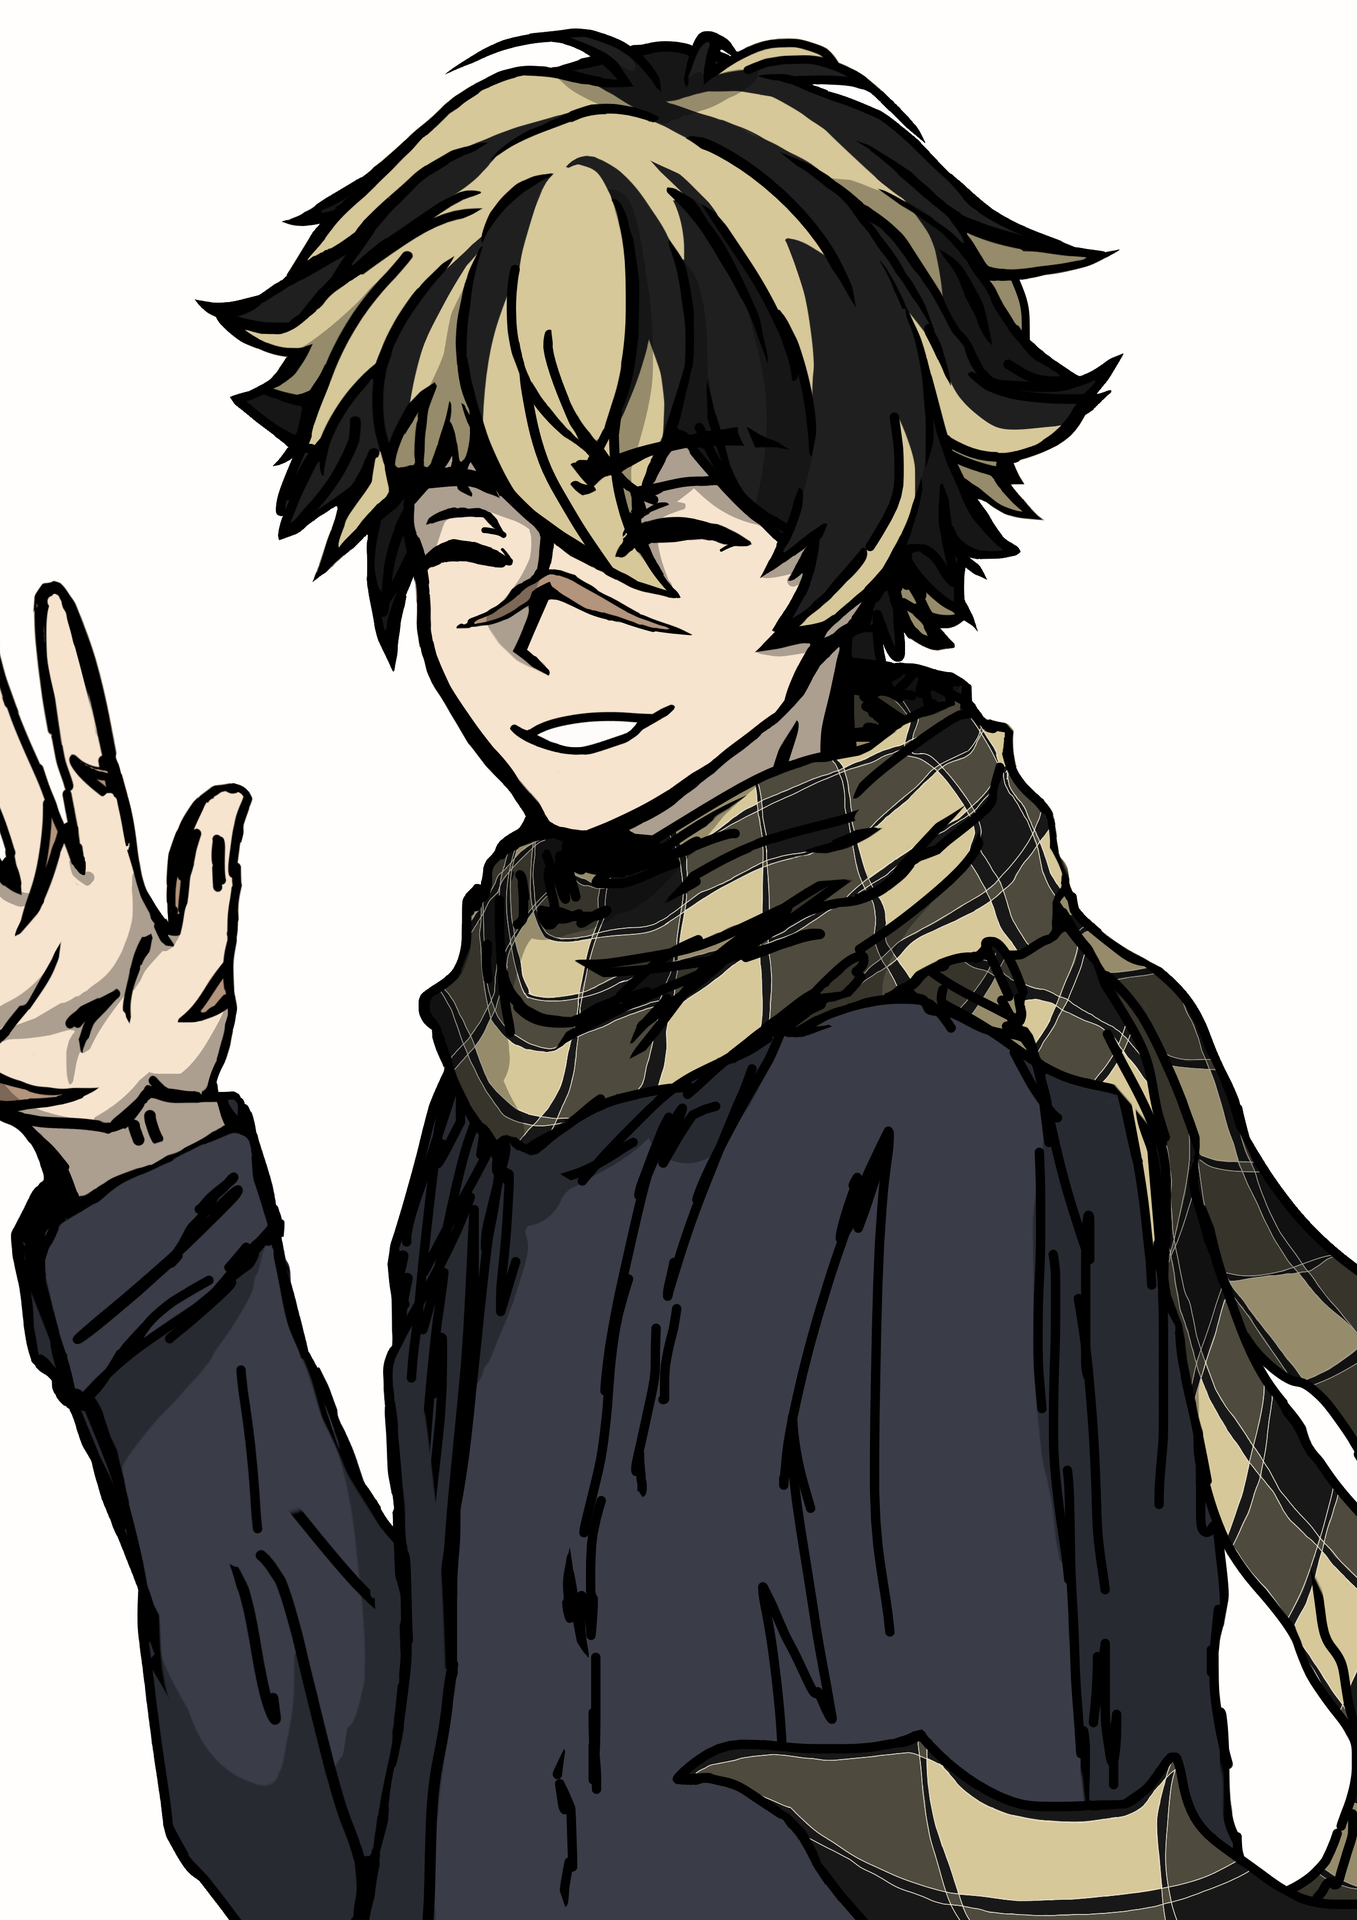
PHASE FOUR - SHADING
4.2. Continue adding shade and light on the character to make it more lively. This time, I recommend the blur brush since the effect is better. Add anything you know it might fit.
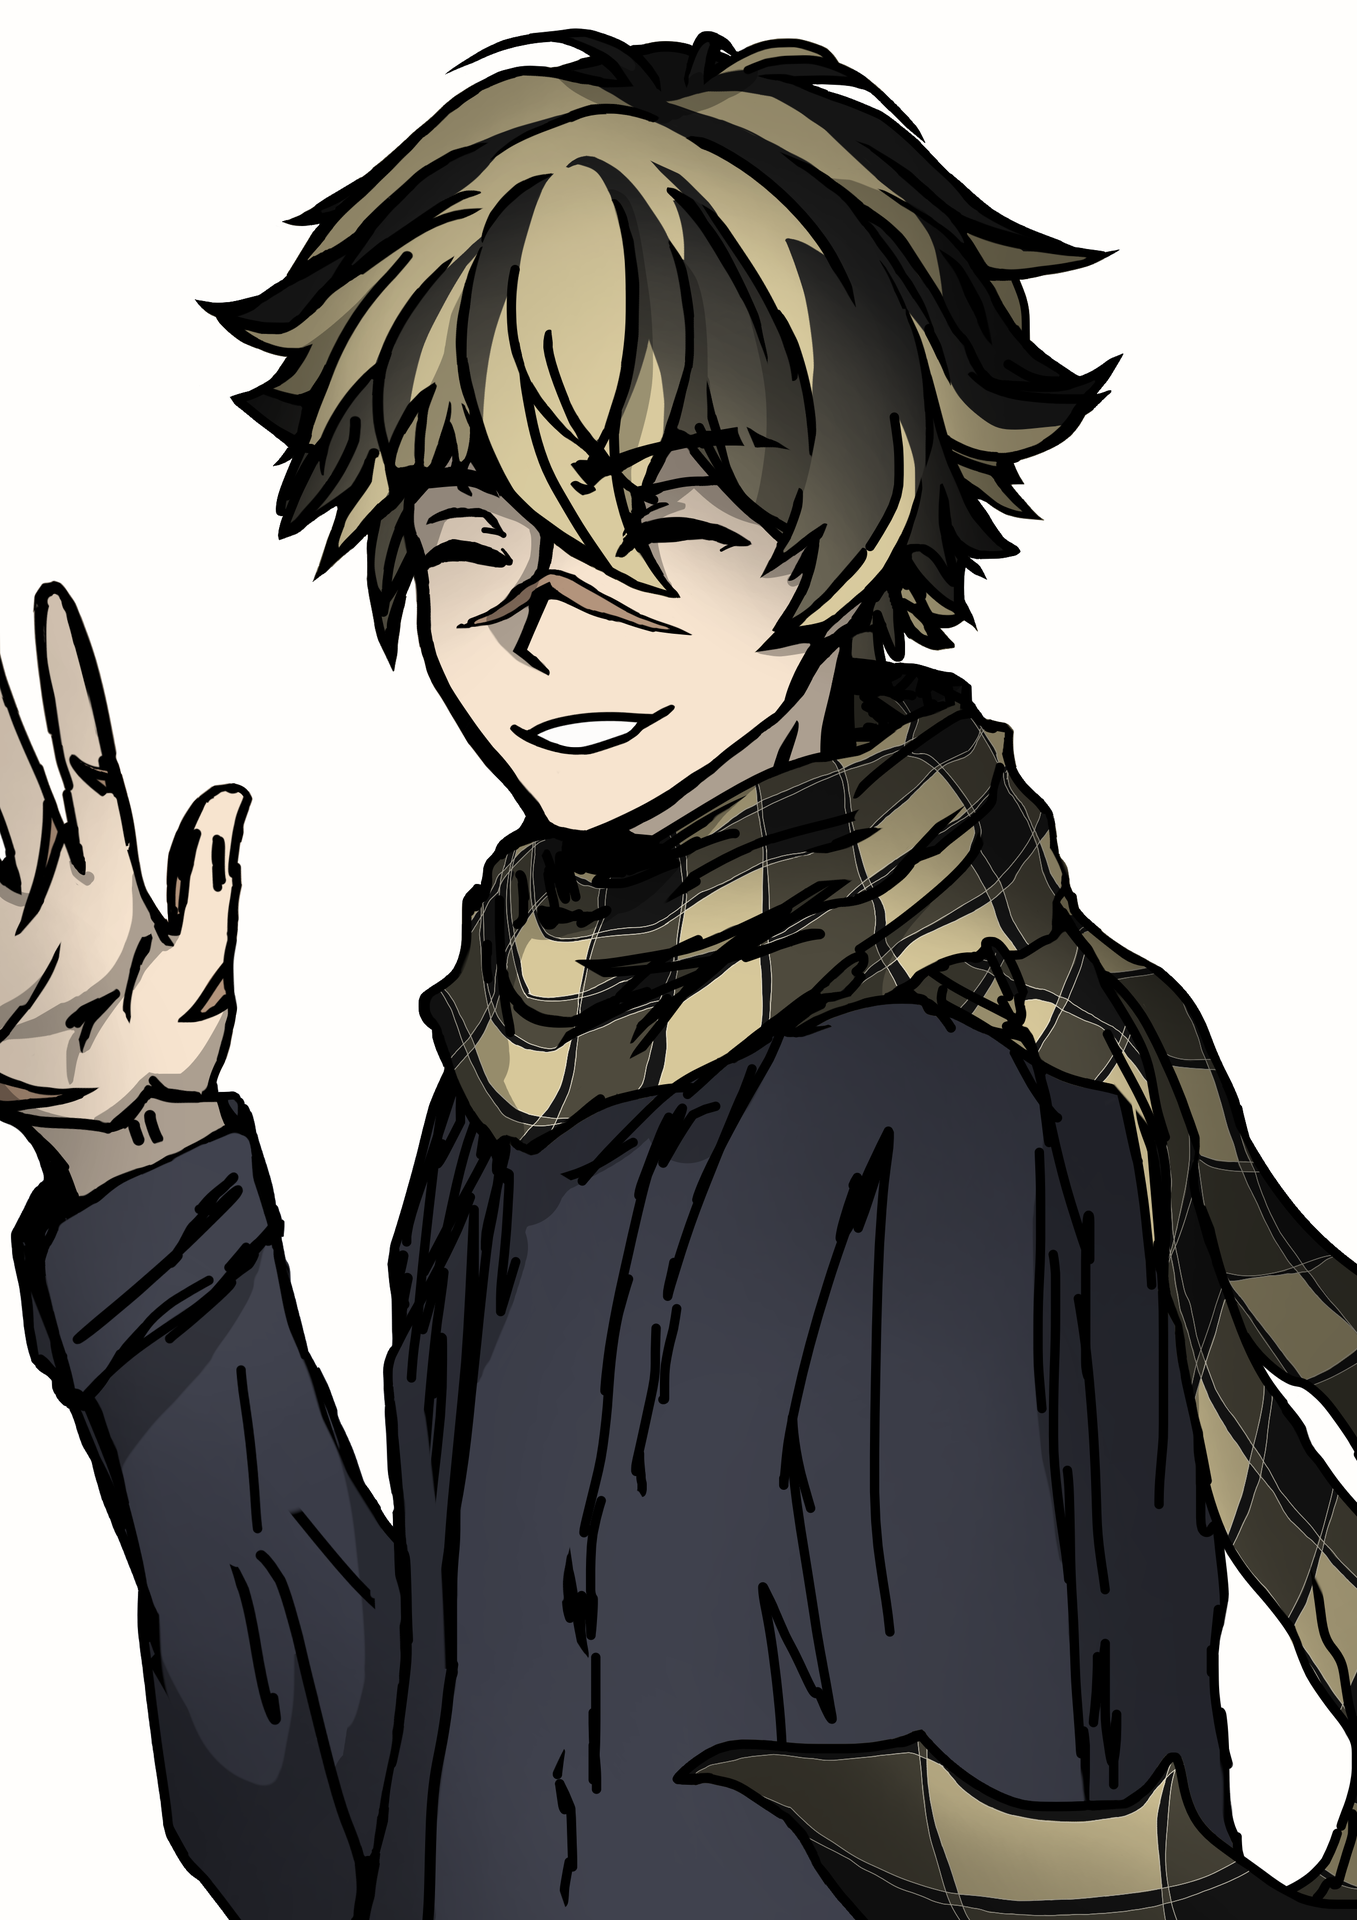
PHASE FOUR - SHADING
5. This is the final step. Use more shading and light to reflect more light. I also recommend adding a colour over the whole character (usually I use very bright purple) to get rid of the low colours (try to use the opacity as low as possible, recommended at around 5%). Then add some more details if you want and eventually, you will get to the end.
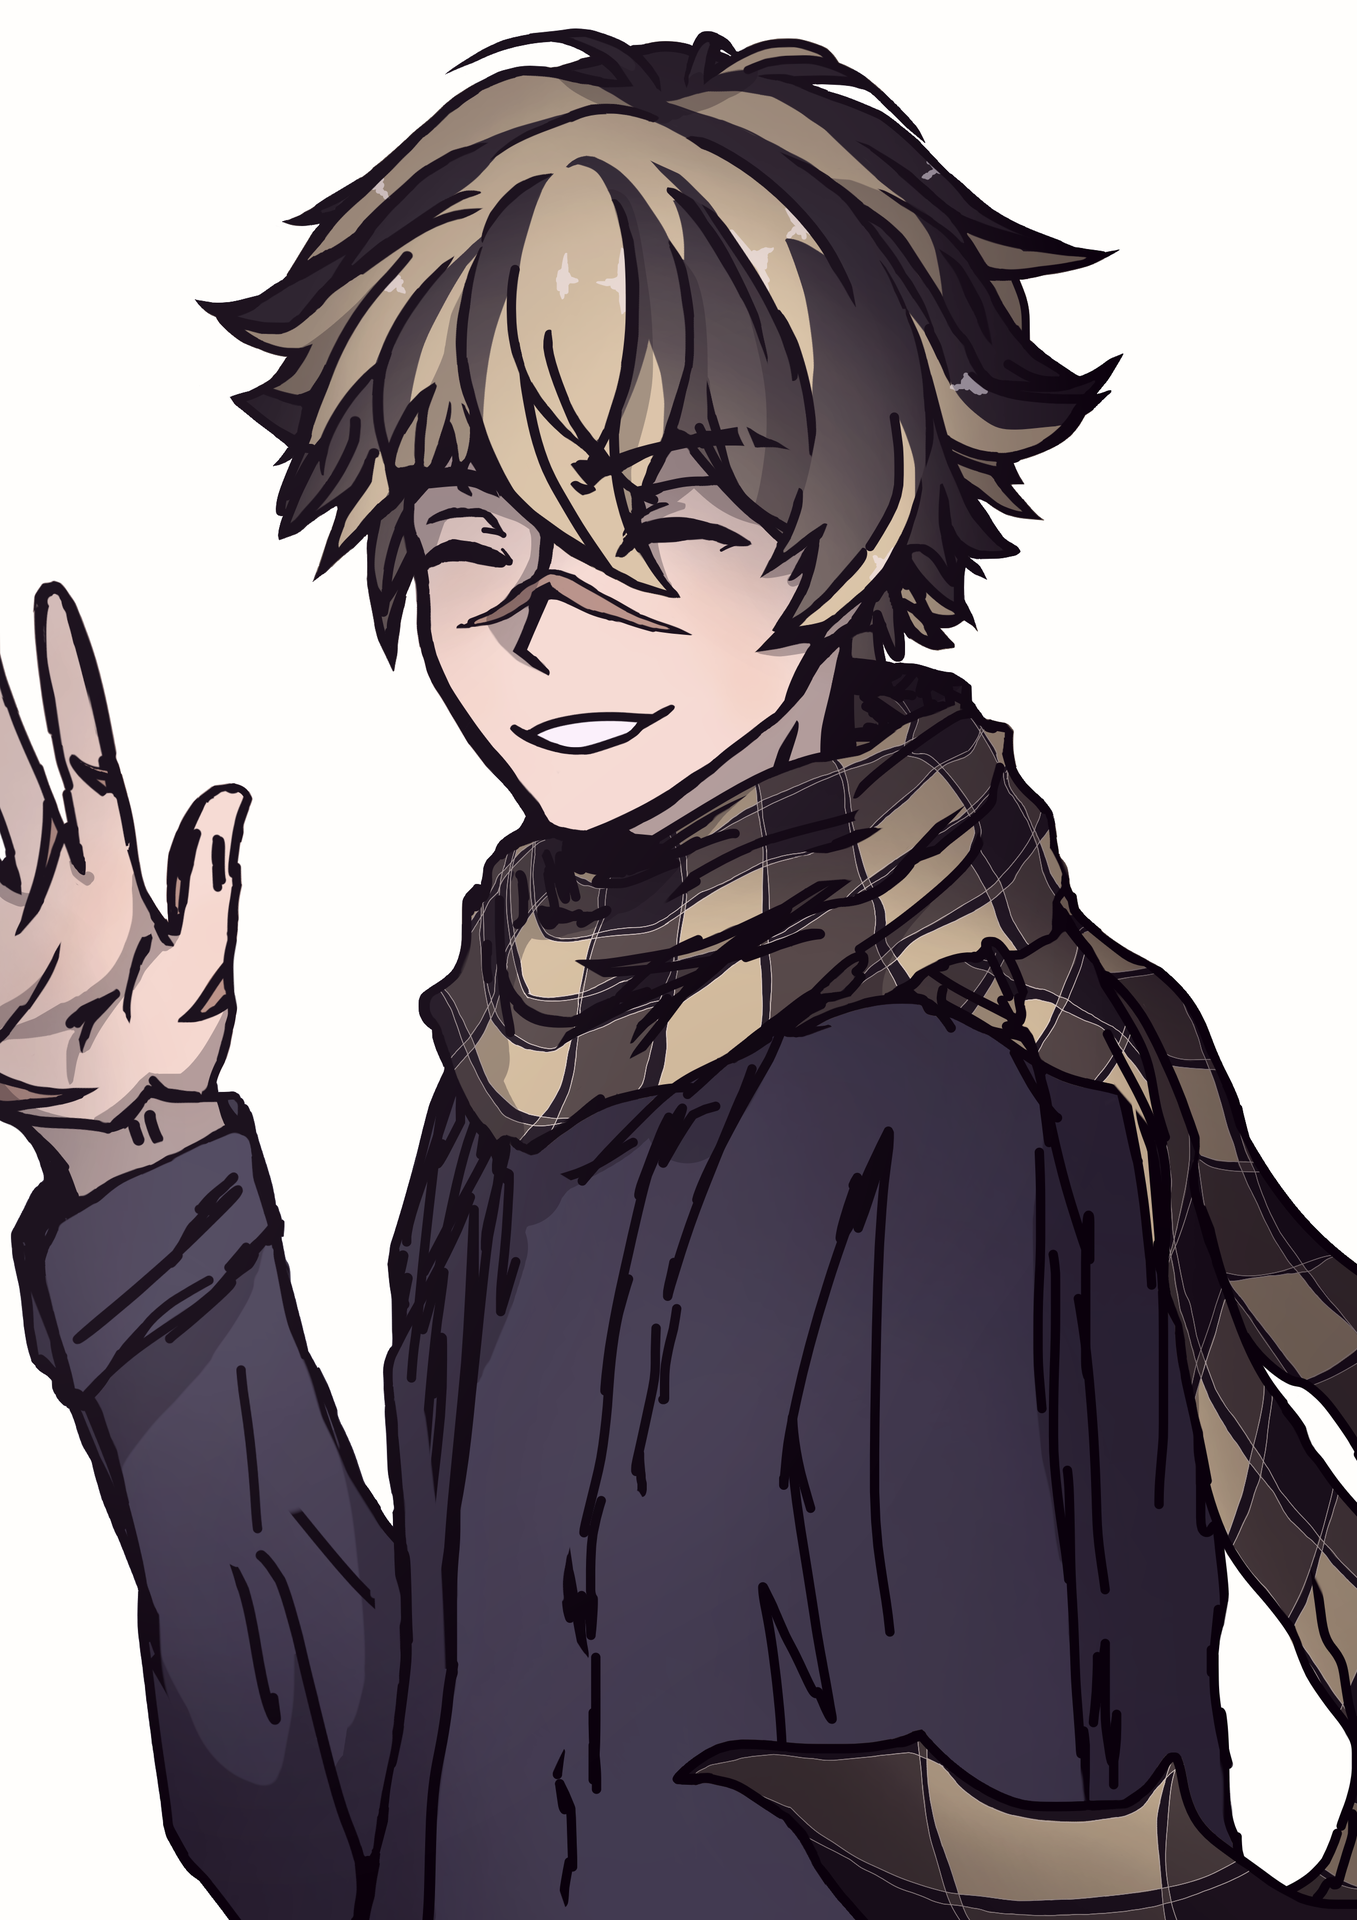
PHASE FIVE - FINISHING THE DRAWING
And voilà! You got the drawing in my style :D
Of course, this is just my way of drawing. Everyone is different and has their own style which we have to respect. But if I managed to help someone with my small tutorial, then I am very happy. I will try to include a tutorial to which drawing I made in this art book! Hope to see you around!
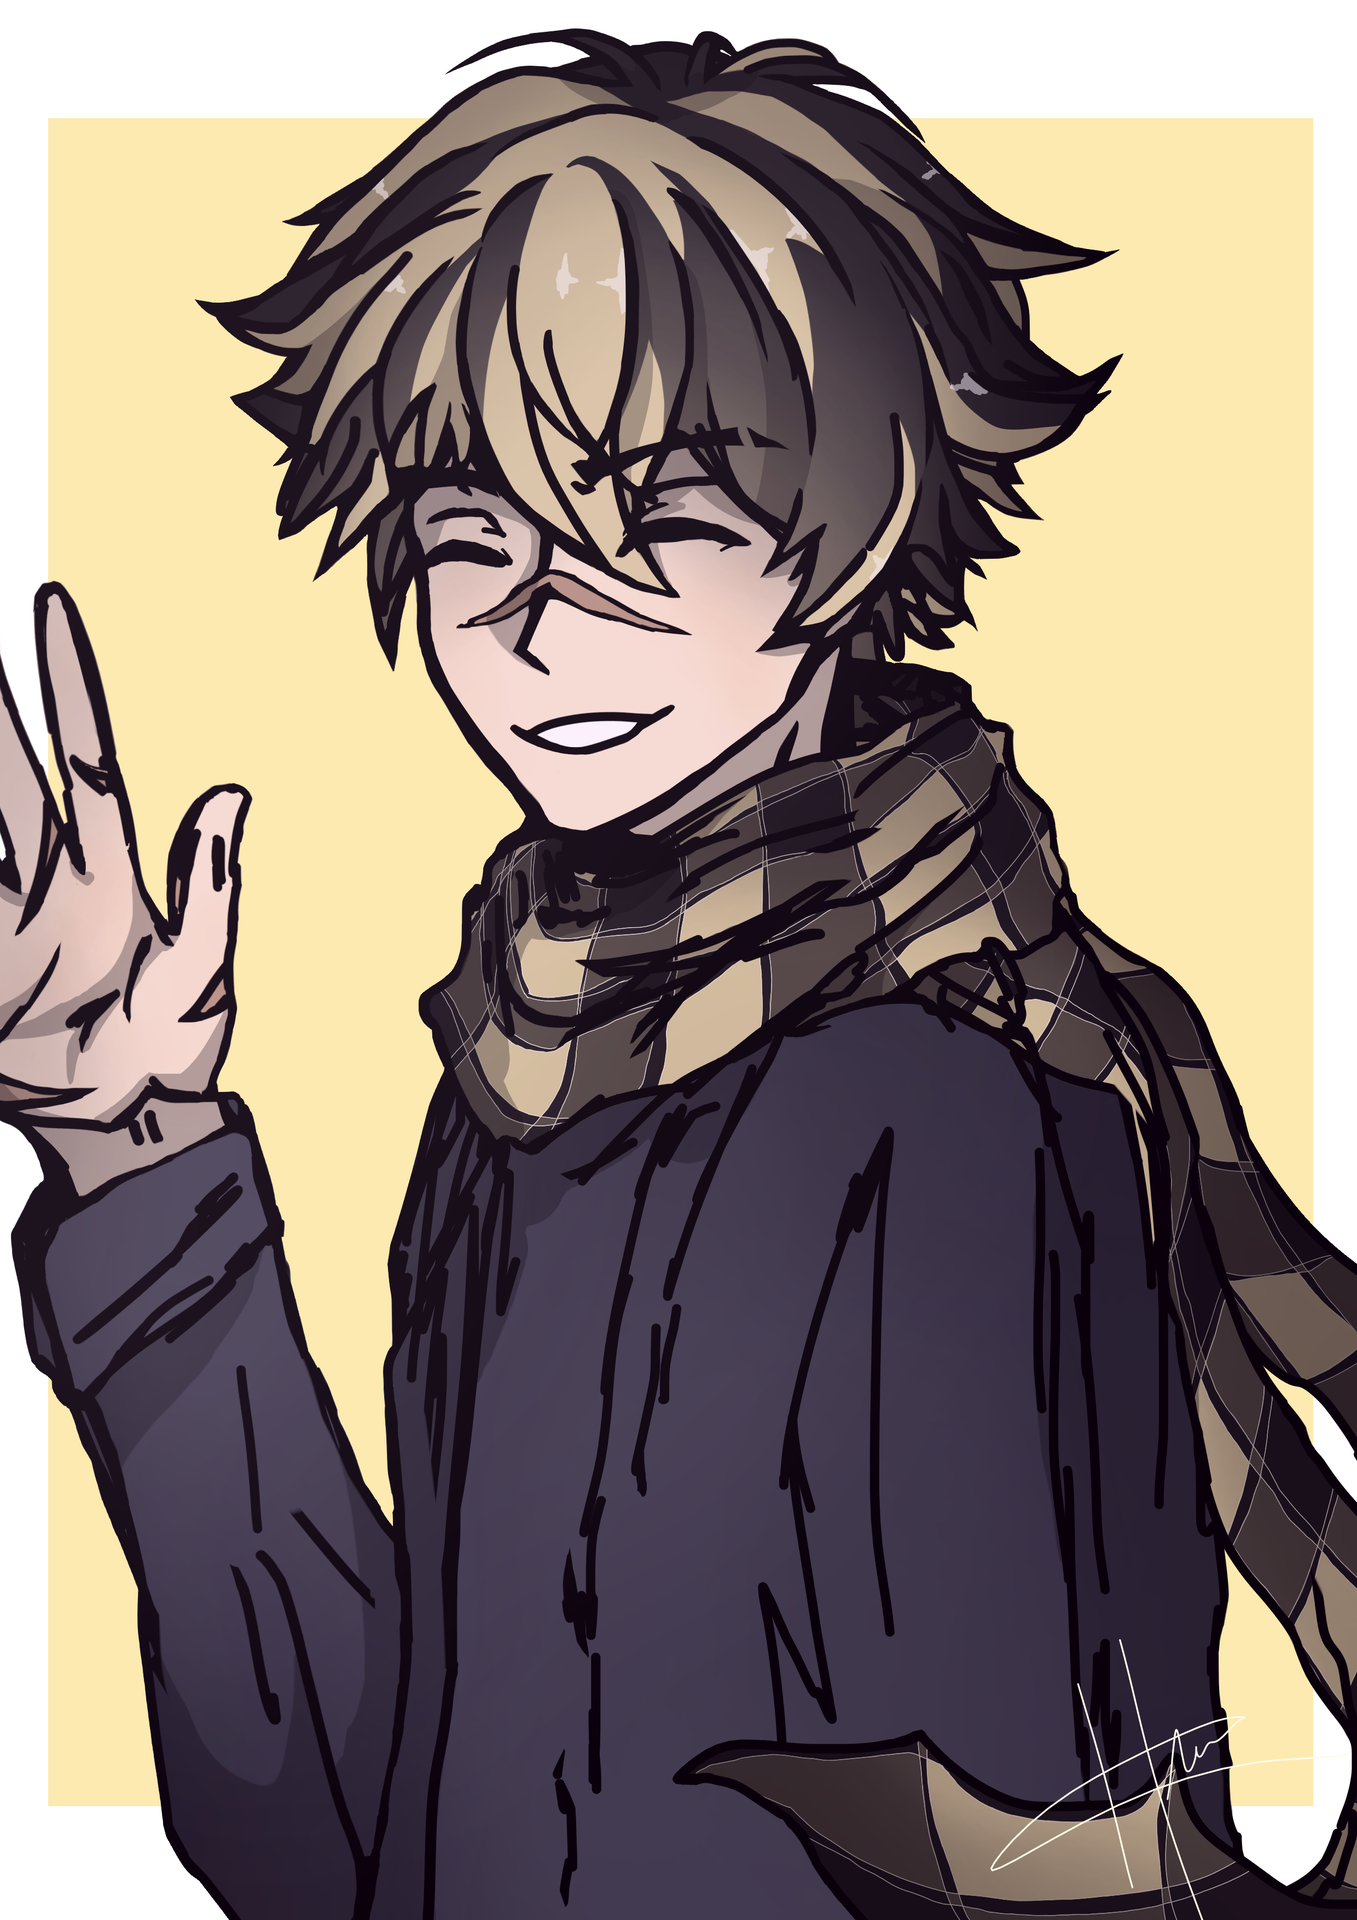
FINISHED DRAWING
Bạn đang đọc truyện trên: AzTruyen.Top