#100DaysOfAI : Audio to Text transcription
🔸Sign up for an account at Glide ( https://www.glideapps.com/ ) and go through the onboarding tutorial before heading back to your dashboard.
🔸Navigate to your Glide dashboard and click "New app".
🔸Select the "Blank" template.
🔸Click "Create app".
🔸Click "Data".
🔸Click inside the "Empty Table" field and rename this table "audio storage".
This will be the table within your database that stores your transcriptions.
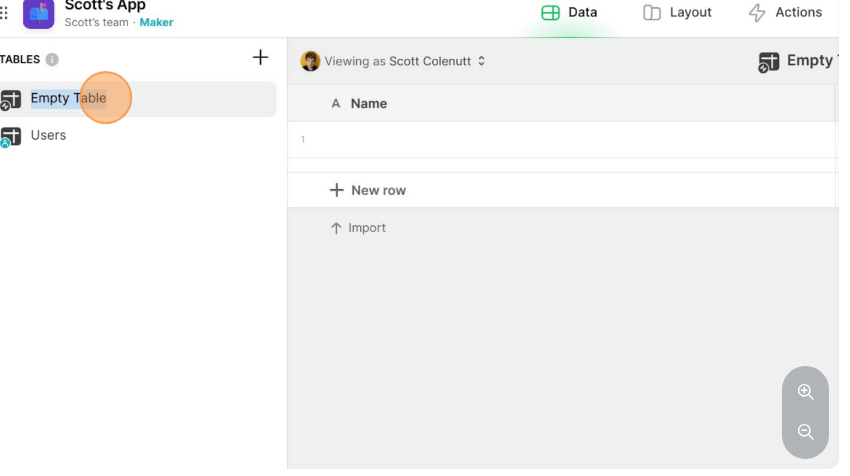
🔸 Click the drop-down menu button within the "Name" column.
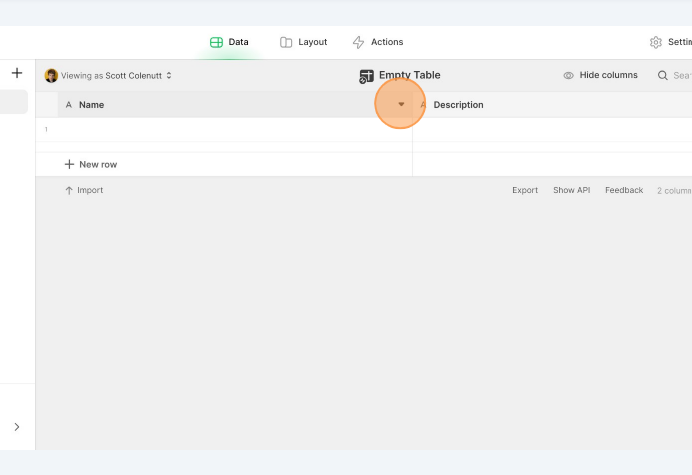
🔸Click "Edit".
🔸In the "Name" field, add the text "Audio URL".
🔸Click this drop-down menu to select the data type.
🔸Select "URL" from the drop-down menu.
🔸Click "Save".
🔸Click the drop-down menu in the "Description" column.
🔸Click "Delete".
🔸Click the + icon to add a new column.
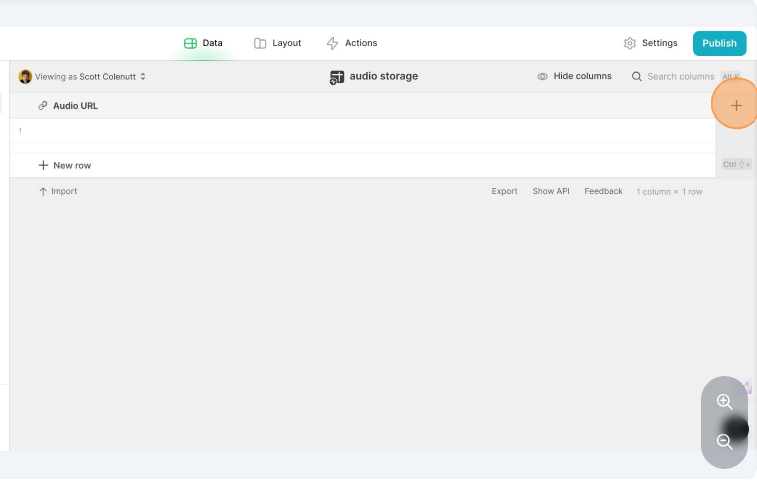
🔸Add "Speech to text" in the "Name" field.
Click the drop-down menu to select the data type.
🔸Select "AI" > "Audio to Text".
🔸Click this icon.
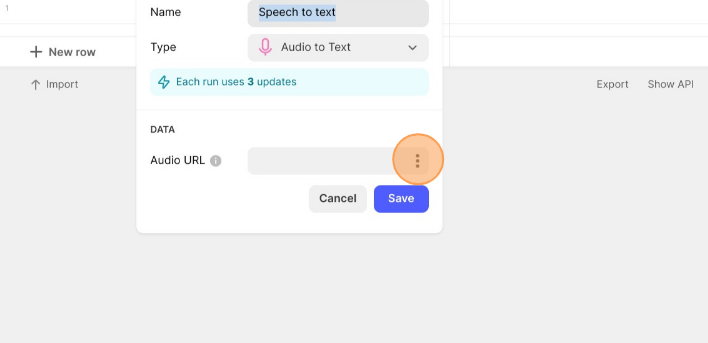
🔸Select "Audio URL".
🔸Click "Save".
🔸Click the + icon to add a new data table.
You're now going to add a table within the database that stores the audio files.
🔸Select "Blank table".
🔸Rename this table "saved notes".
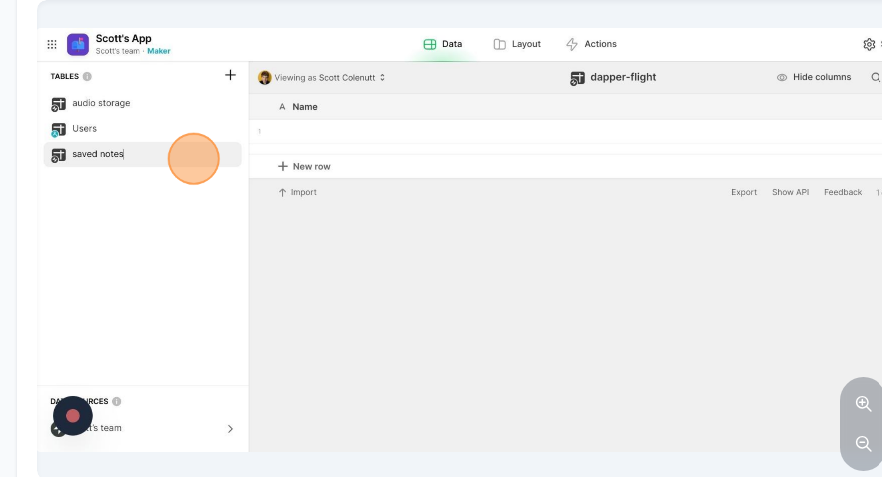
🔸Click the drop-down menu icon within the "Name" column.
🔸Click "Edit".
🔸Add "Notes" to the "Name" field and click "Save".
🔸Click the + new column icon.
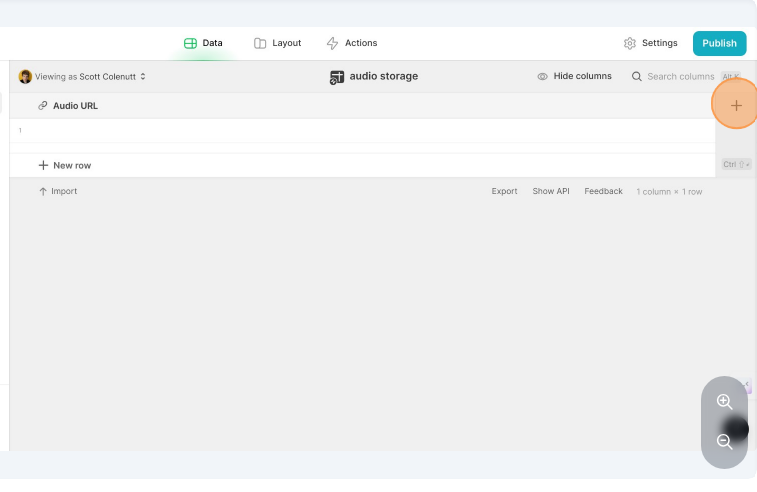
🔸In the "Name" field, add the text "Audio URL".
🔸Click the drop-down menu to select the data type.
🔸Select "Basic" > "URL" from the drop-down menu.
🔸Click "Save".
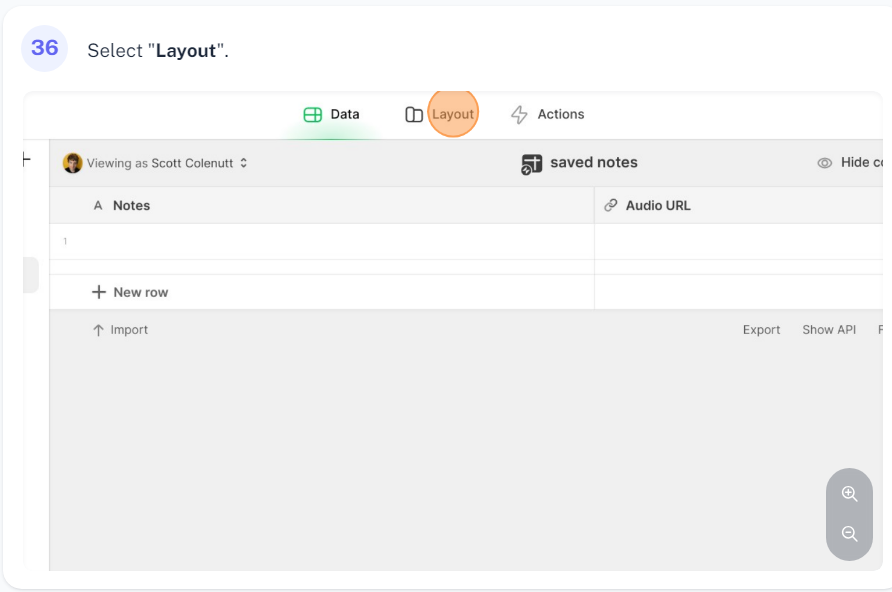
🔸Select "Layout".
🔸Click the + icon within the "Navigation" menu.
🔸Select "Screen from data" > "audio storage".
What you're doing here is creating the screen within your app with a recording function.
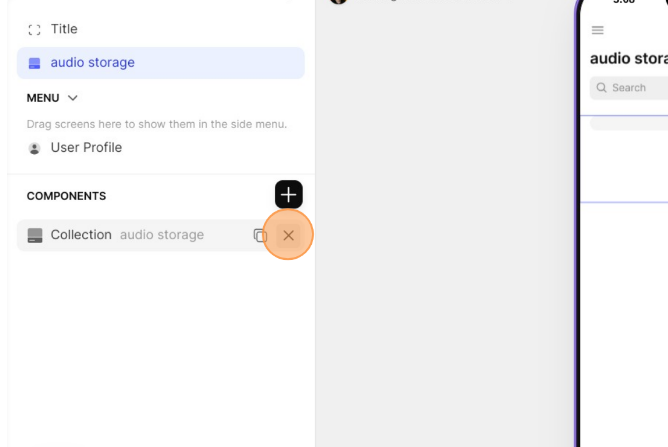
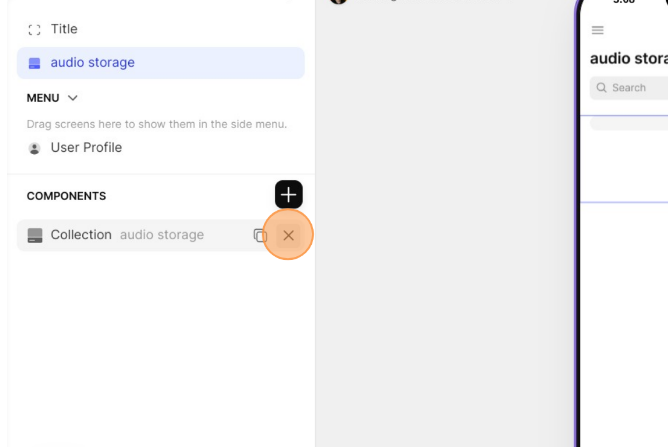
🔸In the "Components" section, click the X on the "Collection" component to remove it.
🔸Click this + icon to add a component.
🔸In the search field, type "audio" and then click the "Audio Recorder" component.
🔸Add another component by clicking this button.
🔸Search again for "audio" and select the "Audio" component.
🔸Click the button to add one final component.
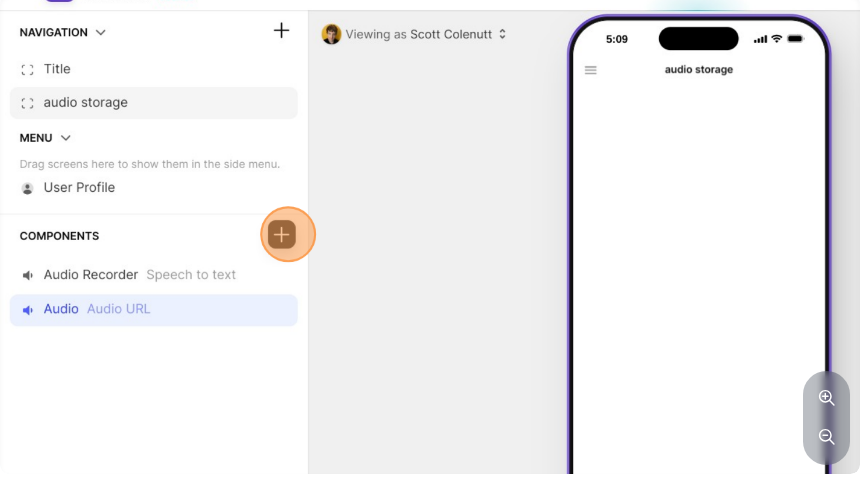
🔸Search for "hint" and select the "Hint" component.
🔸Select the "Audio Recorder" component.
🔸In the component menu that appears on the right-hand side of the page, click the "Save To" drop-down menu.
🔸Select "Audio URL".
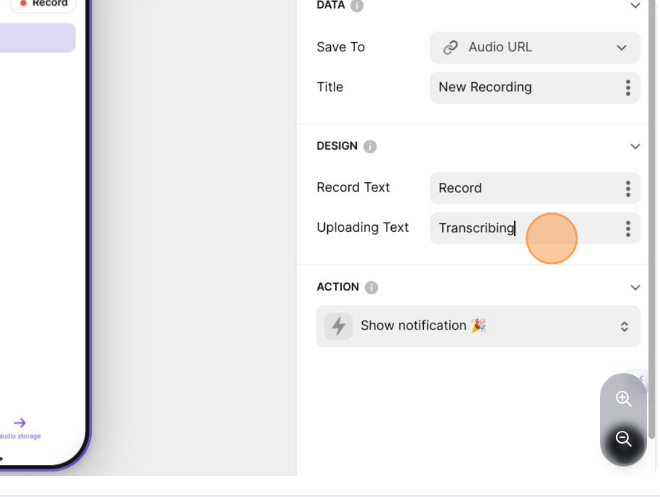
🔸In the "Design" section, change the "Uploading Text" to "Transcribing".
🔸Select the "Audio" component from the left-hand menu.
🔸Ensure that within the "Data" section, the "Audio" setting is set to "Audio URL".
🔸Select the "Hint" component from the left-hand menu.
🔸Replace the "Description" with the text "Save".
🔸Click the drop-down icon menu.
🔸Select the + icon.
🔸Click "Actions".
🔸Select the "Title" name and replace the text with "Save this note".
🔸Click "Add action..."
🔸Click to open this drop-down menu.
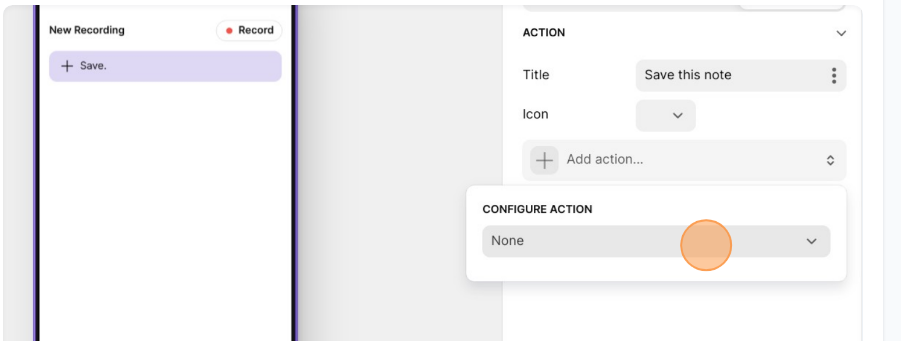
🔸Click "Add row"
🔸Click the drop-down menu within the "Table" setting.
🔸Select "saved notes"
🔸Click the drop-down menu for the "Notes" settings.
🔸Select the "Speech to text" option.

🔸Click the three dots at end of Audio URL.
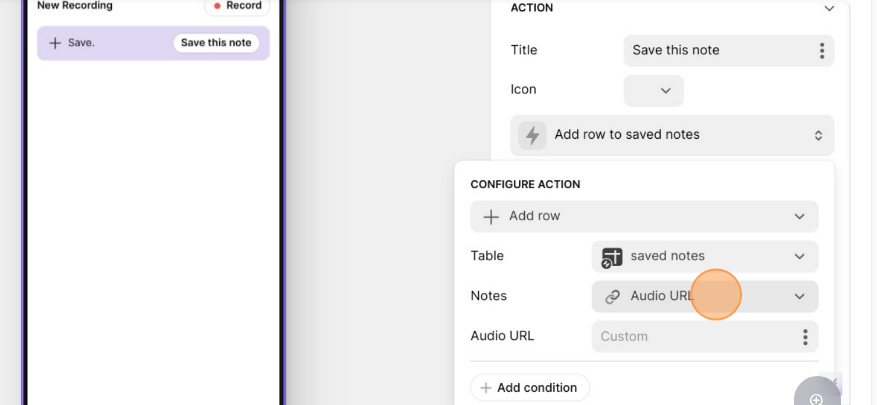
🔸Select "Audio URL".
🔸Click this + icon within the "Navigation" menu.
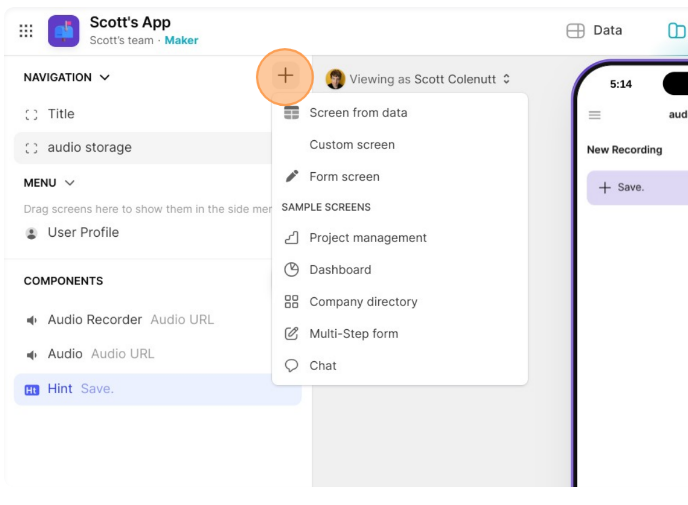
🔸Click "saved notes".
🔸Click the "audio storage" screen.
🔸Now it's time to test your app!
If everything is working as expected, you'll now record some speech, click "Save this note" to trigger the transcription process, and it will save this information in your "audio storage" data table.
Click "Record" and just record a short recording, something like "Testing, Testing, 1, 2, 3". Depending on your device, you may receive a prompt asking for permission to use your microphone. Allow these permissions if prompted.
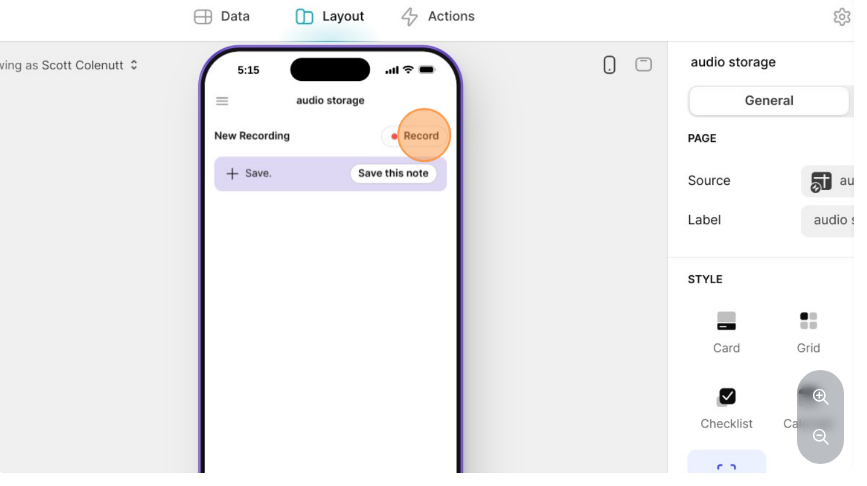
🔸Click "Stop" when you're done recording.
🔸Select the "Data" menu.
🔸Within the "audio storage" table, you should now see the URL of your recording followed by the transcribed text in the "Speech to text" field.
🔸Click "saved notes" to see the front-end screen that displays your transcriptions.
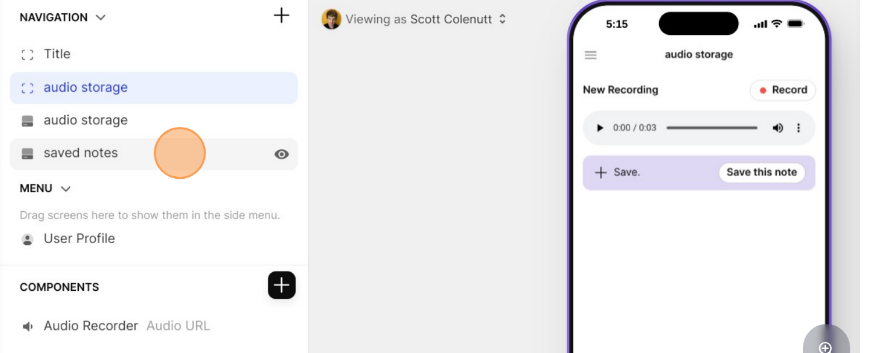
🔸The "saved notes" screen should display your recorded notes!
🔸Congratulations! You've created an audio-to-text app!
You've learned how to configure data tables, you've added two front-end screens displaying the recording function and your saved notes and you've triggered your recordings to save directly into a data table.
That's some pretty awesome work. 😎
You don't need to publish your app to complete today's lesson, though if you would like to publish your app, you can click the "Publish" button in the top-right hand corner of the page within the app editor and follow the instructions.
What will you transcribe next?
NOTES: There were way too many images for this tutorial so I picked and chose whichever felt necessary but if someone thinks that they need image for the said step, comment below and I'll add it.
No subscription is required for the app, even though a tutorial might say otherwise.
Sara.
© 2024 100DaysOfAI by 100 School
Bạn đang đọc truyện trên: AzTruyen.Top