faces; part 1.
HELLO HELLO!
Here I will show you how I edit/highlight faces when I do my graphics, I'll try to explain as best as I can but I am a dramatic person who likes to make life difficult so there are tons of steps so hopefully you guys will understand it somehow 😭
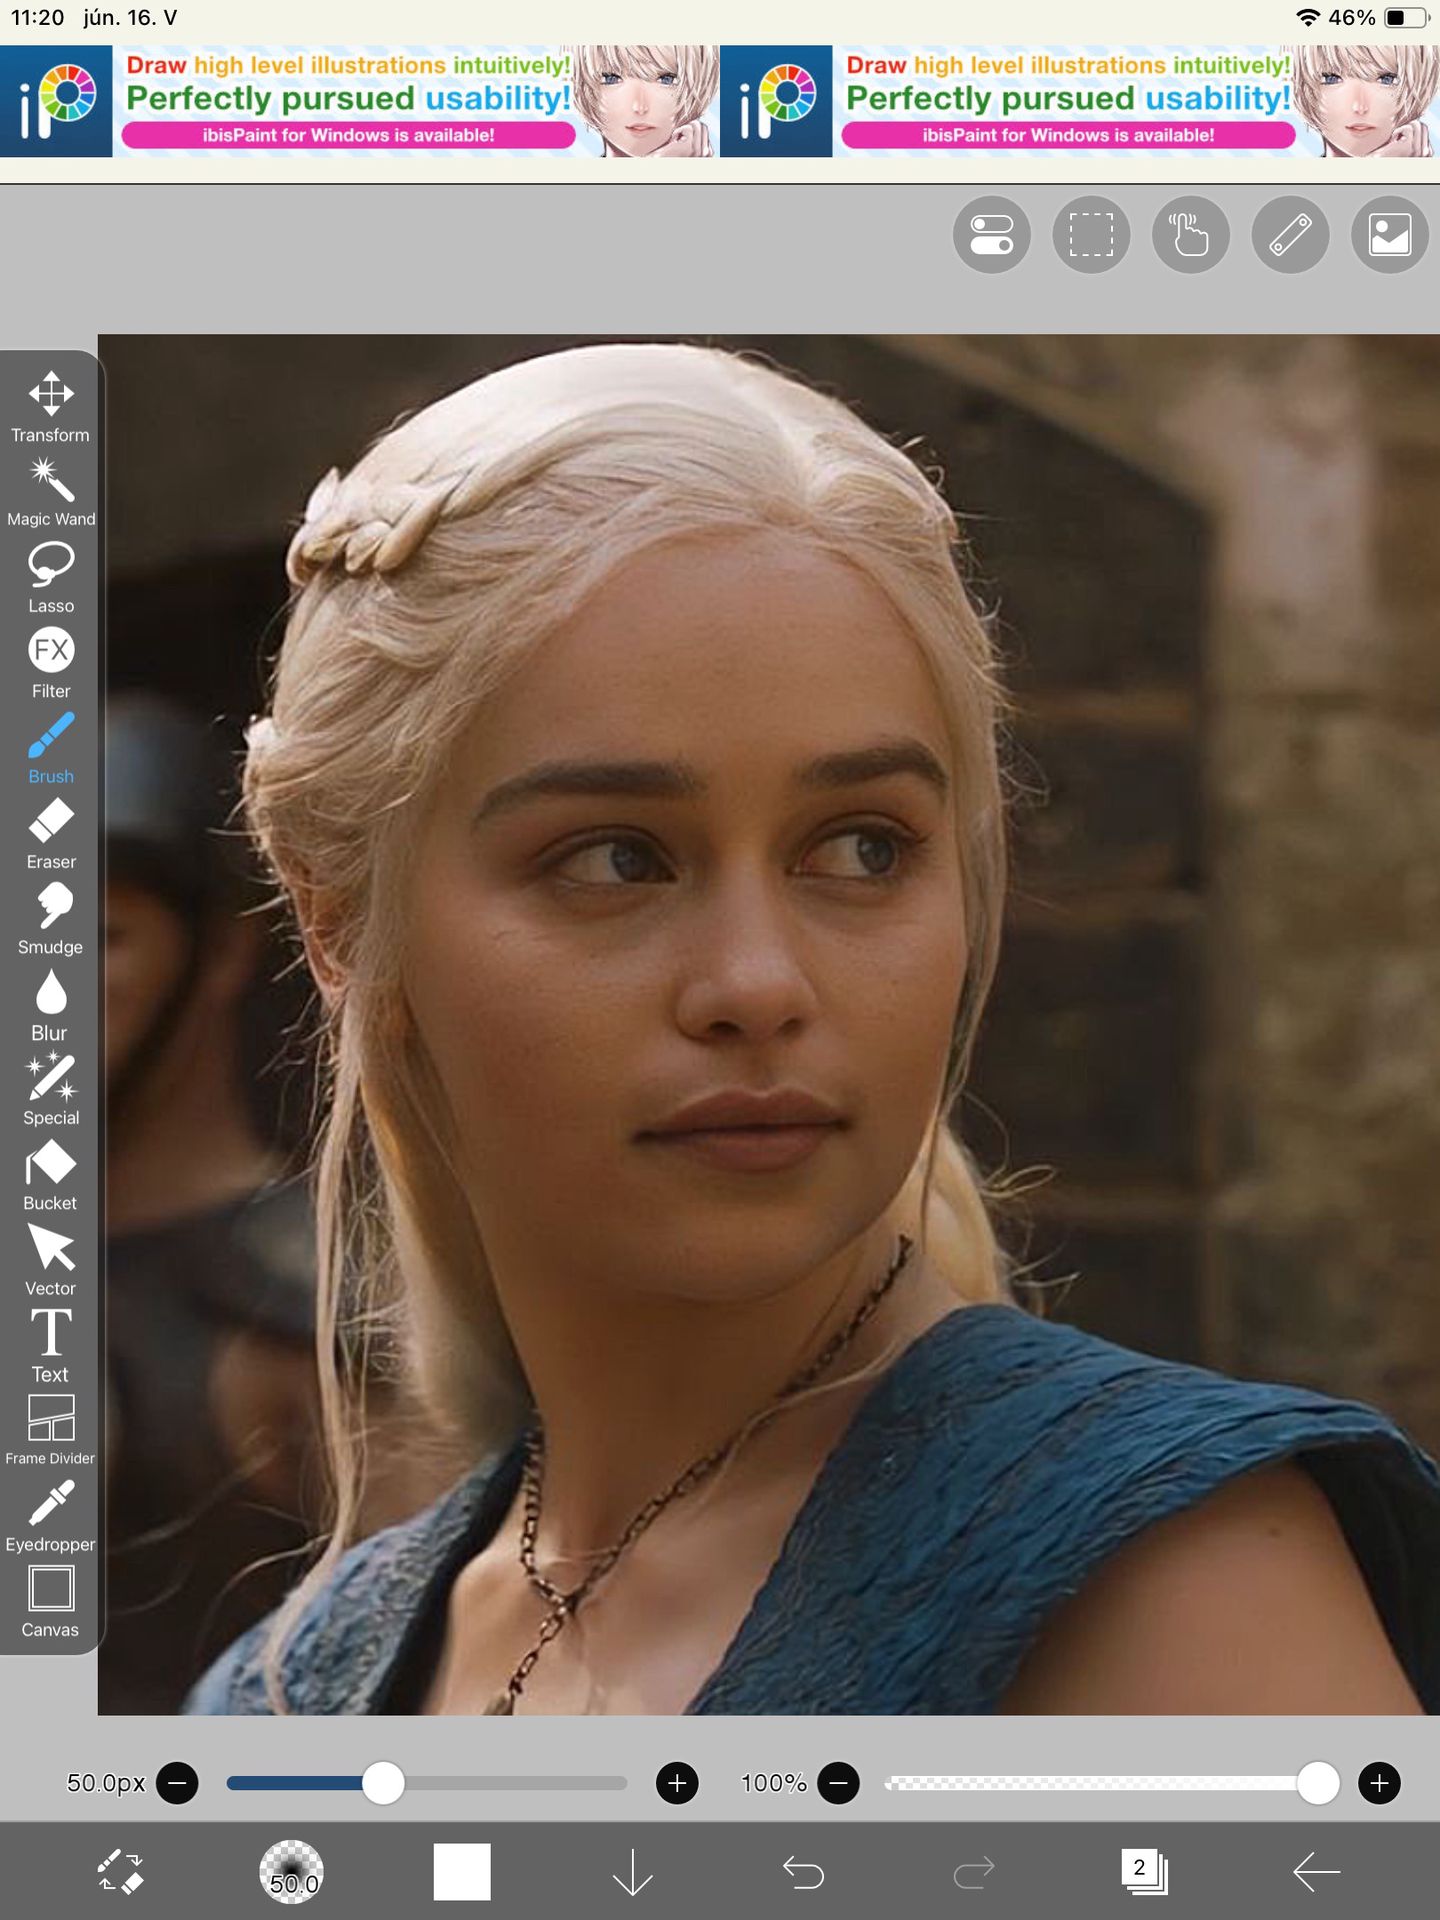
Firstly add the manip or picture you would like to edit!🤌
.
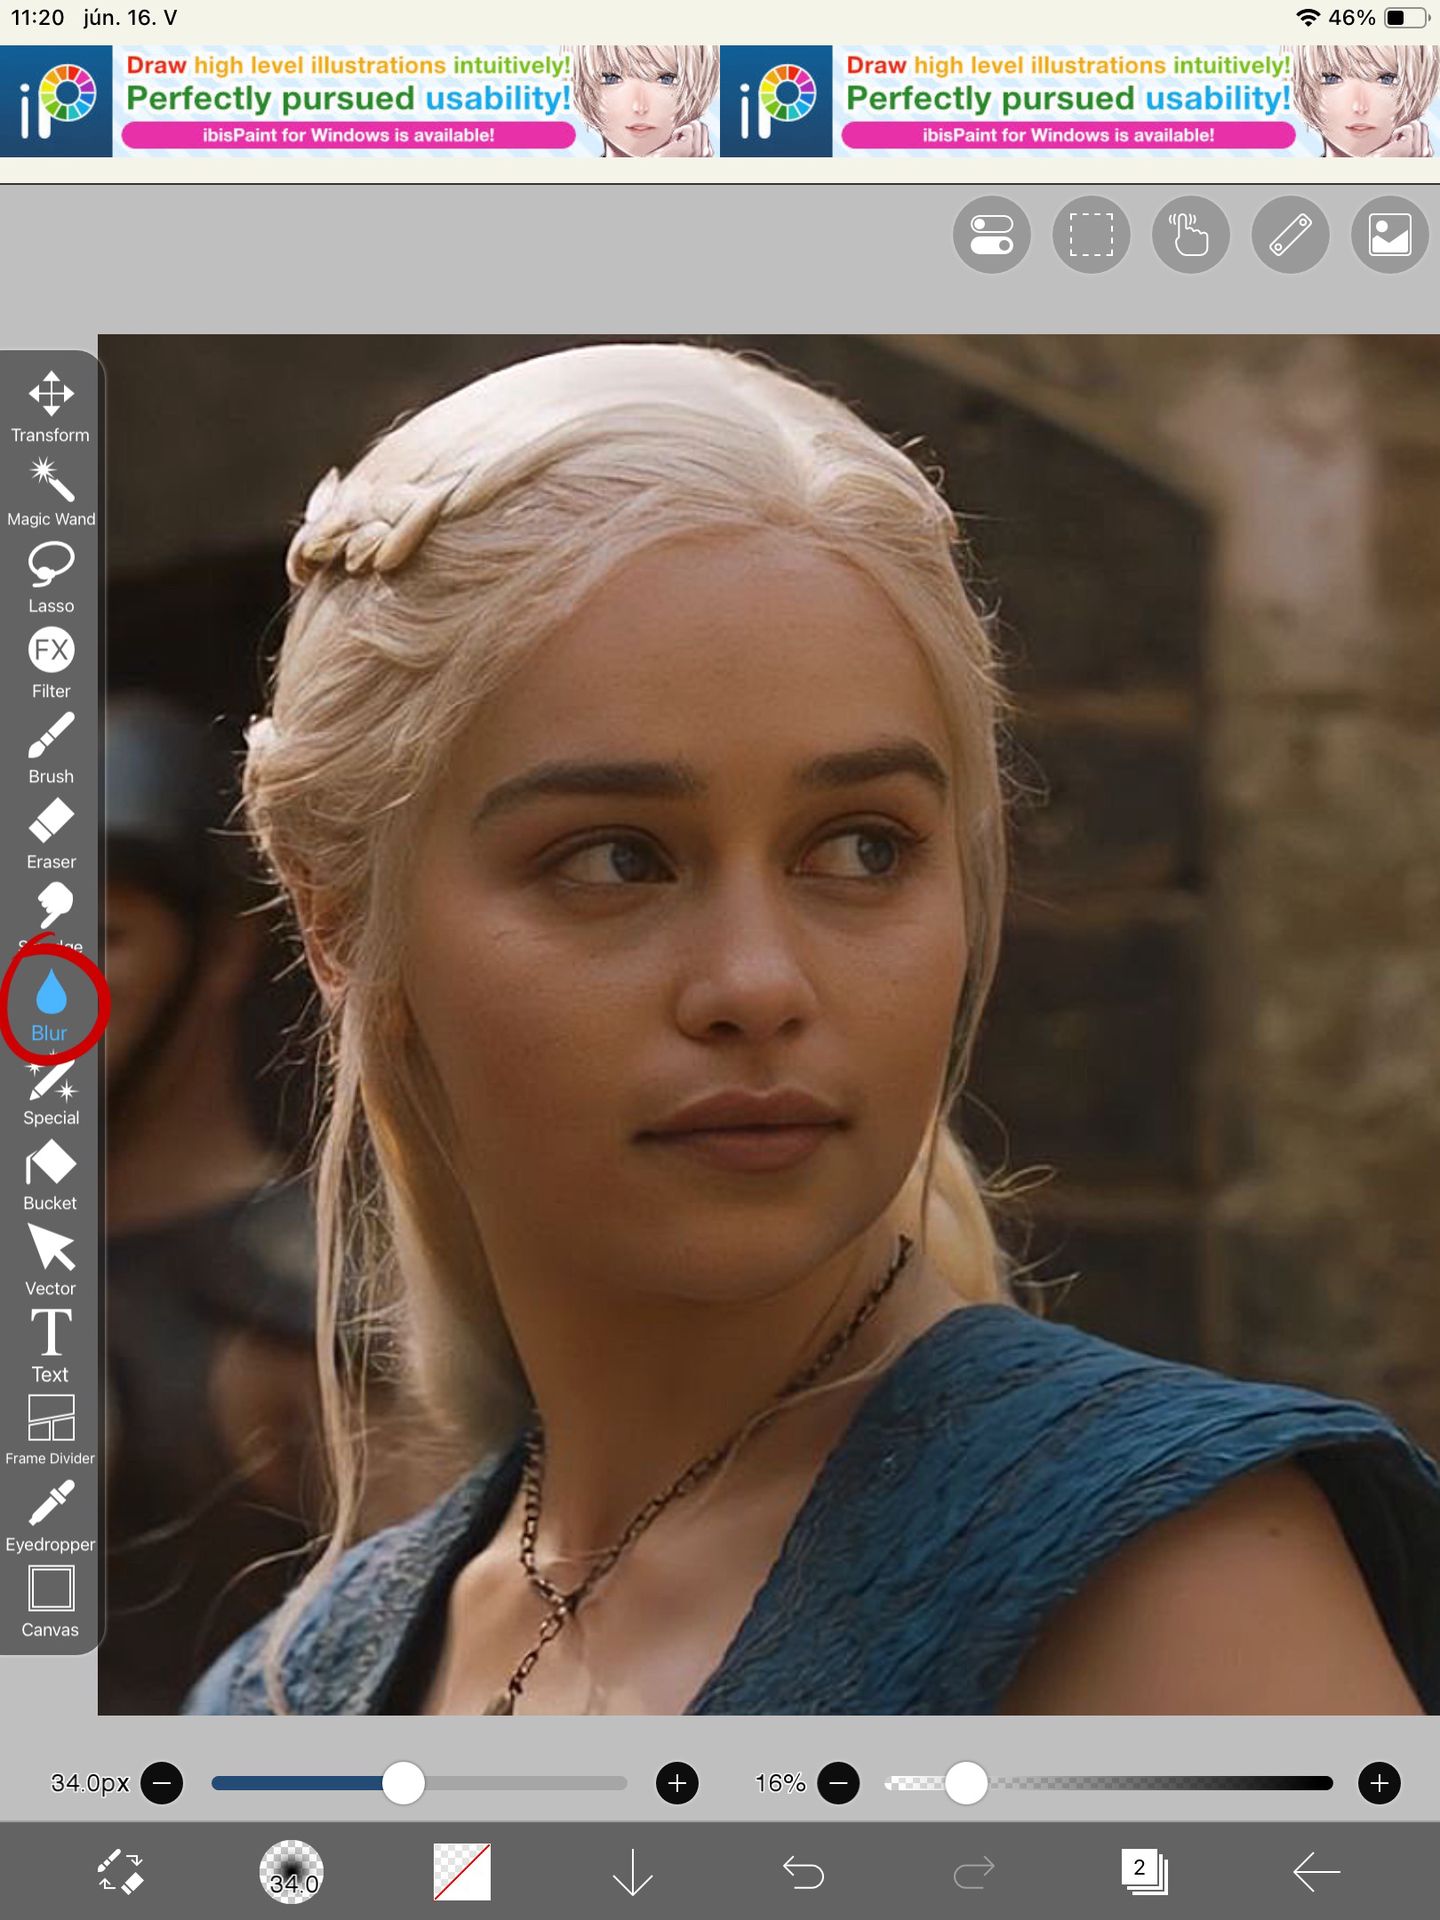
Then I select the blur tool!
.
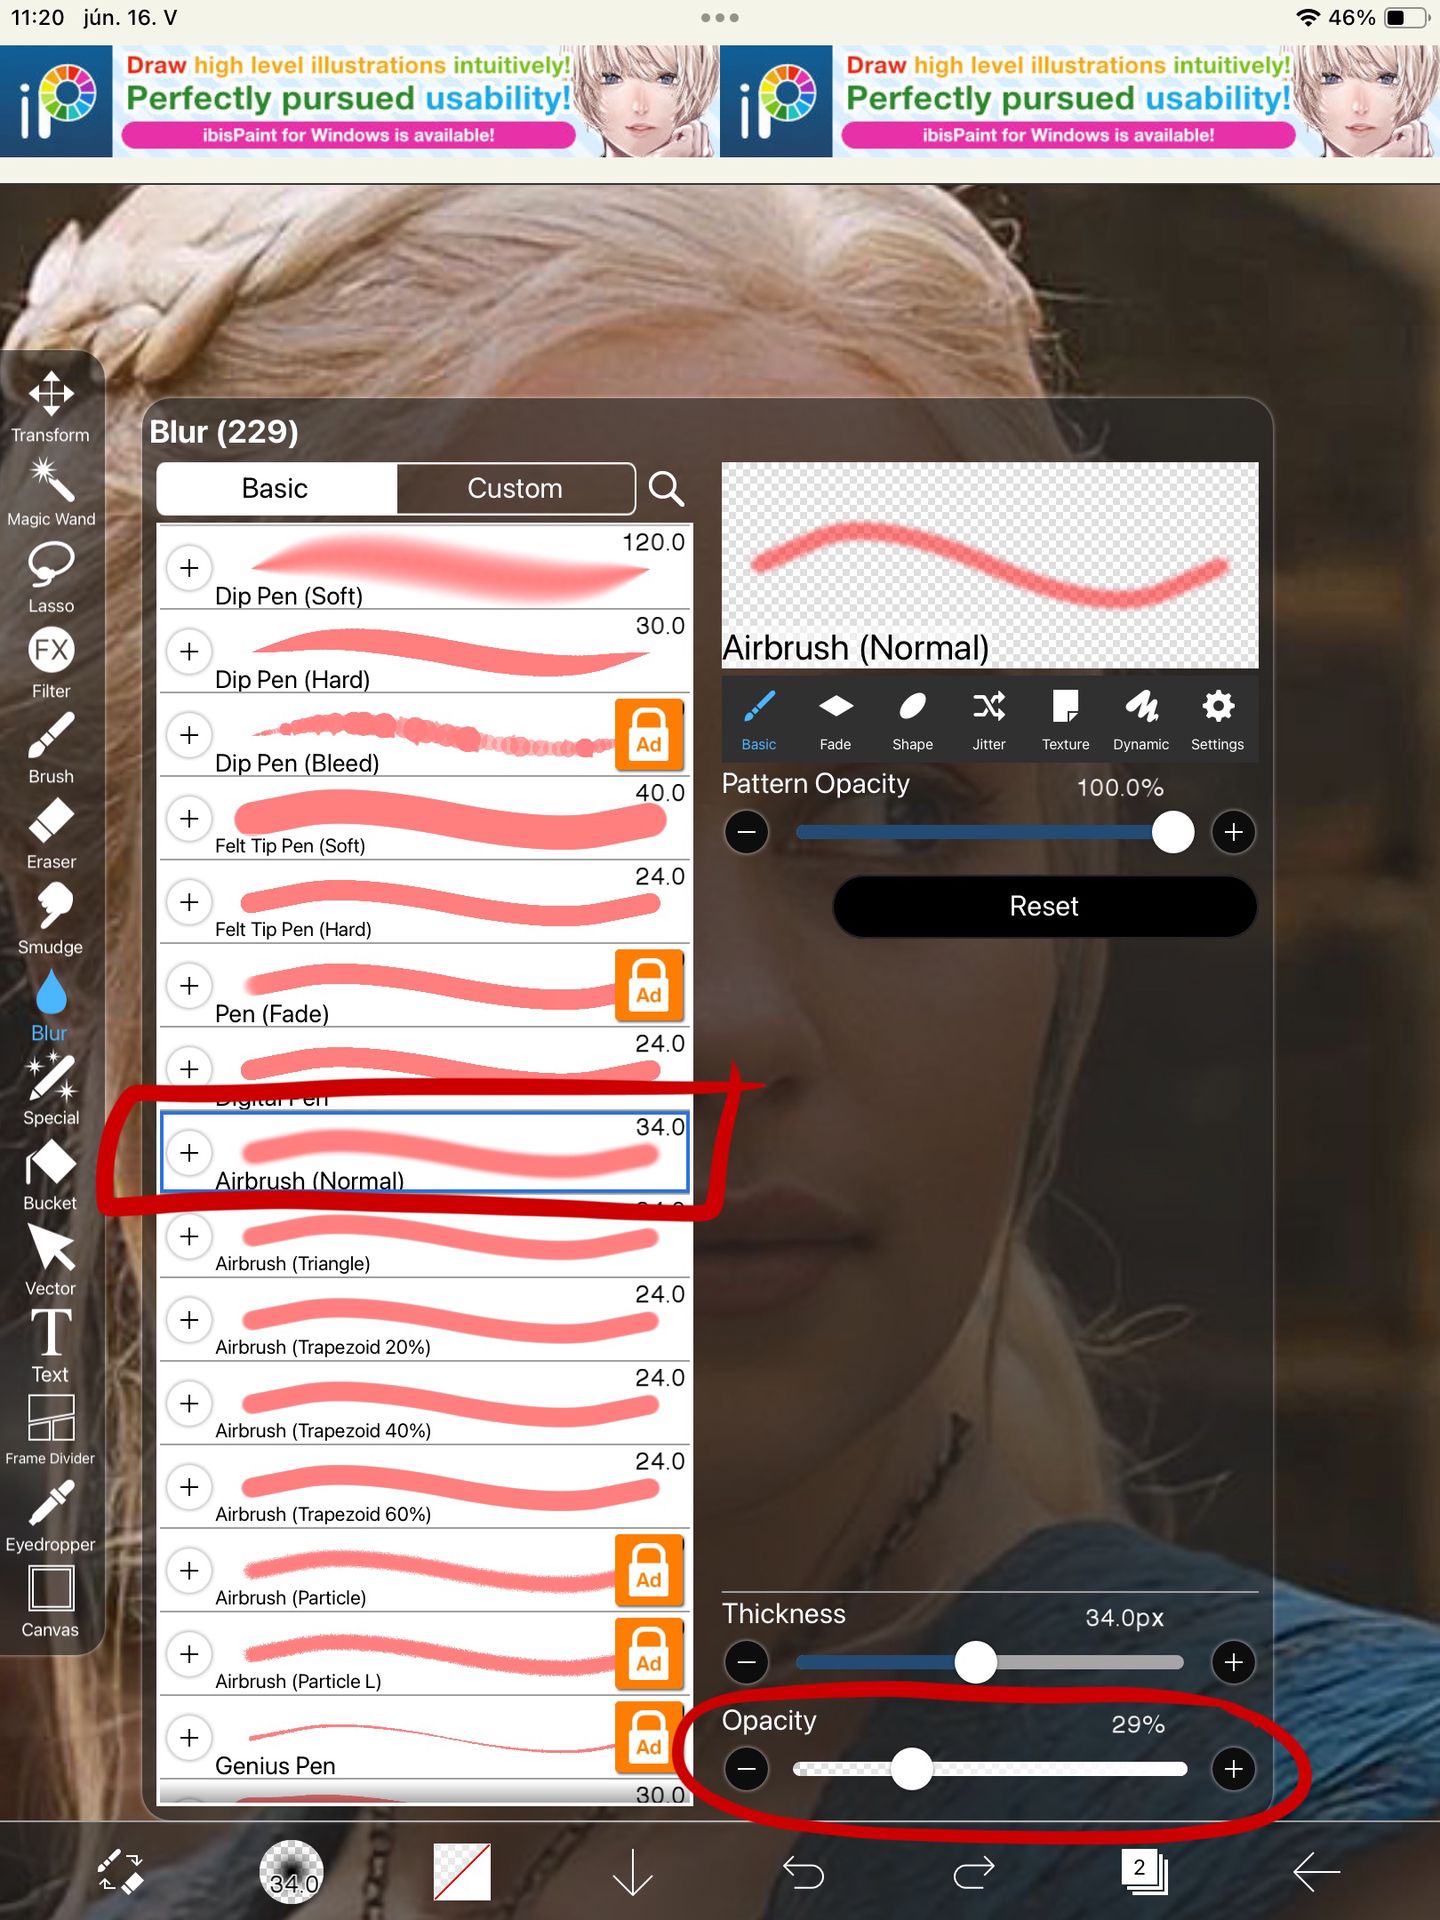
There I select the airbrush and I lower the opafity to around 30 ish
.
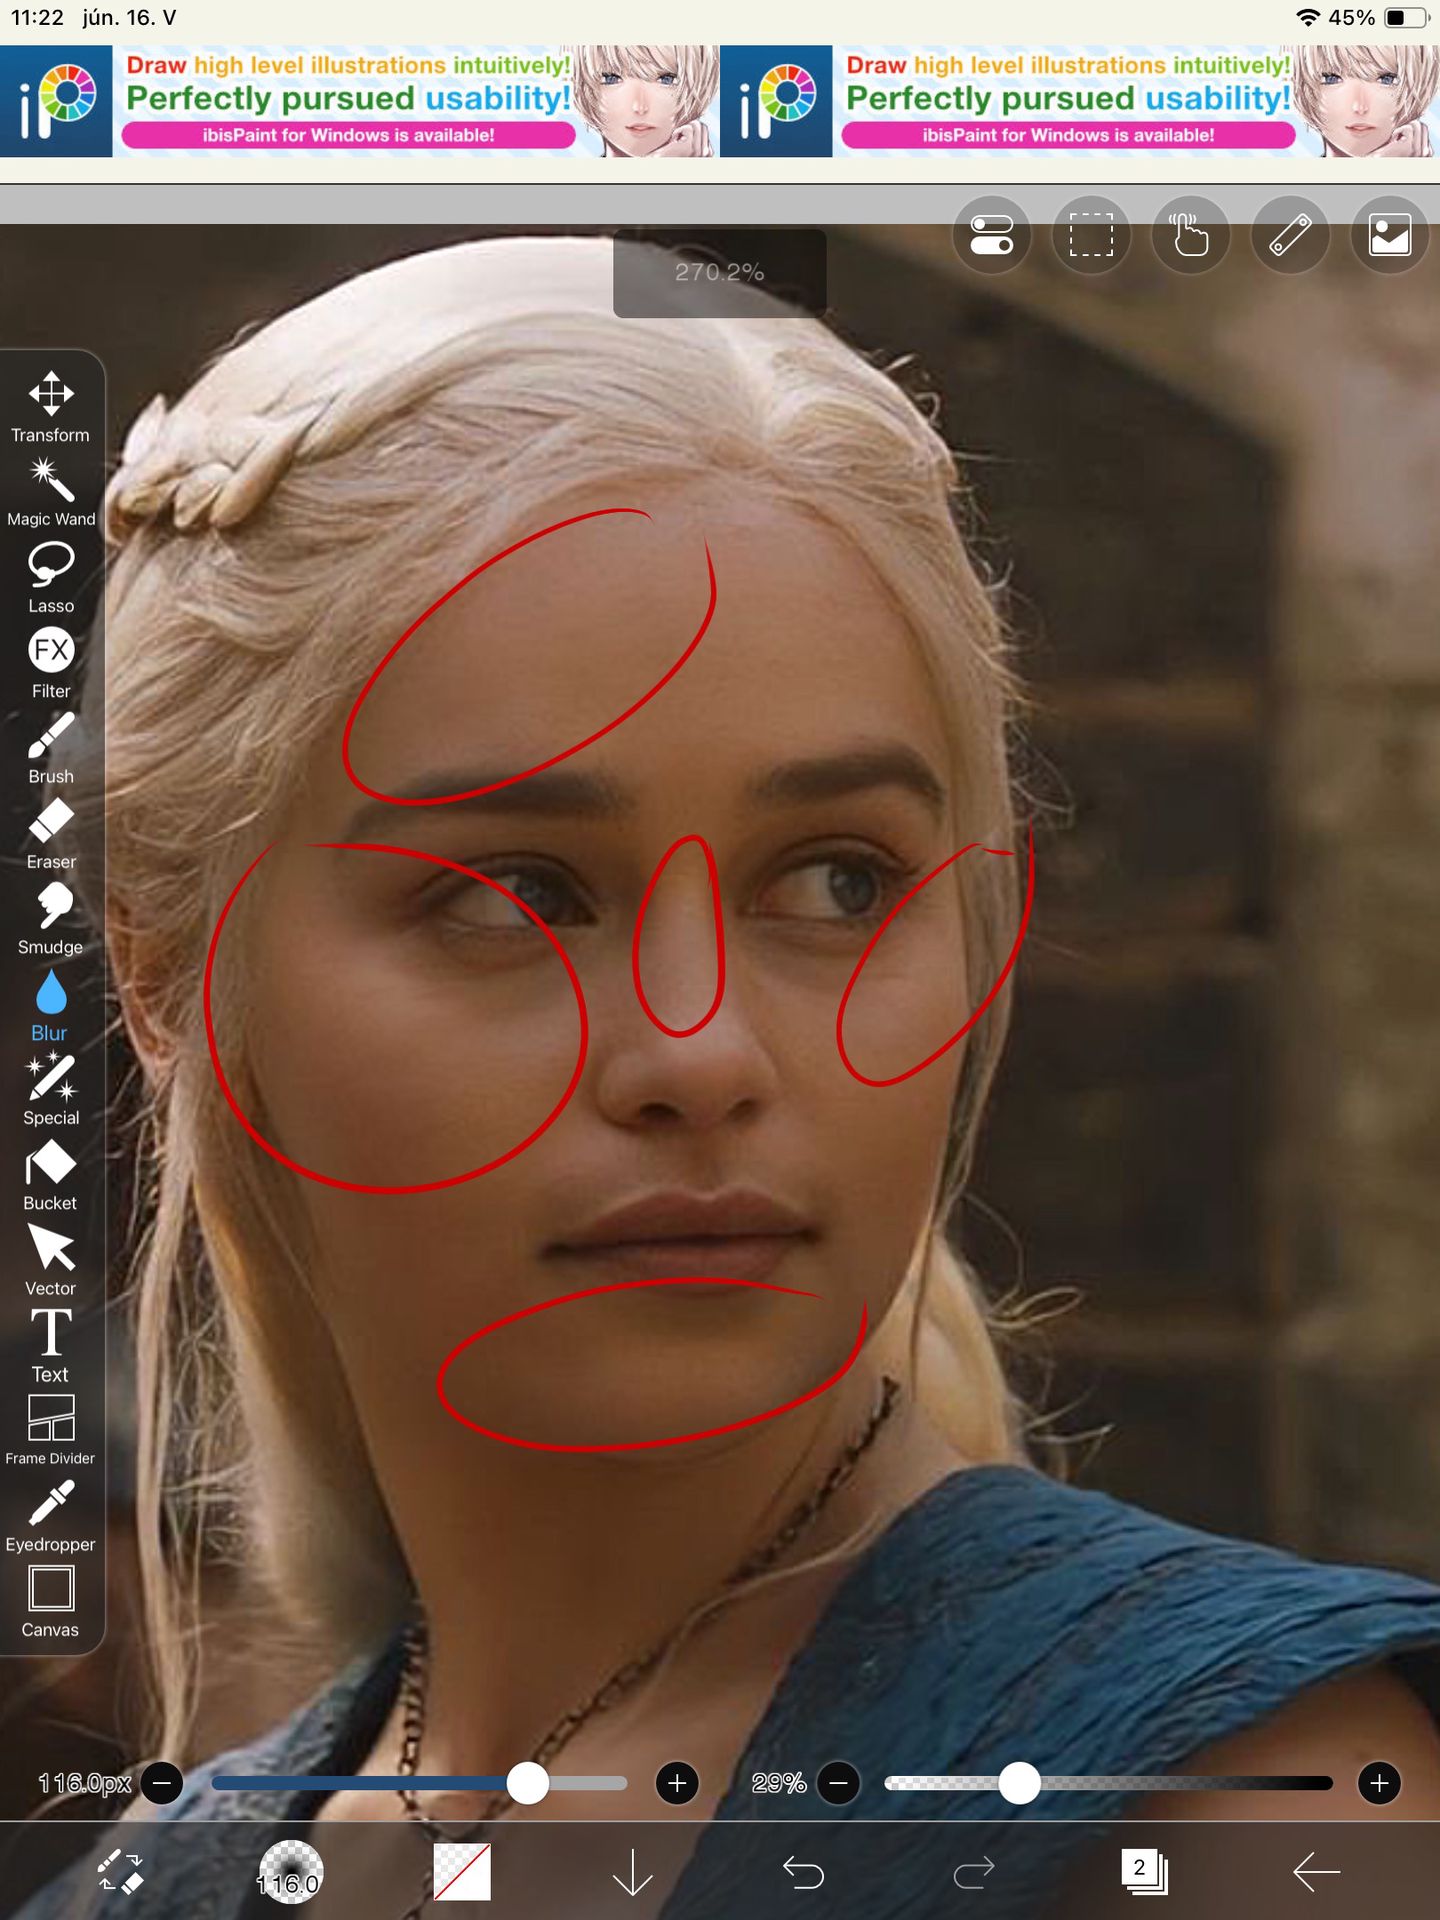
I blur out these parts of the face because it was a bit pixelated but obviously you can skip this part if you find a magically good rescource!
.
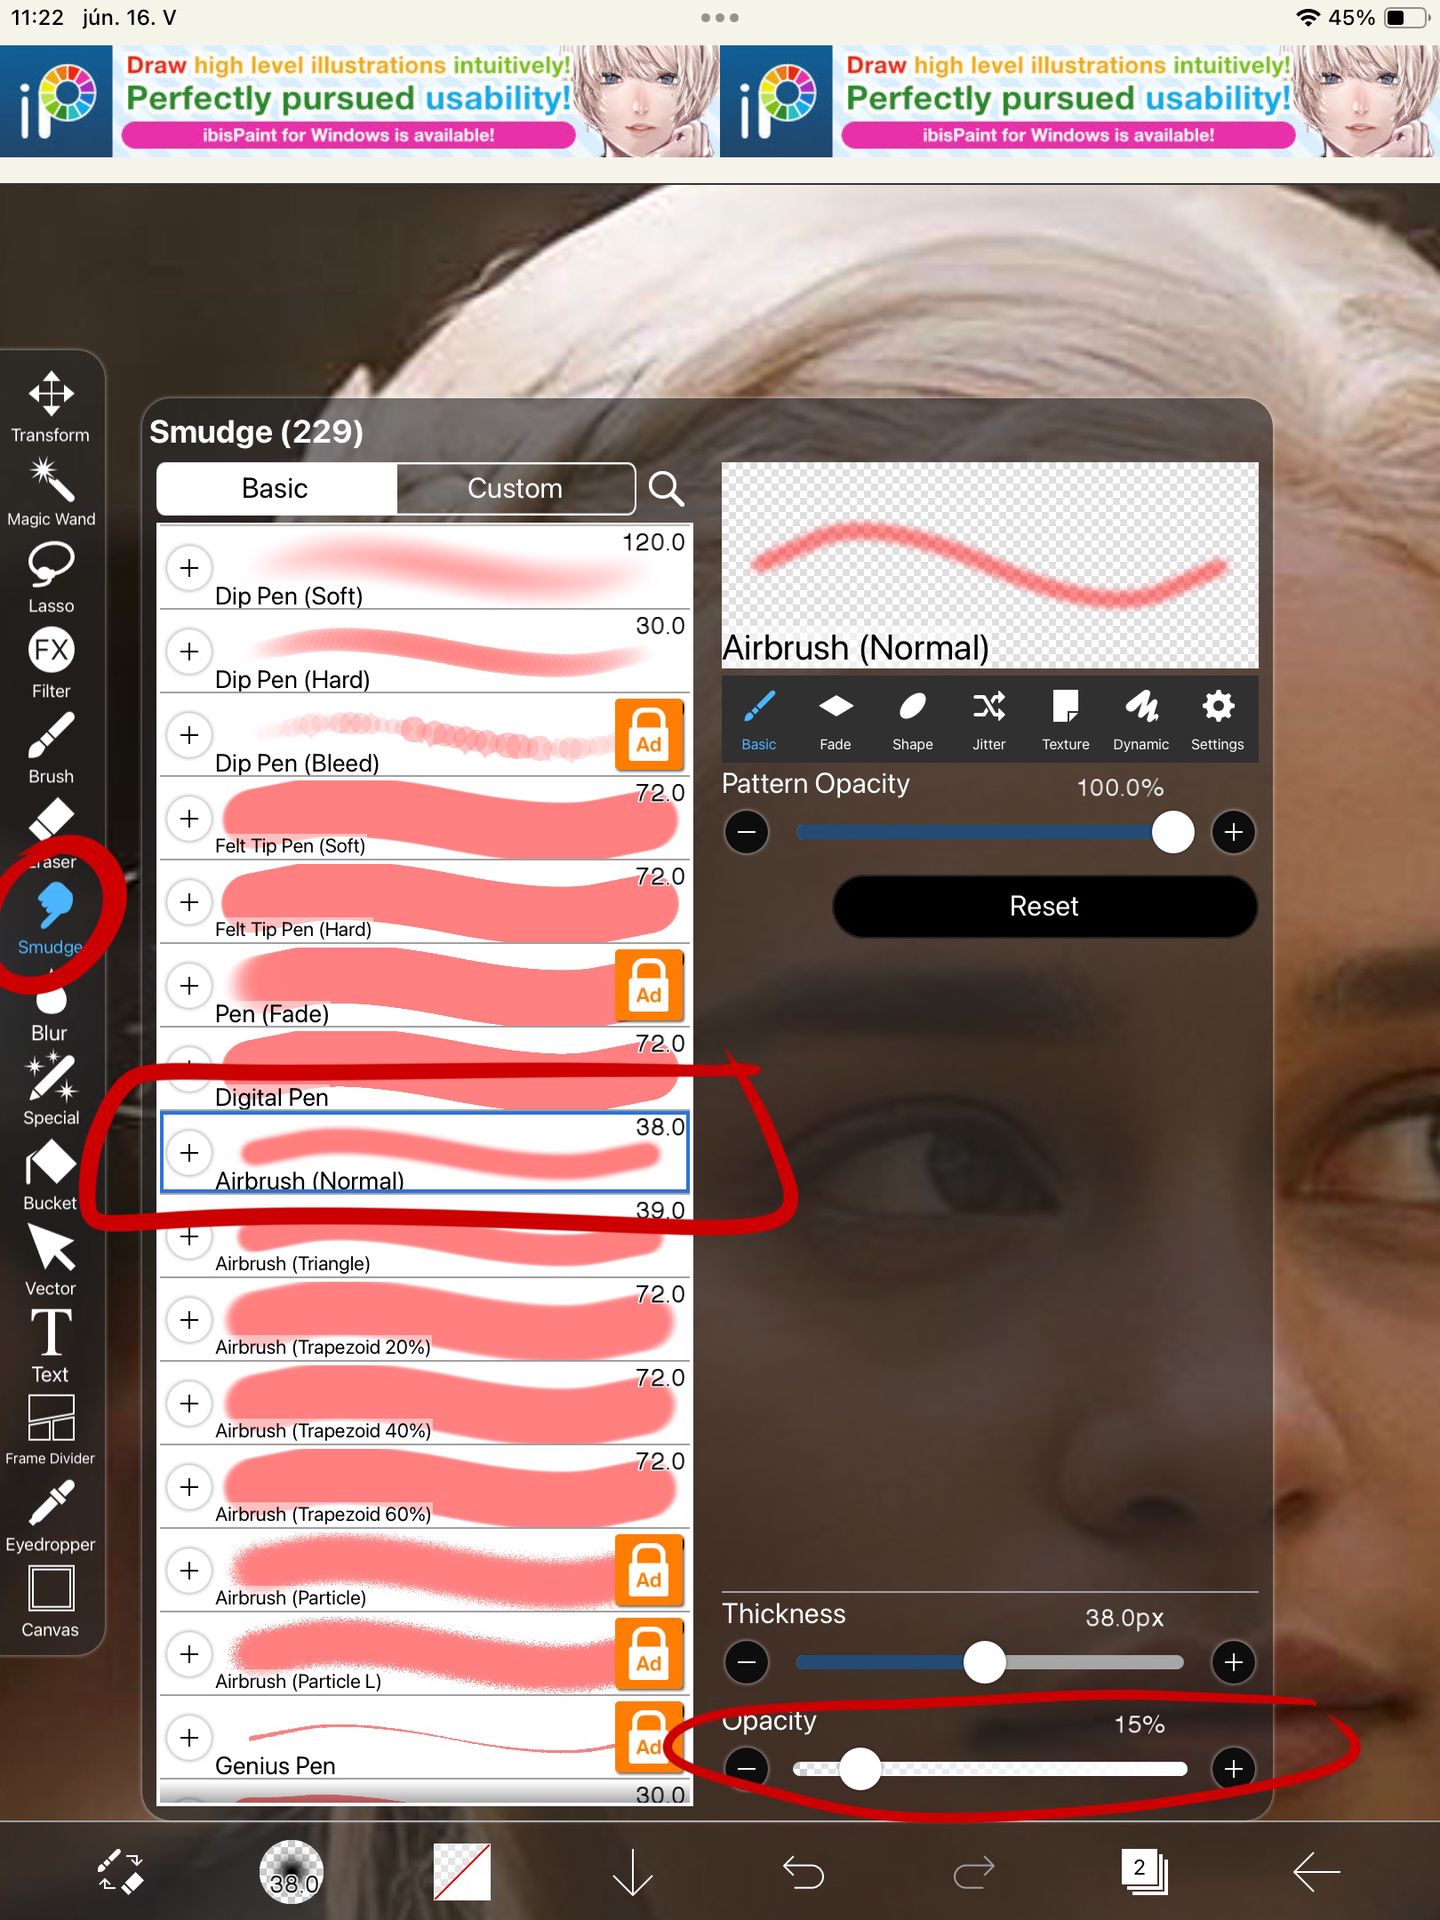
Then I select the smudge tool and in there I use the airbrush once again and lower the opacity down to about 15
.
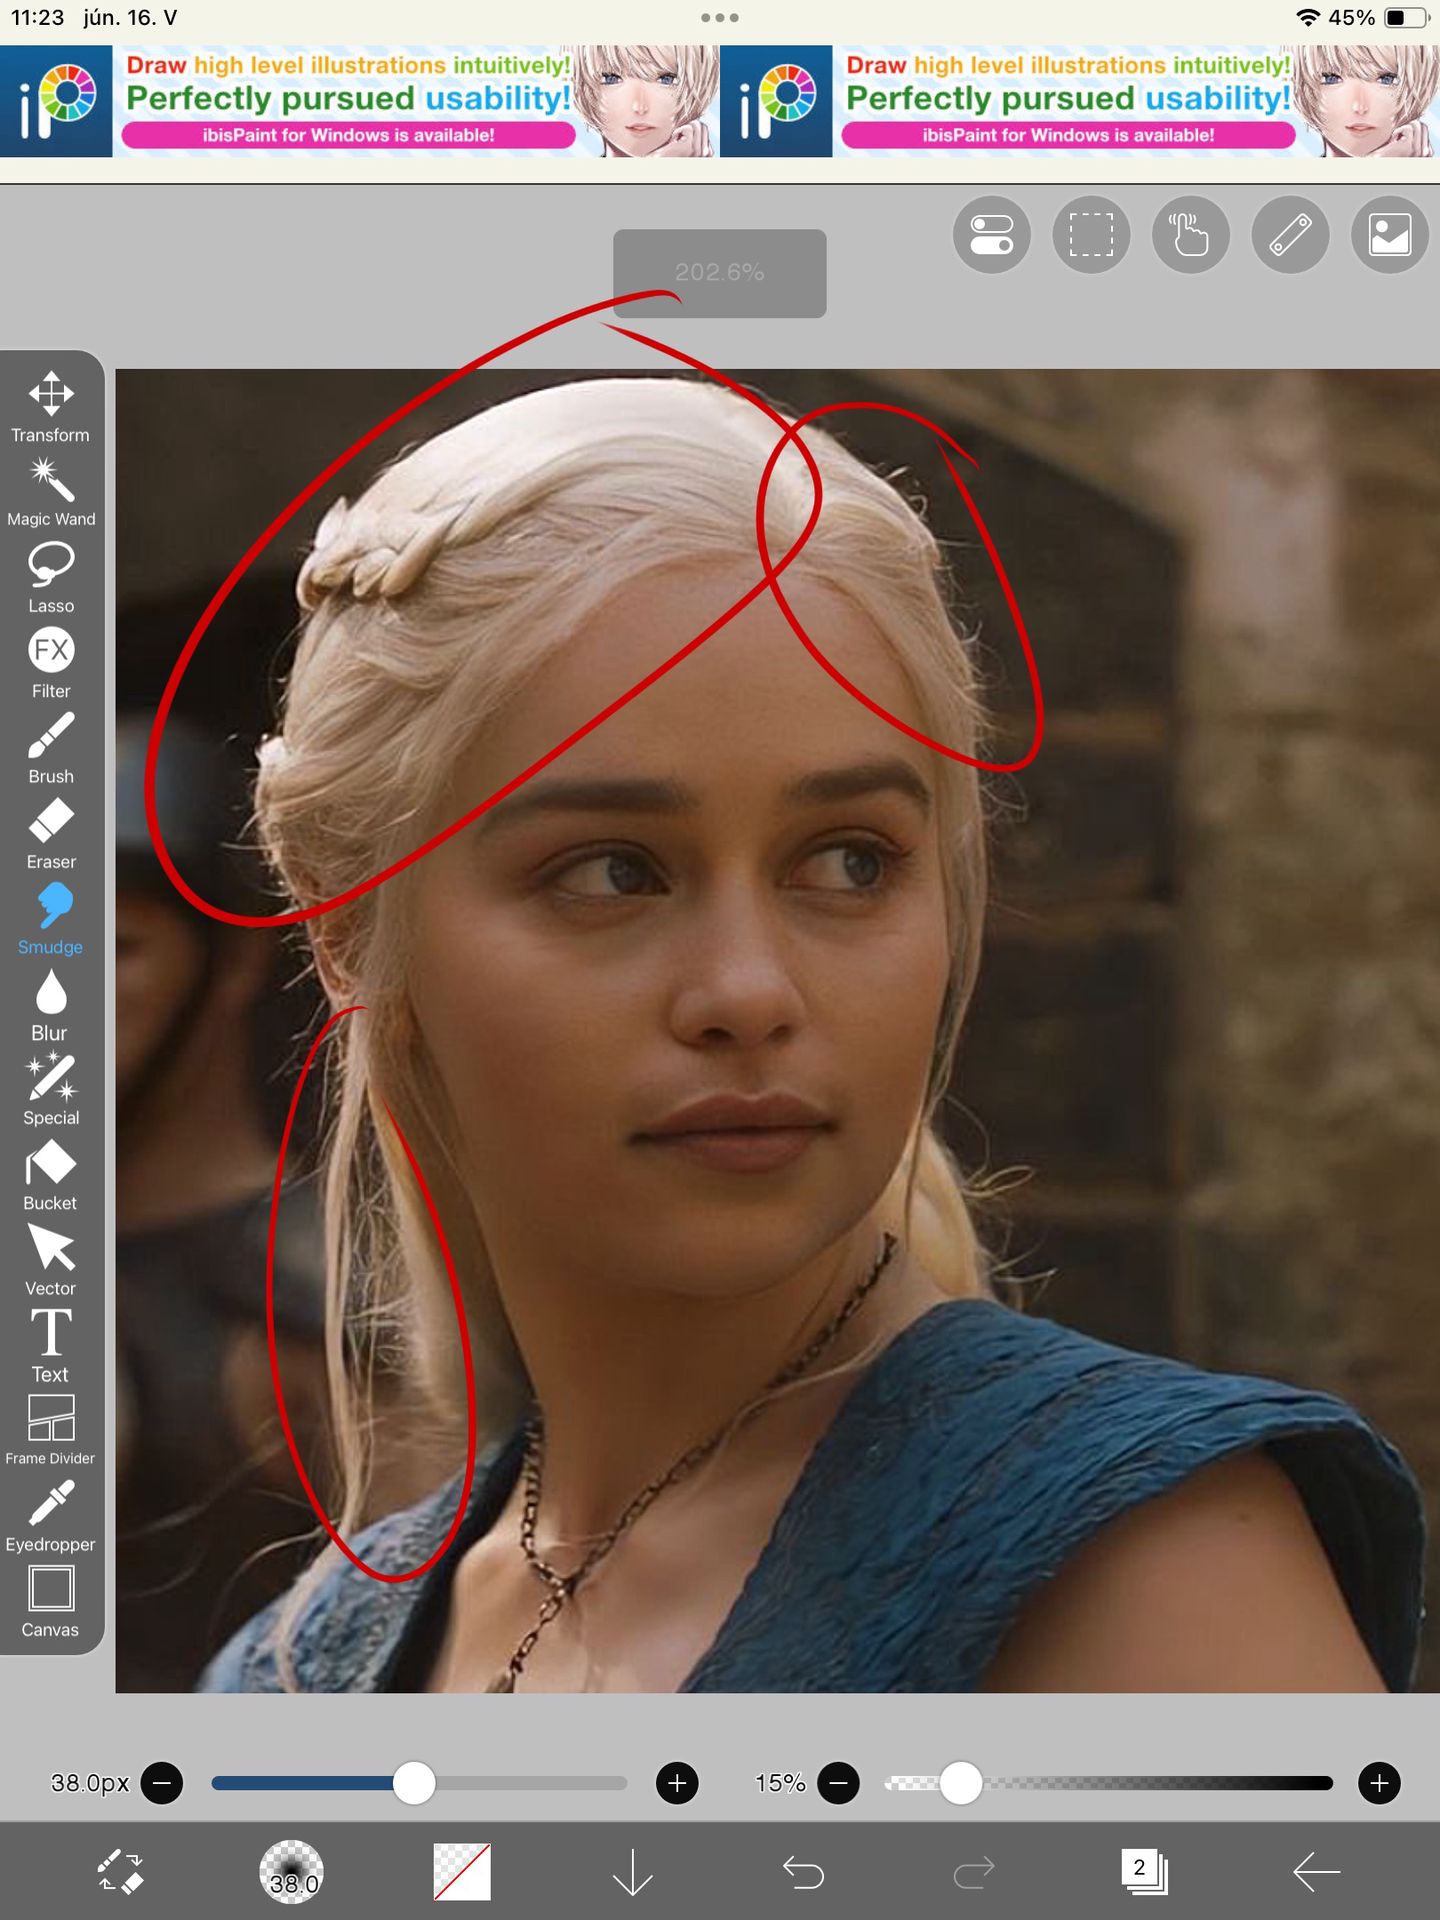
I then smooth out the hair a bit but once again you can skip this step if you feel like it!
.
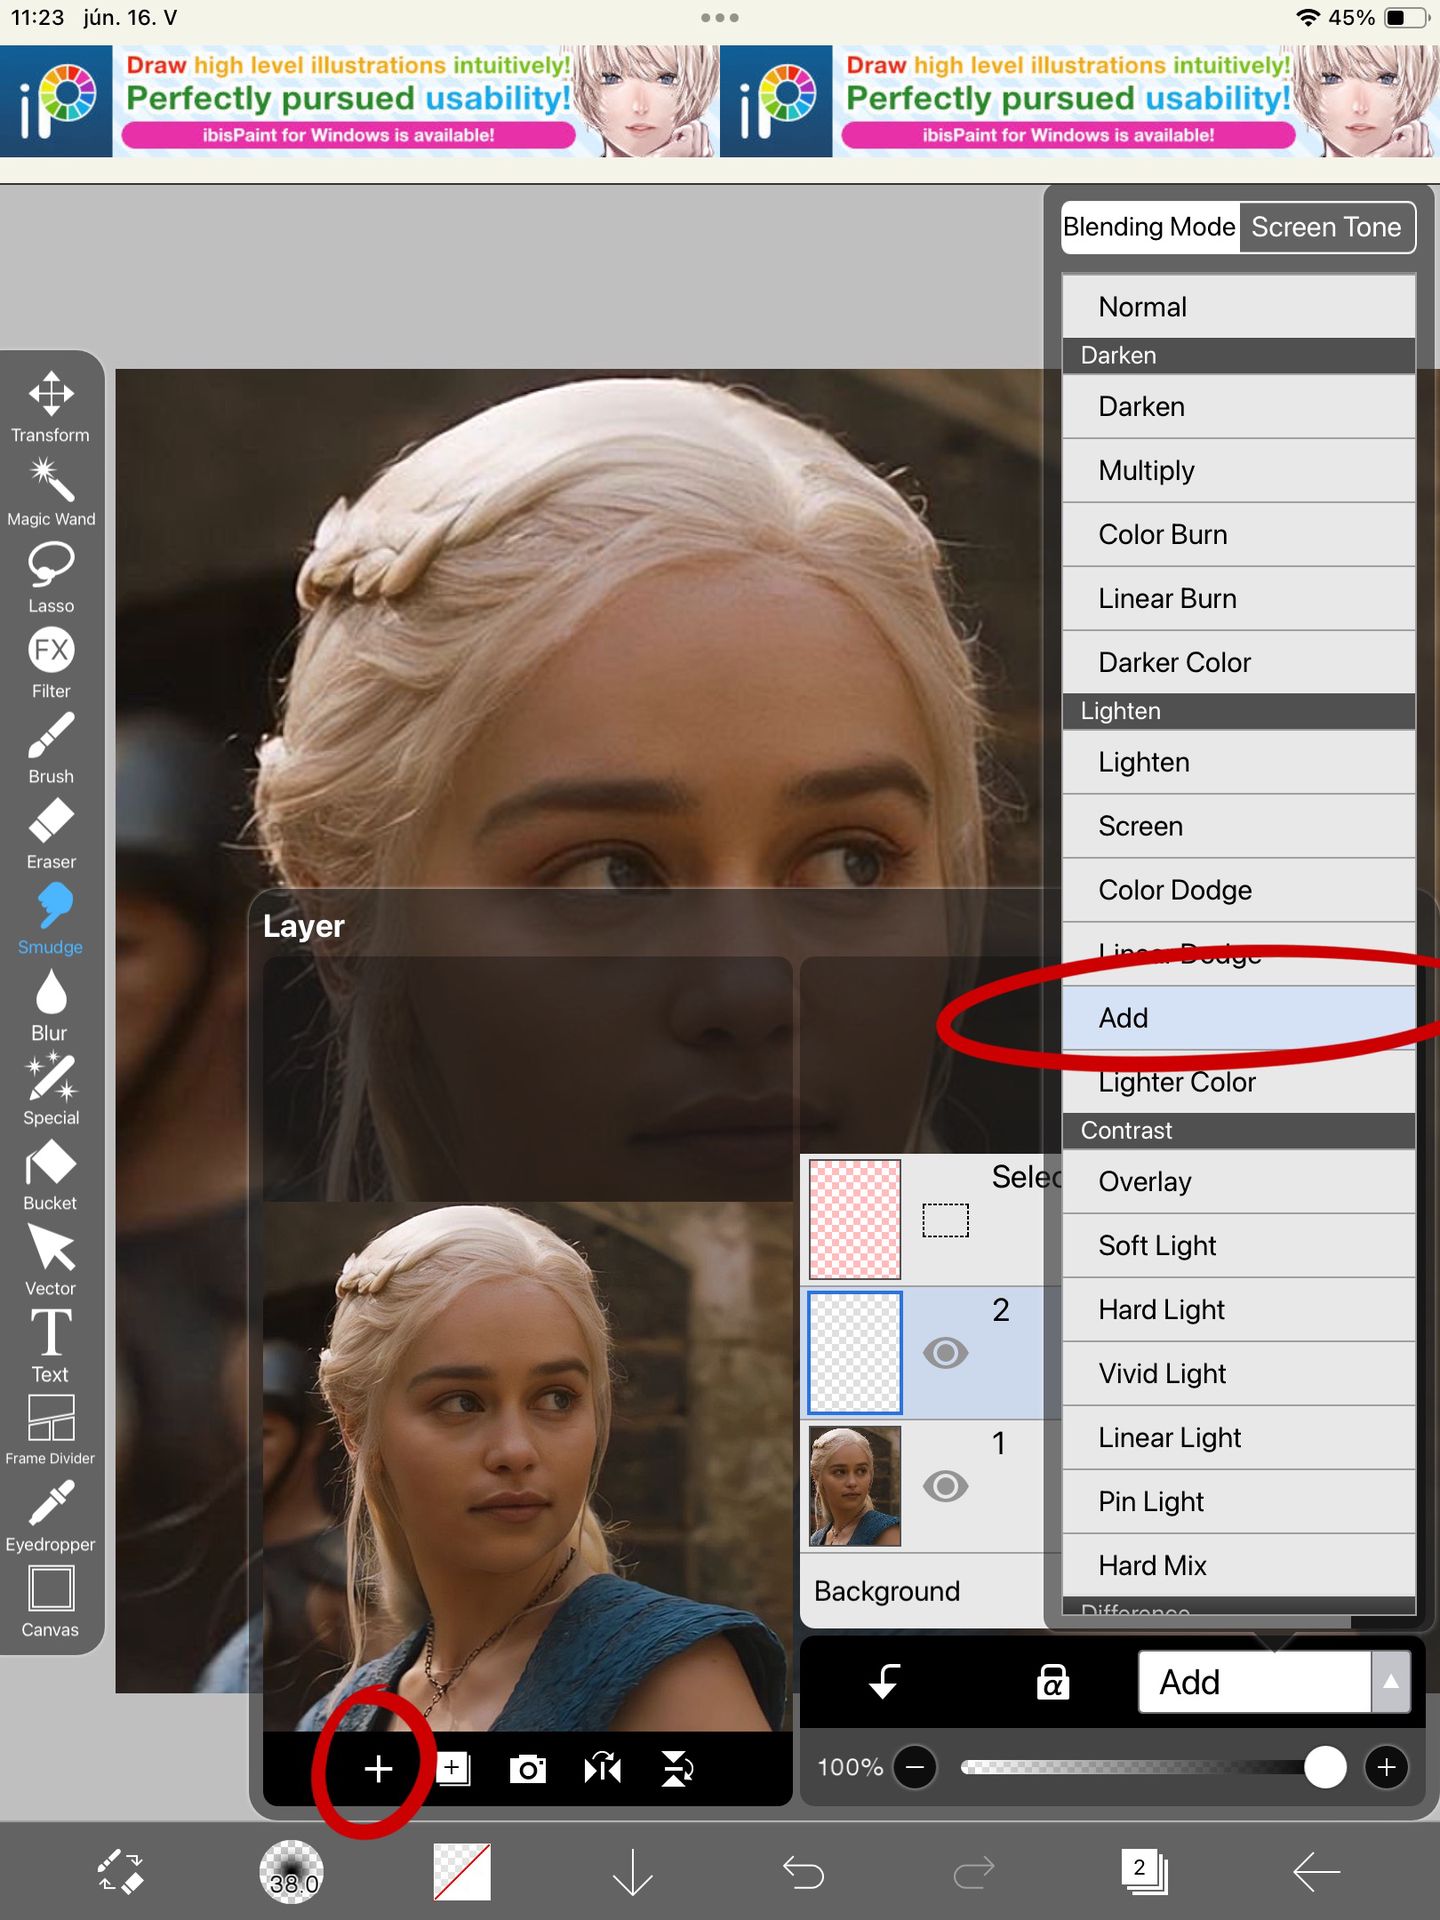
Then I add a new layer on top of that and choose the blending mode 'add'
.
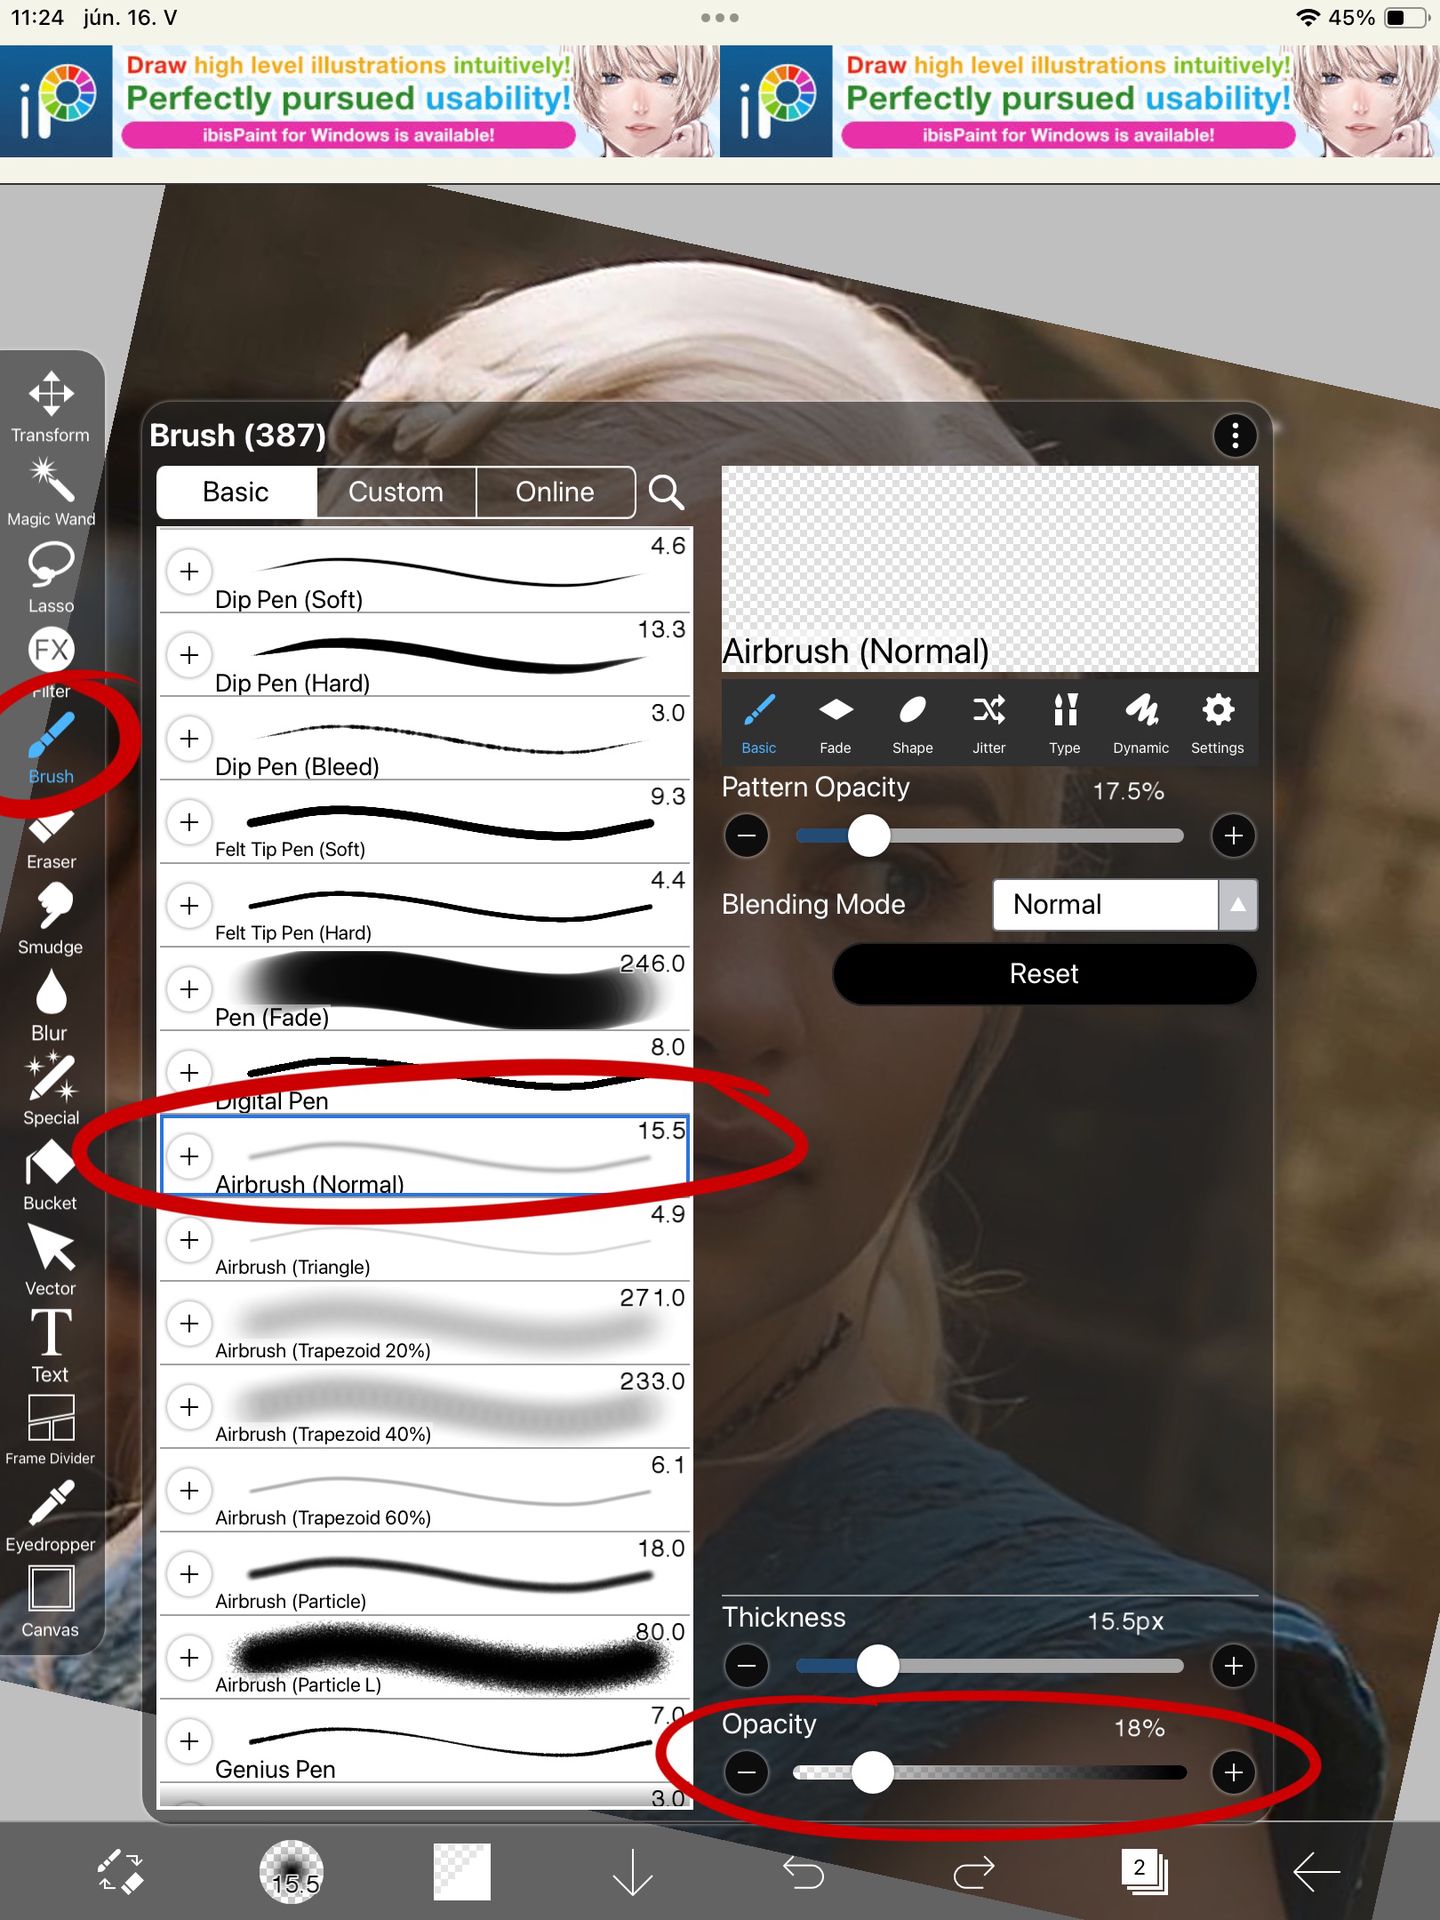
I select the airbrush again and lower the opacity to around 20ish
.
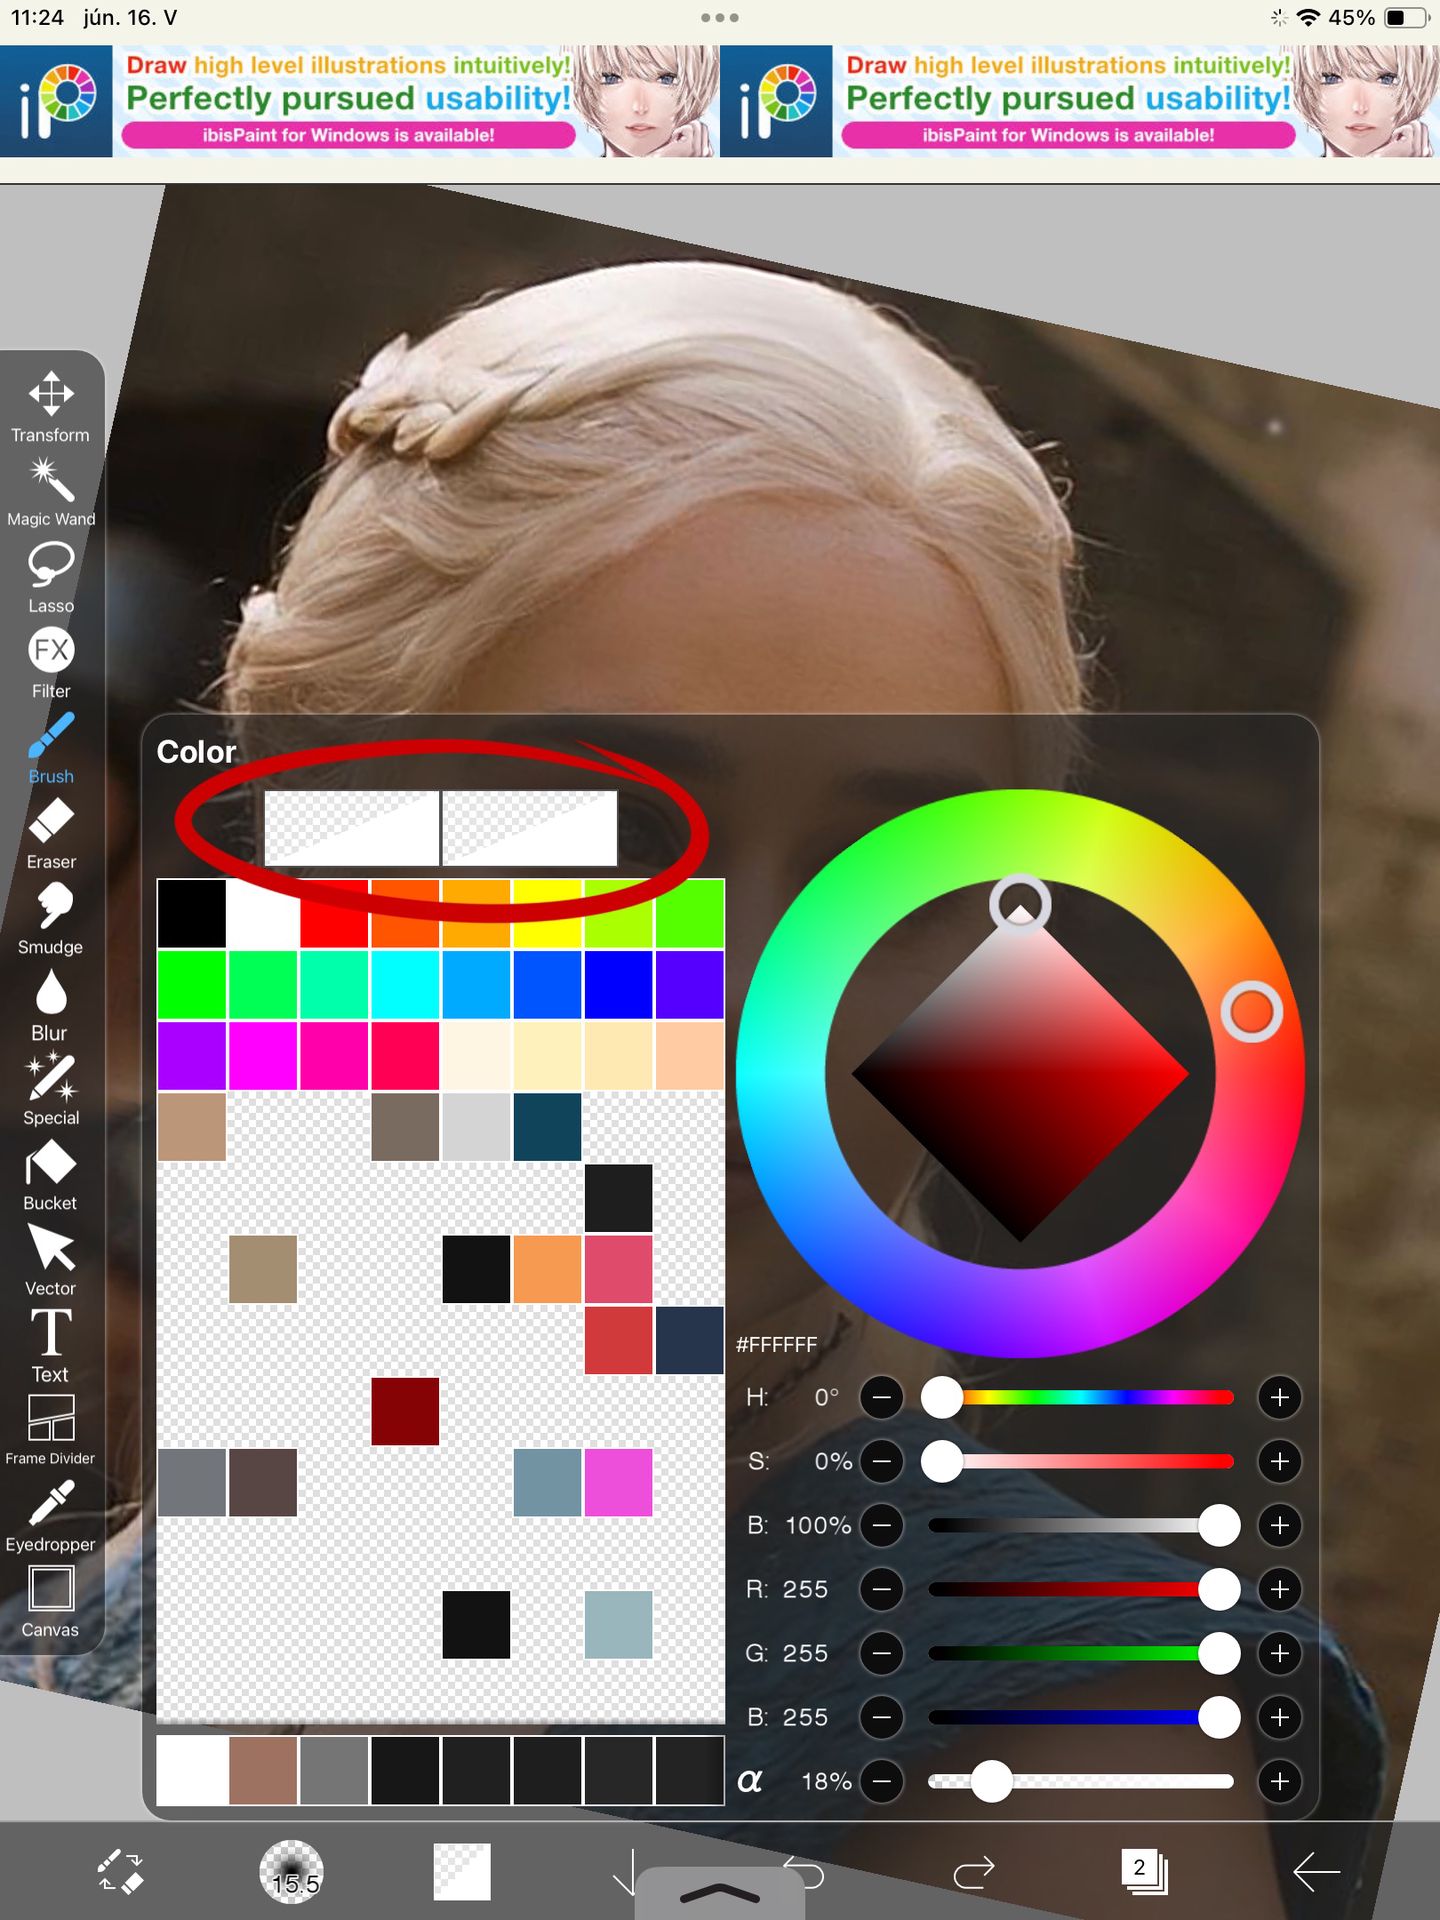
I then choose the colour white—
.
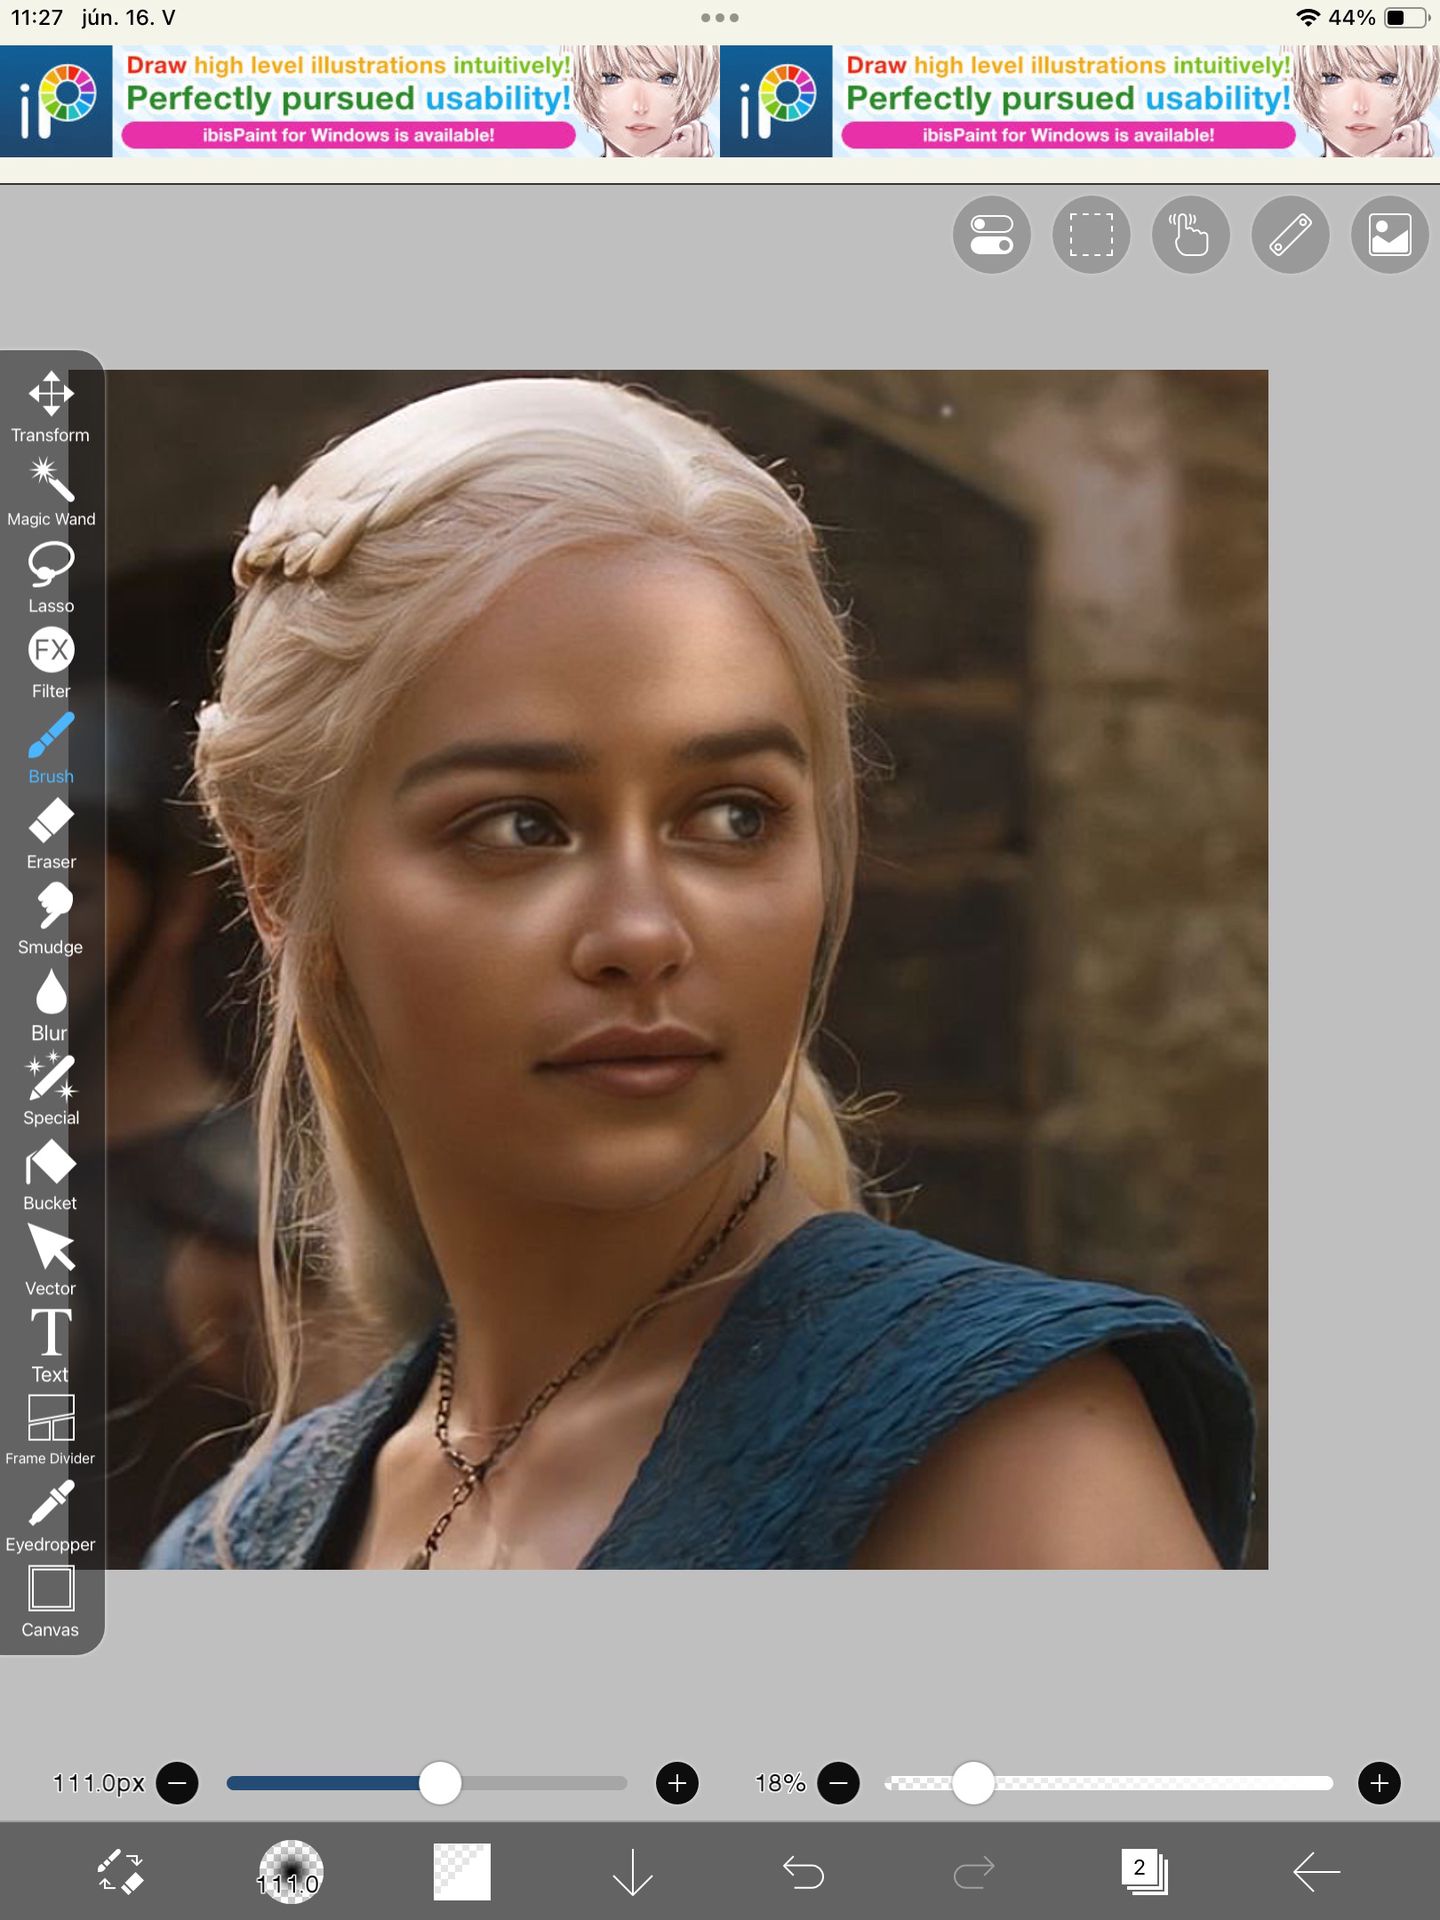
And I just highlight these parts of the face mostly!! The nose, cheeks, lips, eyes, forehead, chin.
.
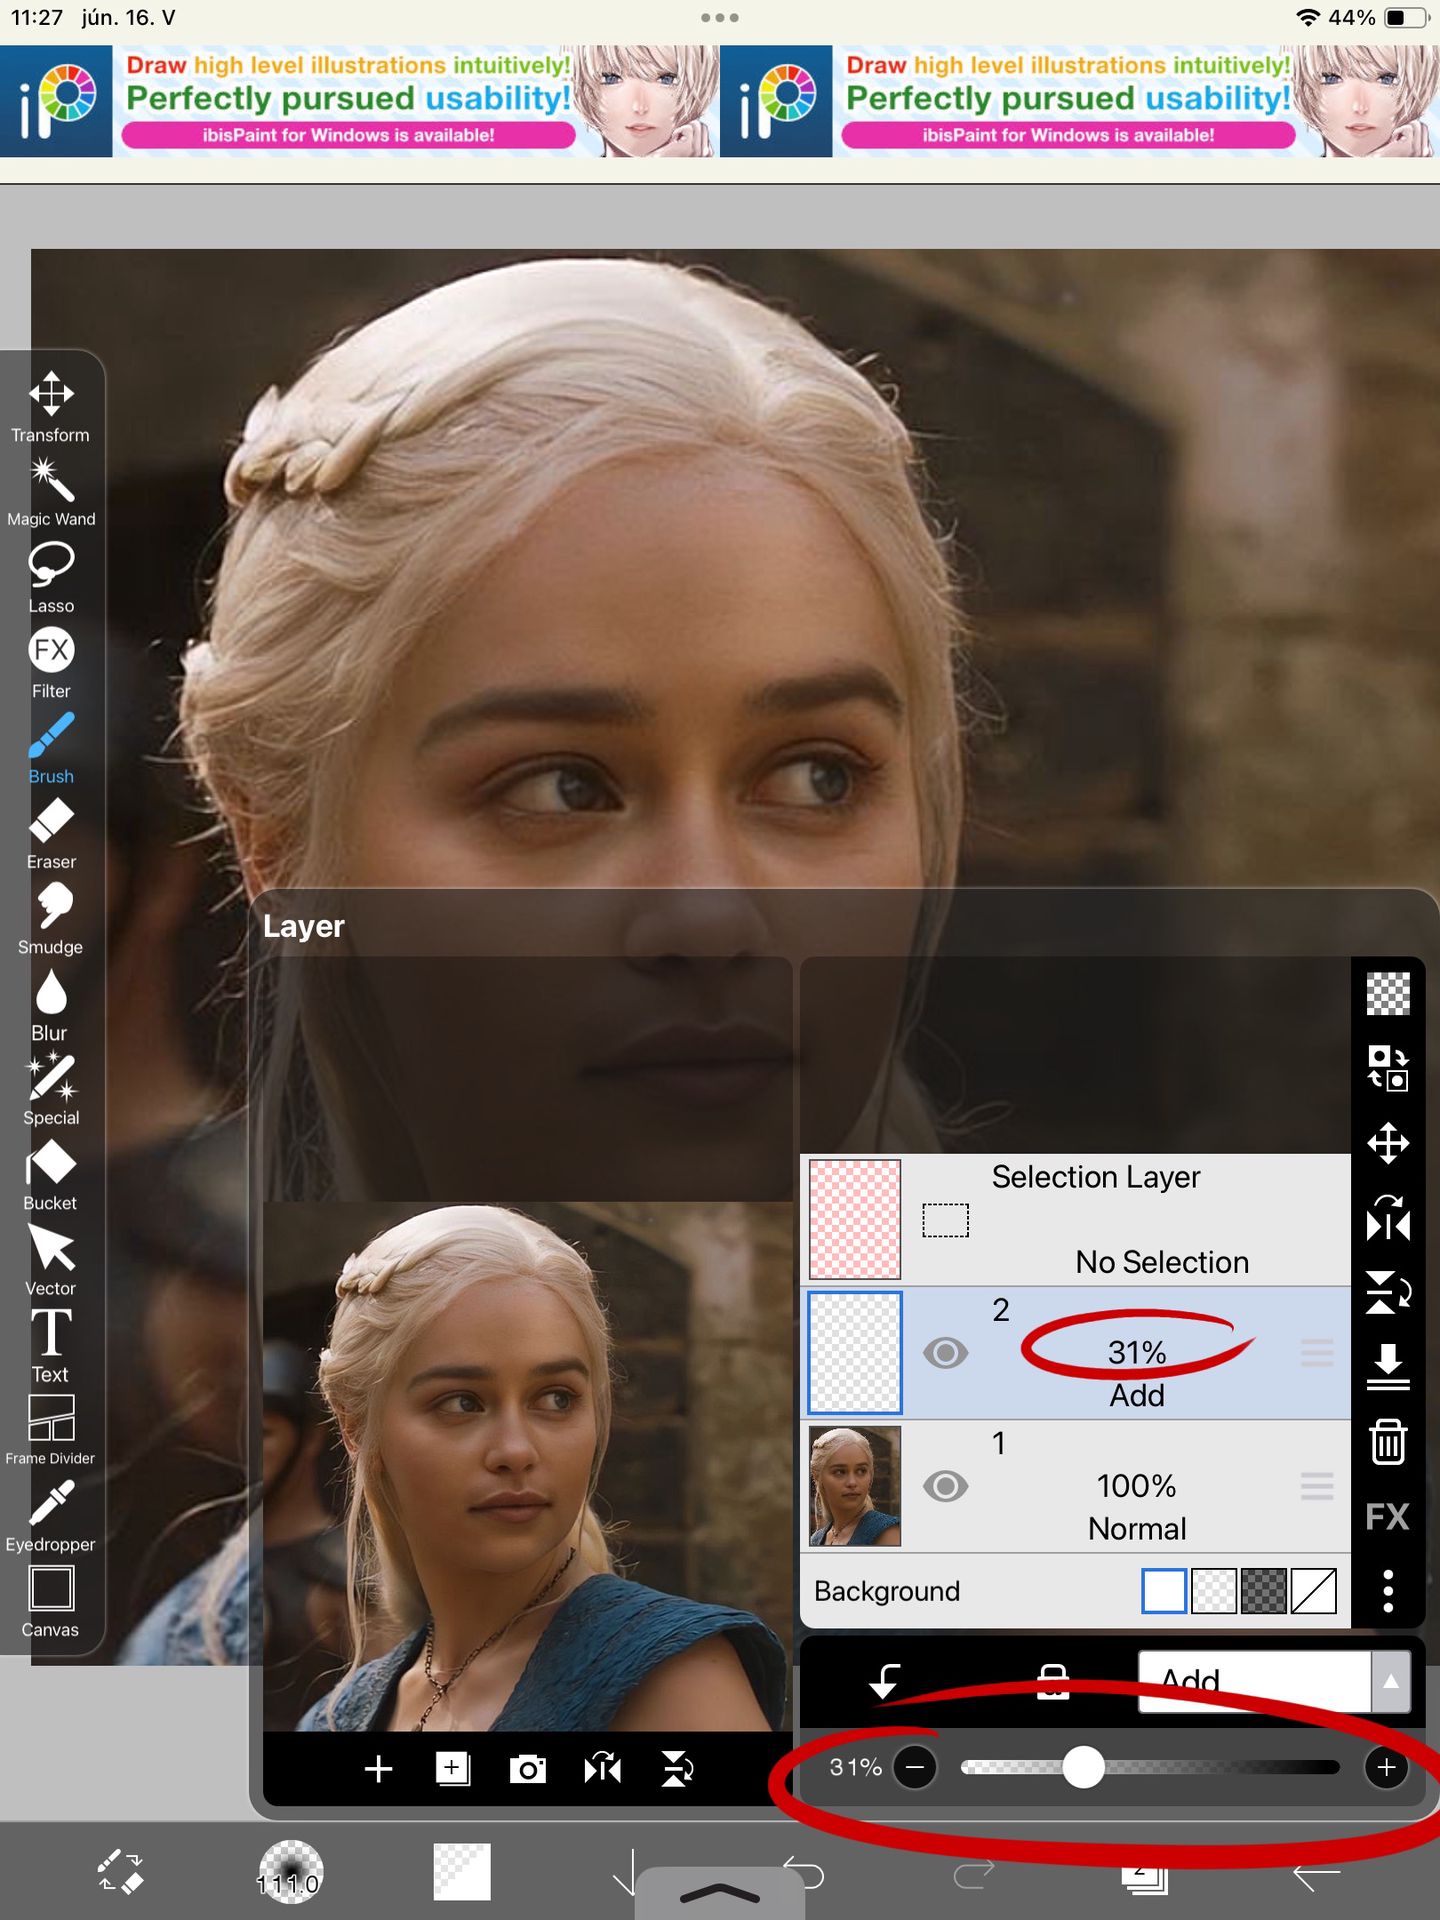
I then lower the opacity on this layer to about 30, but this might vary on the lighting of the cover or manip ect.
.
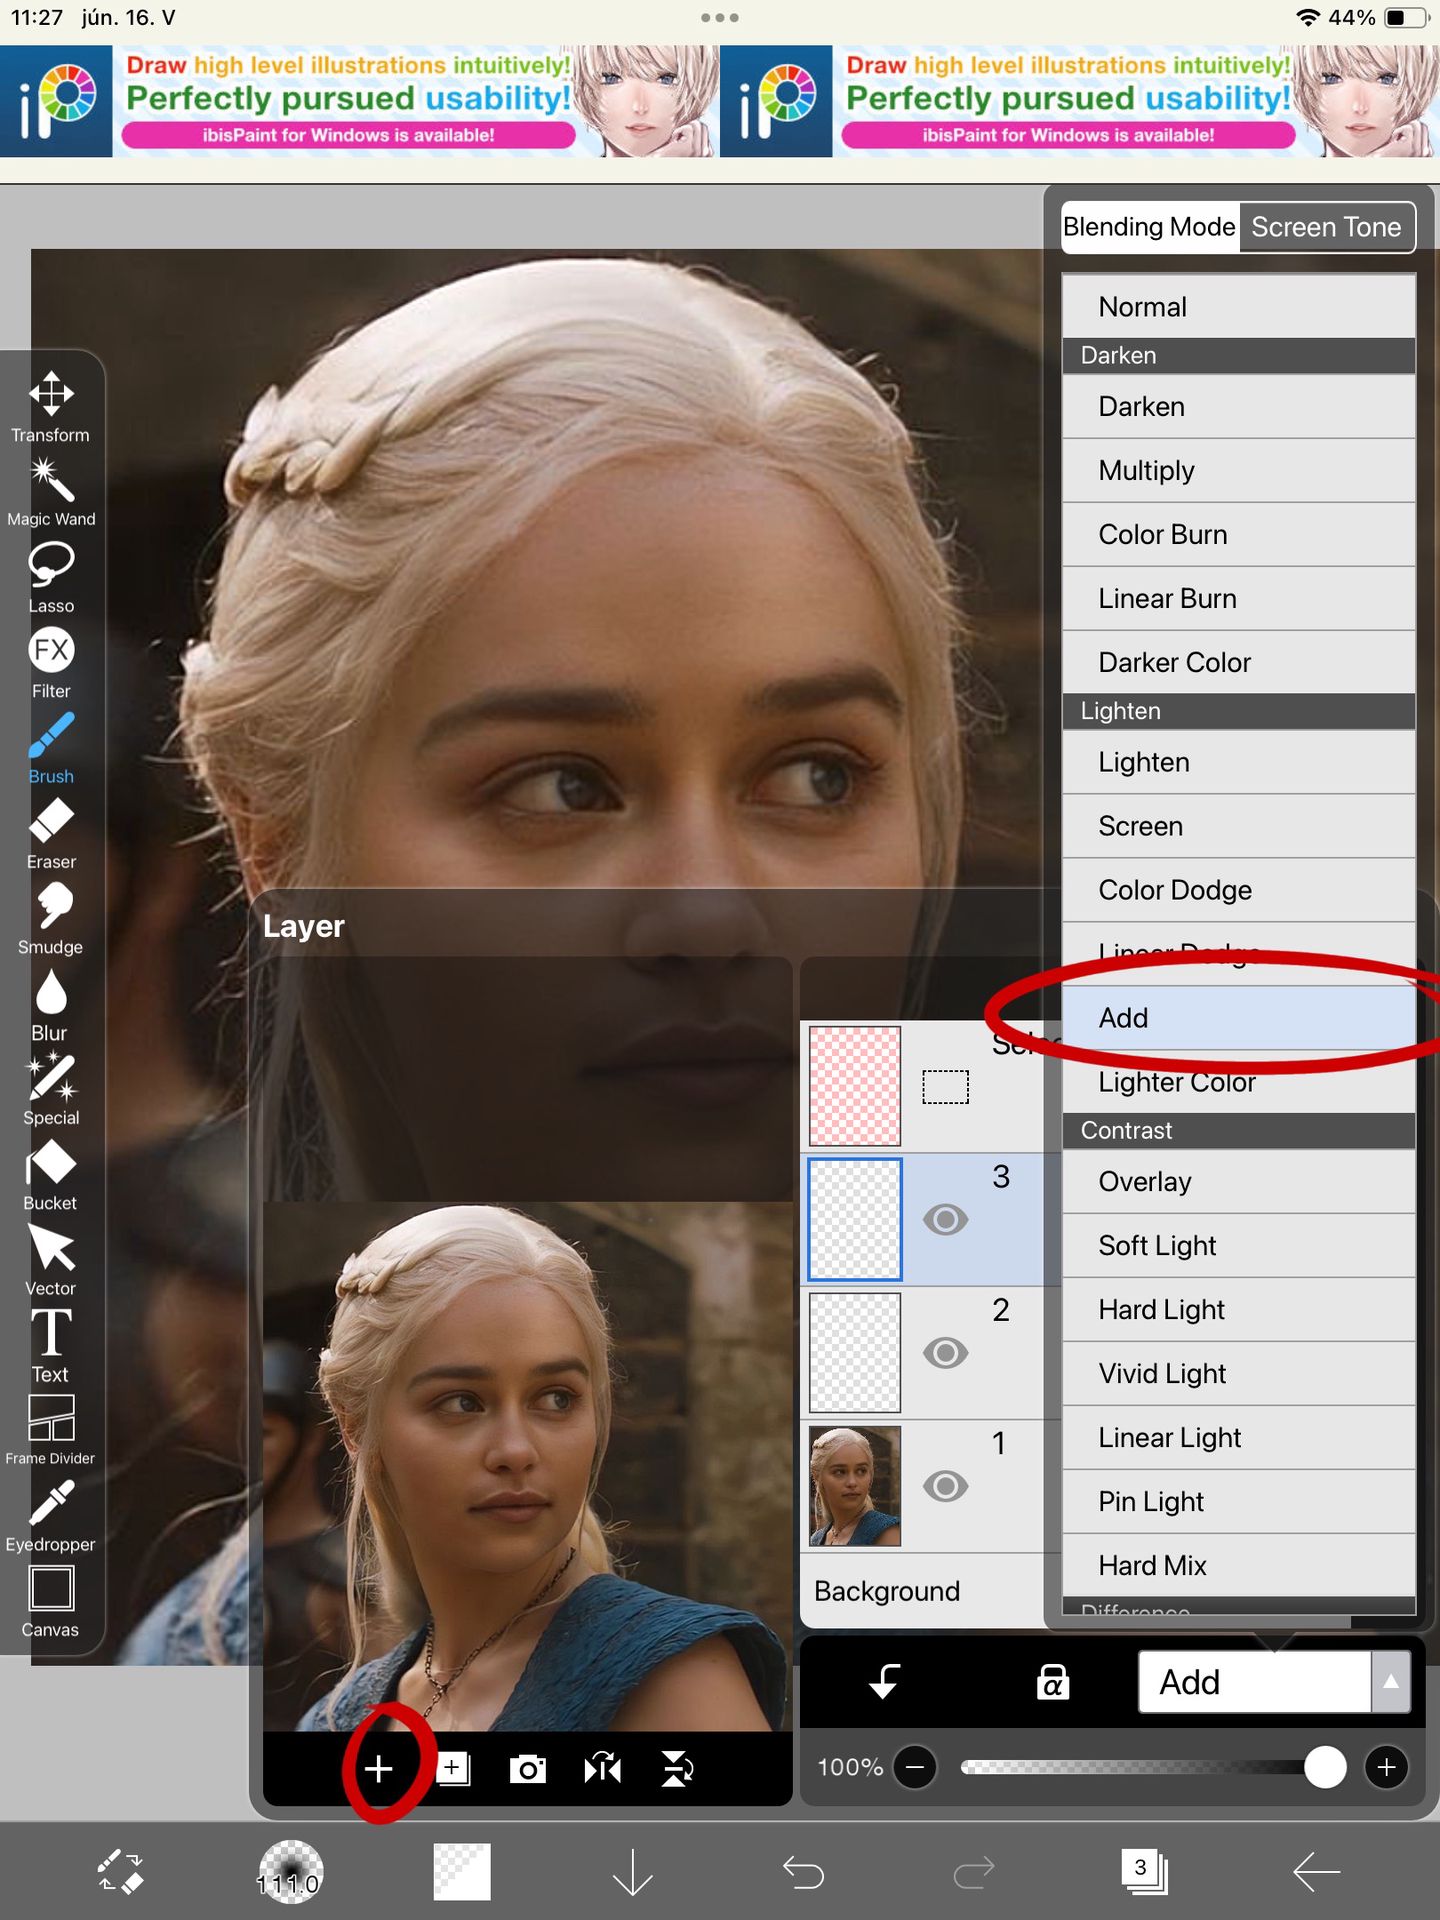
I then add another layer with the blending mode on add
.
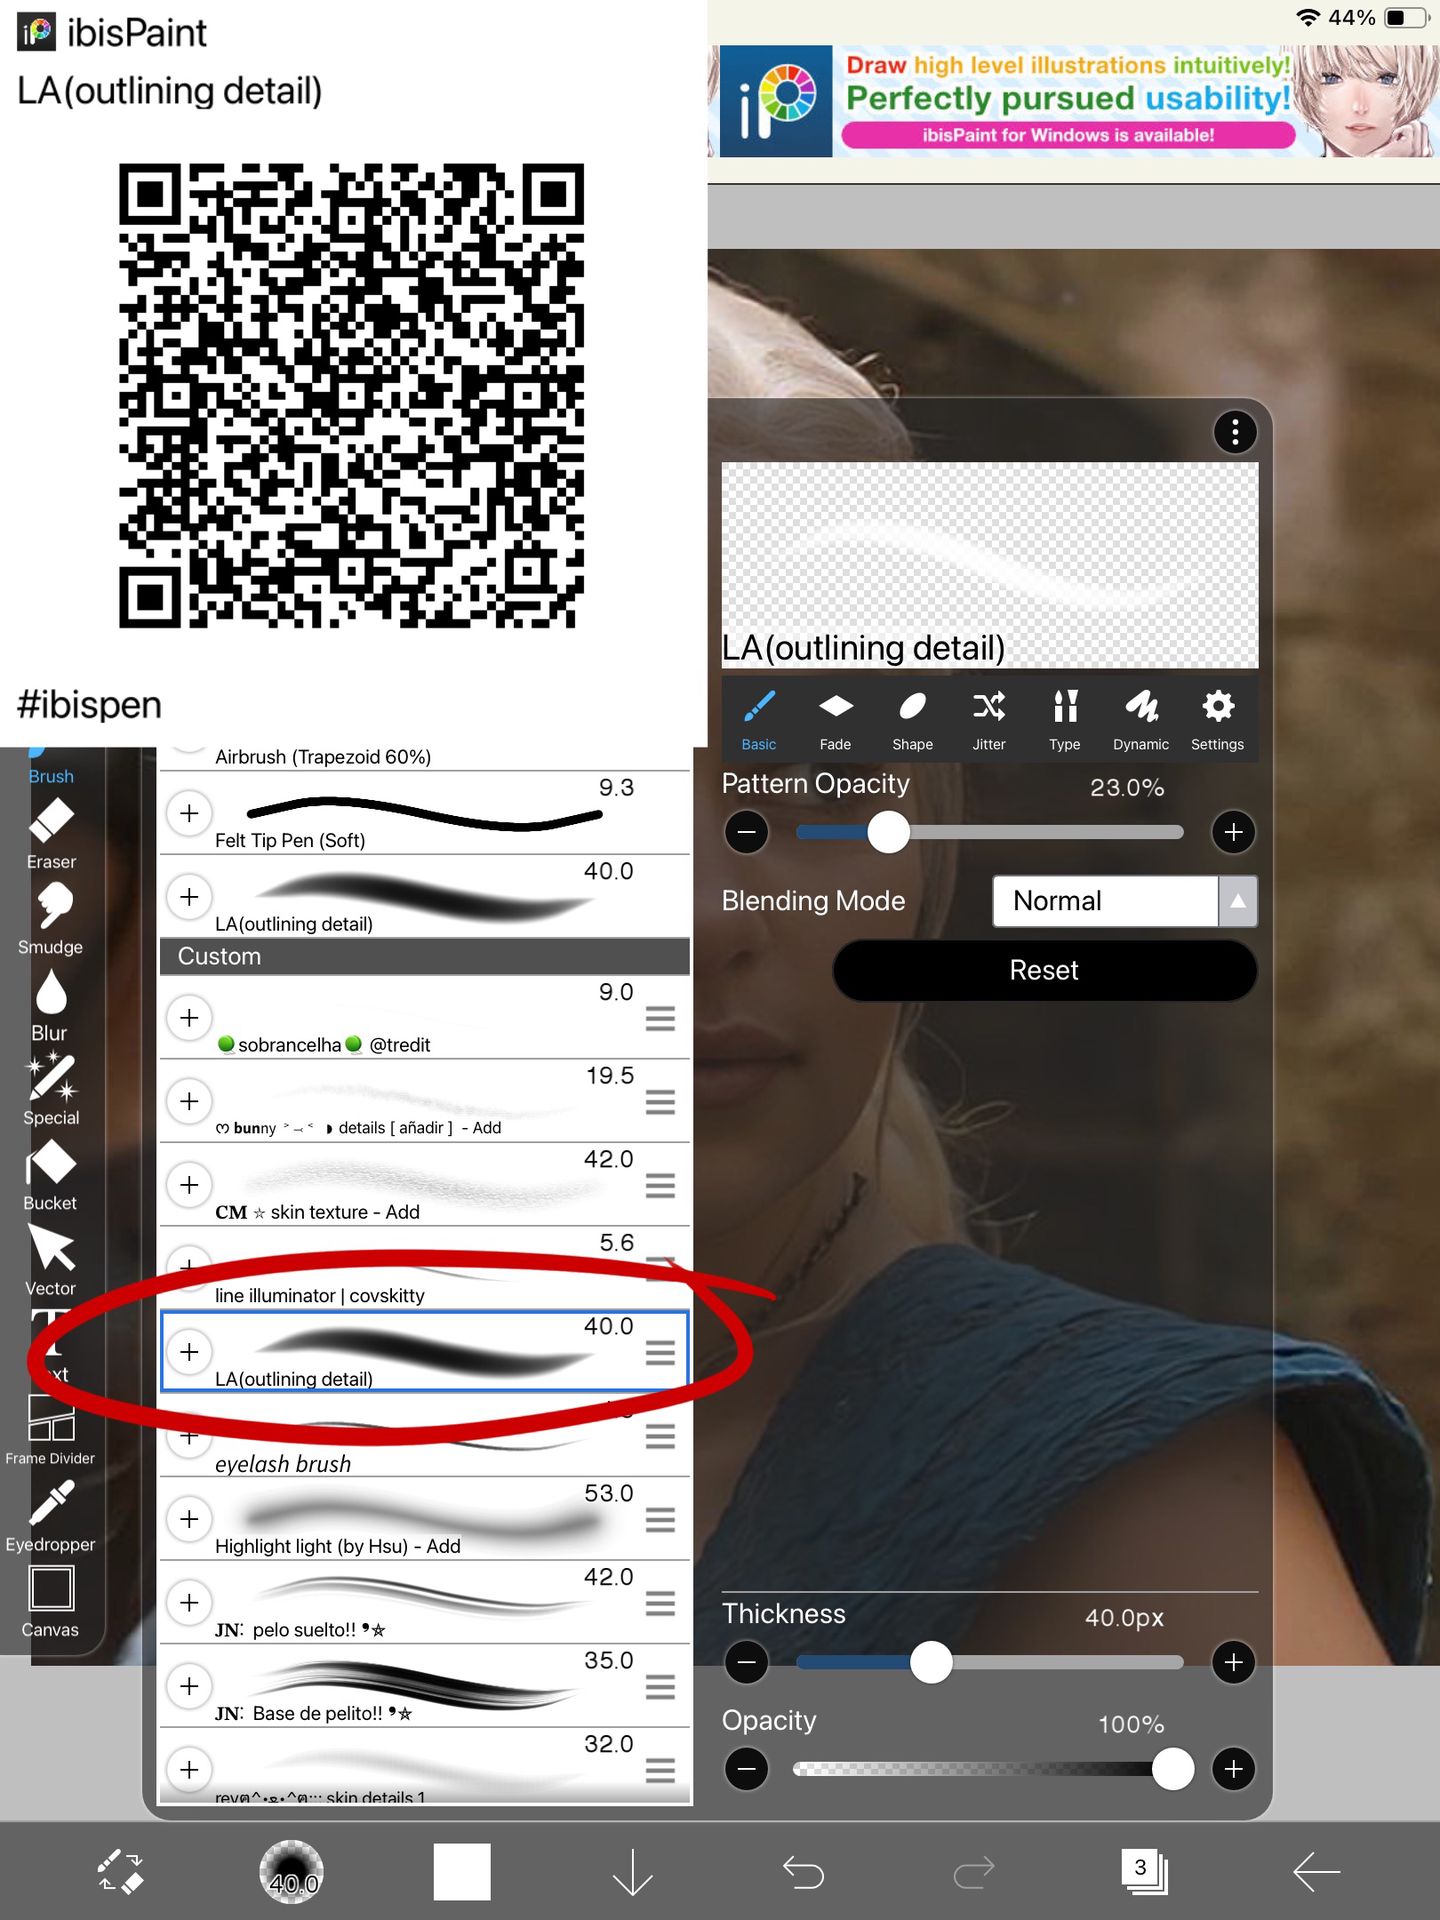
I select this brush aka my fav (I hope the qr code works😭)
.
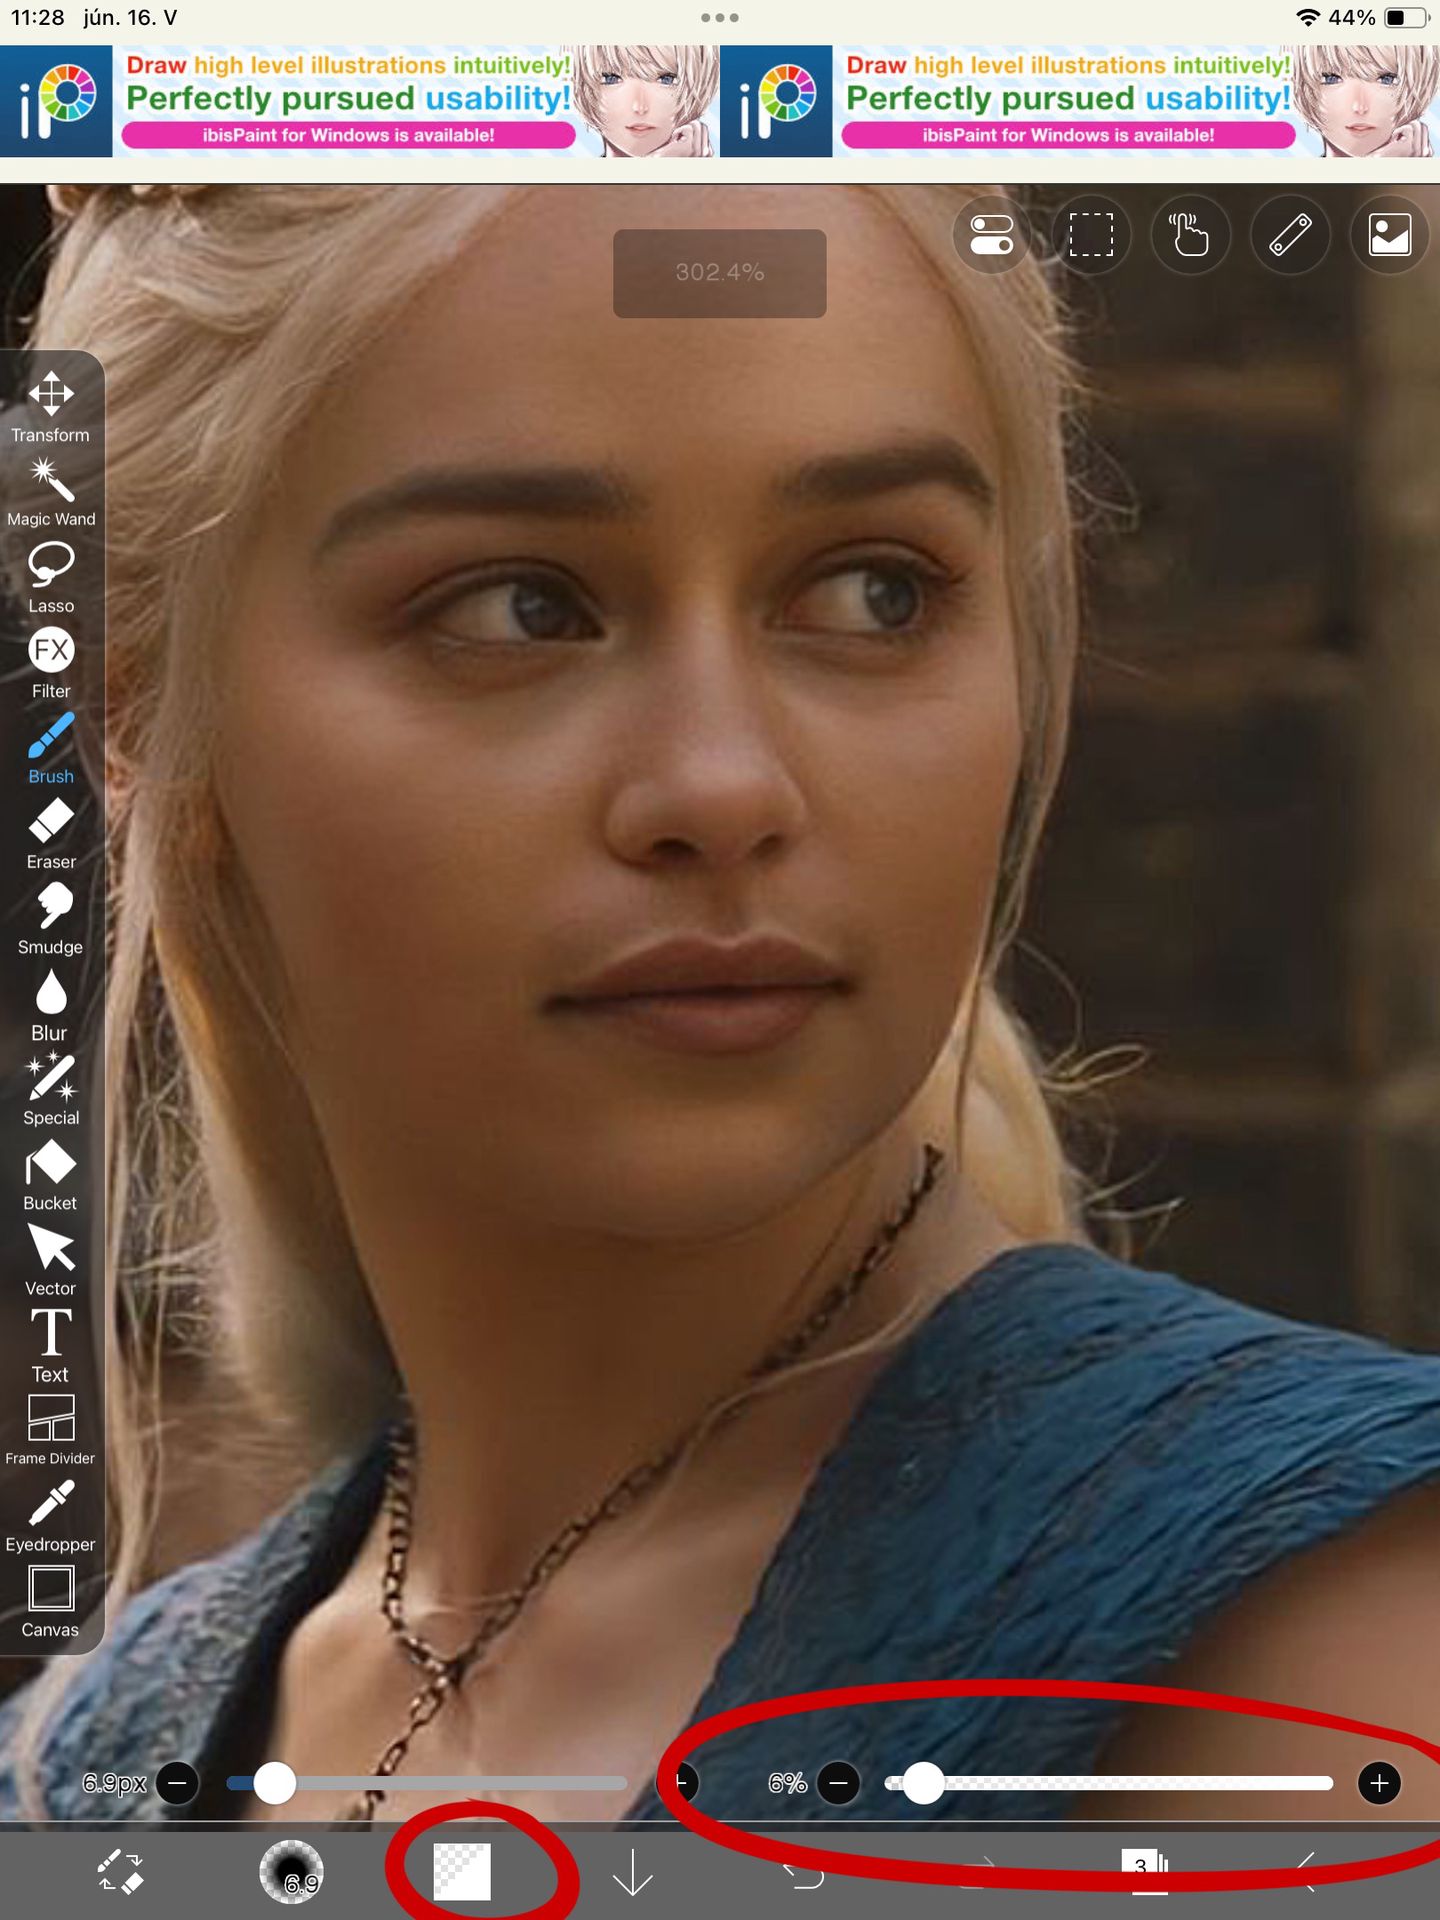
I then once again choose the colour white and lower the opacity of the brush down to about 5 because this brush is really harsh
.
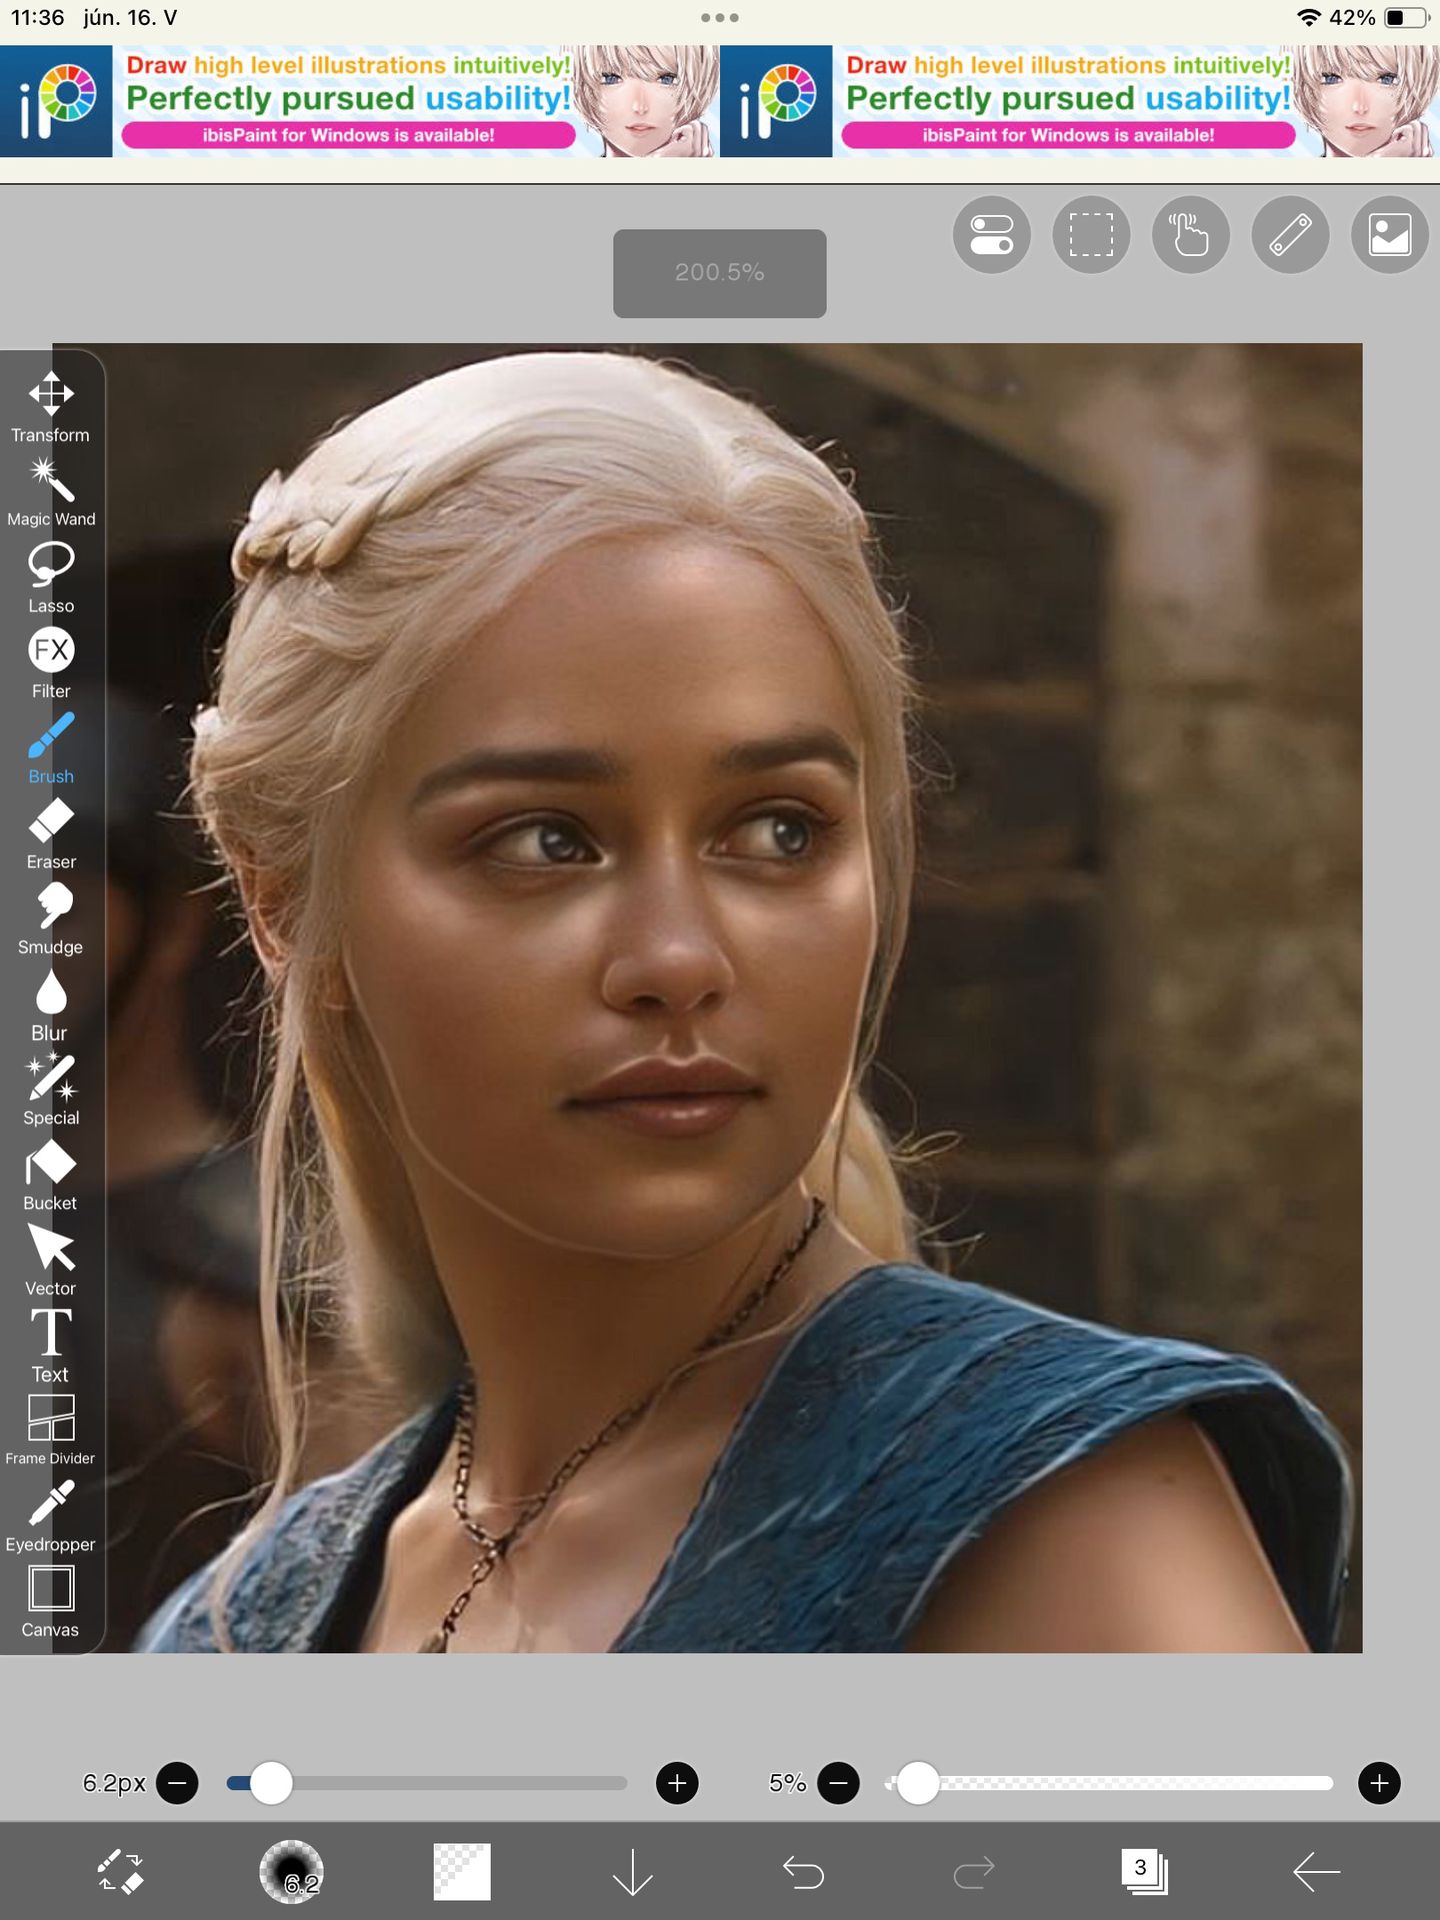
I then go over the parts I highlighted before to give them a bit more defenition and I go around the harsher edges of the face
.
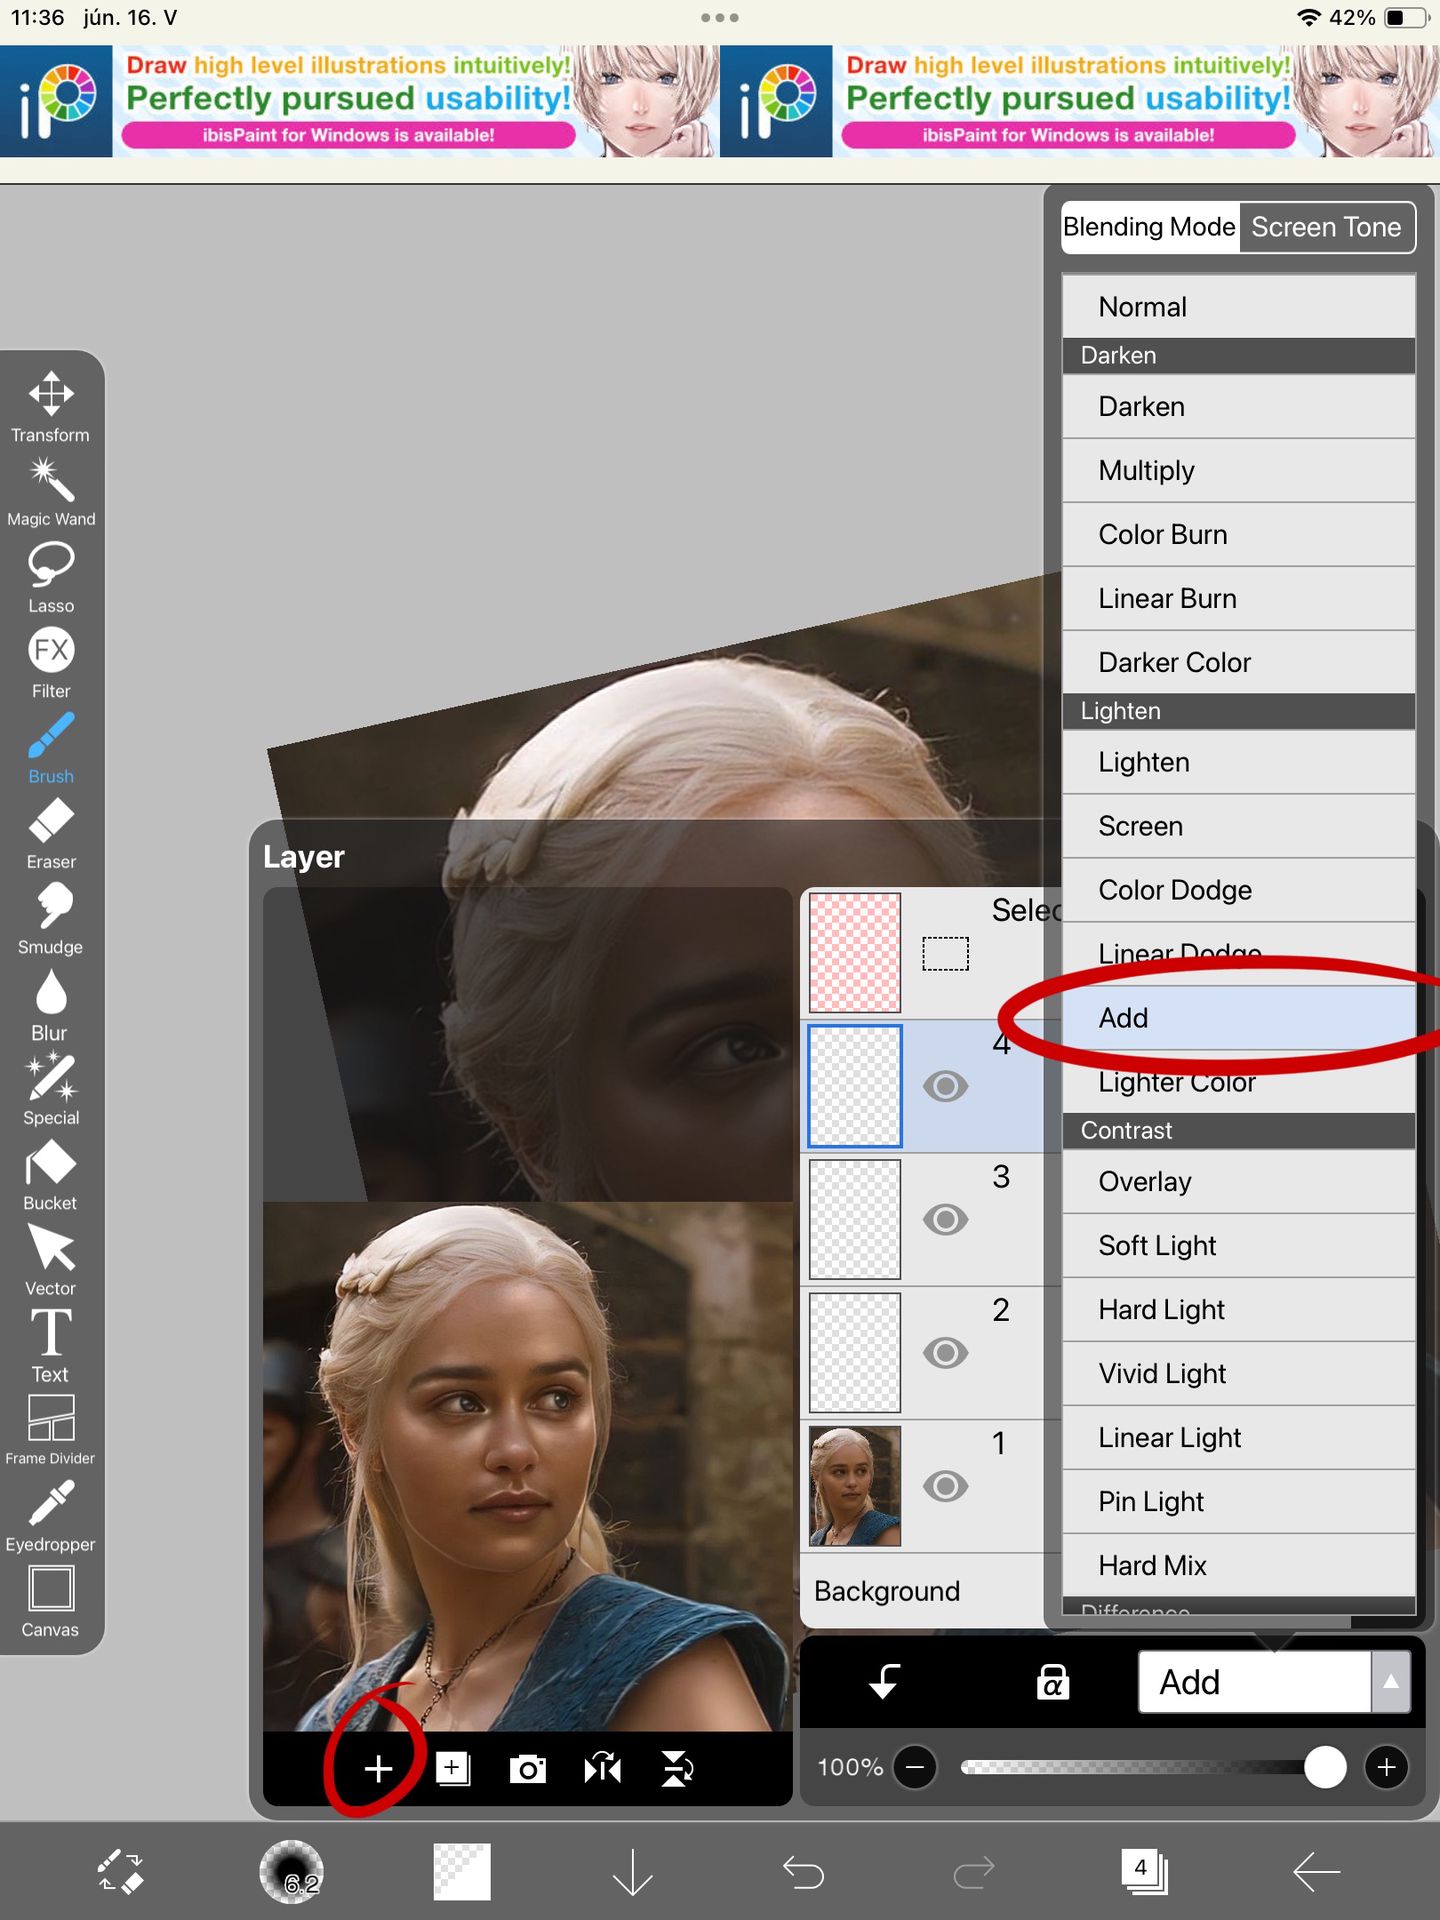
I once again add a new layer on add.
.
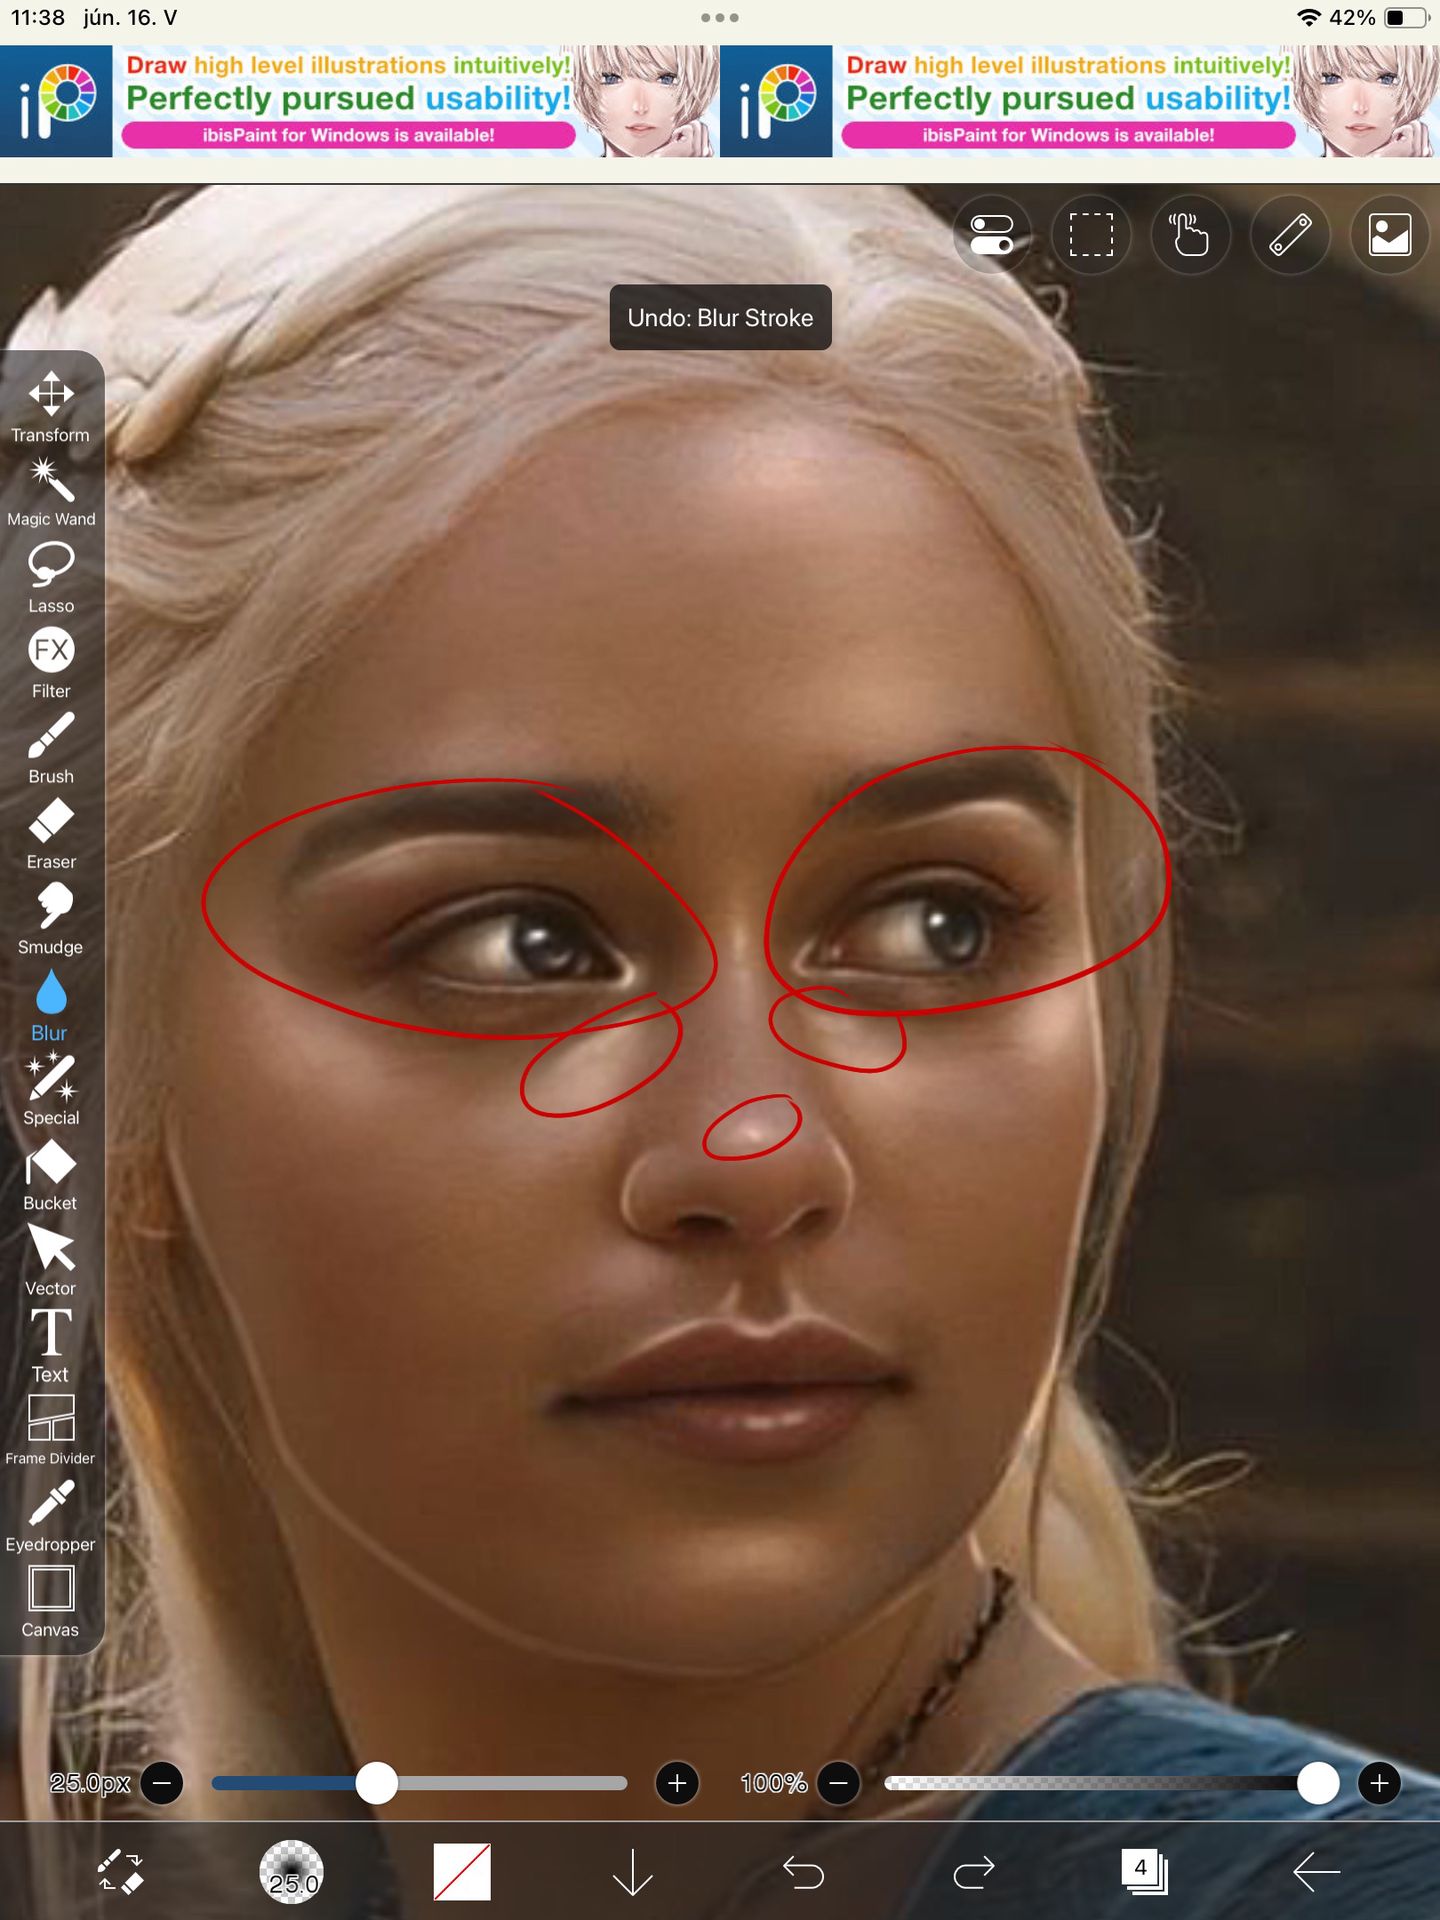
With the same brush, colour and with the OPACITY ON FIVE I once again go over the places I circled to just make them pop more.
.
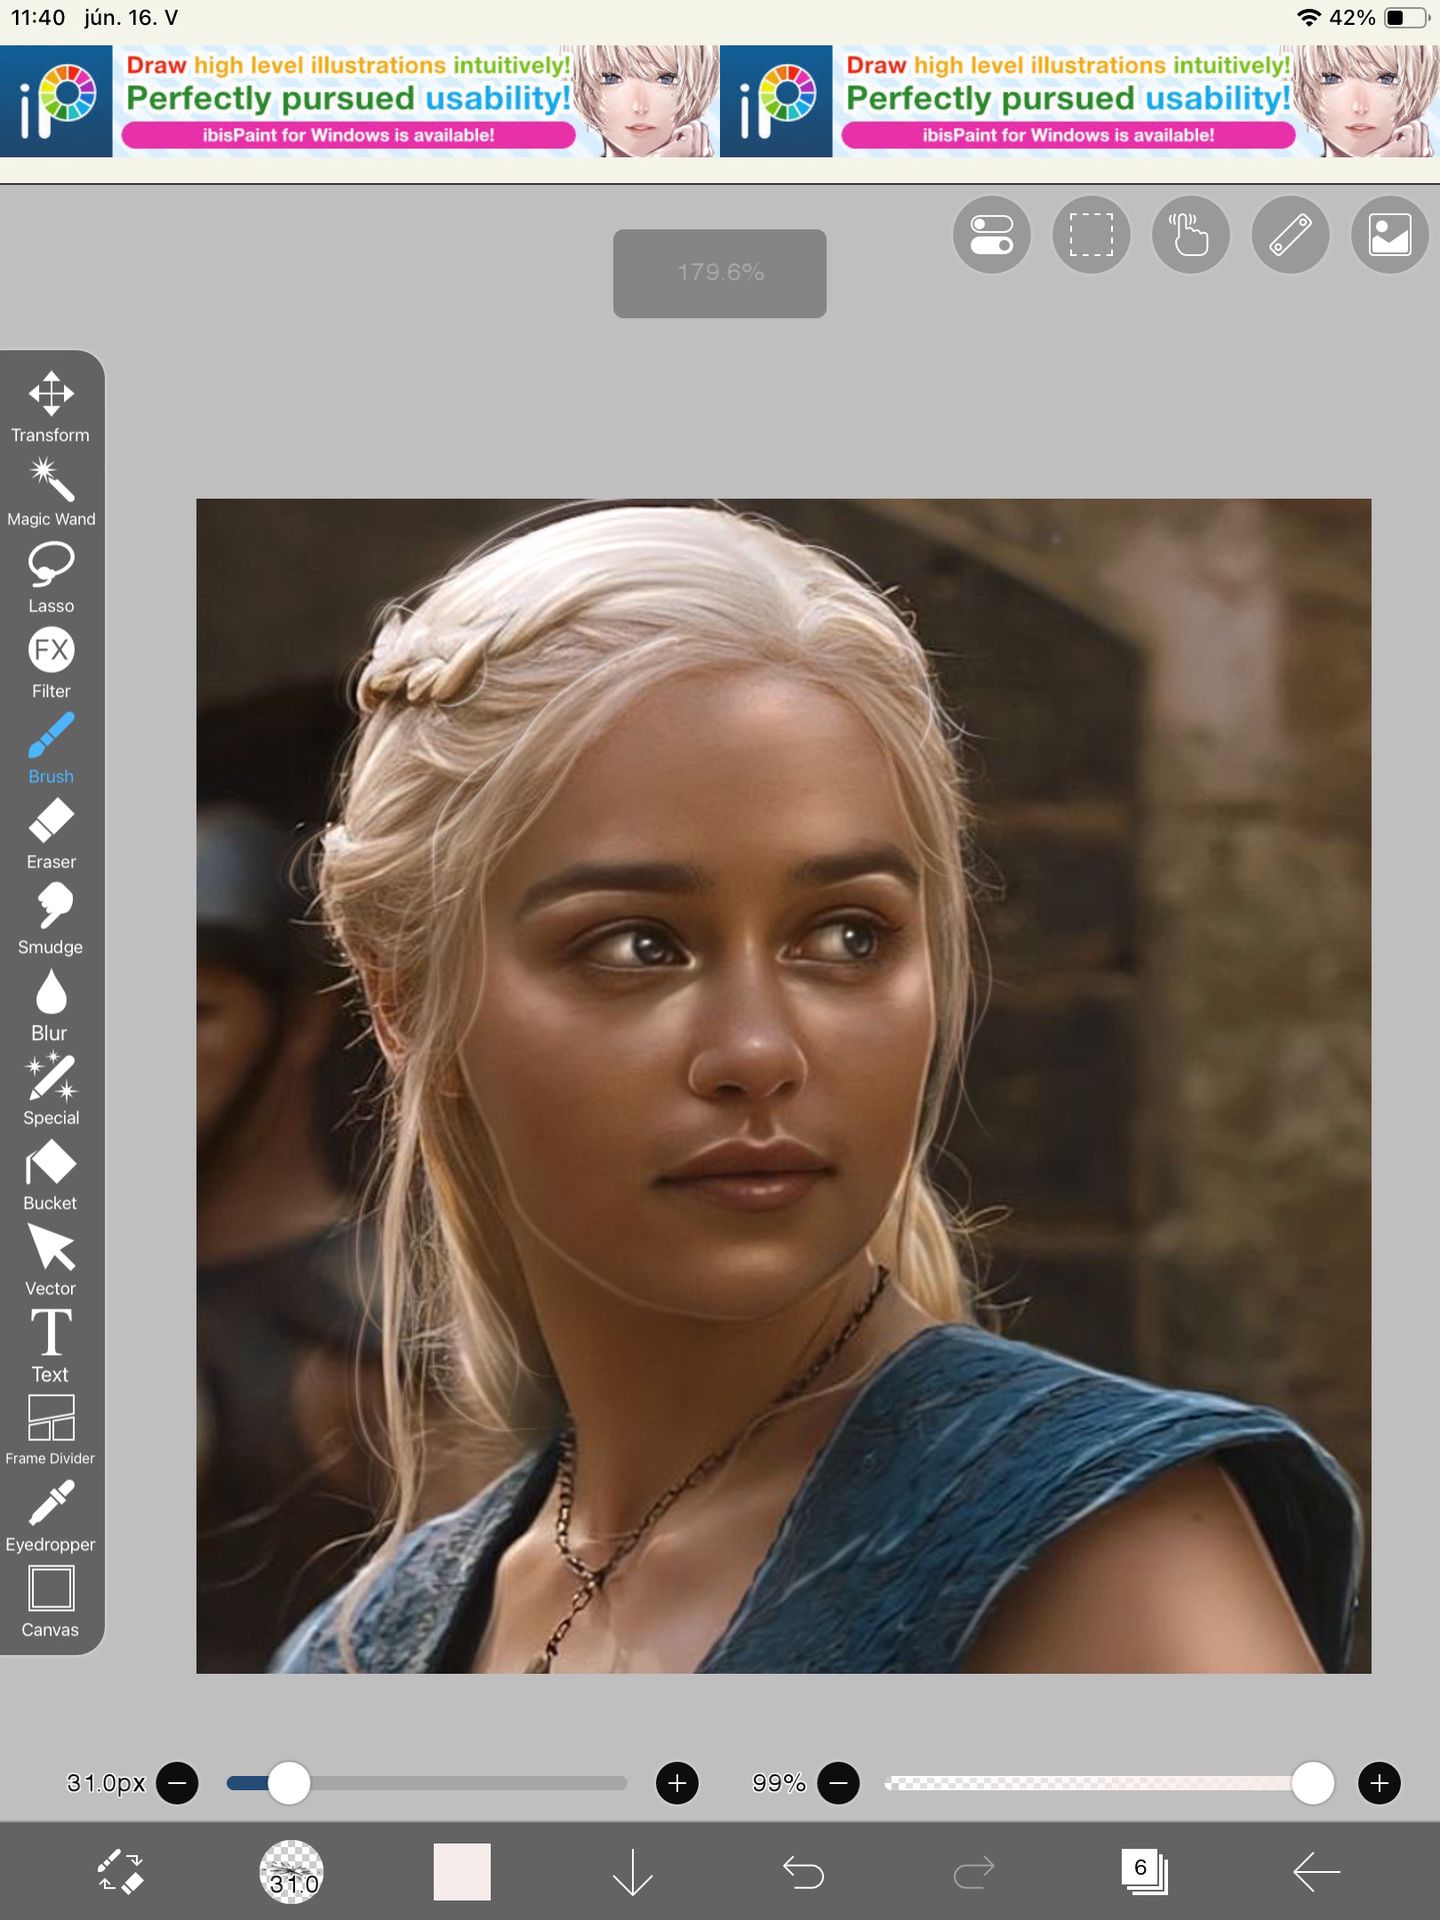
So far it should look like this! And the I highlight the hair the same way I explained before
.
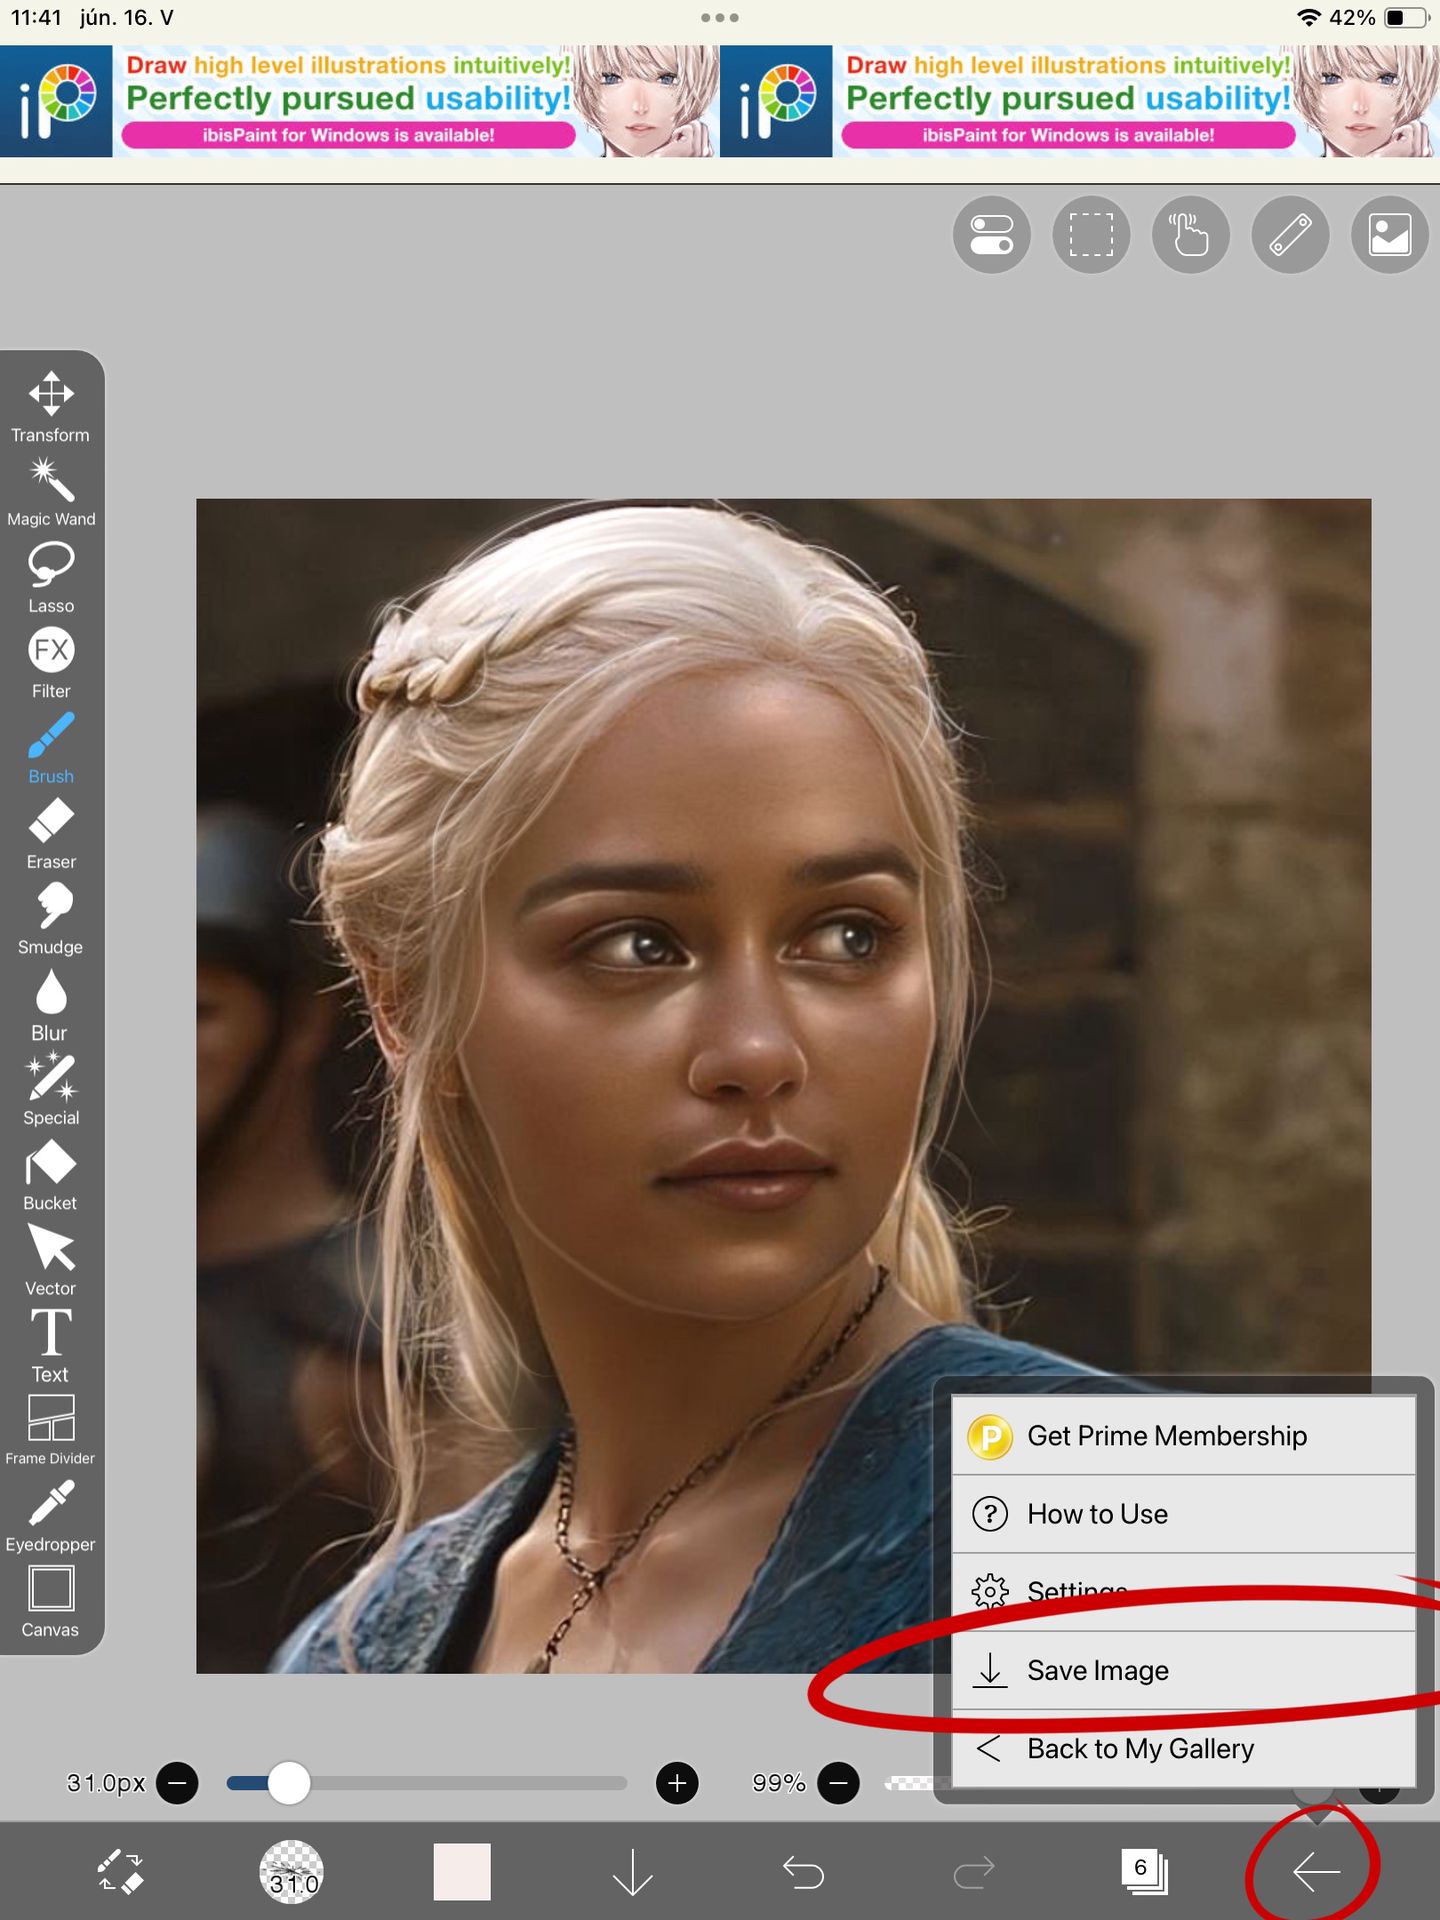
Then I save the picture as it is at the moment.
.
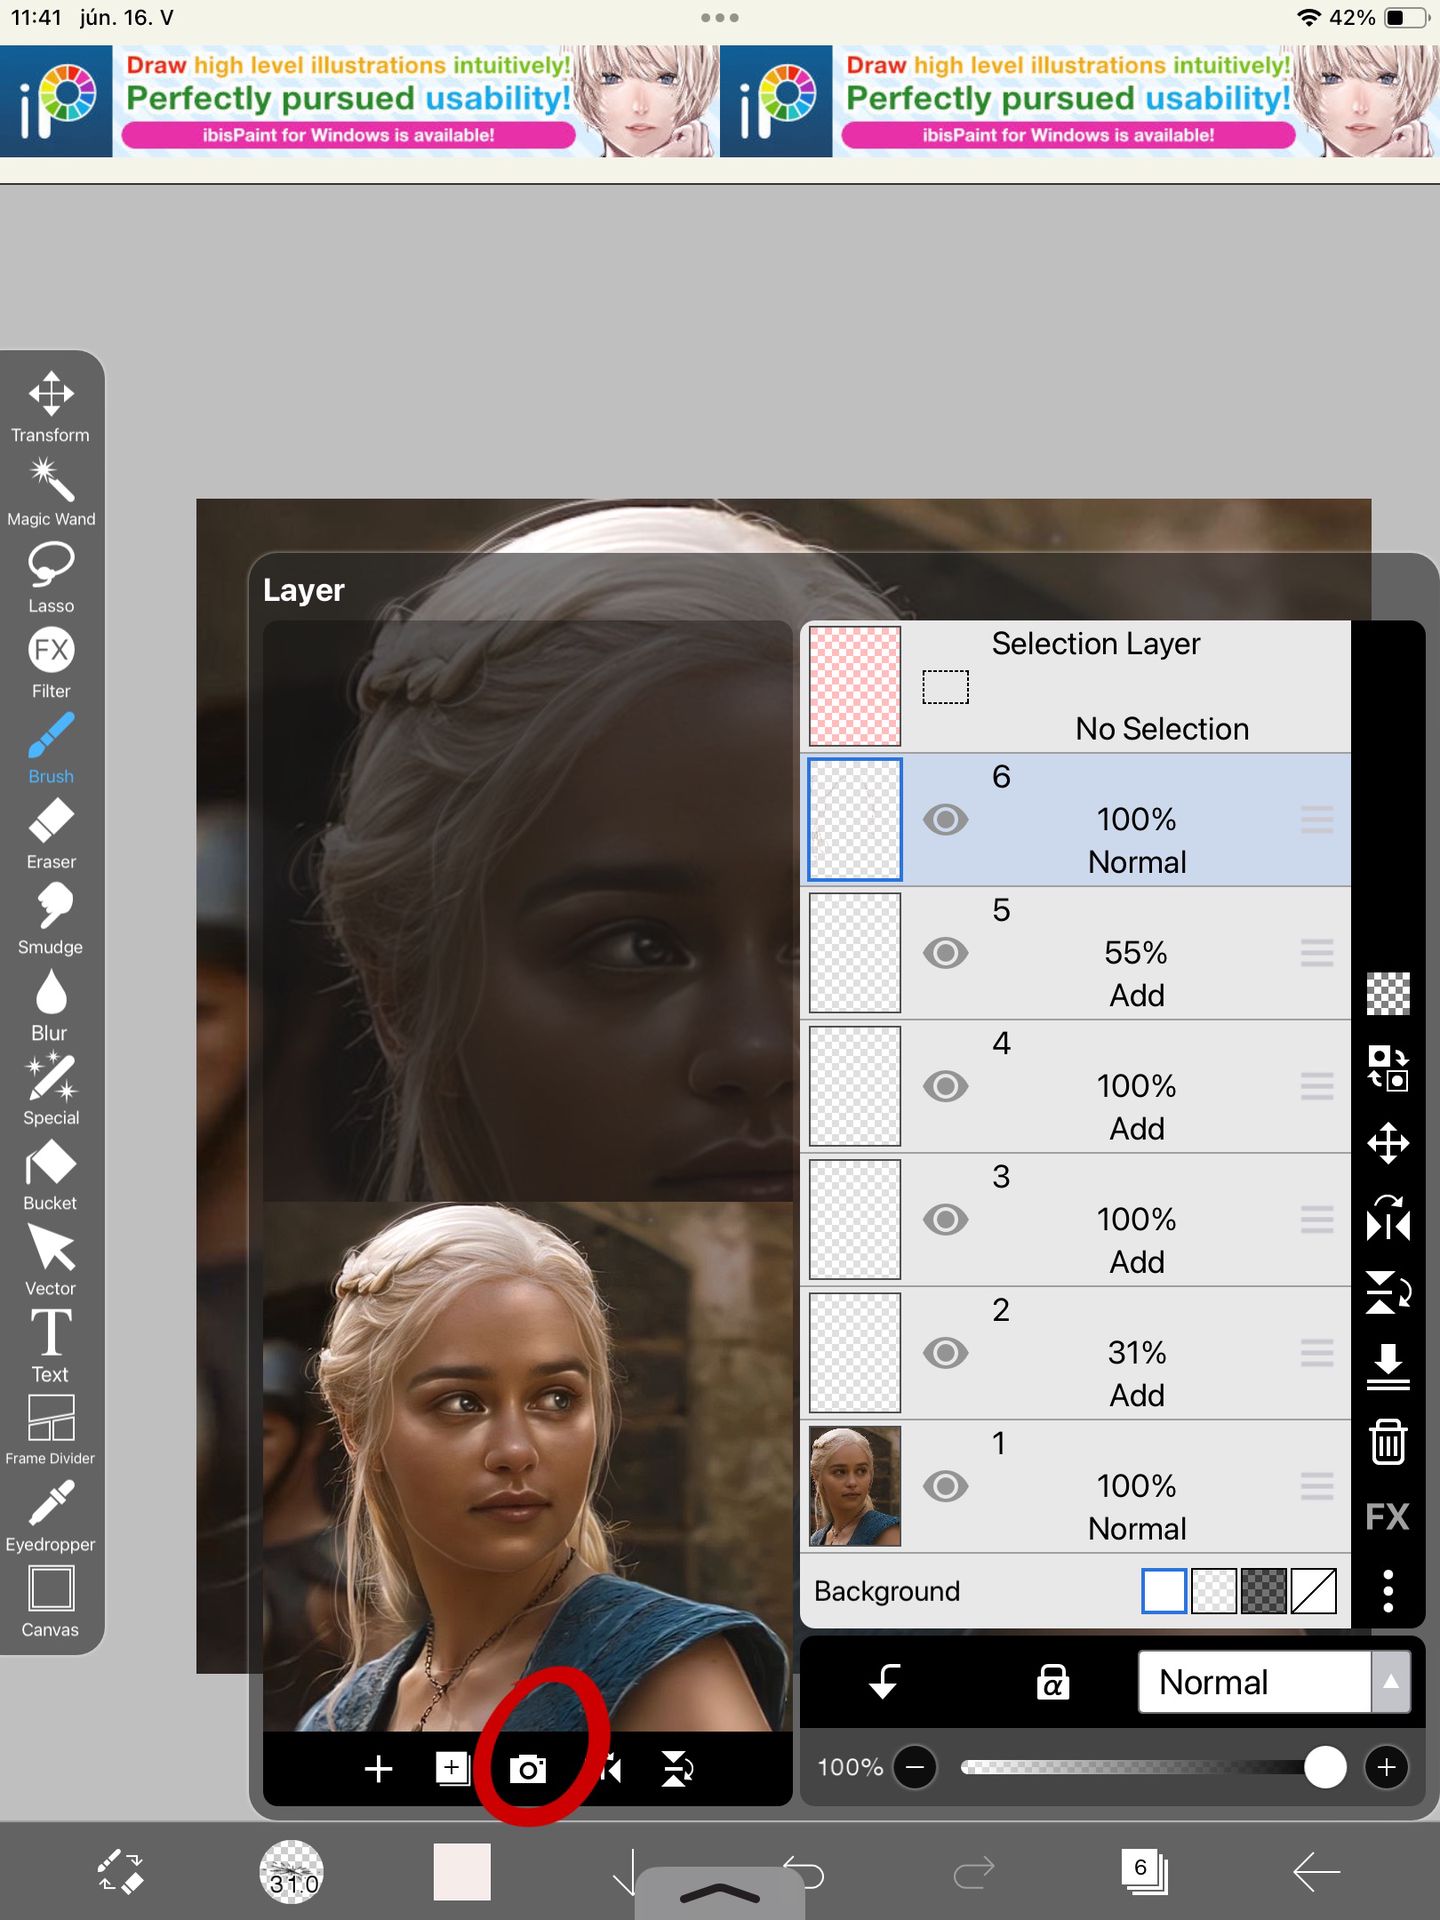
And then I add the picture that I just saved!
( THIS CONTINUES IN THE NEXT CHAPTER )
Bạn đang đọc truyện trên: AzTruyen.Top