Bulletproof Tutorial
So apparently one of my best covers is the one I made for TahliePurvis, who then put it for her story Bulletproof, so I'll be teaching you guys how to make something very similar!
(Warning: this will be a long ass tutorial)
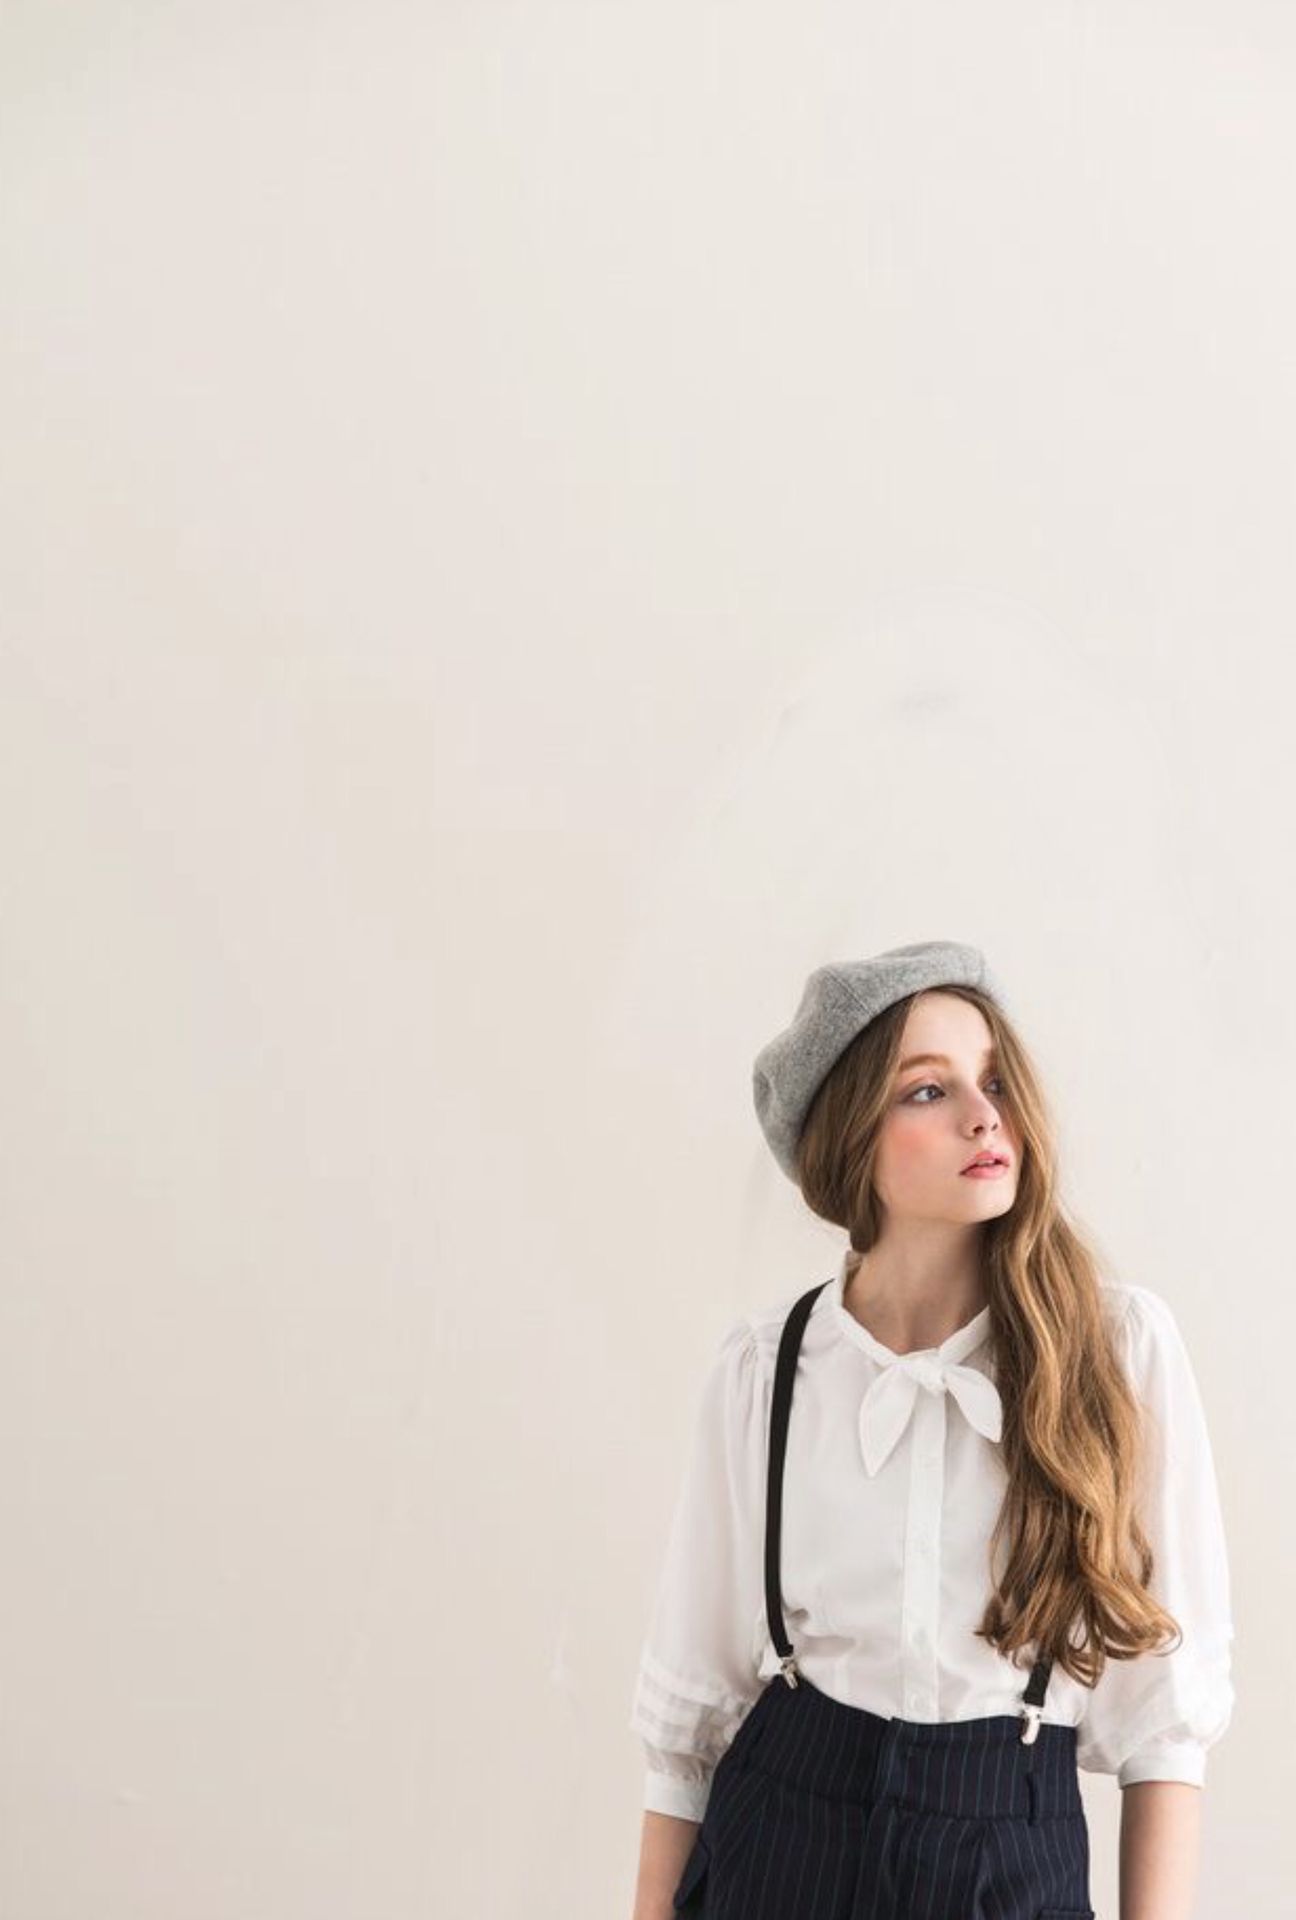
Original cover:

What you'll need:
-Phonto
-Pixlr (the app)
#1: open up your Wattpad proportioned cover onto Pixlr. Personally, I'd choose an image with a lot of white space at the top but it's totally up to you!
#2: this could be a drag, but after transforming your picture into the wattpad cover size go to Phonto and add in your text in the font Shorelines Script Bold. Since I have a whitish colour behind the text, I'll change the colour style to black. Adjust and place it where you like, then add the authors name/details where you'd like to.

#3: this is where things get real. Switch back to pixlr and upload your new image with the text.
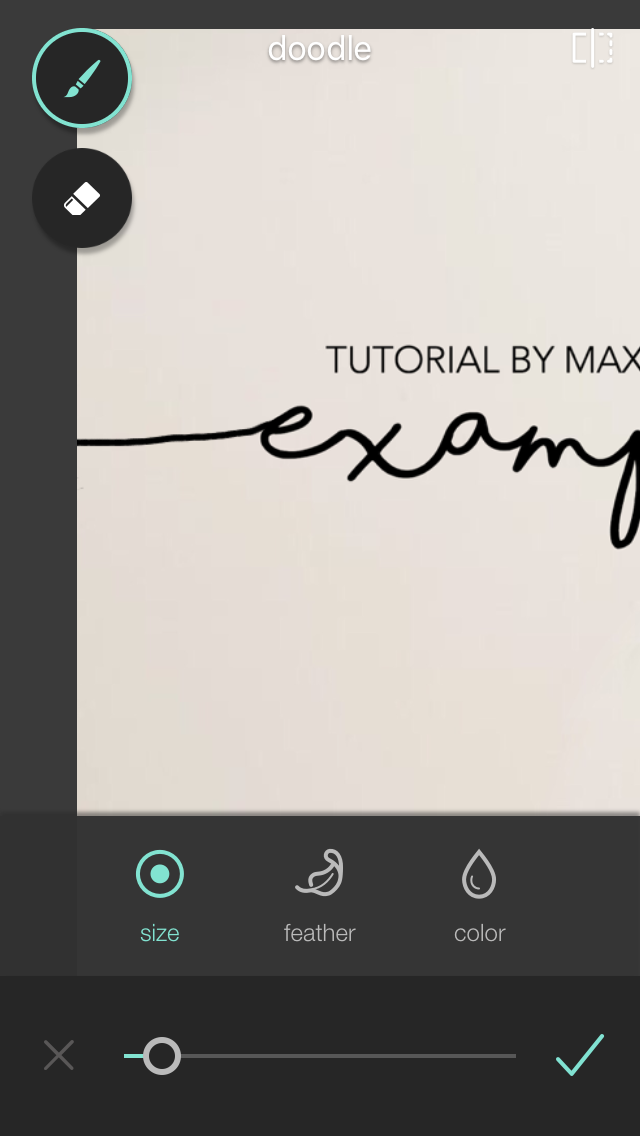
#4: so now for the lines outta text part. At the bottom of the page you'll see a paintbrush icon next to the two overlapping circles. Tap on that then select 'doodle.'

This is going to be a bit hard to explain, so bear with me. On the size option, lower the slider until the tiny circle is as thick as your text. I usually go with 2 or 3, maybe 4. Feel free to zoom in on your picture!

Now, once you've set your size head over to the color drop thing. Tap on the dropper thing:

This is important. After selecting the eyedropper tool tap on your text and make sure the box thing that pops up is the same colour as your text.

After finding your color click on size and zoom into your picture.
Find a cursive point at the first letter and trace a line from there to the outside of the picture. This may take several tries to get the size and line right. It's alright if it's a bit wobbly! You can always erase unwanted areas.
Repeat for the last letter.

Lord help you if you don't tap on the check mark at the bottom right once you're done.
#5: now what you wanna do is tap on the icon that looks like two sheets stacked on top of each other.

Now you'll see three options at the bottom that says effect, overlay and stylize. You can look through all the effects to add more colours and theme to your image, but I decided to skip this step. So after playing around with the effects, tap on 'overlay.'

This section of pixlr will be your best friend throughout your graphic designing journey with me. Just saying.
Next to the heart inside the circle thingy in the image above, you can see those orange lines. Tap on that section and scroll down until you see the image labelled with 'Foggy' and choose that.

Erase unwanted parts and play around with the opacity.

If you want more color, add another overlay called 'gleam' and adjust it to how you like.
There might be more steps that I forgot but it looks more or less right. Your final step will be to go back to the paper stacks and select 'stylize.'

Tap on 'silk' and adjust it according to your liking.

At this point I've nearly reached the image limit and my eyeballs are bursting through my brain so LET'S WRAP THIS UP.
All you gotta do now is go to borders and add the white border called 'zero.' AND NOW YOU HAVE COMPLETED YOUR MASTERPIECE.

If you somehow went through the whole tutorial and made whatever this thing is called, please share it with us. Don't hesitate to ask any questions. Don't forget to credit us if this somehow helped you.
I made this while I was barely awake so if I missed something or spelled something wrong let's pretend like it never happened.
-Maxi Paxi (misscaulfield )
Bạn đang đọc truyện trên: AzTruyen.Top